COPYRIGHT WARNING:
All pictures and texts in this web page are the property of nomaallim.com. Any use of any part of those contents without the written consent of nomaallim.com shall be subject to legal procedures as per international and local laws in the concerned country. Using the name "nomaallim" or "nomaallim com" or "nomaallim.com" in the text describing the unauthorized copied content shall not constitute an exception and shall be sanctioned in accordance to the effective laws and proceedings.
All pictures and texts in this web page are the property of nomaallim.com. Any use of any part of those contents without the written consent of nomaallim.com shall be subject to legal procedures as per international and local laws in the concerned country. Using the name "nomaallim" or "nomaallim com" or "nomaallim.com" in the text describing the unauthorized copied content shall not constitute an exception and shall be sanctioned in accordance to the effective laws and proceedings.
BEFORE YOU START
|
|
DISCLAIMER:
Our pictorials are of informative nature and do illustrate works carried by ourselves at our own premises for our own use and satisfaction.
Readers who envisage to carry out similar works inspired by the below method shall do this at their own risks and liability.
Our pictorials are of informative nature and do illustrate works carried by ourselves at our own premises for our own use and satisfaction.
Readers who envisage to carry out similar works inspired by the below method shall do this at their own risks and liability.
Mudguard liner removal
|
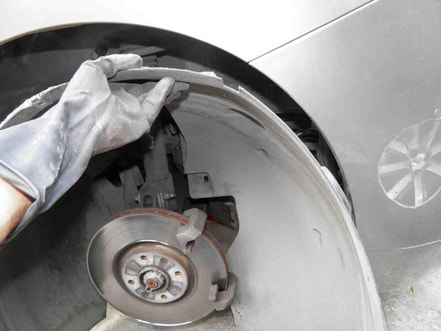
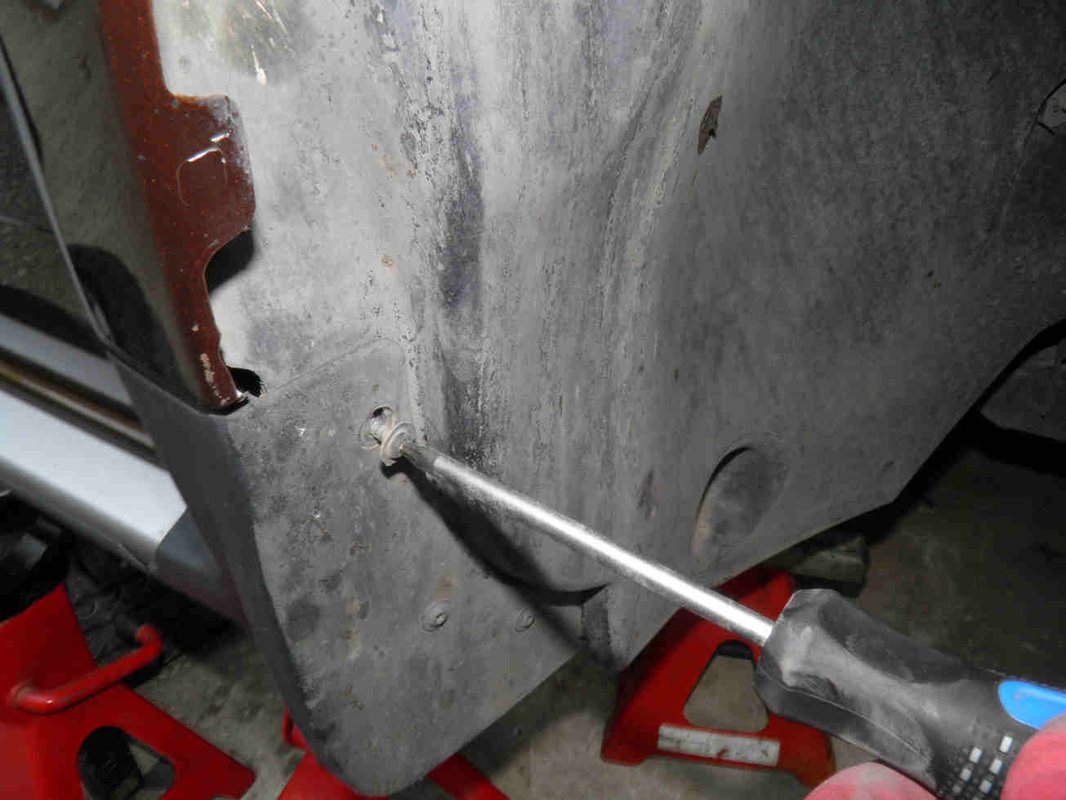
The inner fender mudguard is fixed to the vehicle by the means of various fittings:
-6 mm bolts, with hexagonal head - usually used to fix it to the bumper -6 mm bolts with a star flat head (female Torx) -6 mm push in plastic nuts -6 mm push in threaded clips -6 mm plastic push nails -Etc. |
|


|
|
|
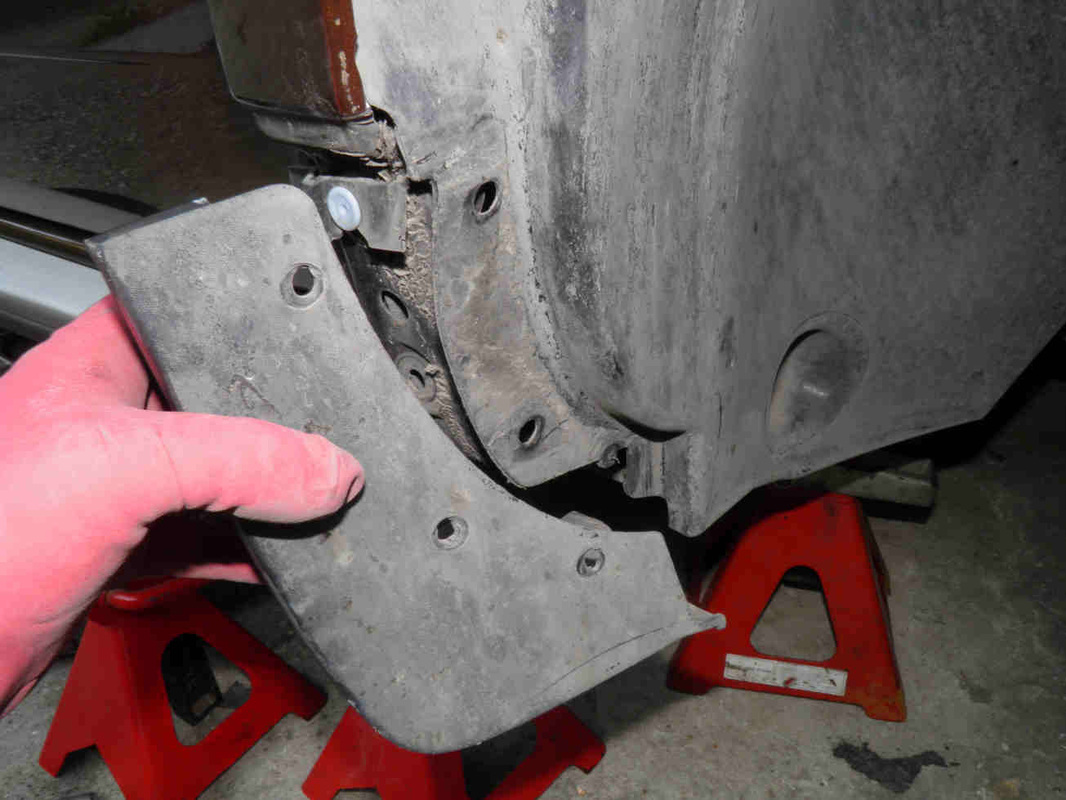
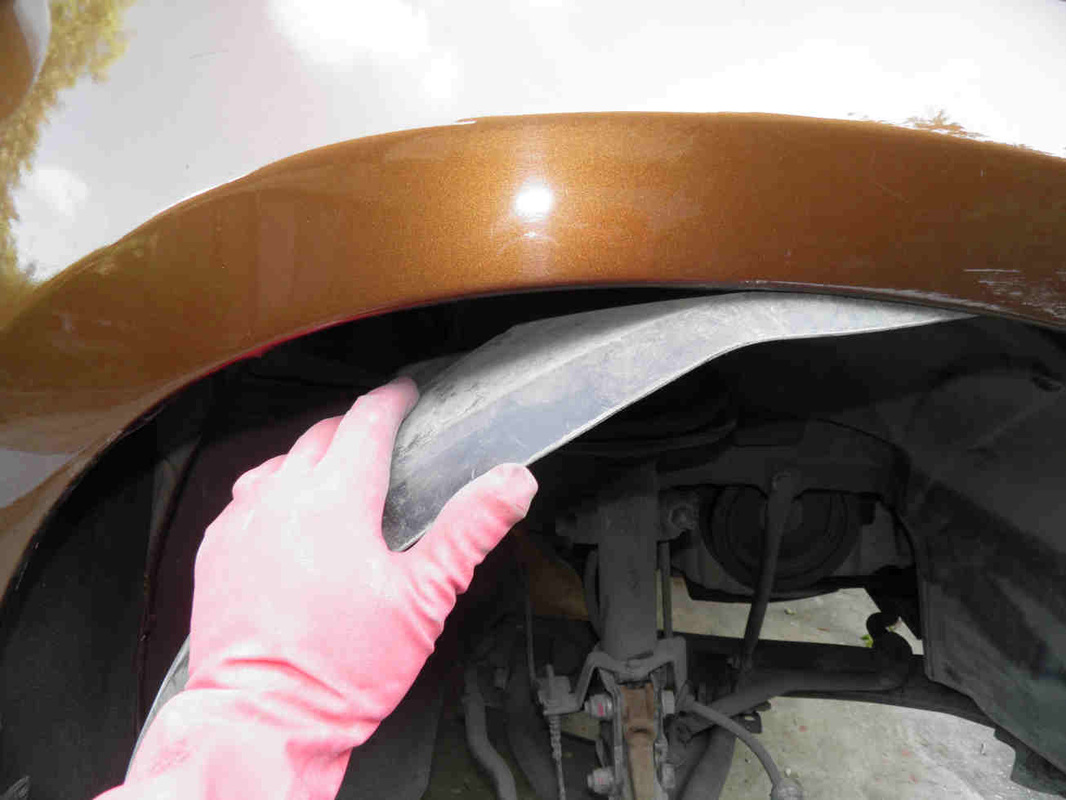
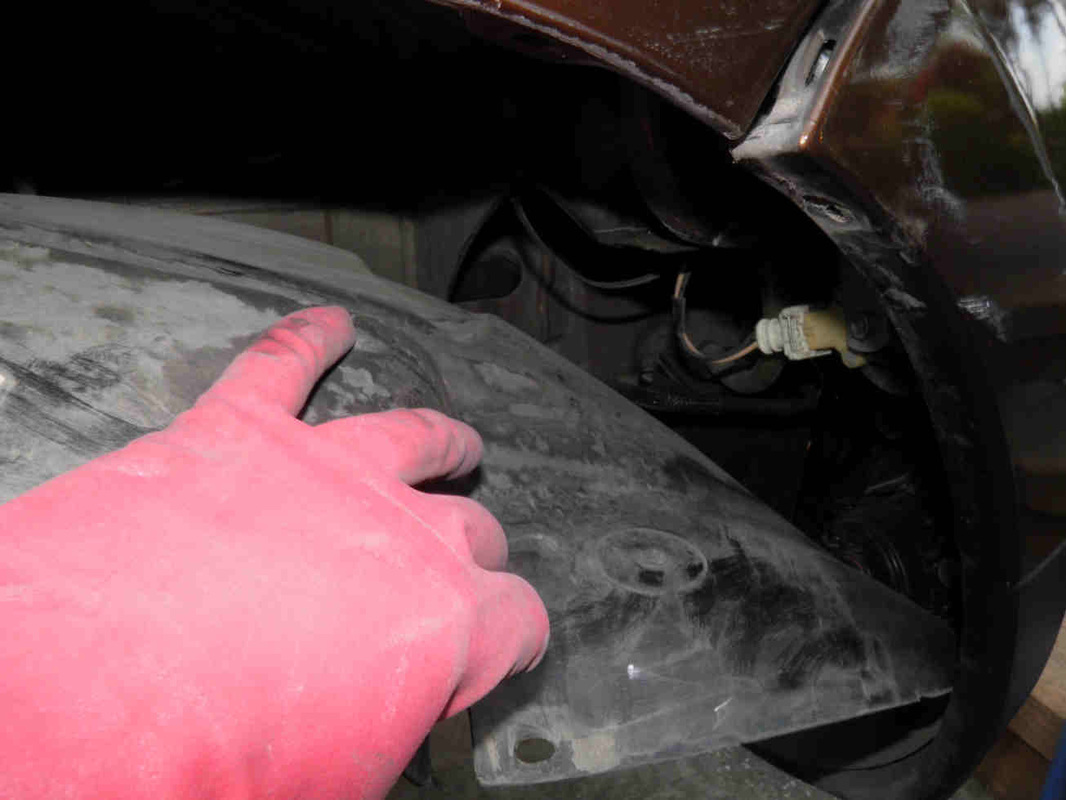
After all holding clips are removed, put your hand behind the mudguard on one side and pull it down while pushing it inside.
Pass your hand all along the fender to release the liner.
Incline it down from the front and take it out carefully.
In particular, make sure not to pull it out forcefully as it could be stuck in the brake hydraulic hose or ABS sensor wire.
Pass your hand all along the fender to release the liner.
Incline it down from the front and take it out carefully.
In particular, make sure not to pull it out forcefully as it could be stuck in the brake hydraulic hose or ABS sensor wire.

|
|
 |
 |
 |
 |
 |
 |
See also...
|
|
|