COPYRIGHT WARNING:
All pictures and texts in this web page are the property of nomaallim.com. Any use of any part of those contents without the written consent of nomaallim.com shall be subject to legal procedures as per international and local laws in the concerned country. Using the name "nomaallim" or "nomaallim com" or "nomaallim.com" in the text describing the unauthorized copied content shall not constitute an exception and shall be sanctioned in accordance to the effective laws and proceedings.
All pictures and texts in this web page are the property of nomaallim.com. Any use of any part of those contents without the written consent of nomaallim.com shall be subject to legal procedures as per international and local laws in the concerned country. Using the name "nomaallim" or "nomaallim com" or "nomaallim.com" in the text describing the unauthorized copied content shall not constitute an exception and shall be sanctioned in accordance to the effective laws and proceedings.
|
|
|
BEFORE YOU START
|
DISCLAIMER:
Our pictorials are of informative nature and do illustrate works carried out by ourselves at our own premises for our own use and satisfaction. Readers who envisage to carry out similar works inspired by the below method shall do this at their own risks and liability. |
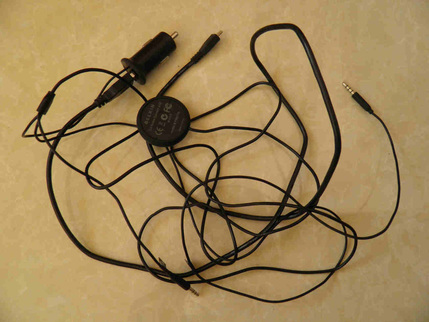
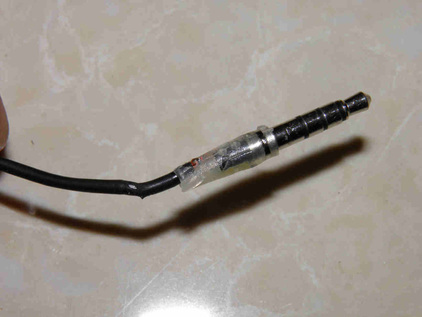
Context of a damaged audio connector (jack connector)
|
Factory mounted jack connectors on thin and flexible cables are fragile. It's not your fault if the cable gets damaged near the connector's end as it is really not compatible with daily use and our hands fingers. Fortunately, it is so easy to repair provided you learn how to handle the soldering iron.
|
|
|
|
|
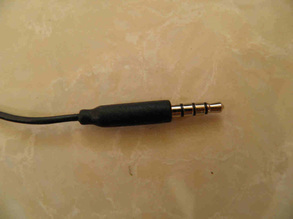
How to remove the defective audio - video jack connector
- It's always the one that you pull out and push in every day, in this case the one that connects to the mobile phone in this car hands-free audio kit.
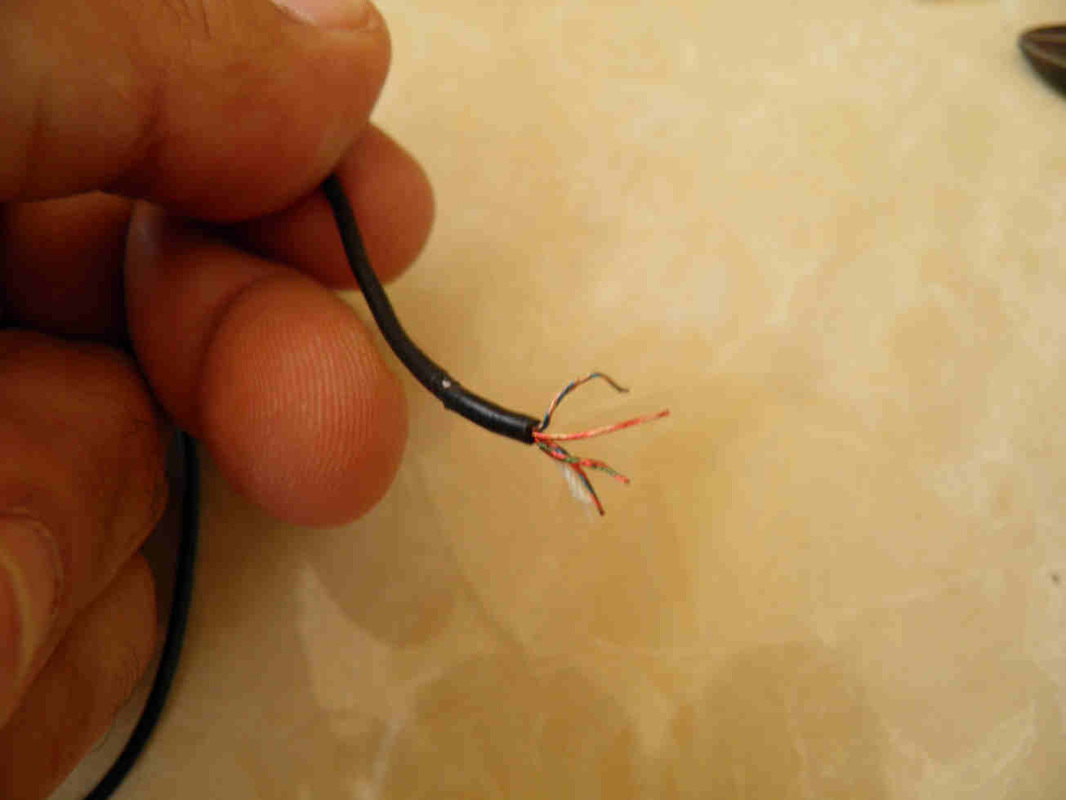
- Use small cutting pliers to peel the black insulation as shown.
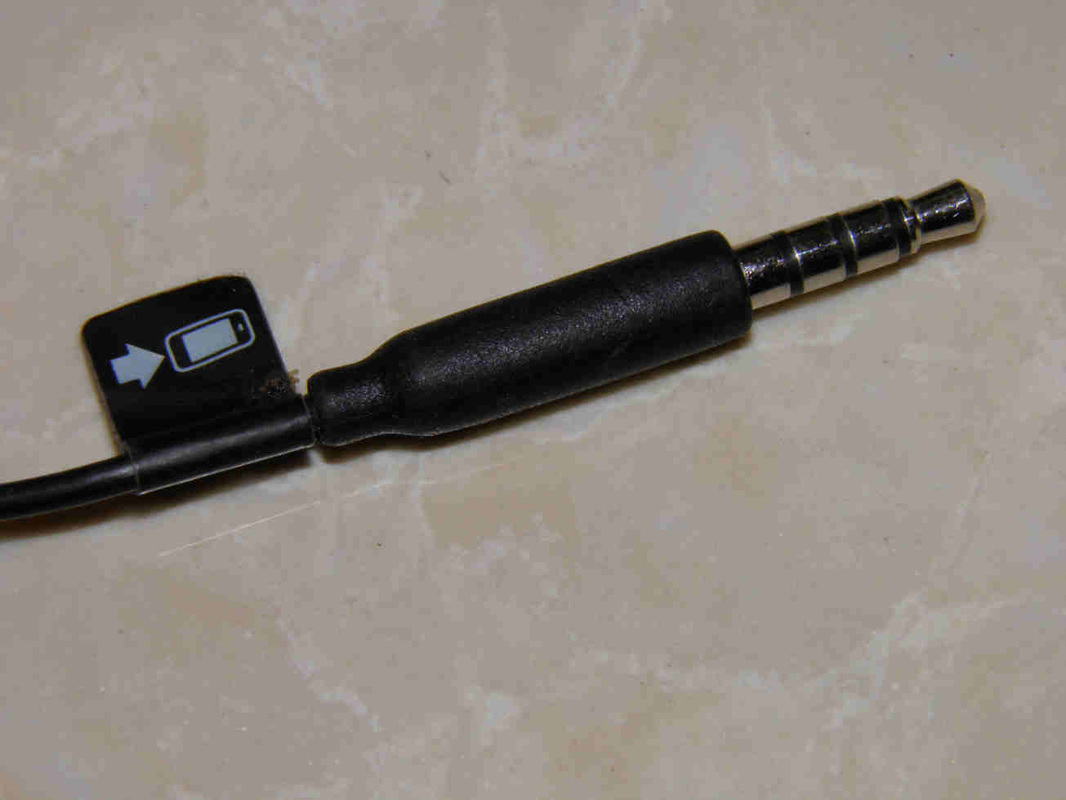

Observe well the bare jack connector; it shows the design flaw of almost all thin audio cables: the cable itself is so fragile that it breaks at the connector's end.
|
 |
 |
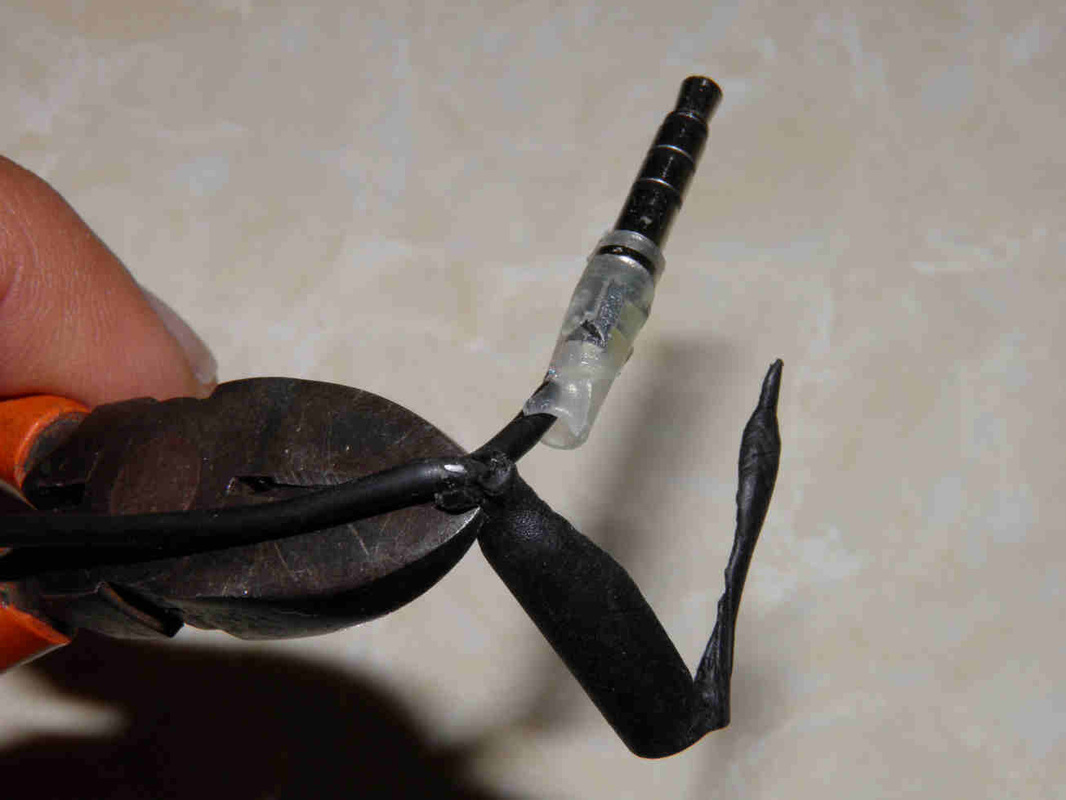
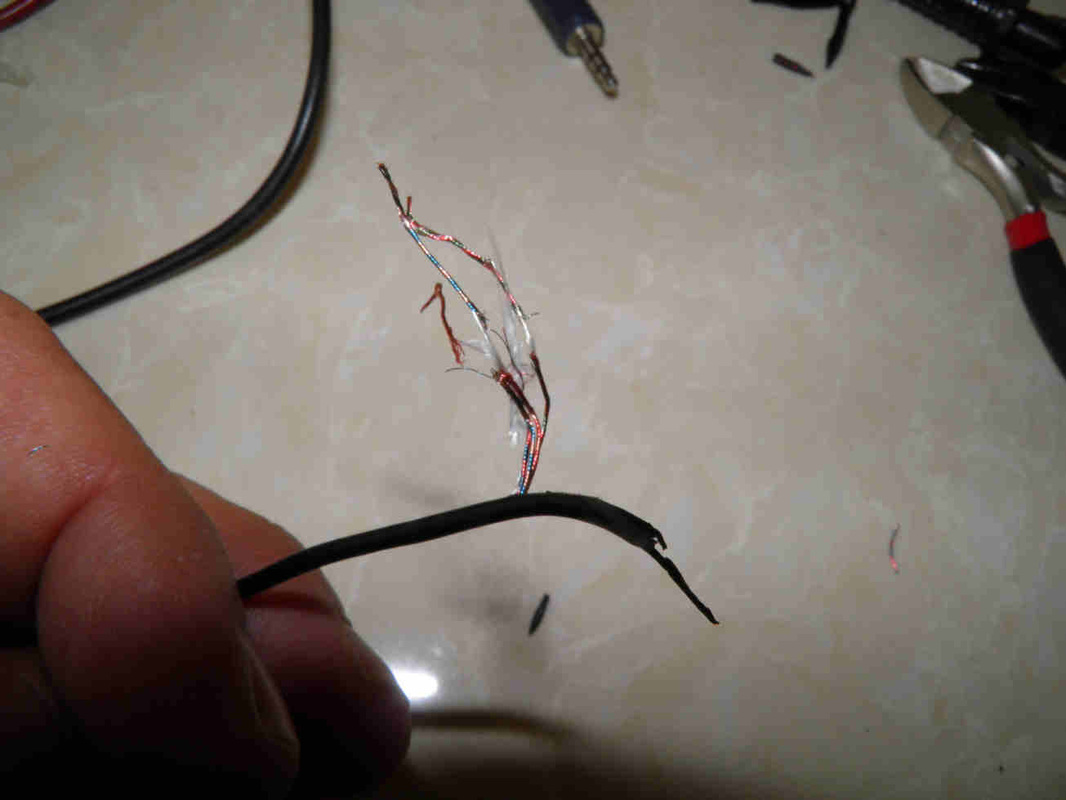
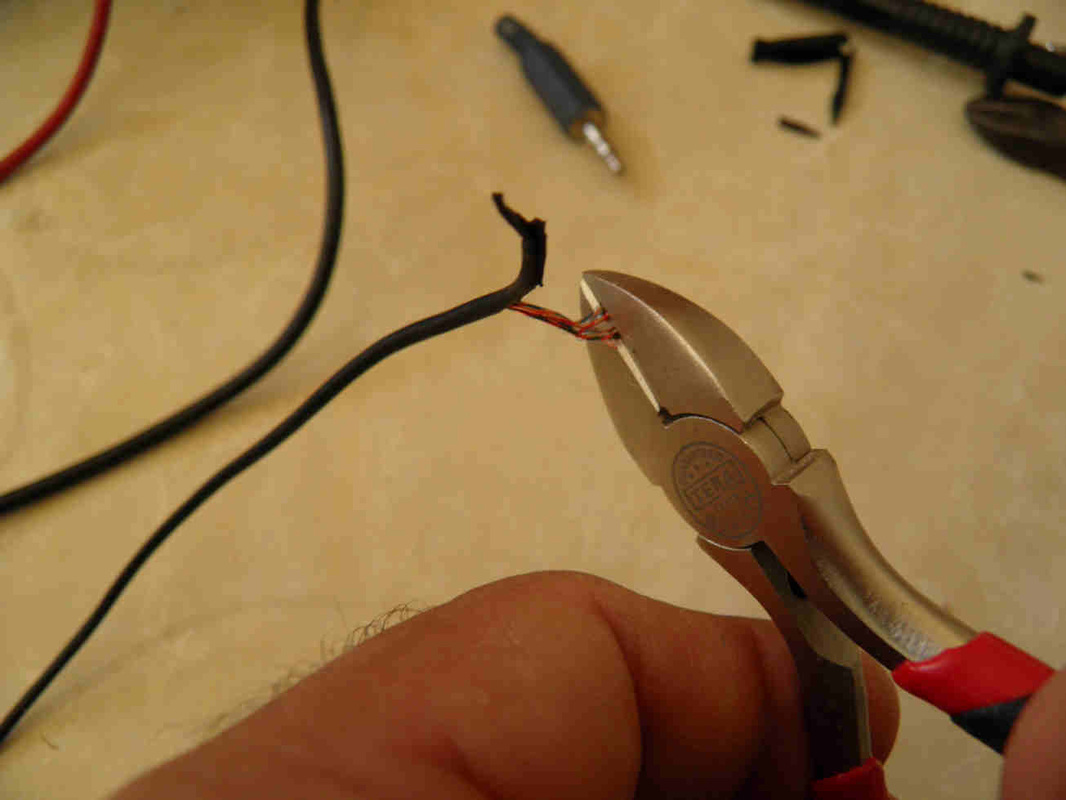
Preparing the audio or audio - video cable for repair
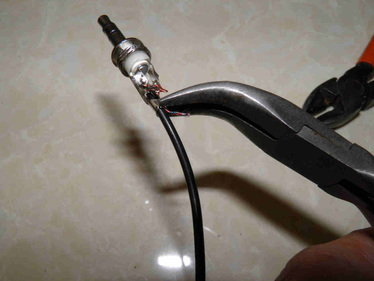
Cut the connector out and continue using your cutting pliers to strip the cable and reach the small conductors inside.
These are color coded as explained later; yet the most important is to get the rid of the broken part of the cable by cutting it upstream that point (right picture).
These are color coded as explained later; yet the most important is to get the rid of the broken part of the cable by cutting it upstream that point (right picture).
|
|
|
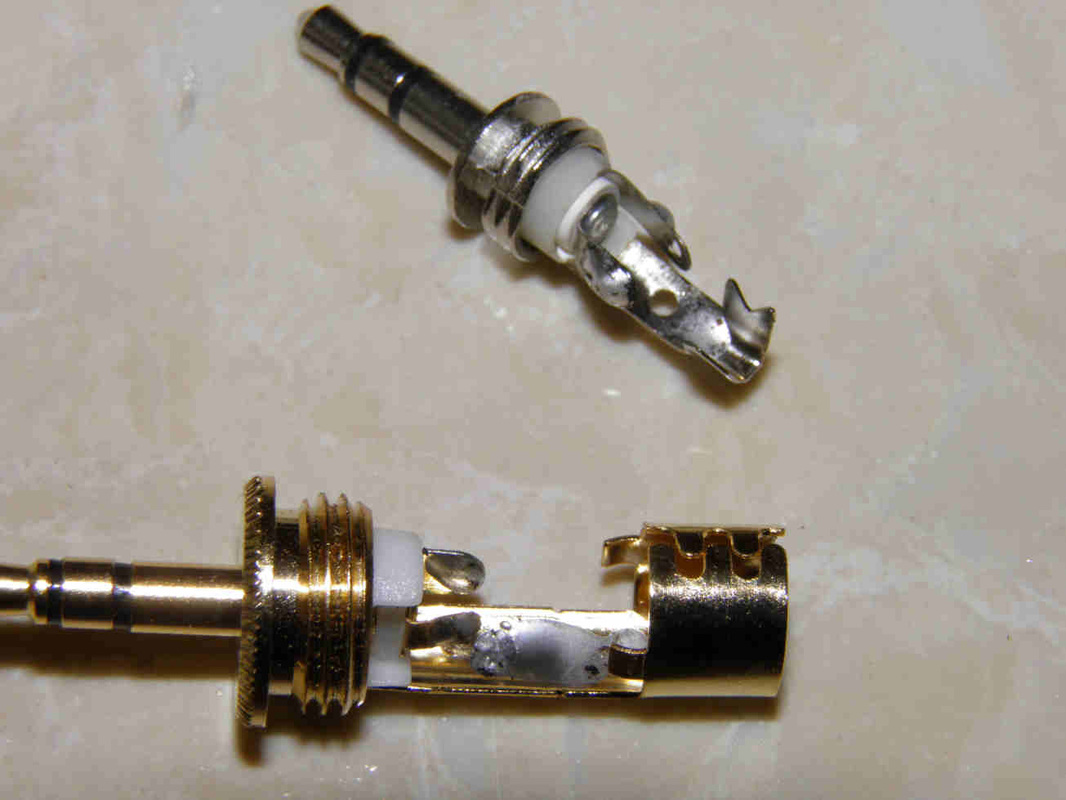
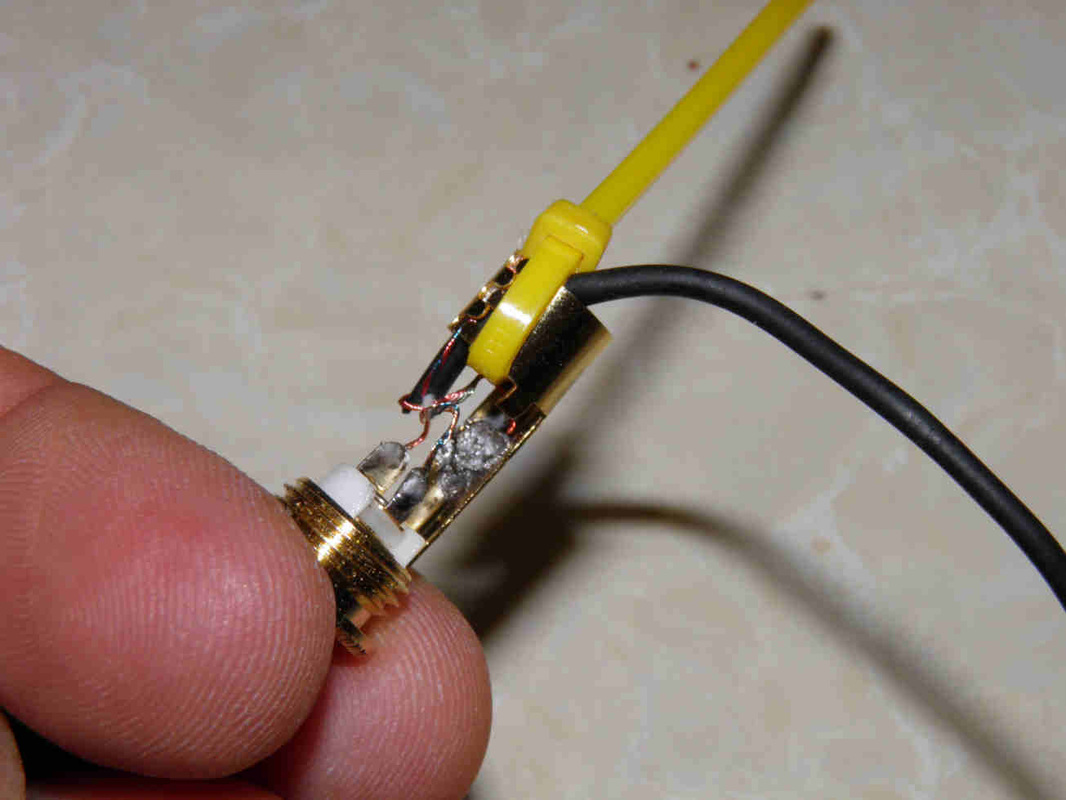
Audio video connector pin identification
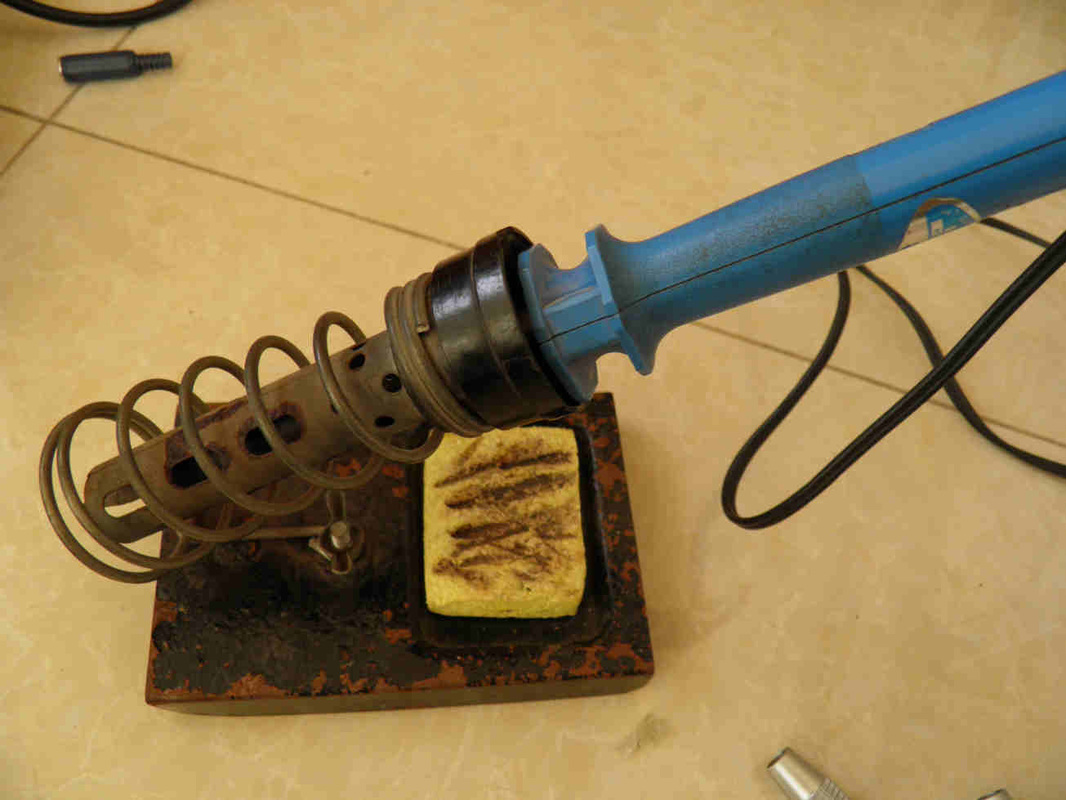
- Now start heating your iron.
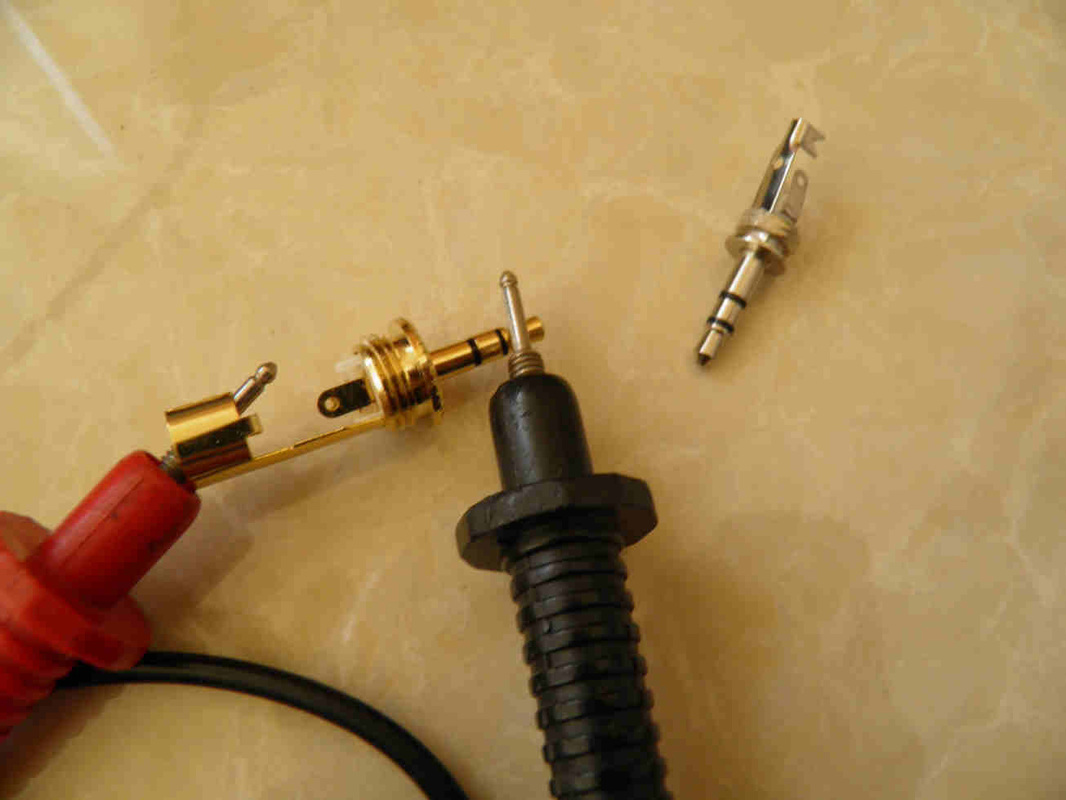
- Chose a new connector of the welded type. Some metal bulk ones are available for high quality audio cables, also smaller connectors with plastic cover are there. My choice is for the metallic type as it provides a better grip for the fingers which protects the cable itself.
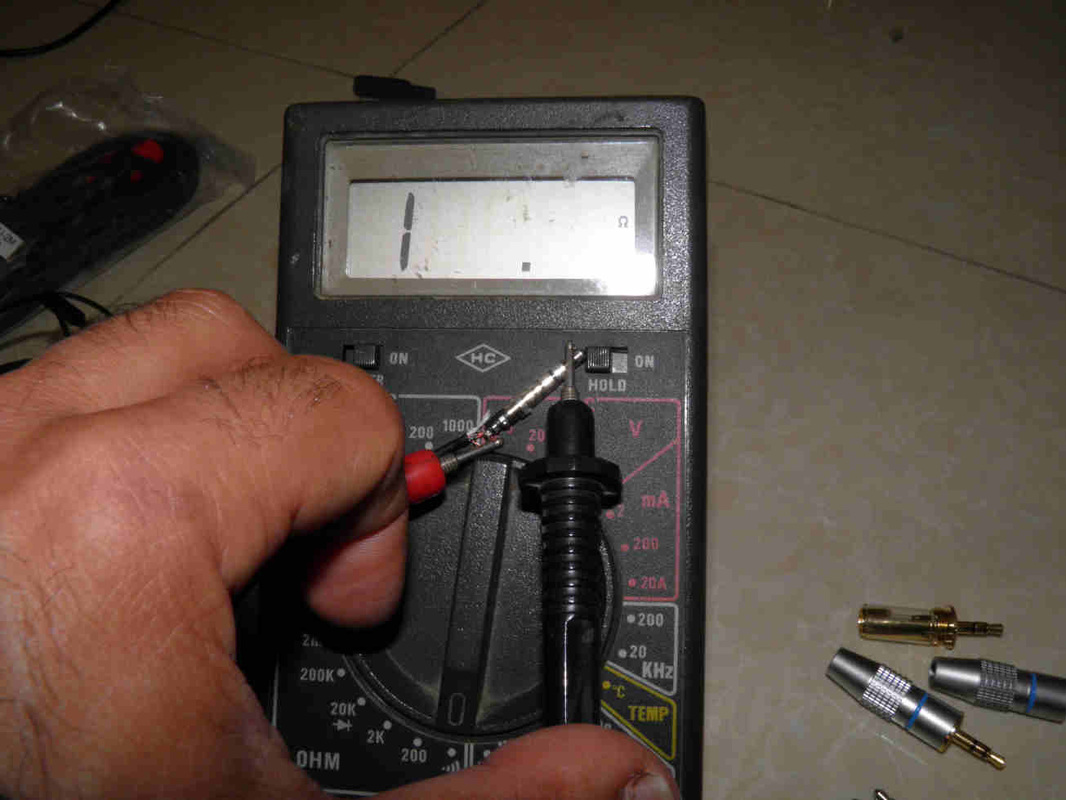
- Use an ohmmeter to identify the colored conductors i.e. to which connector pin each goes. Do not hesitate to write them down if you don't have a good visual memory.
- Note that for connecting car hands-free kits, 4-contact connector is to be used: one common, one Left Audio, one Right Audio and one for the microphone and controls.
- For simply connecting Audio to your vehicle, you may use a 3-contact connector as for the below repair: one common, one Left Audio and one Right Audio.

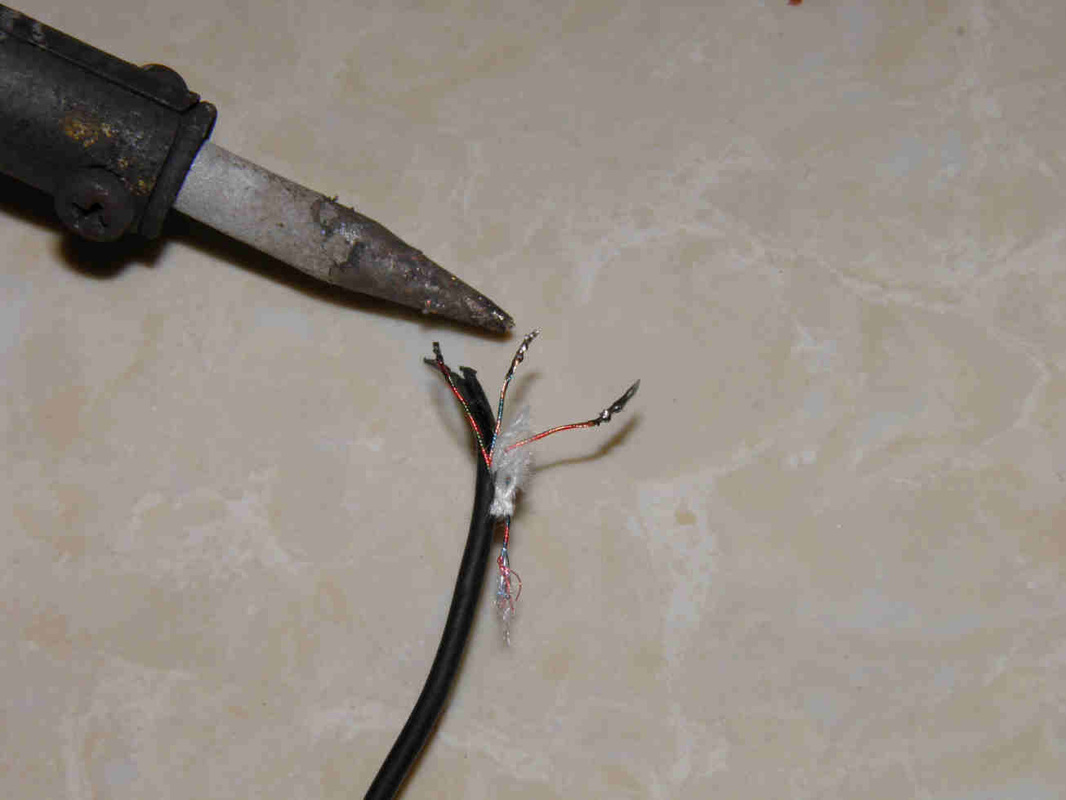
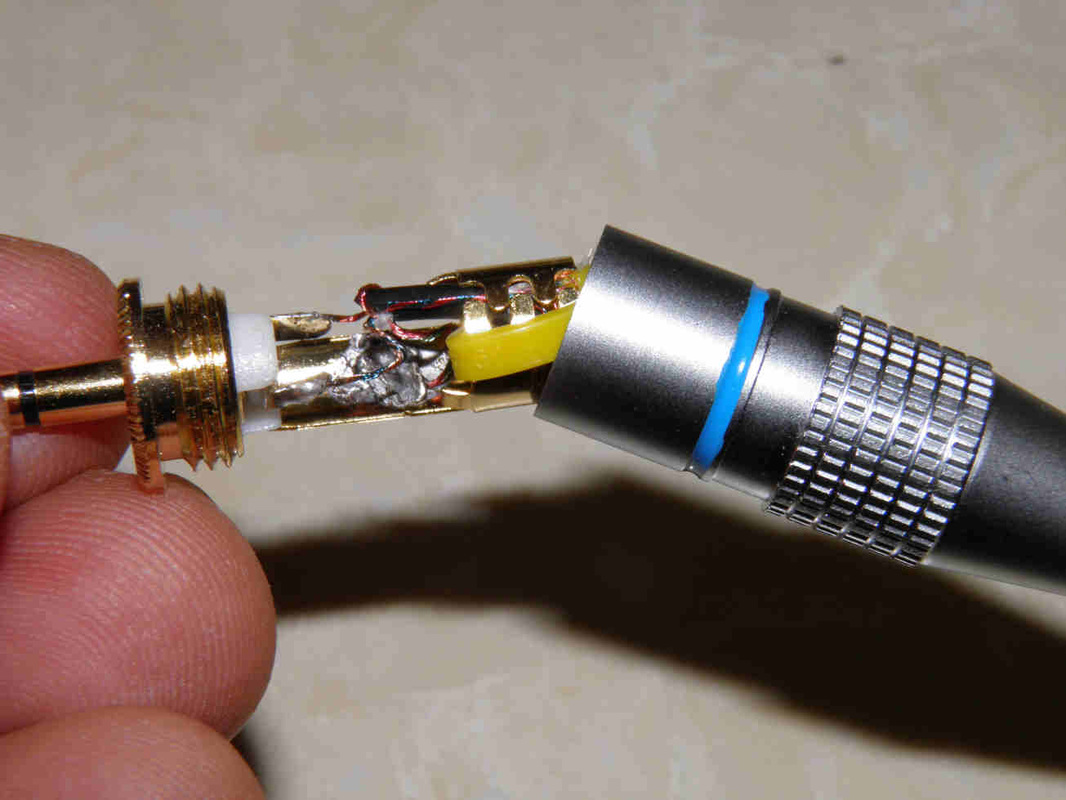
How to weld the audio connector (jack connector)
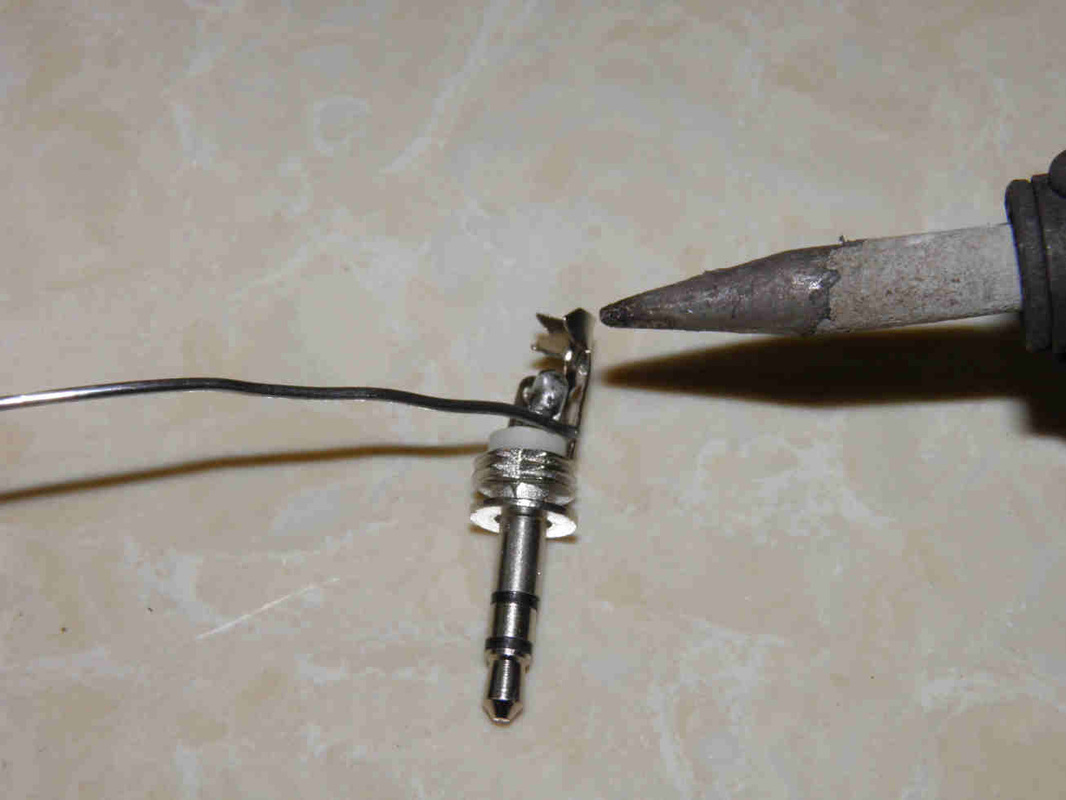
- Wait until the iron is hot i.e. starts melting solder.
- Heat well every welding end of the connector and apply a medium thickness coat of solder.
- Do the same to the conductors'ends.
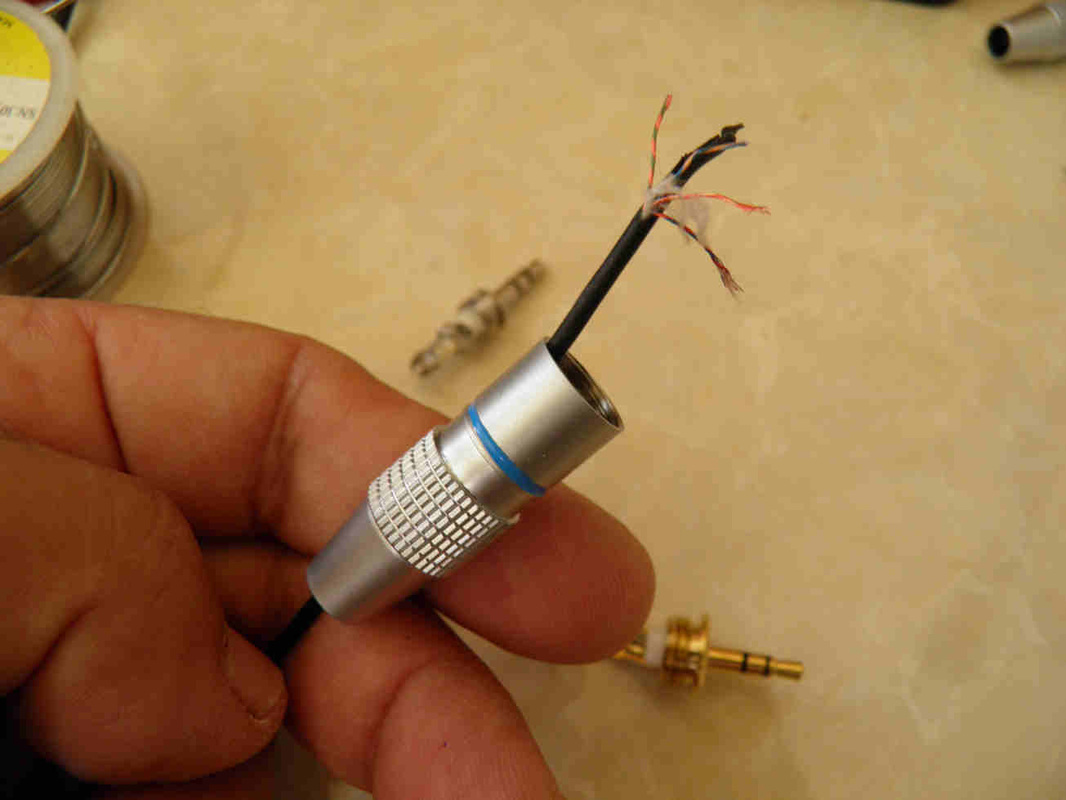
- Do not forget the introduce the back cover of the connector first.
- Bring the conductors close to the solder you had melted on the pins and weld them together.
- This is the most time consuming operation for inexperienced persons.
- See below our safety tip for soldering
- Now because the cable is so thin, use a cable tie to attach solidly the cable to the connector tail.
- Screw the cover over the connector.
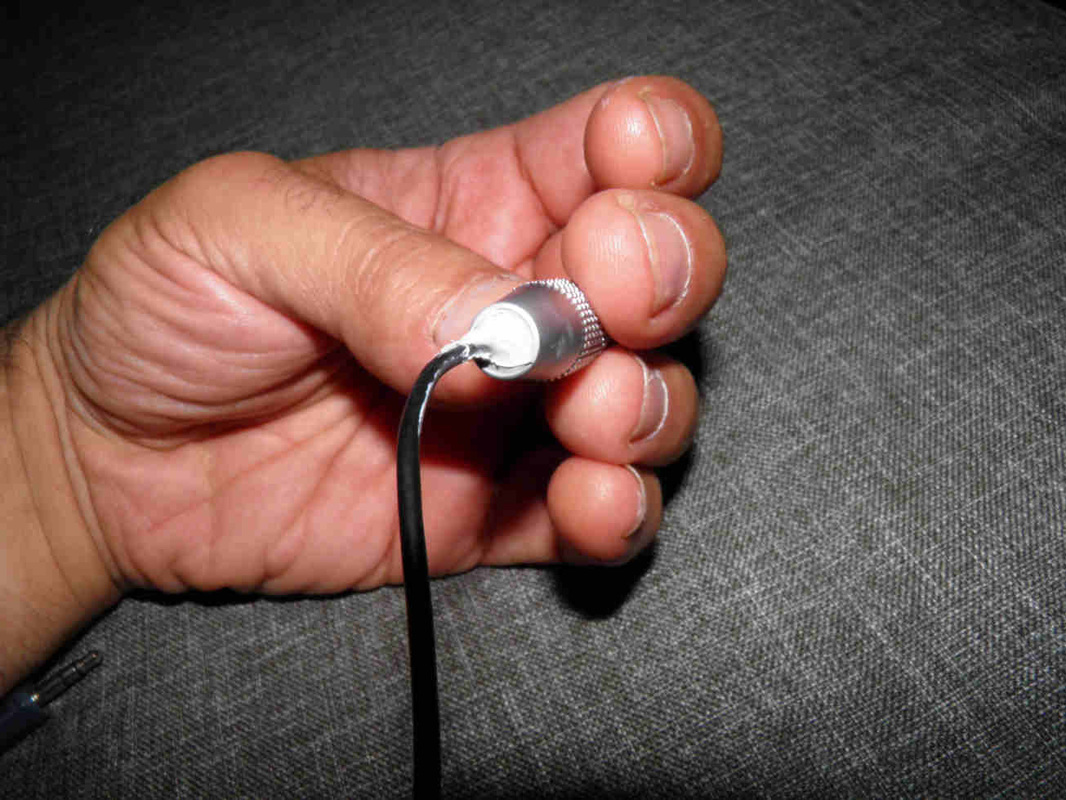
- Fill the gap between the connector and cable with silicone sealant of a matching color and wait 8 hours before using it for the compound to vulcanize and set.
- That's it, try it an enjoy the music.

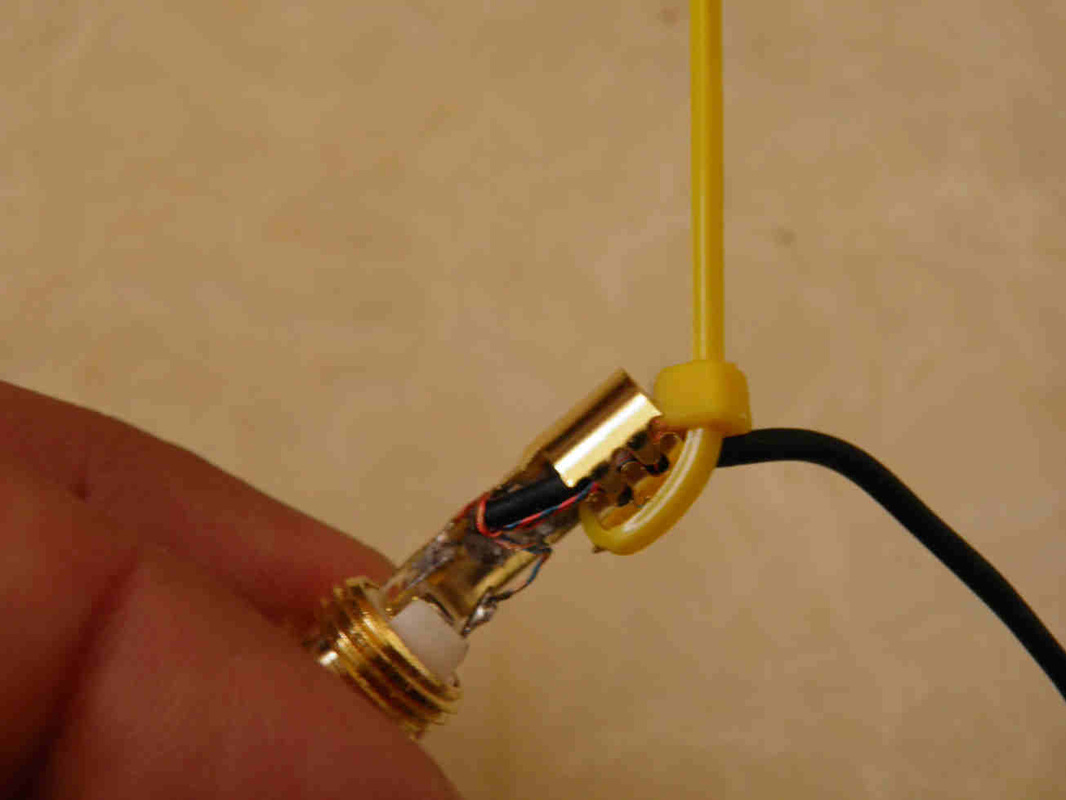
Note: if you use the smaller weldable jack connector, you just need to bend its tail over the cable prior to refitting the cover. No need to use any tie to attach both or silicone to fill the gap since the cover is already designed for cables of a lesser diameter.
|
 |
 |
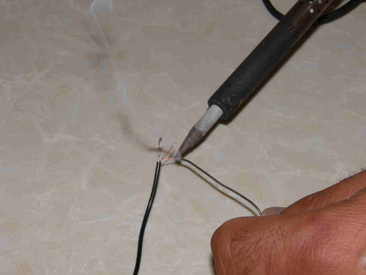
Safety tip for the use of a soldering iron
|
Do not inhale the fumes that are generated by the melted solder. These contain potentially harmful gases !
Work in a well ventilated area and keep your head away from the fumes. You're safe as long as you don't sense their specific smell. |
|
See also...
|
|
|