COPYRIGHT WARNING:
All pictures and texts in this web page are the property of nomaallim.com. Any use of any part of those contents without the written consent of nomaallim.com shall be subject to legal procedures as per international and local laws in the concerned country. Using the name "nomaallim" or "nomaallim com" or "nomaallim.com" in the text describing the unauthorized copied content shall not constitute an exception and shall be sanctioned in accordance to the effective laws and proceedings.
All pictures and texts in this web page are the property of nomaallim.com. Any use of any part of those contents without the written consent of nomaallim.com shall be subject to legal procedures as per international and local laws in the concerned country. Using the name "nomaallim" or "nomaallim com" or "nomaallim.com" in the text describing the unauthorized copied content shall not constitute an exception and shall be sanctioned in accordance to the effective laws and proceedings.
BEFORE YOU START
|
|
DISCLAIMER:
Our pictorials are of informative nature and do illustrate works carried out by ourselves at our own premises for our own use and satisfaction.
Readers who envisage to carry out similar works inspired by the below method shall do this at their own risks and liability.
Our pictorials are of informative nature and do illustrate works carried out by ourselves at our own premises for our own use and satisfaction.
Readers who envisage to carry out similar works inspired by the below method shall do this at their own risks and liability.
Brake fluid bleeding pictorial
|
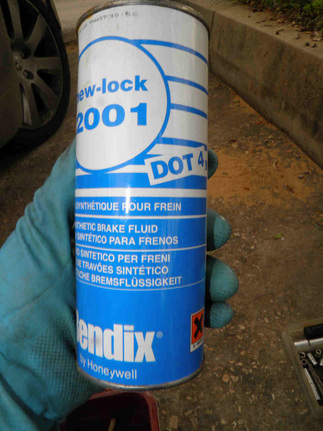
1- Check which brake fluid suits your vehicle. It's mentioned on the cap. DOT 4 fluids are required for all the recent vehicles. Use DOT 3 for older cars.

|
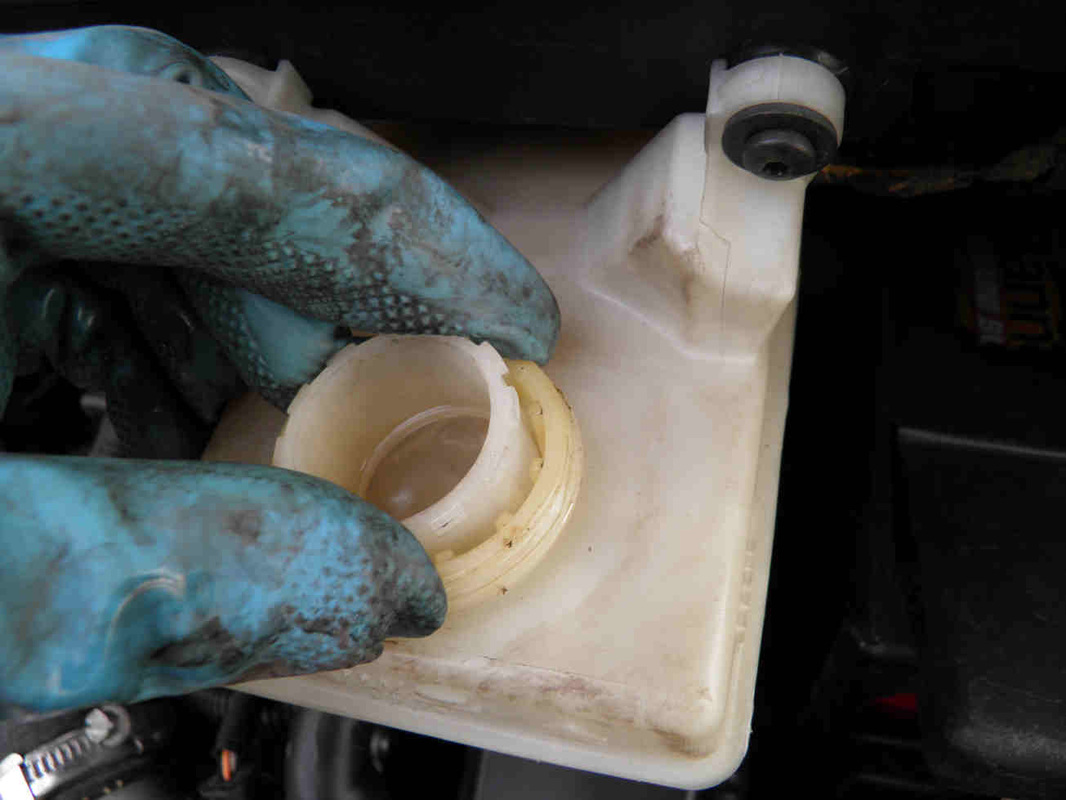
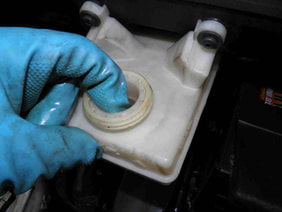
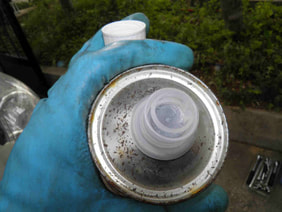
2- Remove the filter. Take care not to damage it if you use a tool. You may insert a small slotted screw driver between the filter edge and the tank's body.
|
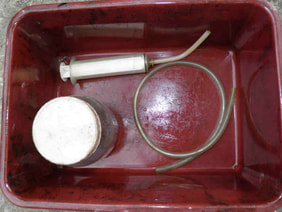
3- The main tools that are needed are a big syringe purchased at any pharmacy, a transparent tube and a transparent jar.
|
|
4- Fit a piece of transparent tube to the syringe and empty your brake fluid tank.
|
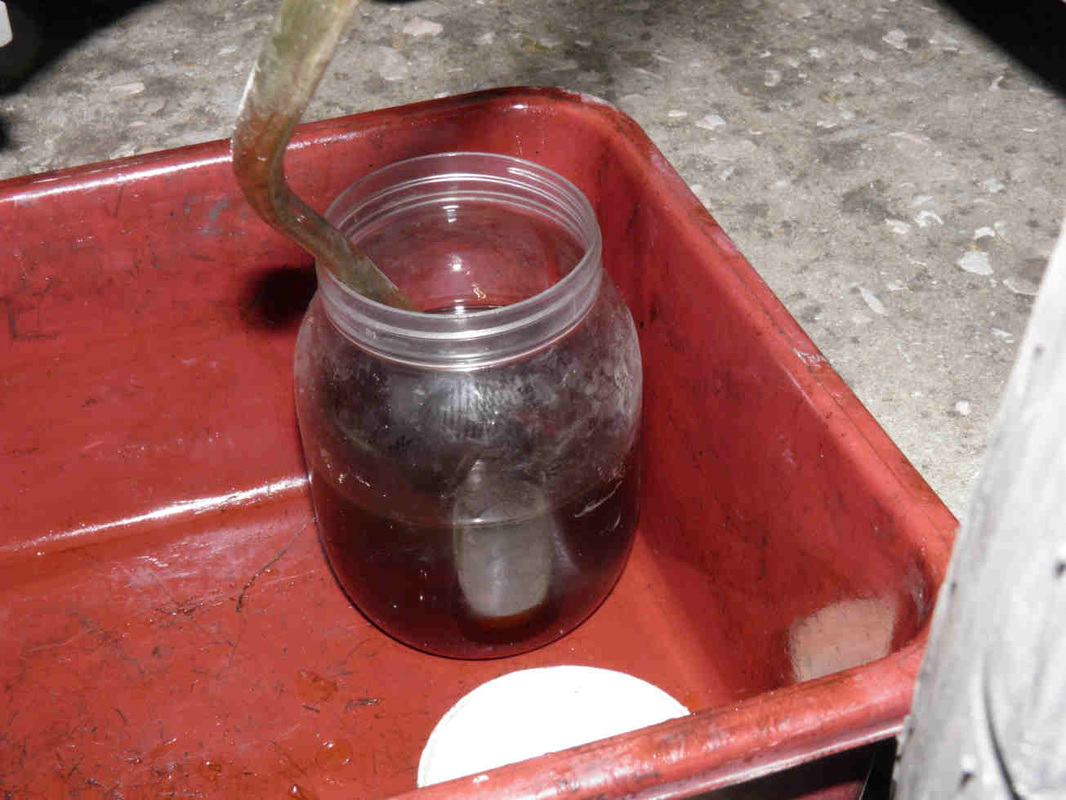
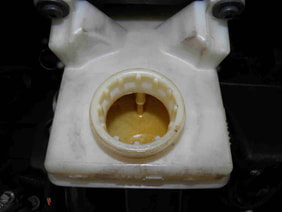
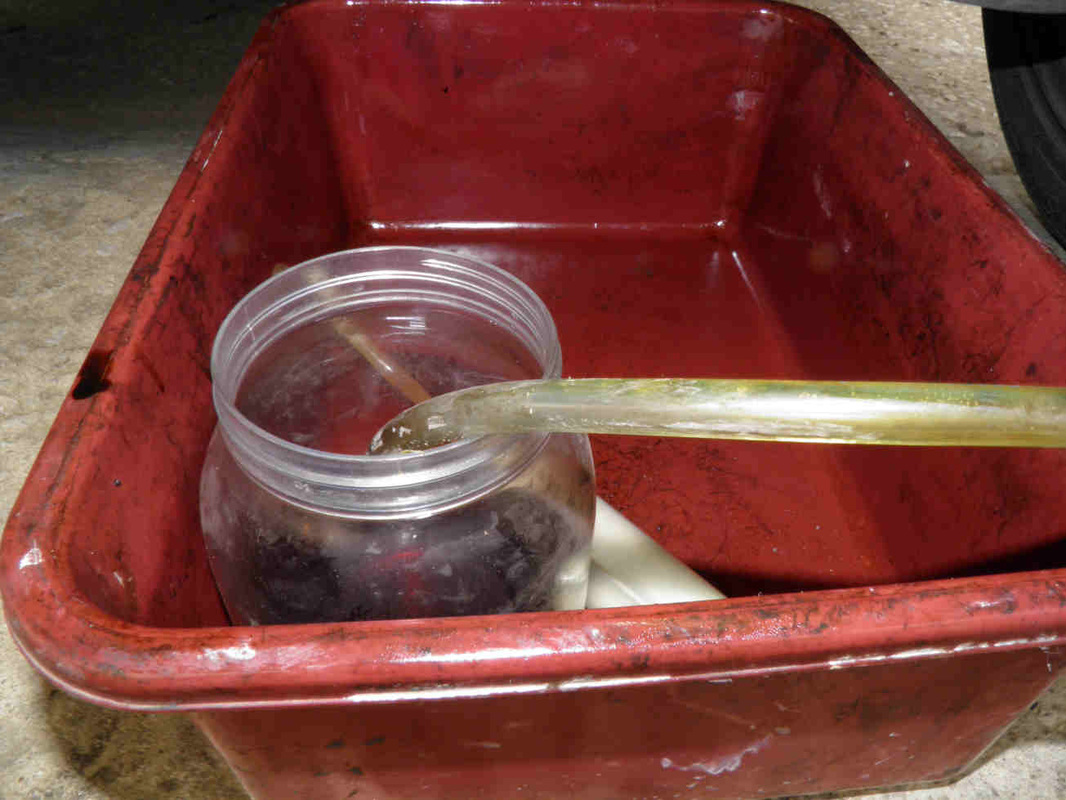
5- Put the liquid in the jar. Note how it is brownish.

|
6- Make sure to empty completely the brake fluid tank.
|
|
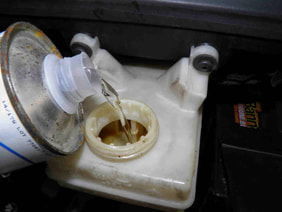
7- Always use a sealed fluid container to top up the brake fluid. Discard any open container you find.
|
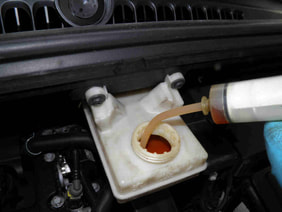
8- Refill the tank to beyond the "max" mark and keep it open. Note how the new liquid is transparent.
|
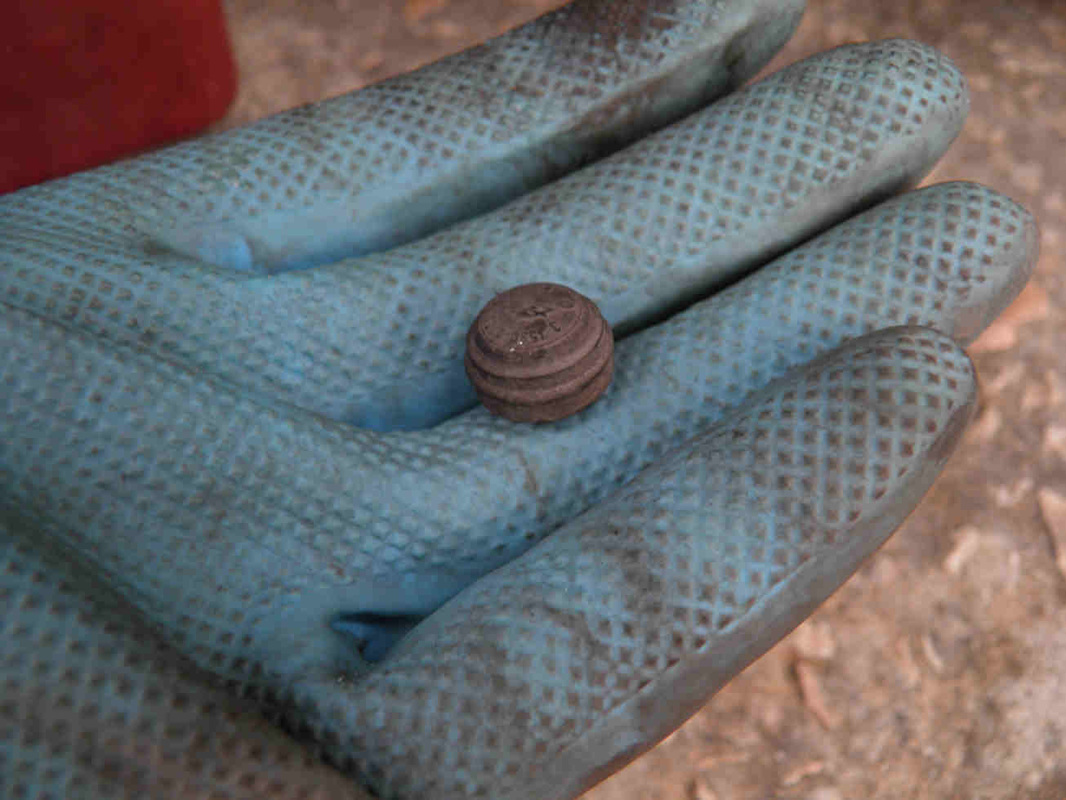
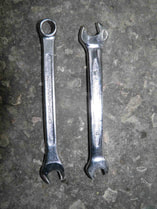
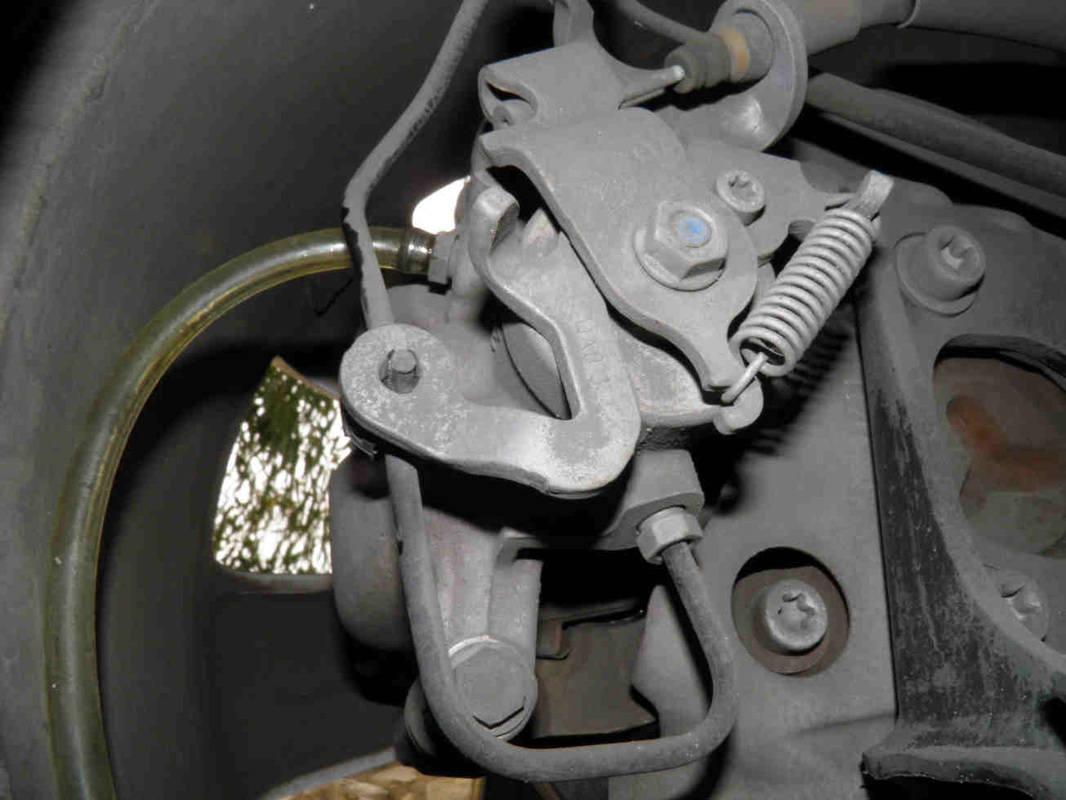
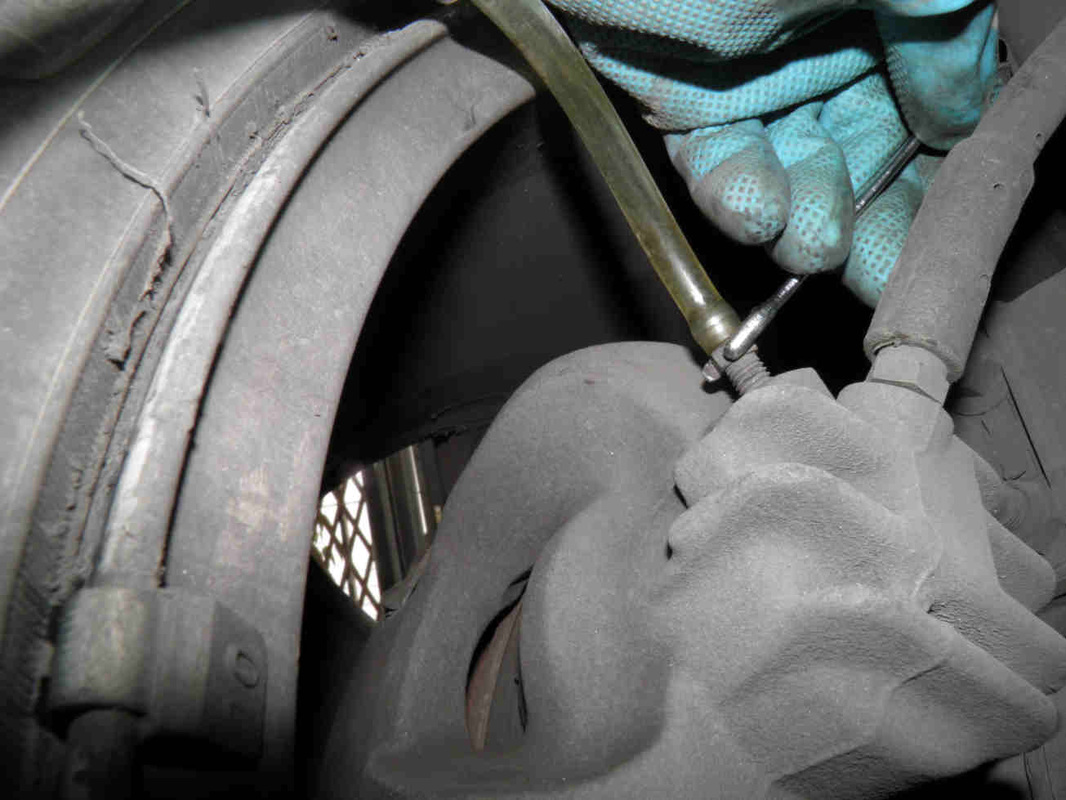
9- Prepare spanners of sizes 8,9,10, or 11. Most brake bleeding screws will be 8. it is not necessarily the same size on all four wheels.
|
|
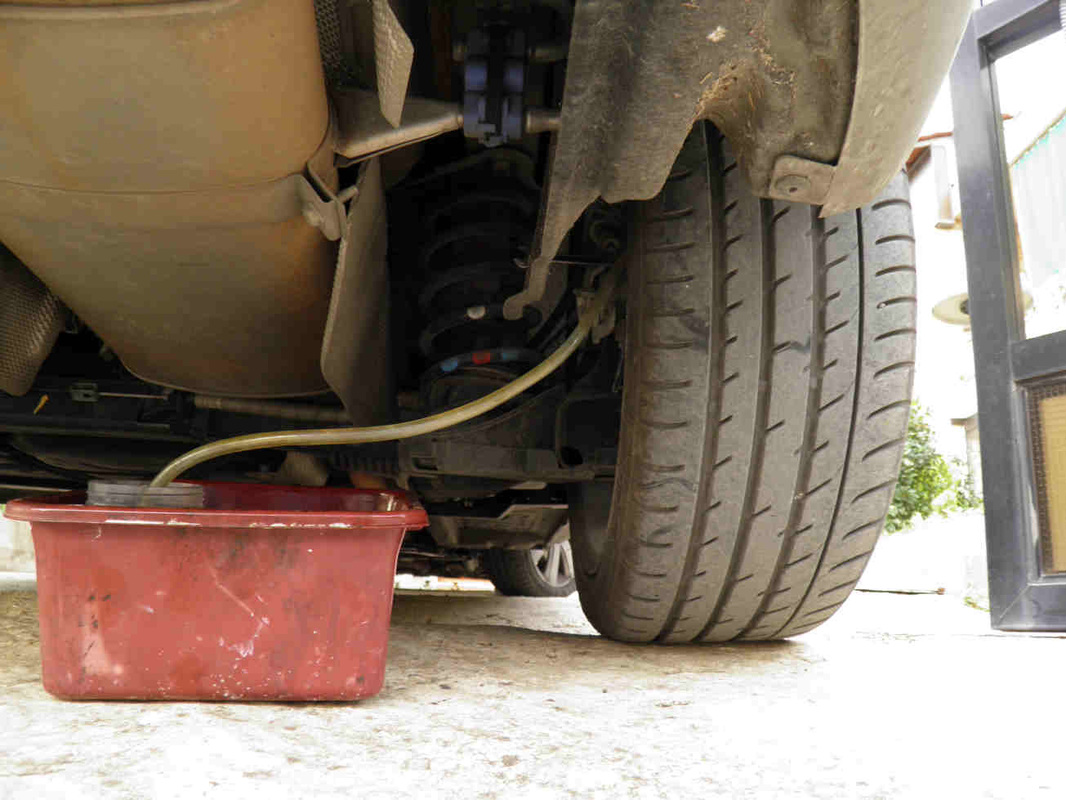
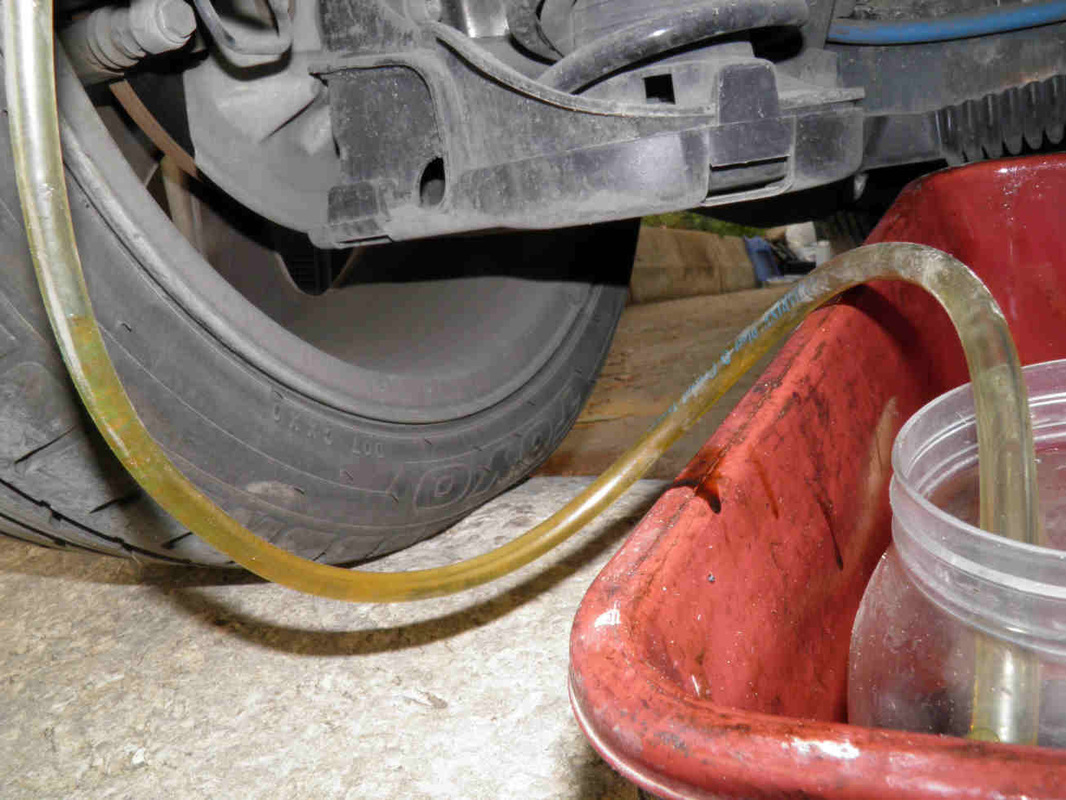
Prepare the first brake by inserting the transparent tube into the bleeding screw (right picture) and laying it down the jar.
Follow the below order for the bleeding: 1- Rear Right brake 2- Rear Left brake 3- Front Right brake 4- Front Left brake |
|
|
Now the second operator is required and should sit inside the vehicle and open the windows to hear you.
|
|

You may also buy brake fluid bleeding kits here, some are pneumatic and require compressed air:
 |
 |
 |
 |
 |
 |
|
Final checklist:
|
|