COPYRIGHT WARNING:
All pictures and texts in this web page are the property of nomaallim.com. Any use of any part of those contents without the written consent of nomaallim.com shall be subject to legal procedures as per international and local laws in the concerned country. Using the name "nomaallim" or "nomaallim com" or "nomaallim.com" in the text describing the unauthorized copied content shall not constitute an exception and shall be sanctioned in accordance to the effective laws and proceedings.
All pictures and texts in this web page are the property of nomaallim.com. Any use of any part of those contents without the written consent of nomaallim.com shall be subject to legal procedures as per international and local laws in the concerned country. Using the name "nomaallim" or "nomaallim com" or "nomaallim.com" in the text describing the unauthorized copied content shall not constitute an exception and shall be sanctioned in accordance to the effective laws and proceedings.
|
BEFORE YOU START
|
DISCLAIMER:
Our pictorials are of informative nature and do illustrate works carried out by ourselves at our own premises for our own use and satisfaction. Readers who envisage to carry out similar works inspired by the below method shall do this at their own risks and liability. |
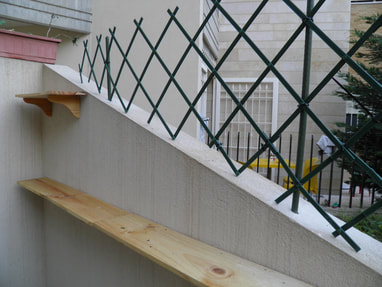
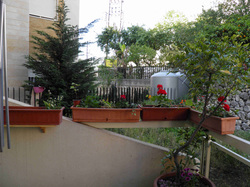
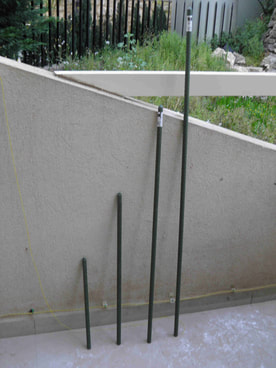
The material needed for this plant support trellis separation
|
|
|
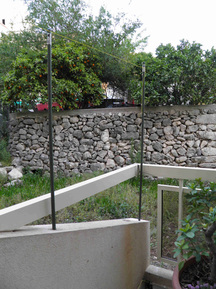
Fixing the supporting poles of the trellis
|
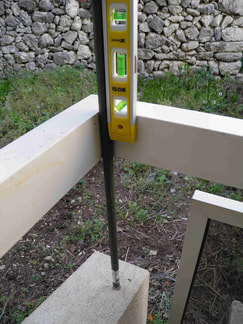
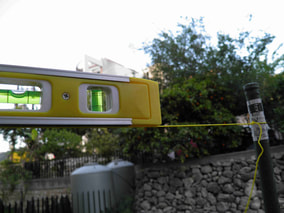
4- Temporarily fix with tape one of the side poles and make sure it is vertical.
|
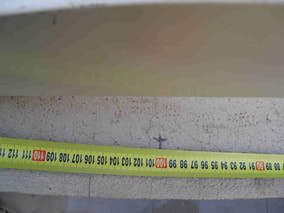
5- Measure and mark the holes to be drilled every meter (max) or after dividing the total length by the
[number of poles—1] |
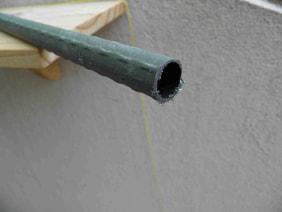
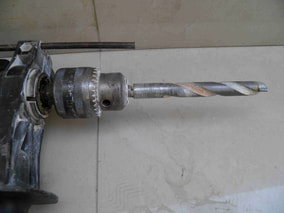
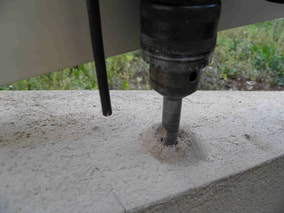
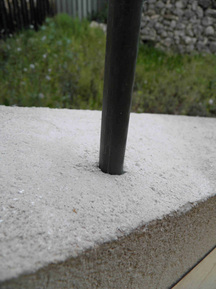
6- Have your drill fitted with a concrete bit of same diameter than the rod minus 1 mm e.g. 16 mm if the pole is 17 mm, etc.
|
|
|
|
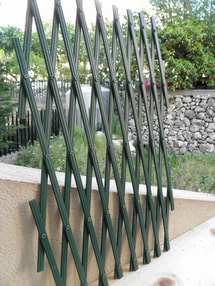
Cutting and attaching the trellis to the poles
|
|
|

