COPYRIGHT WARNING:
All pictures and texts in this web page are the property of nomaallim.com. Any use of any part of those contents without the written consent of nomaallim.com shall be subject to legal procedures as per international and local laws in the concerned country. Using the name "nomaallim" or "nomaallim com" or "nomaallim.com" in the text describing the unauthorized copied content shall not constitute an exception and shall be sanctioned in accordance to the effective laws and proceedings.
All pictures and texts in this web page are the property of nomaallim.com. Any use of any part of those contents without the written consent of nomaallim.com shall be subject to legal procedures as per international and local laws in the concerned country. Using the name "nomaallim" or "nomaallim com" or "nomaallim.com" in the text describing the unauthorized copied content shall not constitute an exception and shall be sanctioned in accordance to the effective laws and proceedings.
DISCLAIMER:
Our pictorials are of informative nature and do illustrate works carried out by ourselves at our own premises for our own use and satisfaction.
Readers who envisage to carry out similar works inspired by the below method shall do this at their own risks and liability.
Our pictorials are of informative nature and do illustrate works carried out by ourselves at our own premises for our own use and satisfaction.
Readers who envisage to carry out similar works inspired by the below method shall do this at their own risks and liability.
Backyard workshop building with wood boxes and leftovers - Context
No place or space could anymore hold my toolboxes, garden tools, garden materials, diy accessories, building materials, leftovers, dismantled items, etc. I was lacking benches and working surfaces while my backyard was getting more and more crowded.
The above mentioned items were exposed to weathering and getting little by little damaged by the UV rays, the rain, etc.
The idea was then to build a workshop with the following criteria:
The above mentioned items were exposed to weathering and getting little by little damaged by the UV rays, the rain, etc.
The idea was then to build a workshop with the following criteria:
- Using as much as possible leftovers from earlier construction works: roof tiles, cable trays, galvanized steel sheets, etc.
- Re-using; this was in particular true for the wood panels which were taken from packing wood boxes.
- Keeping the purchases to the strict minimum, in this case roof panels, plastic shelves and an aluminum door.
- Spending as little time as available! No need to go through excess finishing efforts since I am not retired yet and had to stick to part of the weekends to complete the job.
AFTER
|
|
The backyard simply became a micro scrap yard.
An old cabana had aged enough and became too small for the available goods to put in it.
A vine frame was earlier built in this area but the earth is too shallow and dry for any vine to live and climb on the chassis.
It was urgent to intervene and do something about this available but unorganized space.
BEFORE
|
|
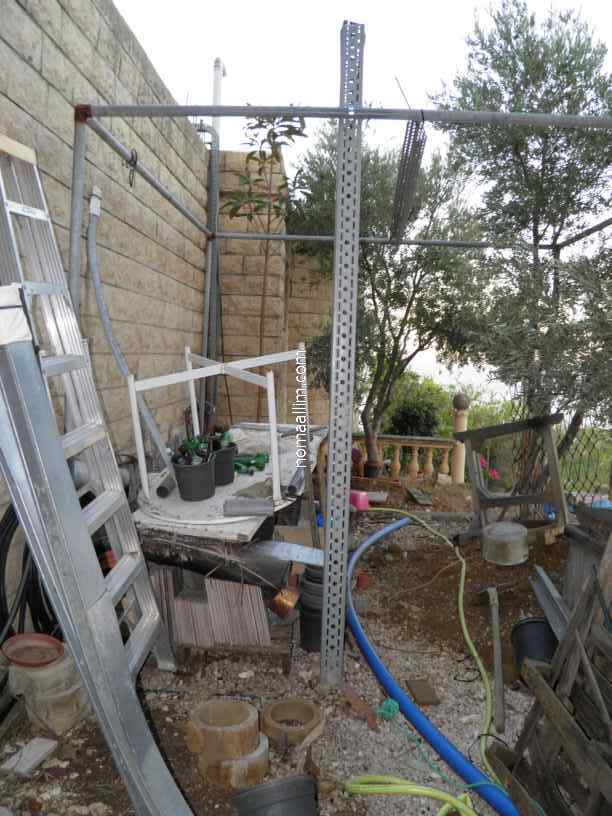
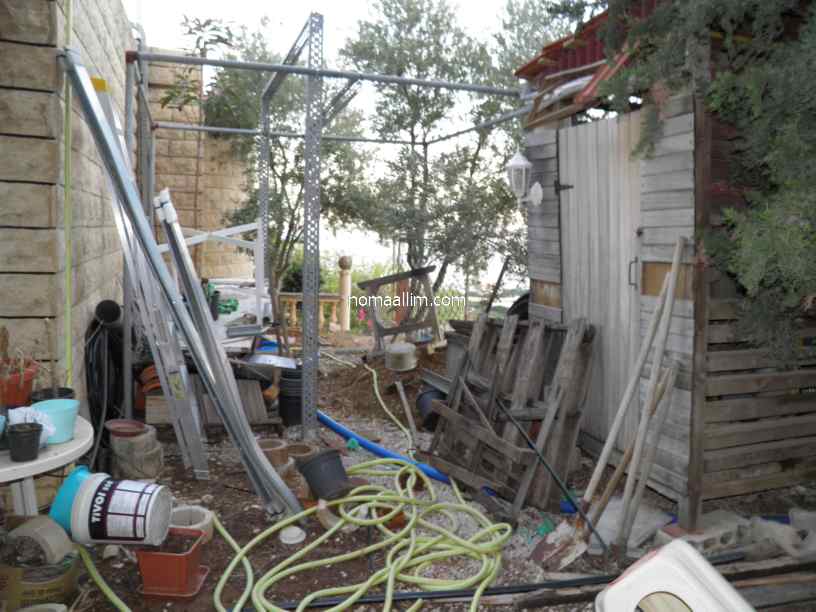
Backyard workshop frame works
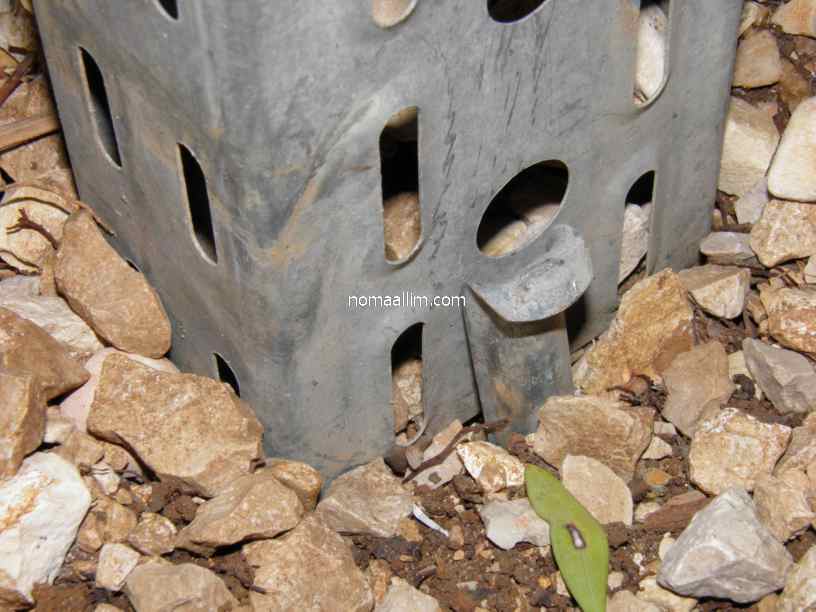
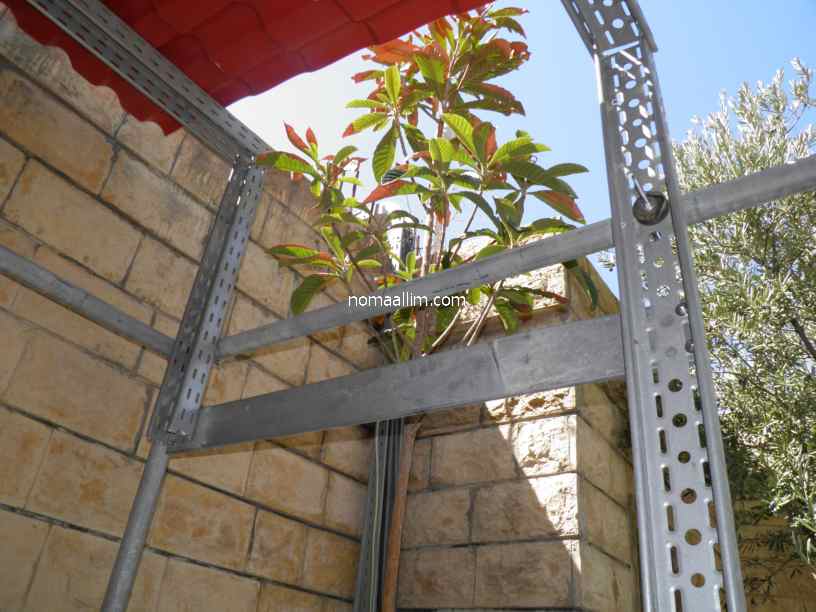
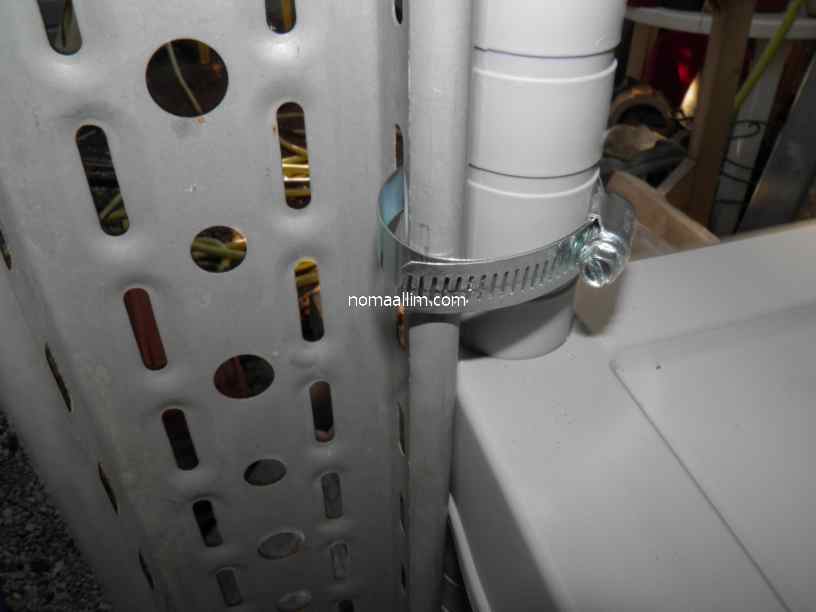
I decided to use leftovers from an electrical installation and use the cable trays to complete the vine frame.
This provided the necessary beam for fixing the roof.
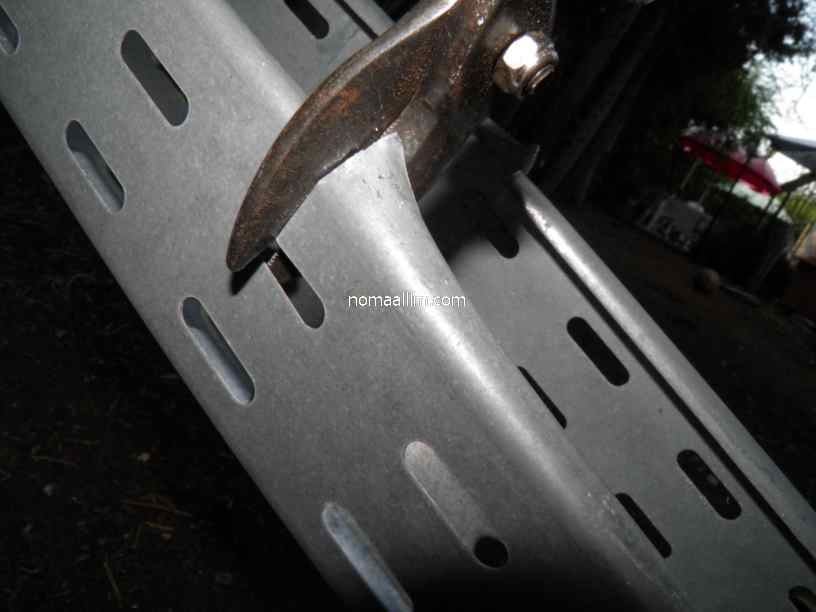
The trays are simply embedded in the floor by a few centimeters and fixed with a camping tent piles and fixed to the vine chassis with pipe clamps.
This provided the necessary beam for fixing the roof.
The trays are simply embedded in the floor by a few centimeters and fixed with a camping tent piles and fixed to the vine chassis with pipe clamps.

|
|
|
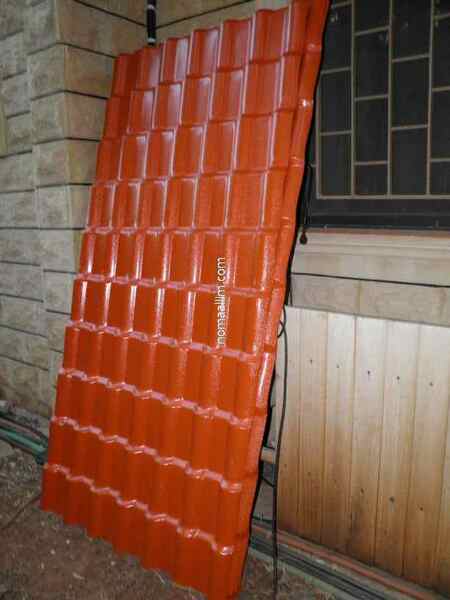
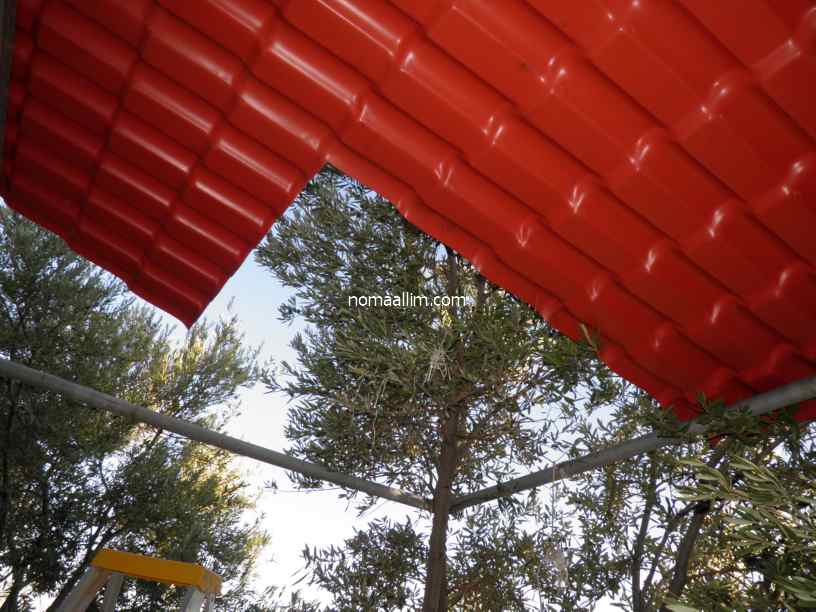
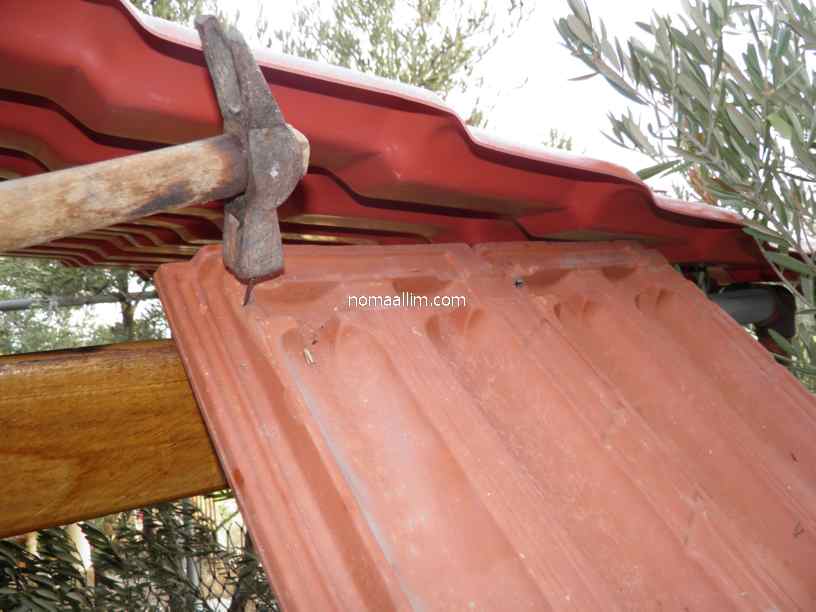
Backyard workshop (cabana) roof installation
I decided to use resin panels that imitate roof tiles.
They are light and easy to transport and durable enough for the purpose of the workshop.
They are light and easy to transport and durable enough for the purpose of the workshop.
|
|
|
|
The resin roof panels have been fitted to the available space.
One panel in particular was skipped due to the existing olive tree.
One panel in particular was skipped due to the existing olive tree.

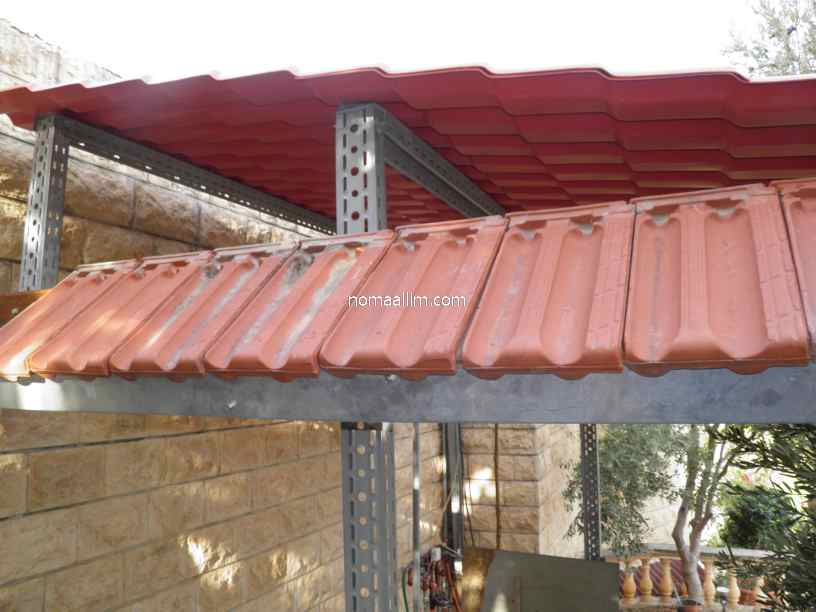
A galvanized steel plate has been fitted to the workshop frame as a piece of wall.
This is to get the rid of it, instead of throwing it away.
This is to get the rid of it, instead of throwing it away.


I also installed leftover tiles underneath the resin roof.

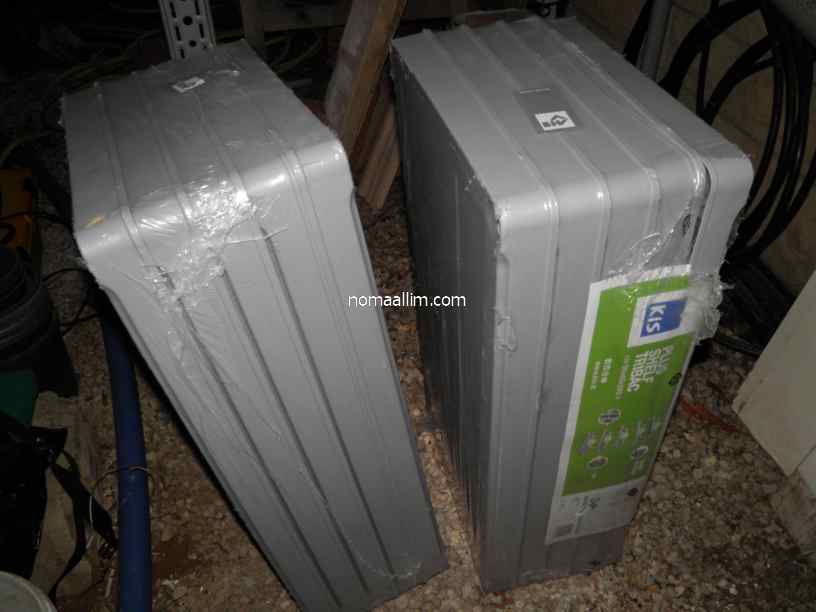
Heavy duty plastic shelves installation
I decided to take benefit of the roof to start using the place for storage until I find and get the wood panels.
I bought heavy duty plastic shelves rated 75 Kg / shelf, 300 Kg / set.
The shelves were attached to the steel frame using clamps as shown.
I bought heavy duty plastic shelves rated 75 Kg / shelf, 300 Kg / set.
The shelves were attached to the steel frame using clamps as shown.
|
|
|
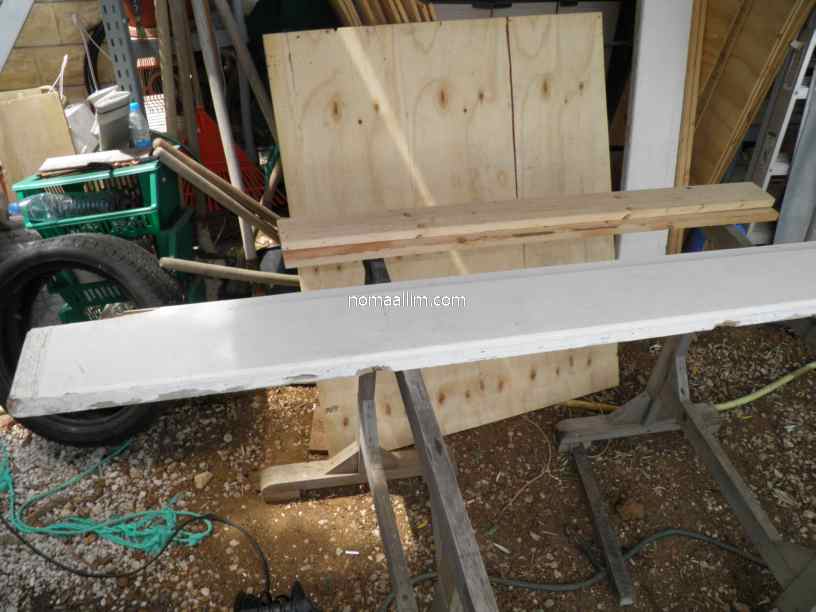
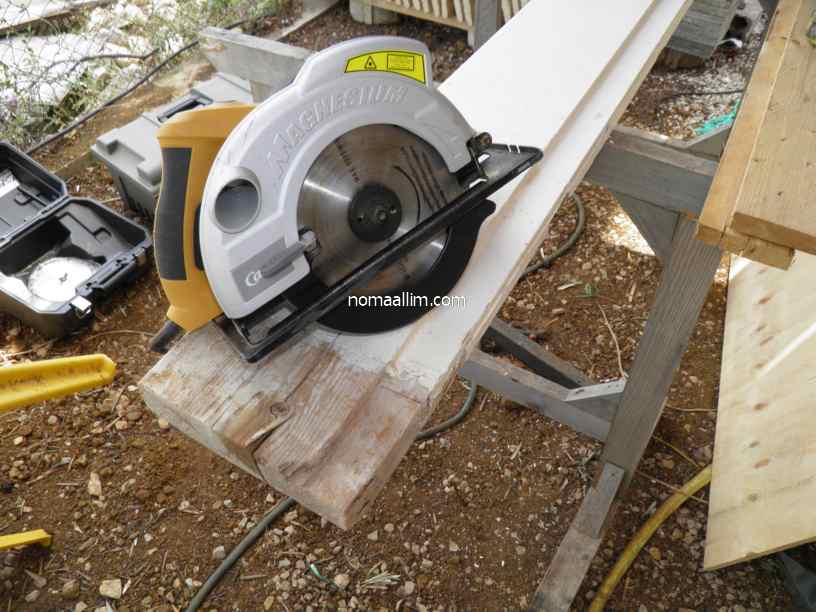
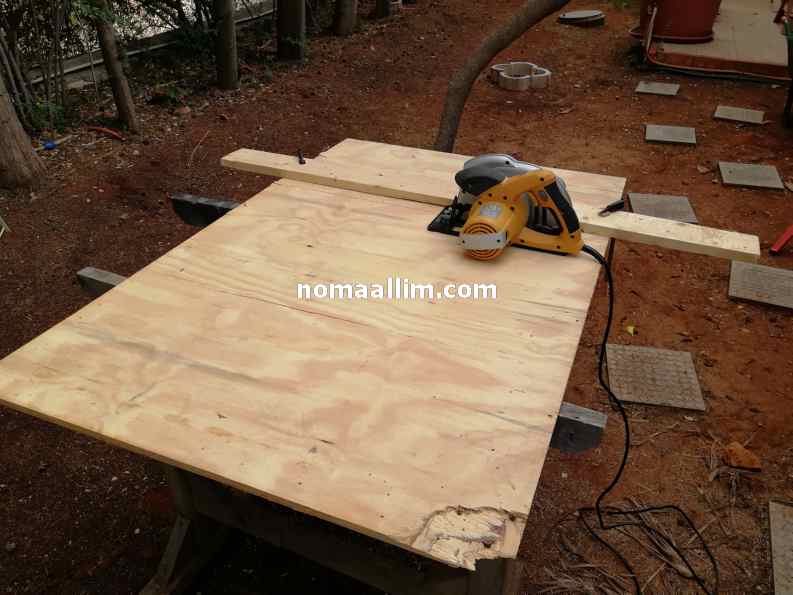
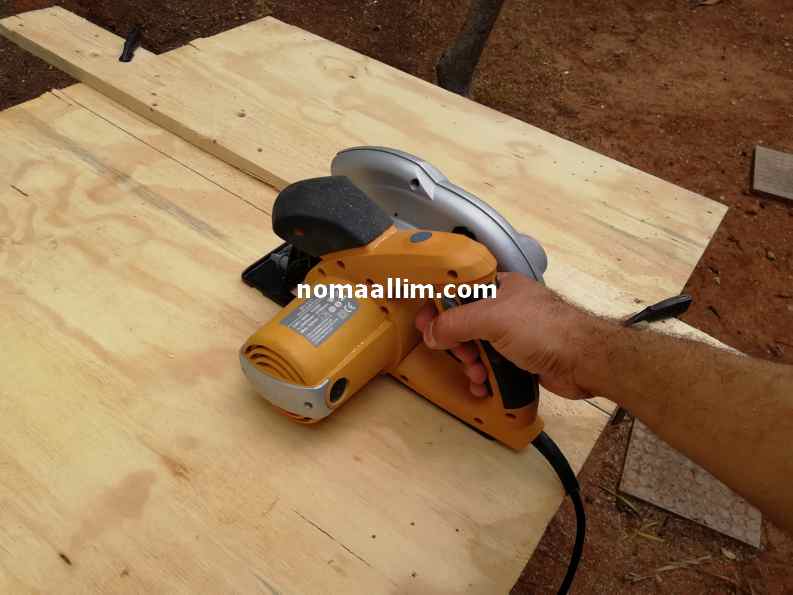
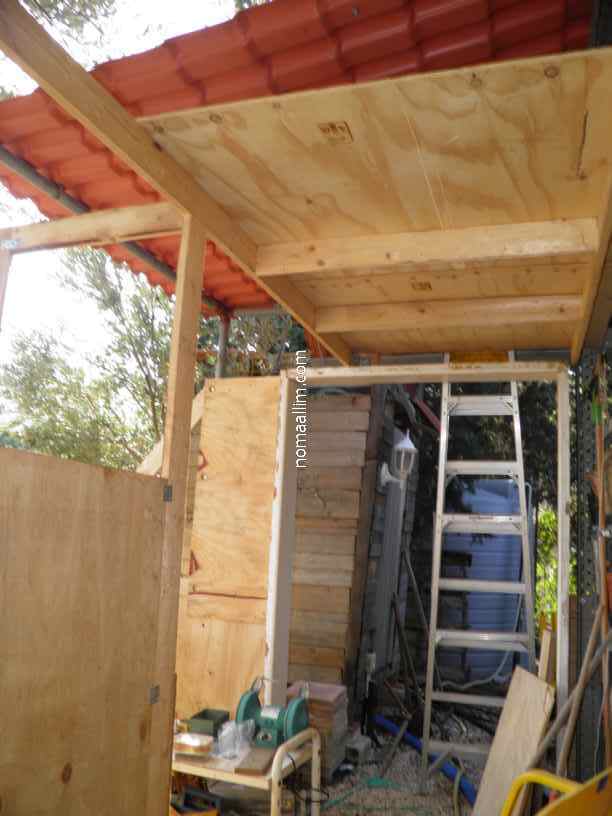
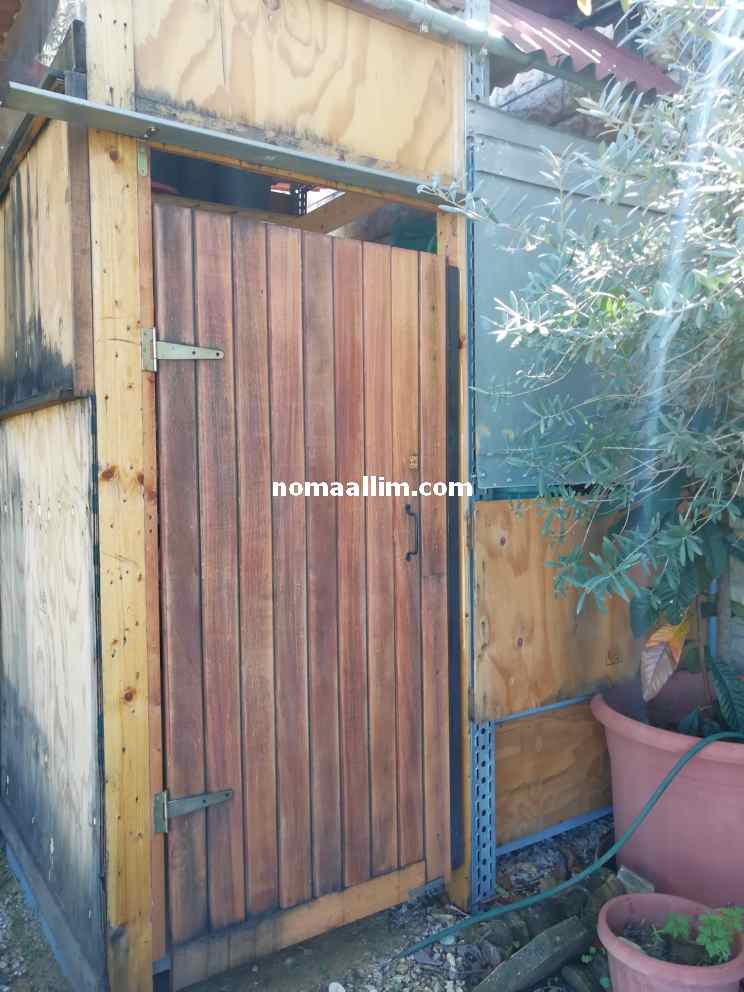
Backyard workshop wood panels cutting and mounting
The wood panels arrived at last.
I dismantled wood boxes that were used to ship goods and took all nails out of them.
I did cut them with my circular saw to the maximum width that fits in my vehicle (110 cm) so I can transport them.
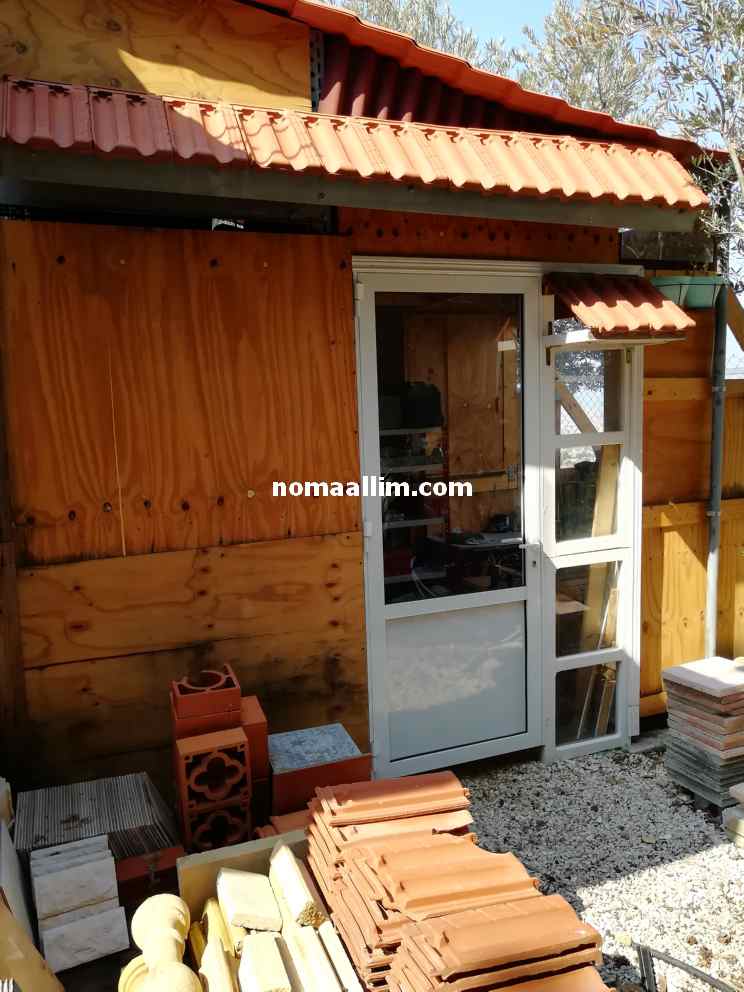
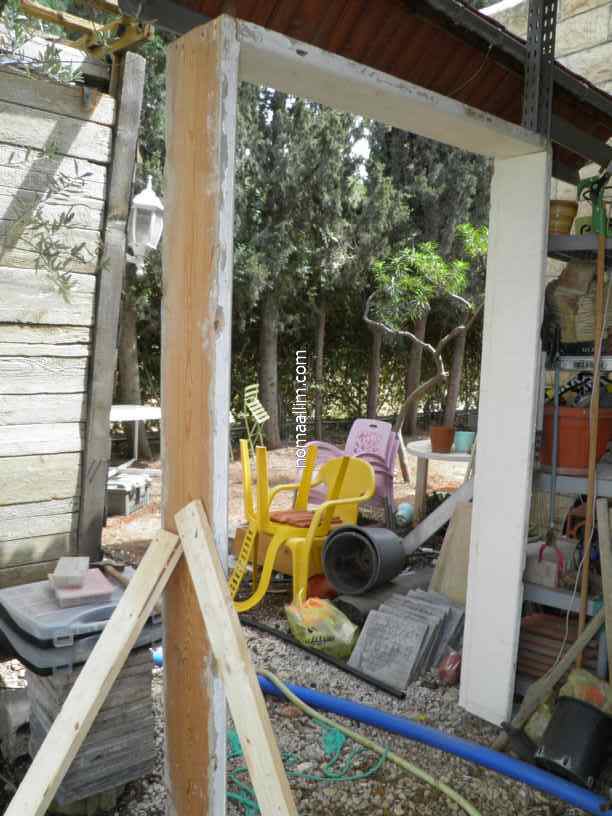
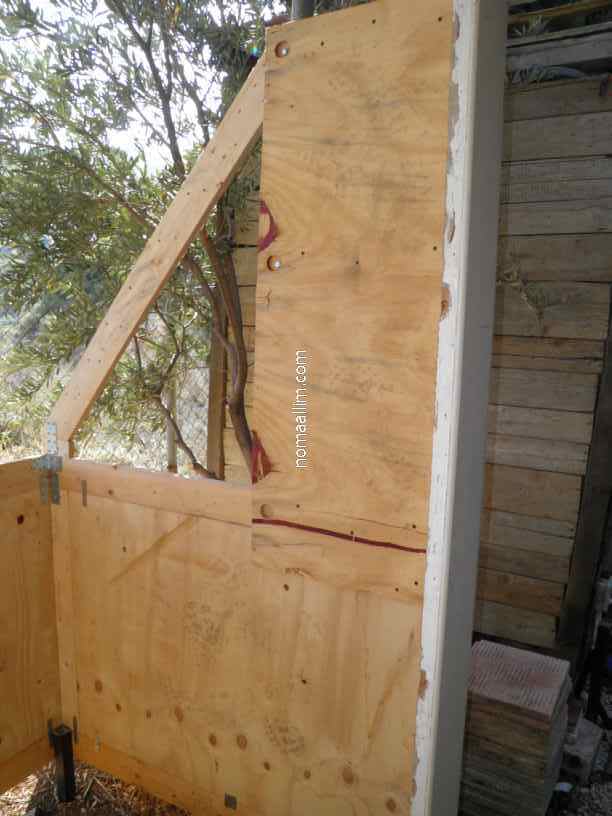
I also used a dismantled door frame and a dismantled wooden window and integrated all in the workshop walls fabrication and installation.
I fitted a huge plexiglas sheet to the main inclined window for bringing light to the workshop (lower right corner picture).
I dismantled wood boxes that were used to ship goods and took all nails out of them.
I did cut them with my circular saw to the maximum width that fits in my vehicle (110 cm) so I can transport them.
I also used a dismantled door frame and a dismantled wooden window and integrated all in the workshop walls fabrication and installation.
I fitted a huge plexiglas sheet to the main inclined window for bringing light to the workshop (lower right corner picture).
|
|
|
|
|
|
|
|
|
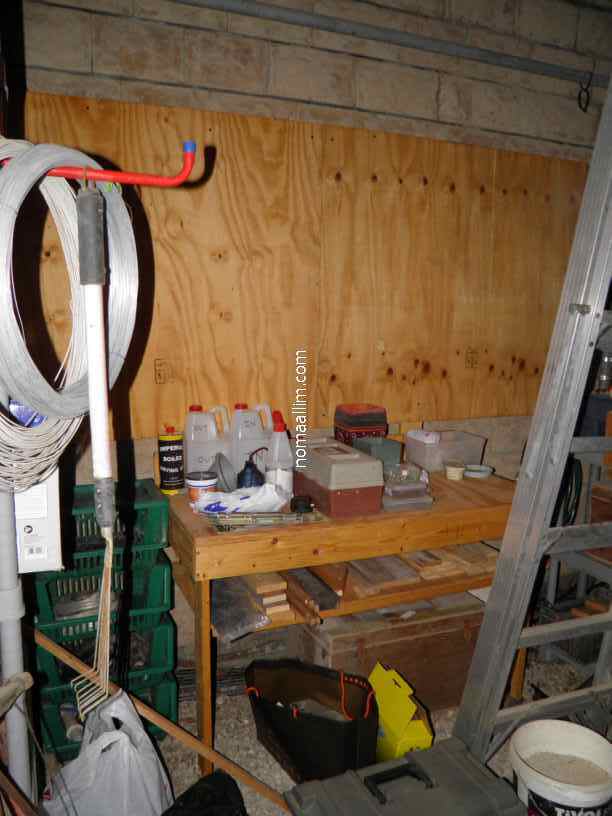
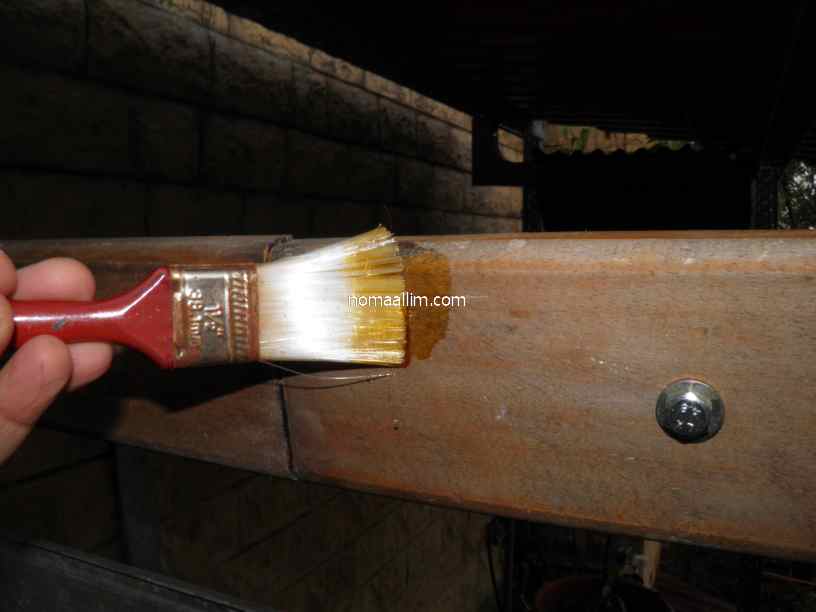
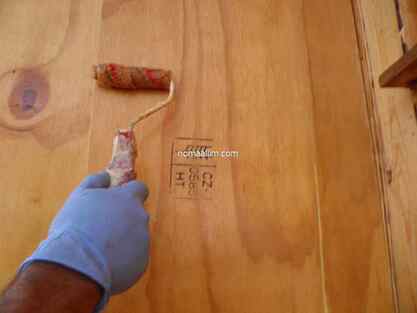
Applying the protective coat to the backyard workshop
All wood panels and frames have been painted with 2 coats of a mix of wood oil, wood stain and insect repellent (xylophene)
|
|
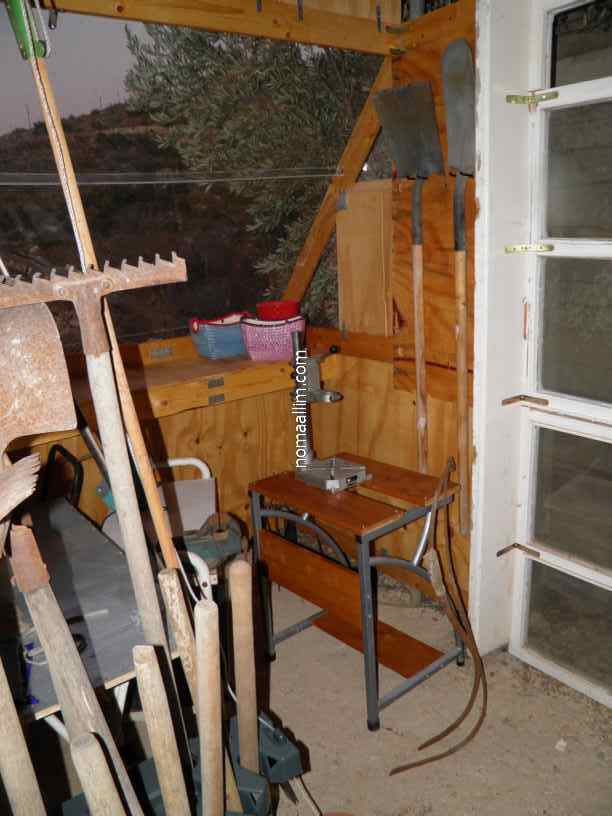
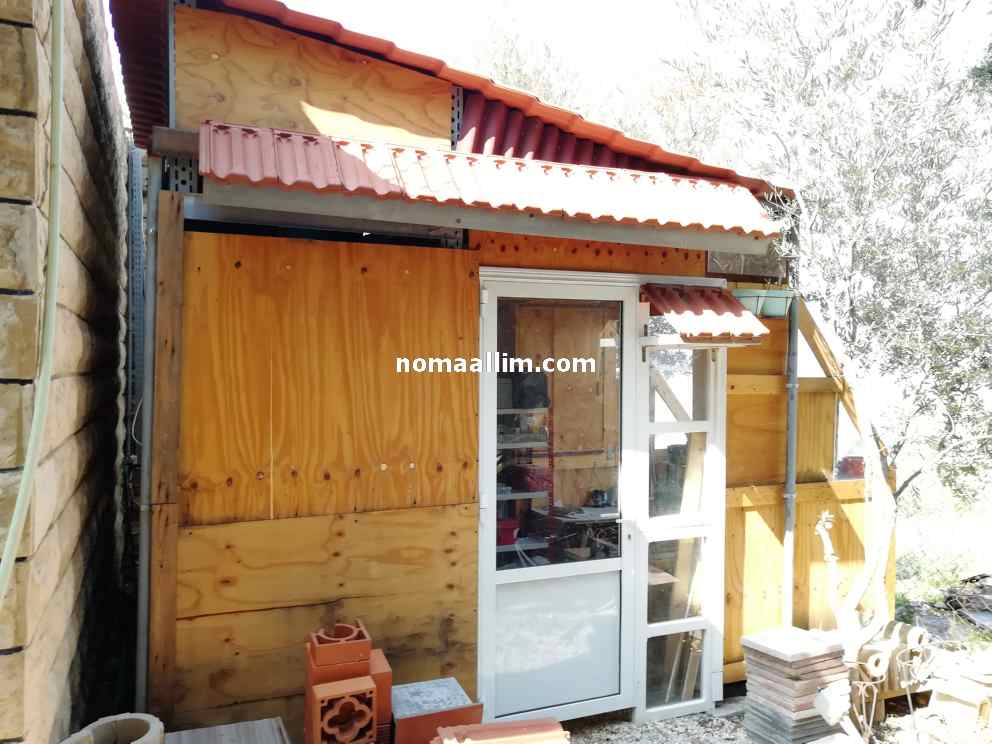
The workshop (cabana) in its final look.

|
|
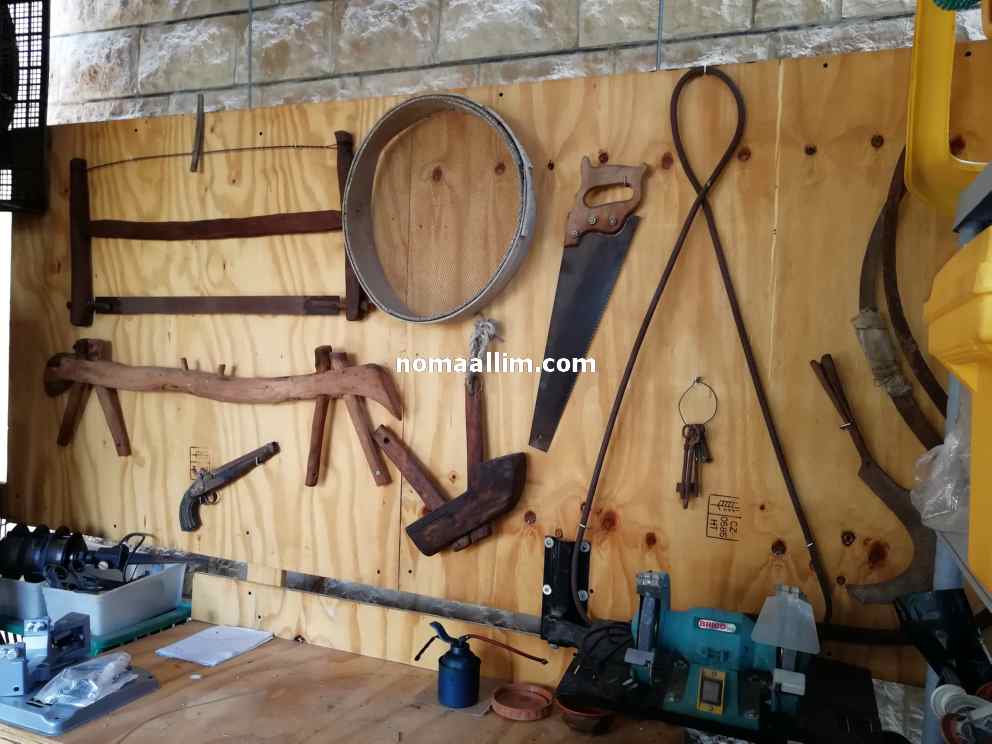
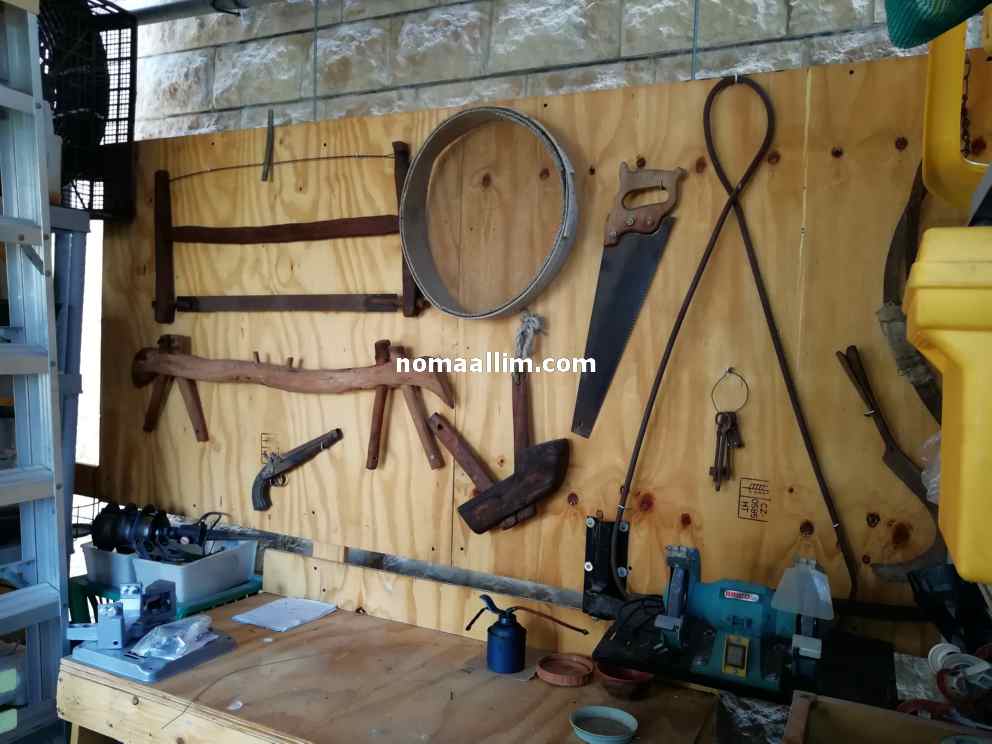
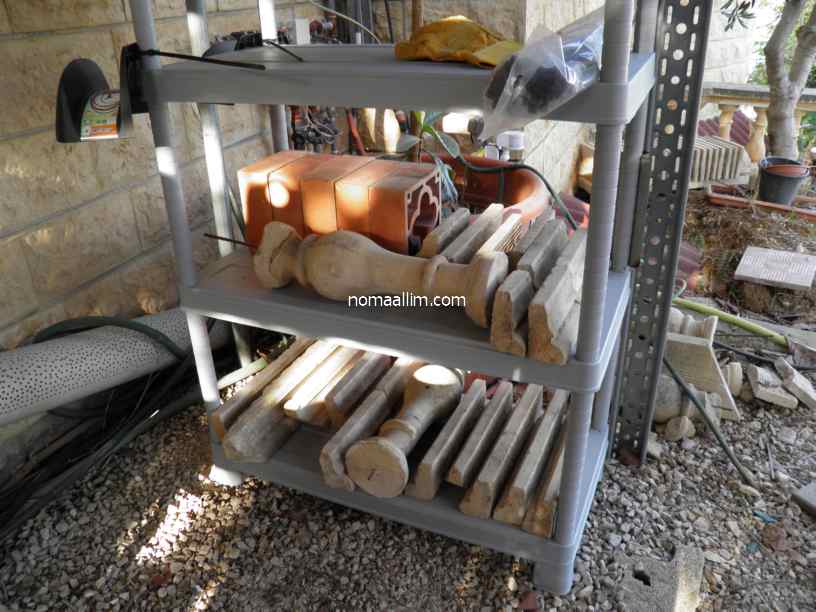
I created an indoor back panel to hang old vintage tools which were used up to the youth of my grandfather, like the wooden plow (plough) shown in the lower center of the picture.