Monday: remove the bidet - 30 minutes
|
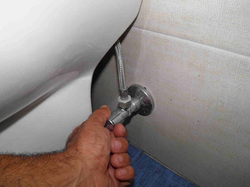
Close cold and hot water valves.
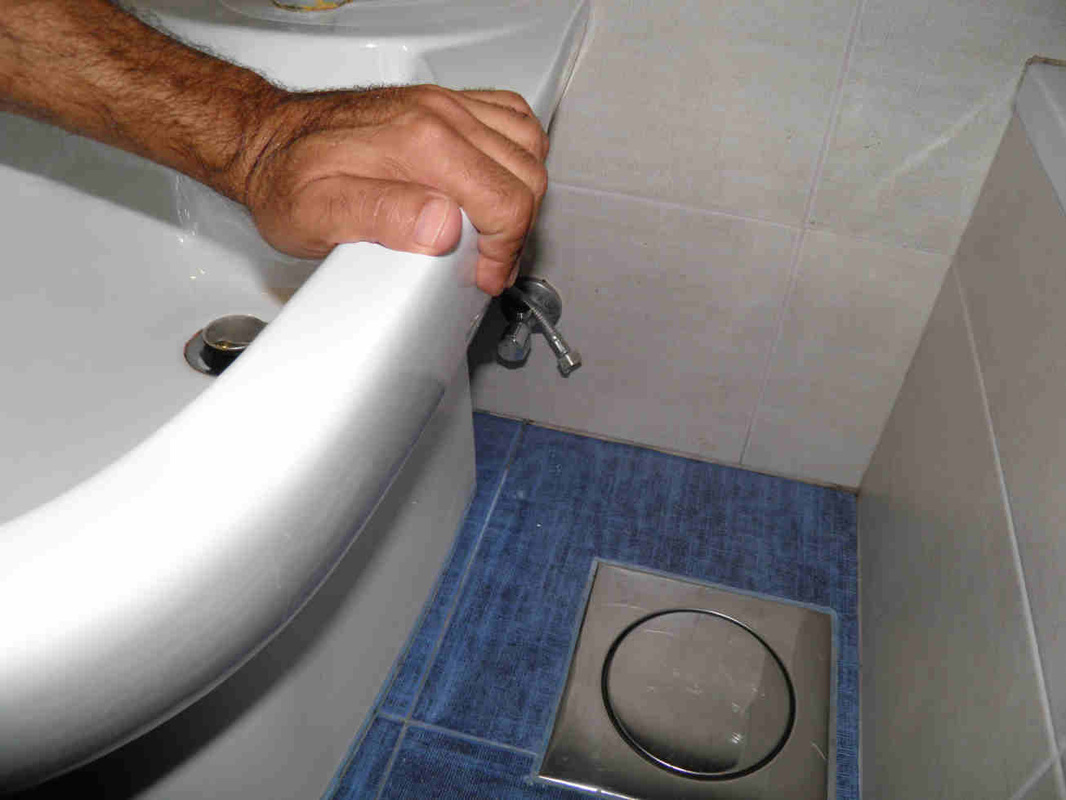
Shake it right and left then pull it to the front.
|
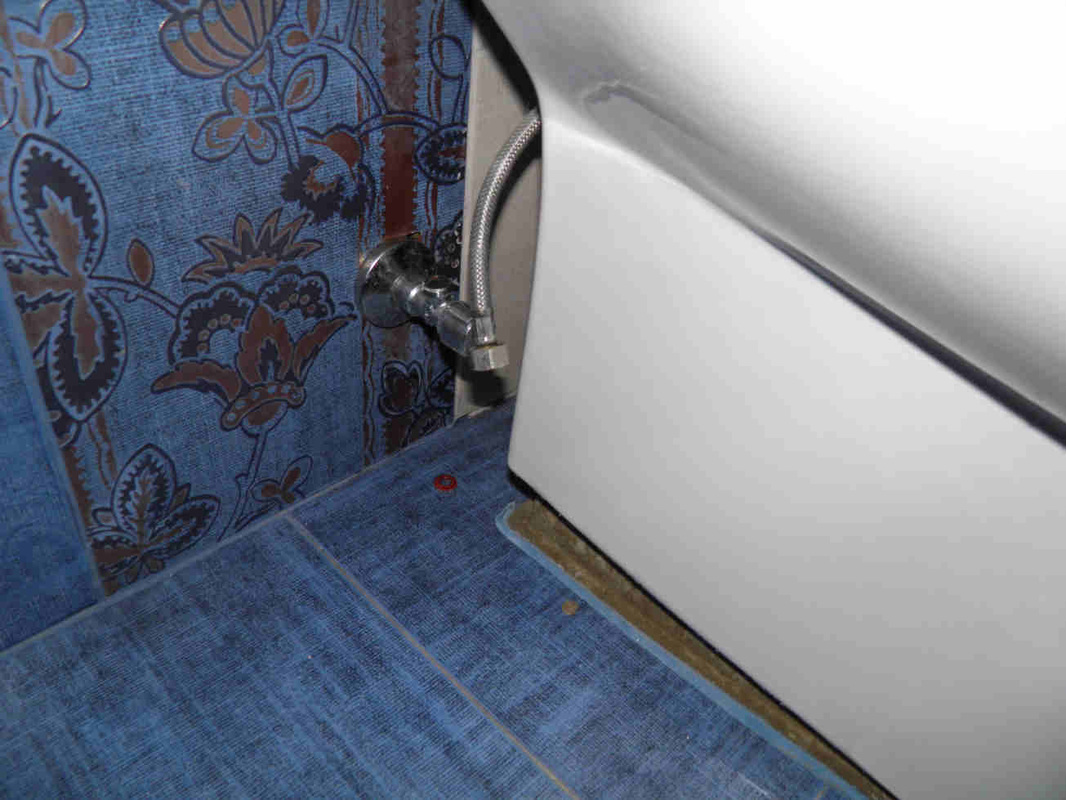
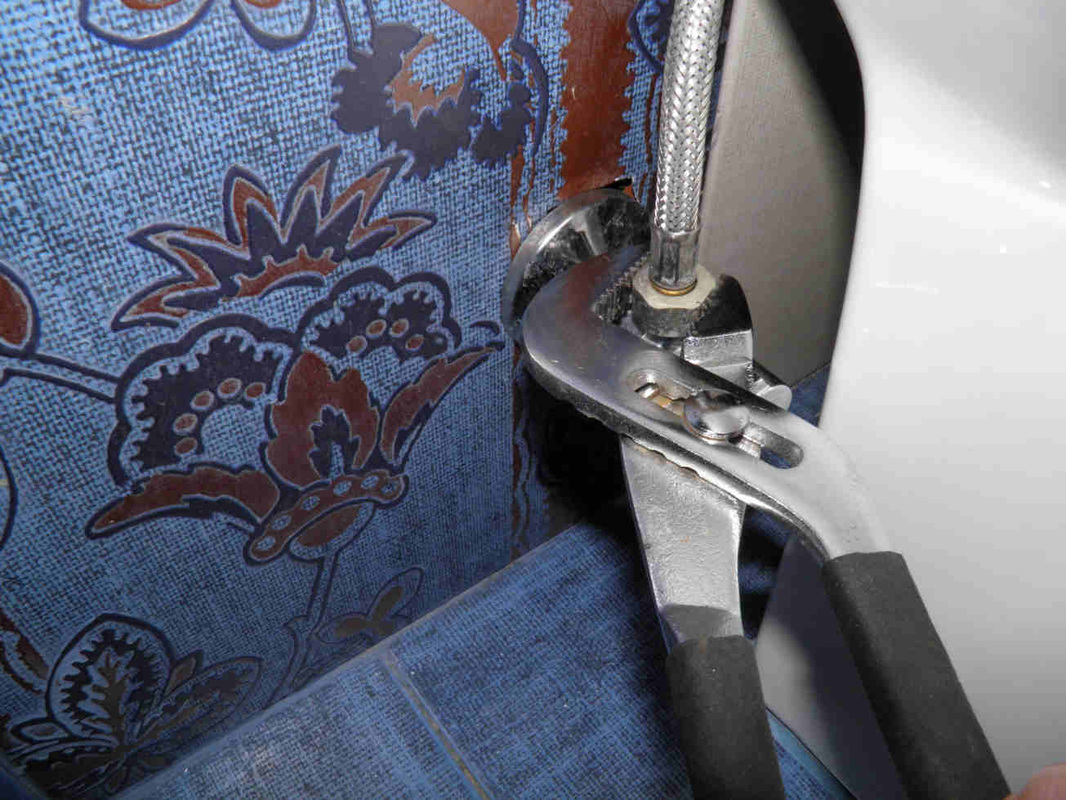
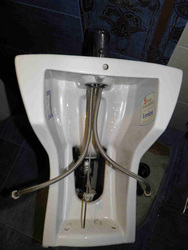
Unscrew and disconnect the flexible hoses.
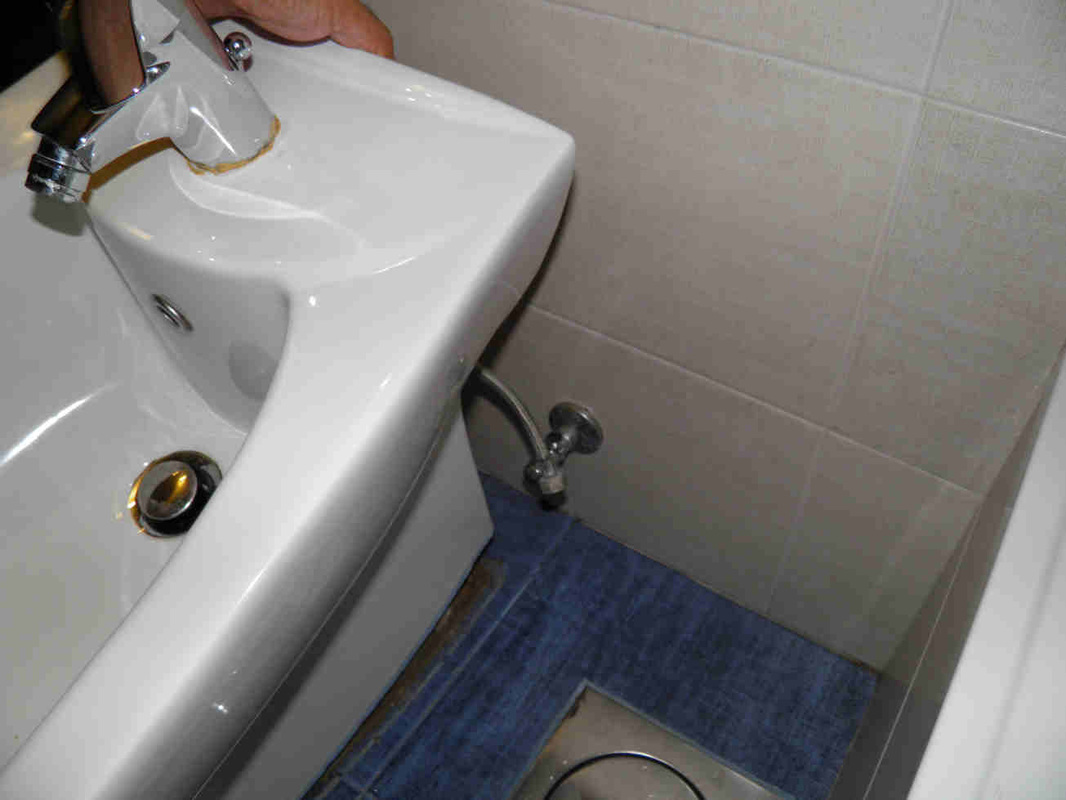
Grab it with both hands and pull it up.
|
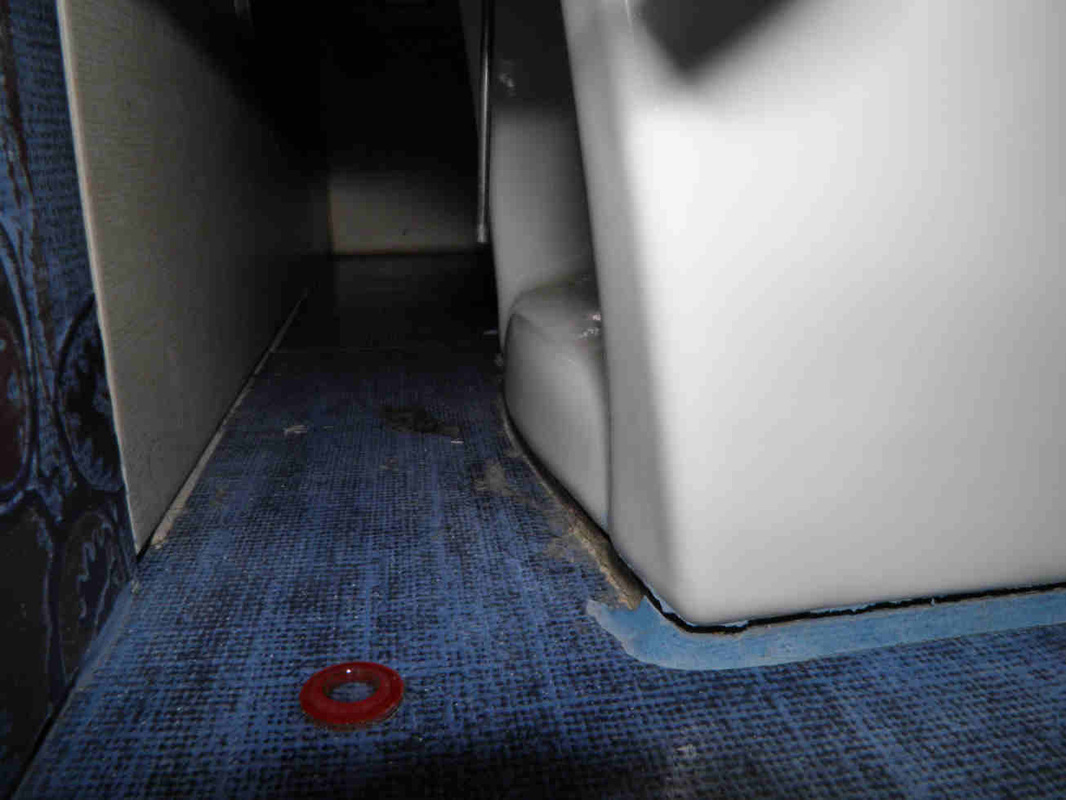
Check your bidet has no screw down on the back.
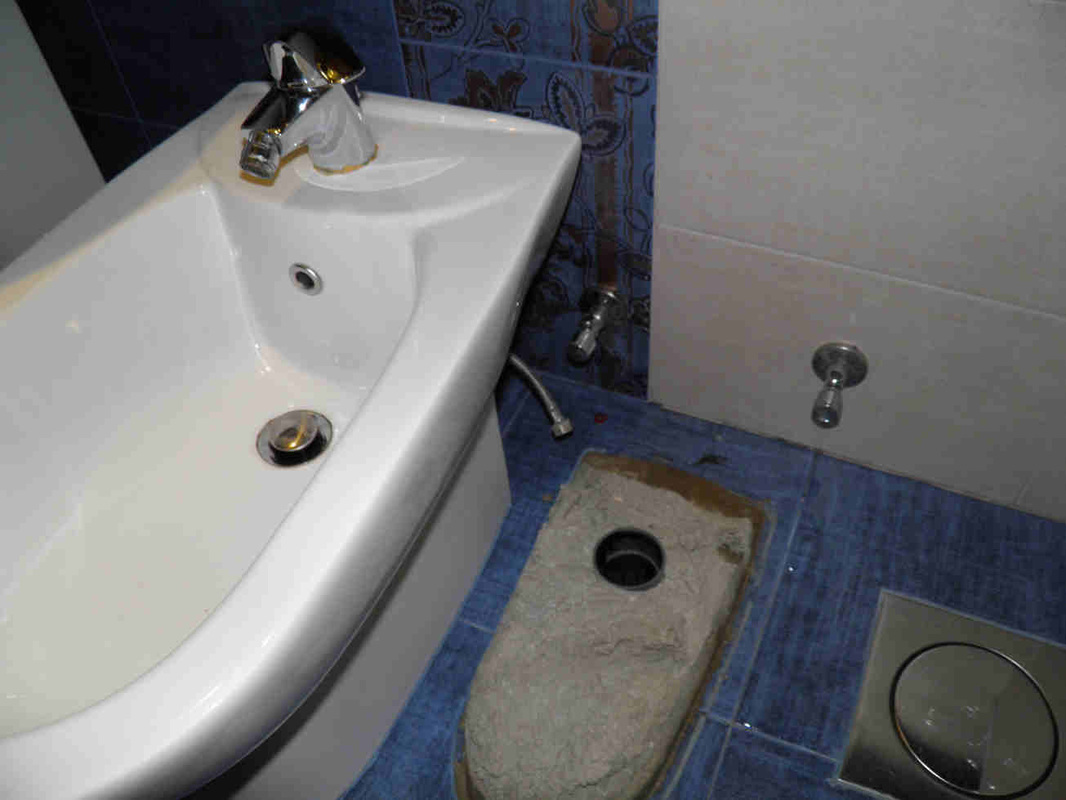
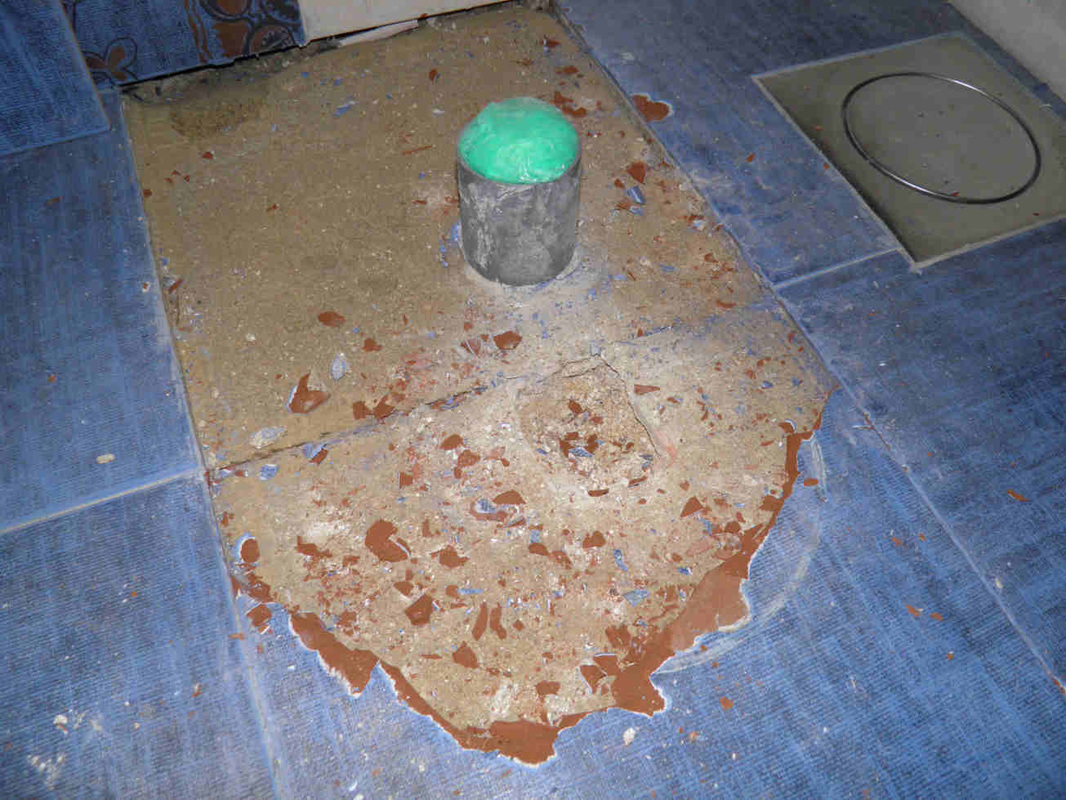
It is now removed and its concrete base is visible.
|
Hold it firmly on one side and pull it towards you.
Plug it and get ready for some hard work...
|
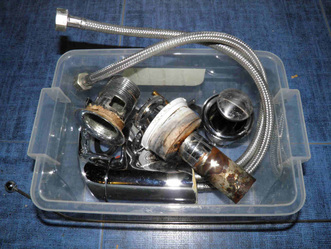
To finish with the bidet removal, have fun dismantling all its fittings and save them in a box.
Do not forget that a bidet tap is compatible with most basins. You'll be able to use it somewhere else.
Do not forget that a bidet tap is compatible with most basins. You'll be able to use it somewhere else.
|
|
|
Tuesday: break and remove the base - 1.5 hours
|
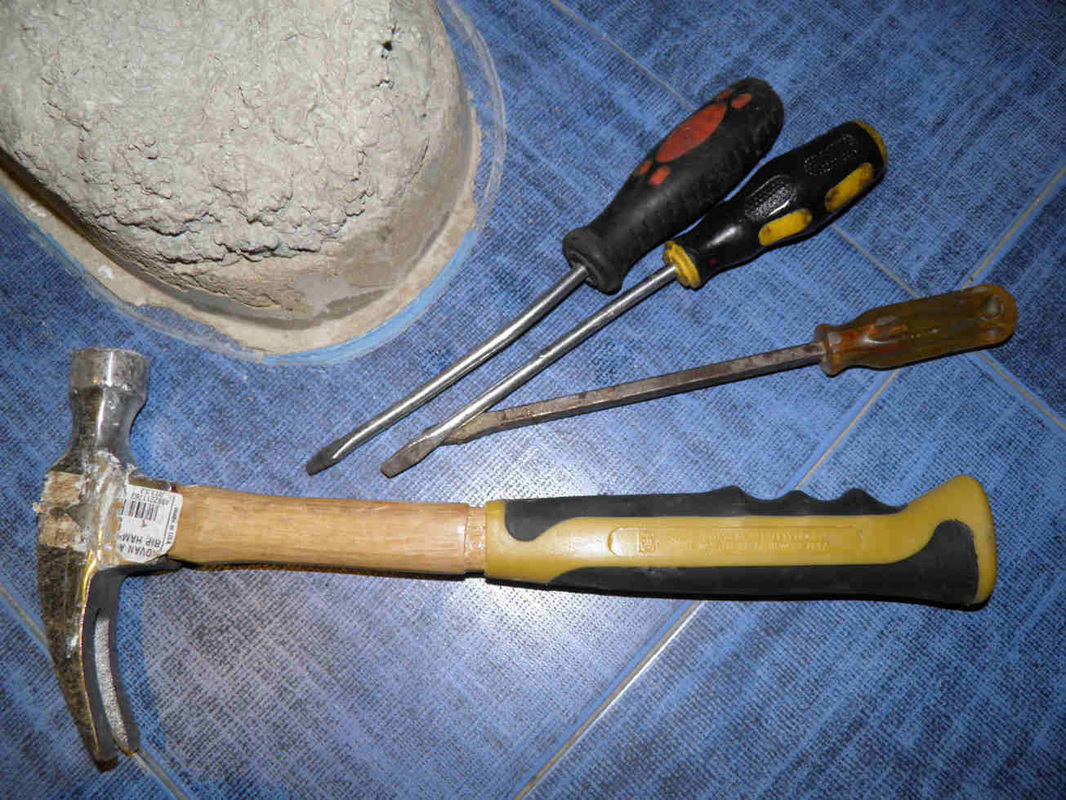
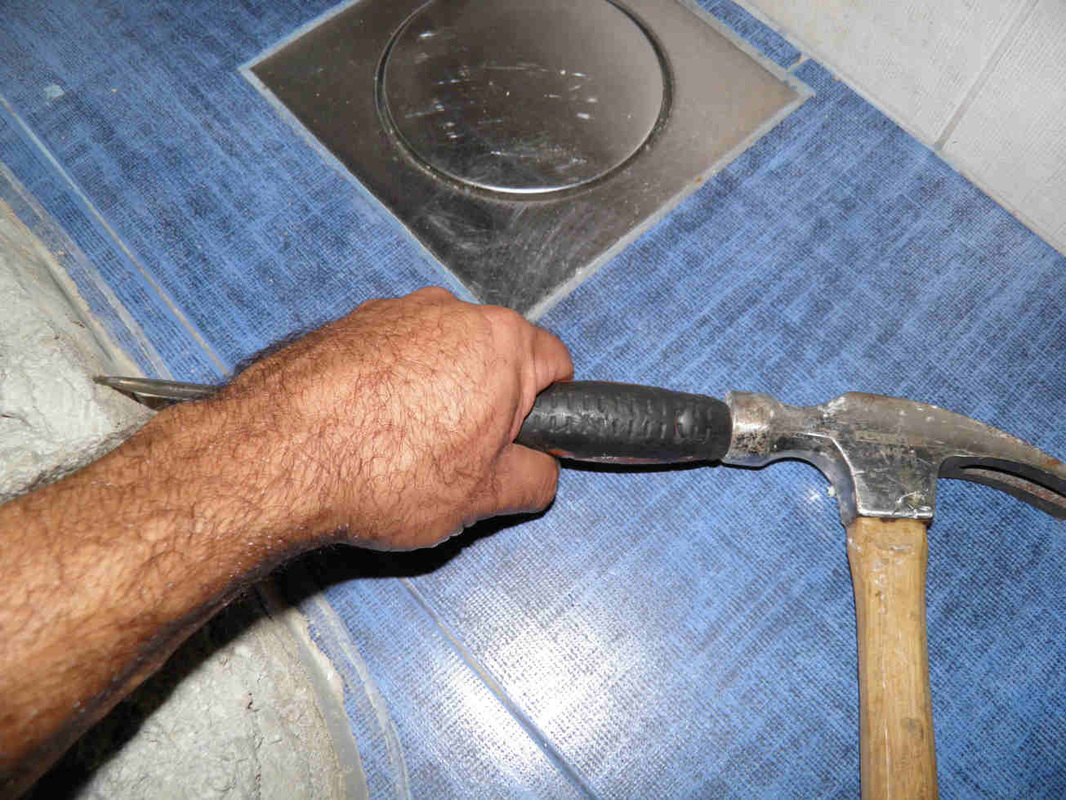
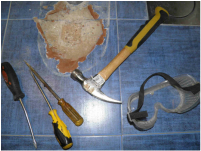
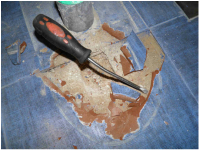
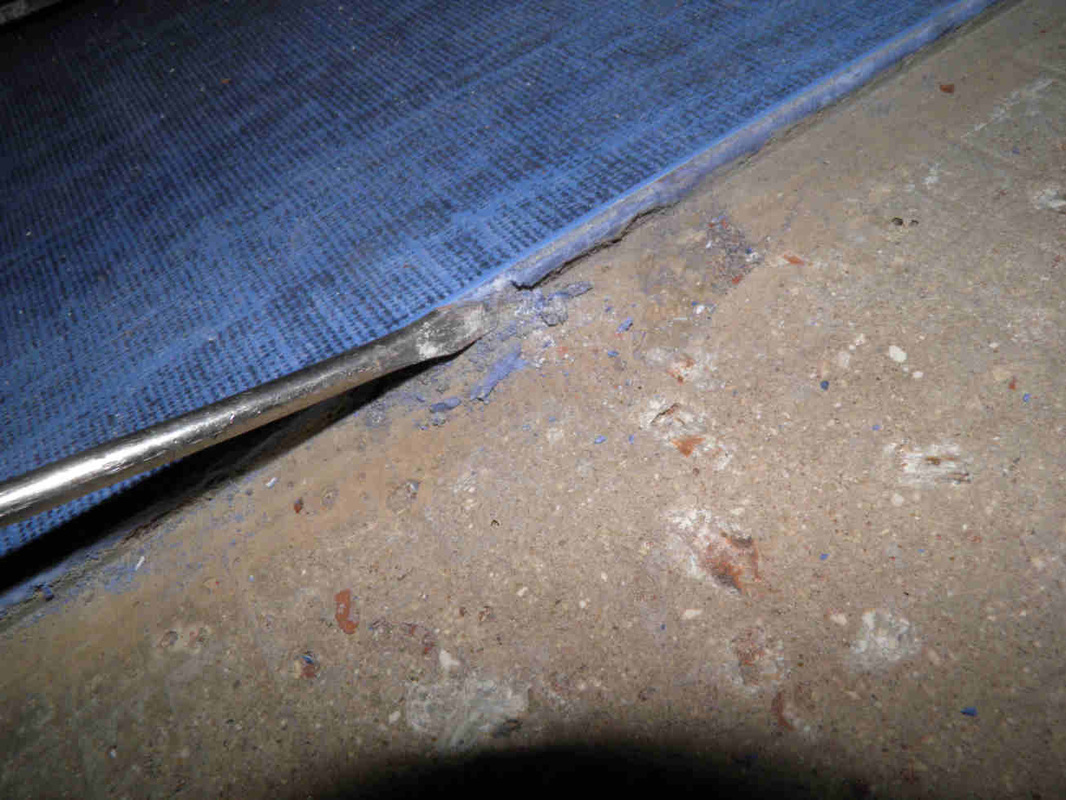
Get a hammer and some old screwdrivers.
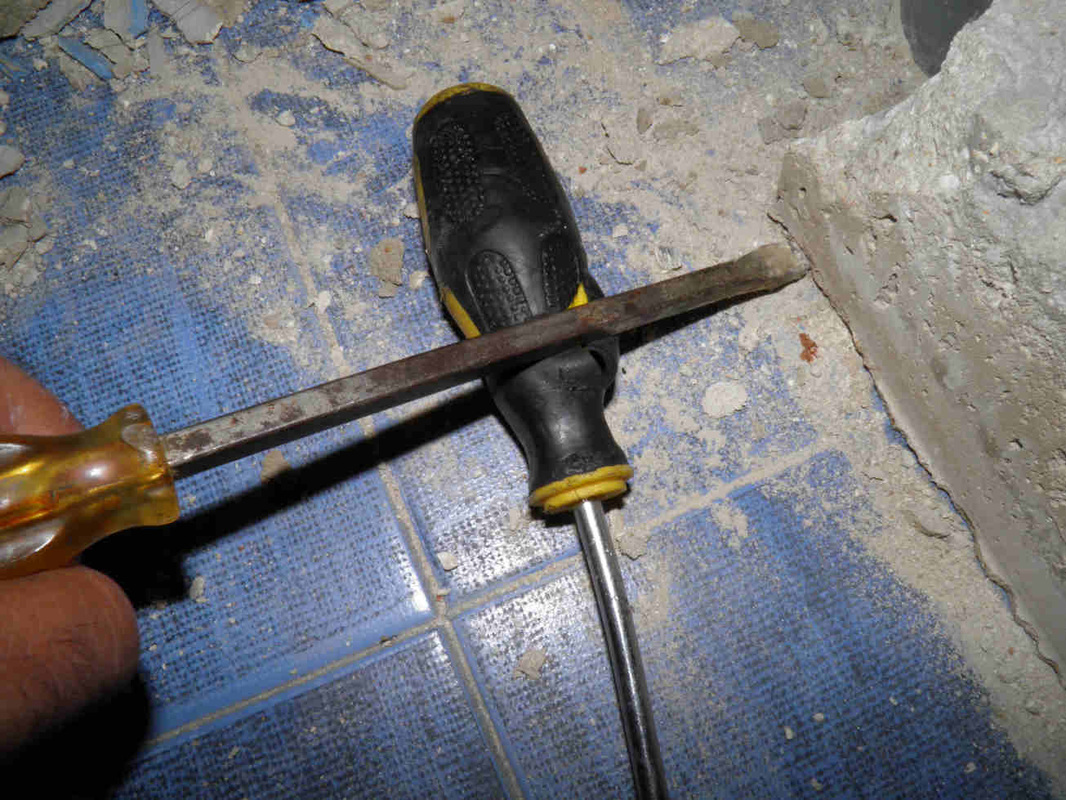
Use one screwdriver as a fulcrum for the other to make a lever.
|
Hit the base oblique to find or create a crack.
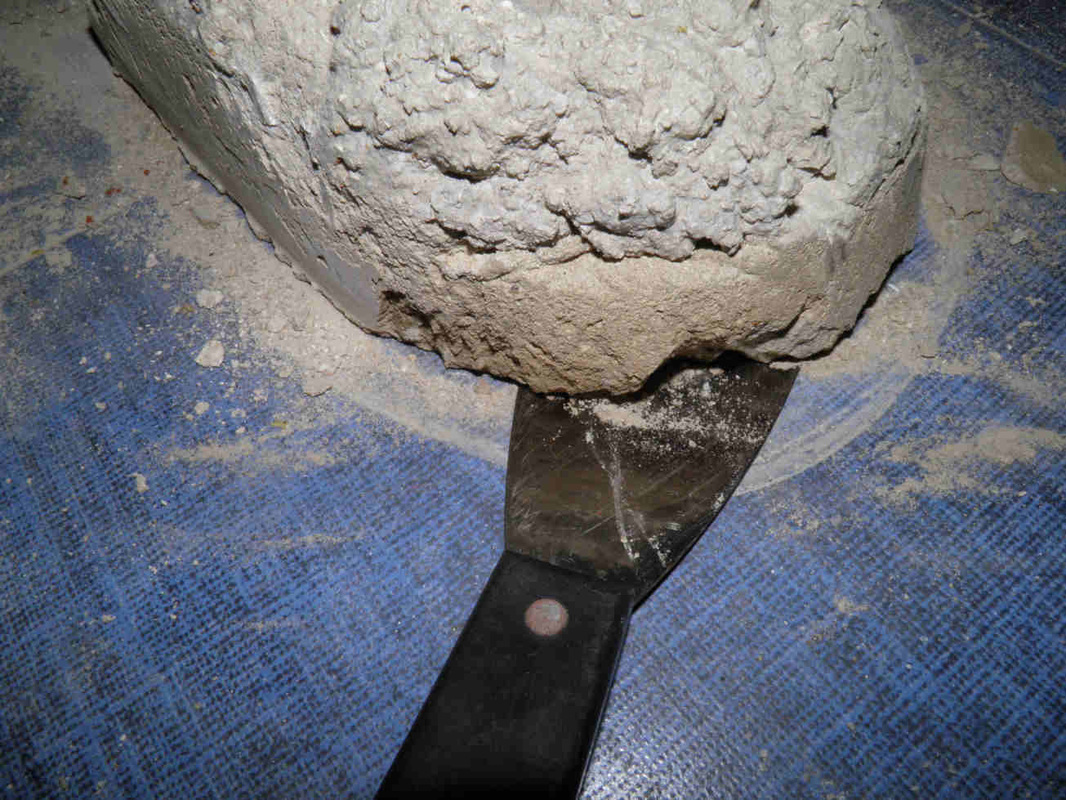
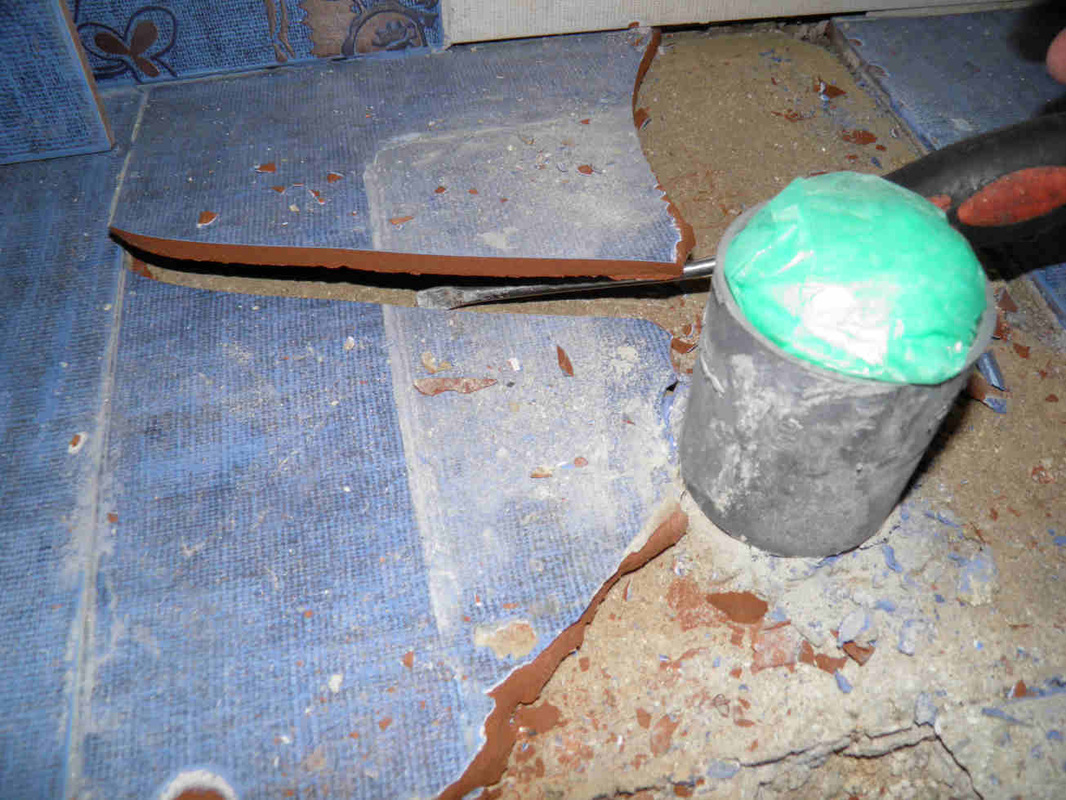
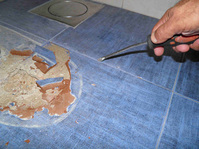
Push a spatula all around between the base and the tiles.
|
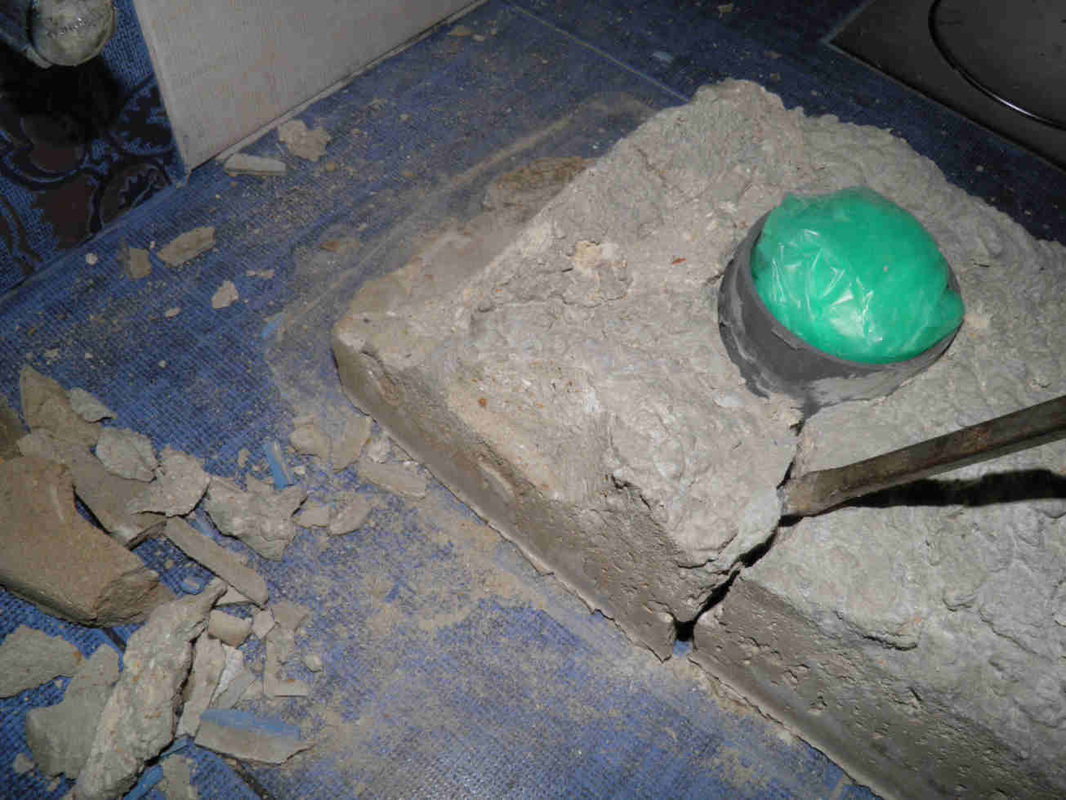
Then hit in the crack.
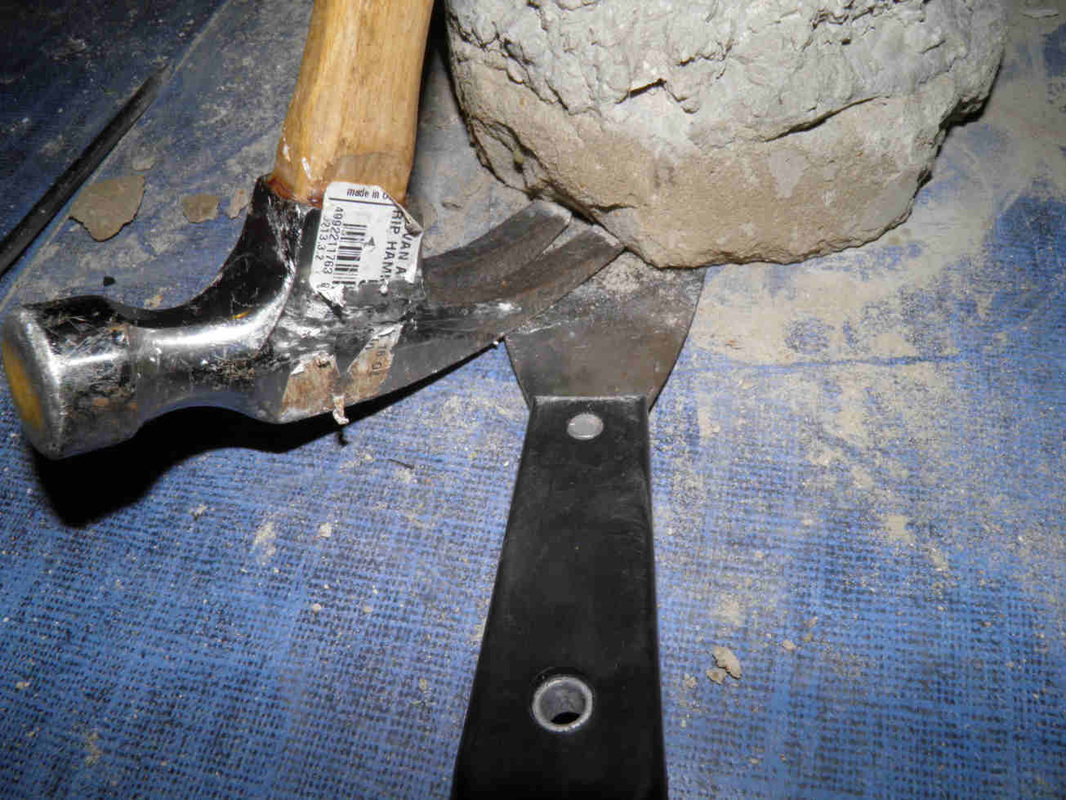
Use the spatula to protect your tiles while using the hammer as a lever.
|
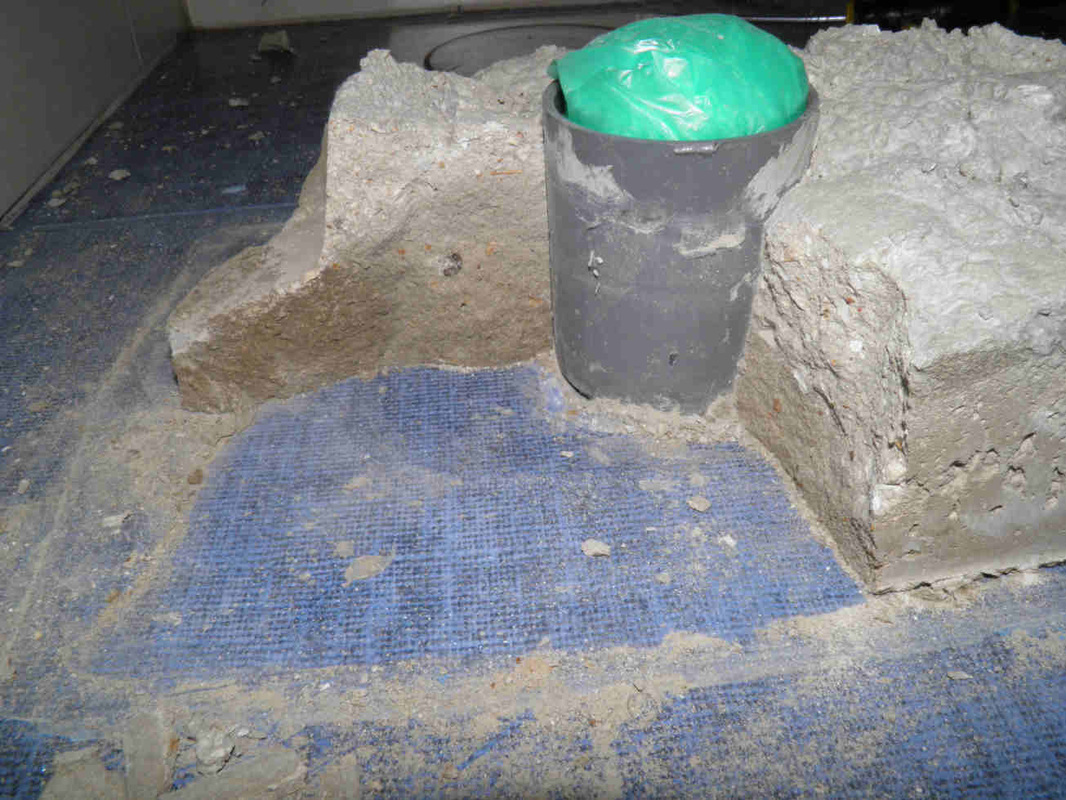
You just removed the first block.
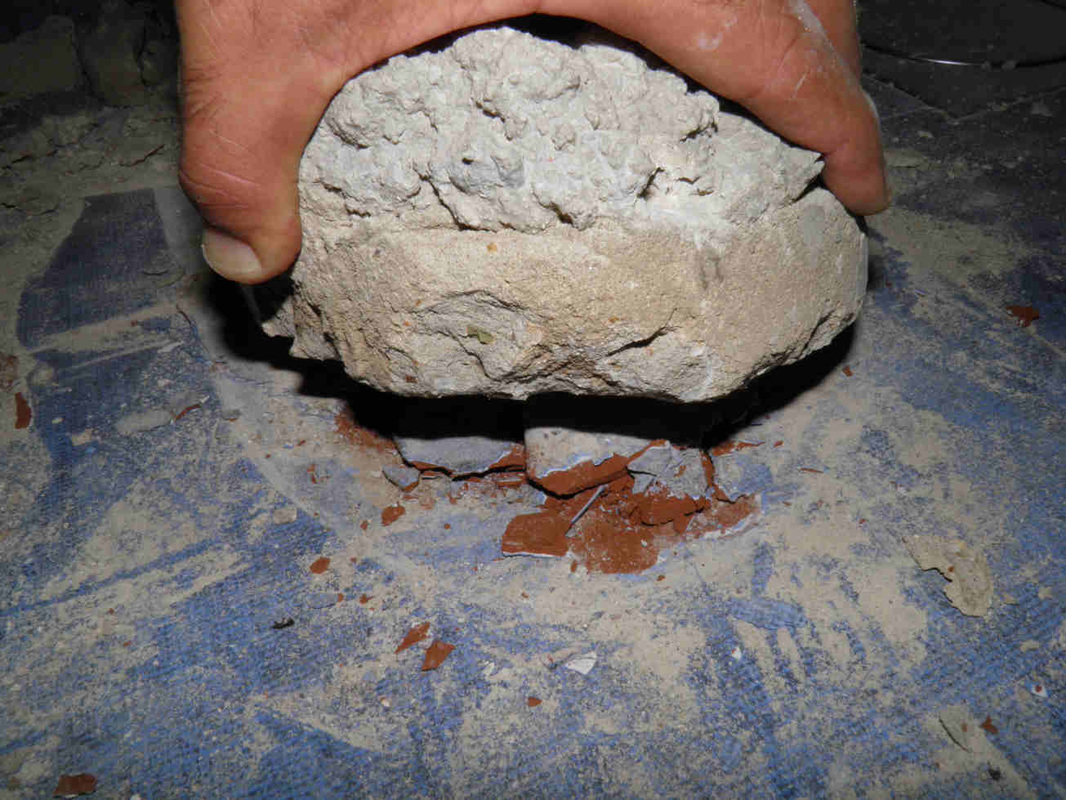
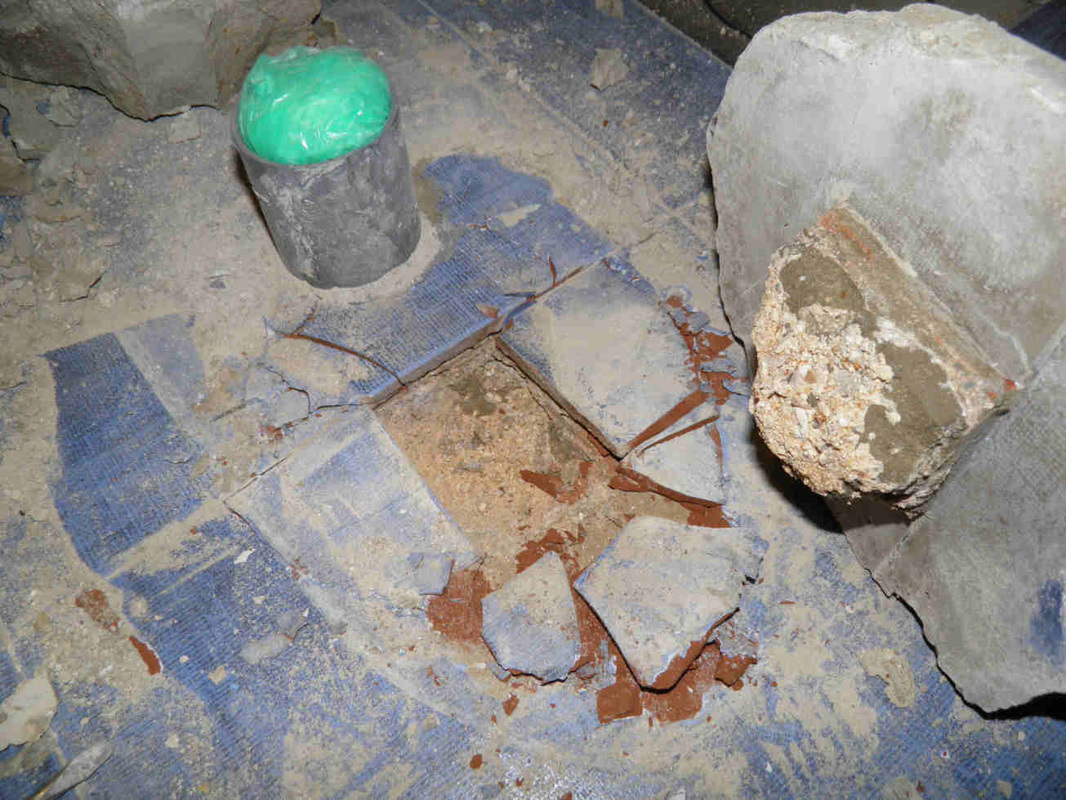
Pull that base up! Do not worry if you find it is taking some tile parts out.
|
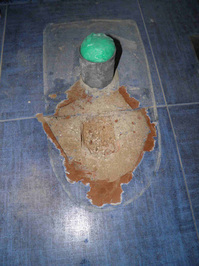
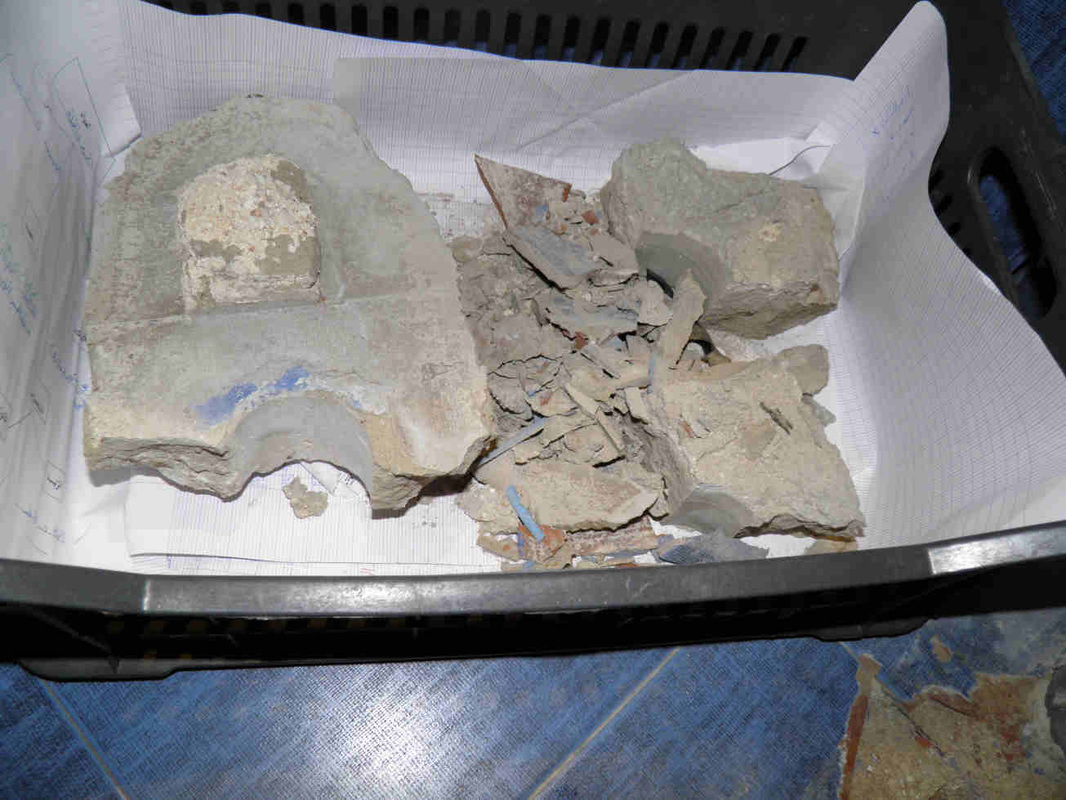
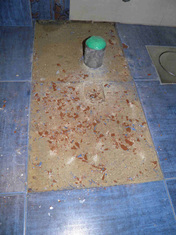
As a matter of fact, the bidet base was anchored to the tile. The plumber had cut a square from the tile to allow the concrete anchor itself within the hole. Clean all and dispose your concrete debris in a box.
|
|
|
Wednesday: remove the tiles - 2 hours
|
First make sure you have spare tiles.
Continue without interruption not to be discouraged.
|
DO NOT attempt to brake the tiles without safety goggles.
It could happen that a nearby tile gets its edge damaged. Do not worry, you'll fix it later.
|
Hit on your screwdriver and remove piece after piece.
Don't stop you're almost there.
|
Try to thin the joint as much as you can.
Remove the joint completely using your old screwdriver.
|
|
|
|

