COPYRIGHT WARNING:
All pictures and texts in this web page are the property of nomaallim.com. Any use of any part of those contents without the written consent of nomaallim.com shall be subject to legal procedures as per international and local laws in the concerned country. Using the name "nomaallim" or "nomaallim com" or "nomaallim.com" in the text describing the unauthorized copied content shall not constitute an exception and shall be sanctioned in accordance to the effective laws and proceedings.
All pictures and texts in this web page are the property of nomaallim.com. Any use of any part of those contents without the written consent of nomaallim.com shall be subject to legal procedures as per international and local laws in the concerned country. Using the name "nomaallim" or "nomaallim com" or "nomaallim.com" in the text describing the unauthorized copied content shall not constitute an exception and shall be sanctioned in accordance to the effective laws and proceedings.
|
|
|
BEFORE YOU START
|
DISCLAIMER:
Our pictorials are of informative nature and do illustrate works carried out by ourselves at our own premises for our own use and satisfaction. Readers who envisage to carry similar works inspired by the below method shall do this at their own risks and liability. |
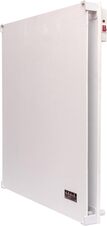
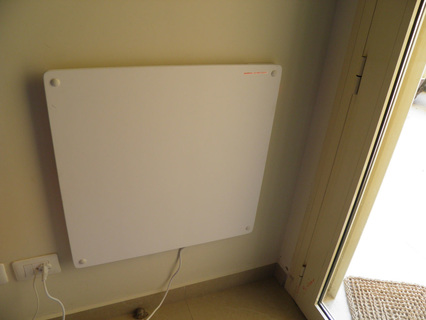
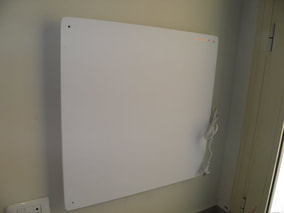
Panel heater mounting - Plate heater fixing to wall
|
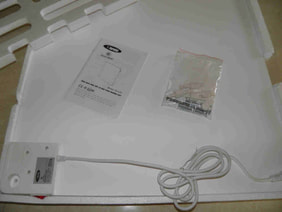
1- Carefully unpack your panel heater. Make sure not to break the polystyrene which serves as a template for marking the fixing holes on the wall.
|
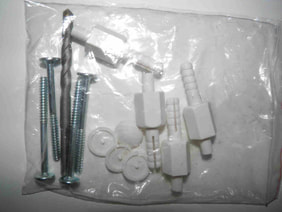
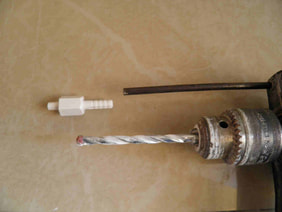
2- Ceramic panel heaters are typically supplied complete with all necessary accessories including the drill bit.
|
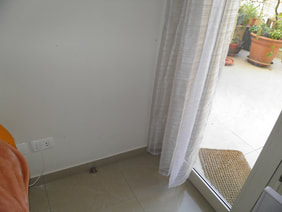
3- Chose well your location as explained above (see "before you start"). Don't forget that an electrical socket is needed.
|
|
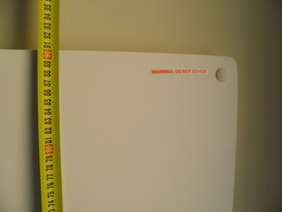
4- The top of the panel heater should be at around 90 cm from floor.
|
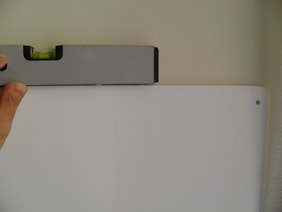
5- Level the template or the plate heater and mark the holes.
|
6- Adjust your drill to the depth of the fixing accessories provided with the panel.
|
|
|
|
|
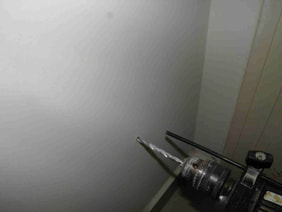
7- Drill the ceramic heater fixing holes.
|
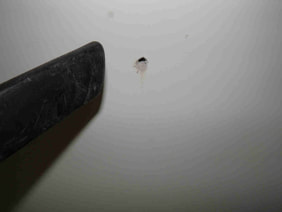
8- Vacuum them.
|
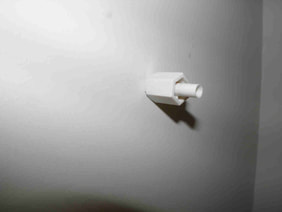
9- Fit the plugs.
|
|
10- Fit the panel heater into the plugs.
|
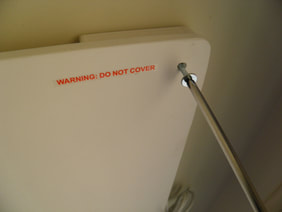
11- Fit the screws or pins depending on what was in the bag.
|
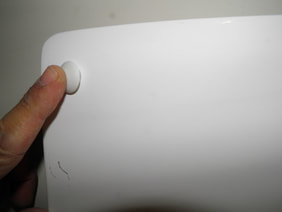
12- Cover the screws (pins don't need covers).
|
|
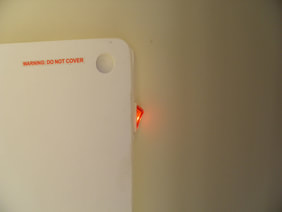
13- Plug the ceramic wall heater, which is now ready to use.
|
14- Clean the wall plate heater with a wet towel to remove the ceramic dust before the first use.

|
|