COPYRIGHT WARNING:
All pictures and texts in this web page are the property of nomaallim.com. Any use of any part of those contents without the written consent of nomaallim.com shall be subject to legal procedures as per international and local laws in the concerned country. Using the name "nomaallim" or "nomaallim com" or "nomaallim.com" in the text describing the unauthorized copied content shall not constitute an exception and shall be sanctioned in accordance to the effective laws and proceedings.
All pictures and texts in this web page are the property of nomaallim.com. Any use of any part of those contents without the written consent of nomaallim.com shall be subject to legal procedures as per international and local laws in the concerned country. Using the name "nomaallim" or "nomaallim com" or "nomaallim.com" in the text describing the unauthorized copied content shall not constitute an exception and shall be sanctioned in accordance to the effective laws and proceedings.
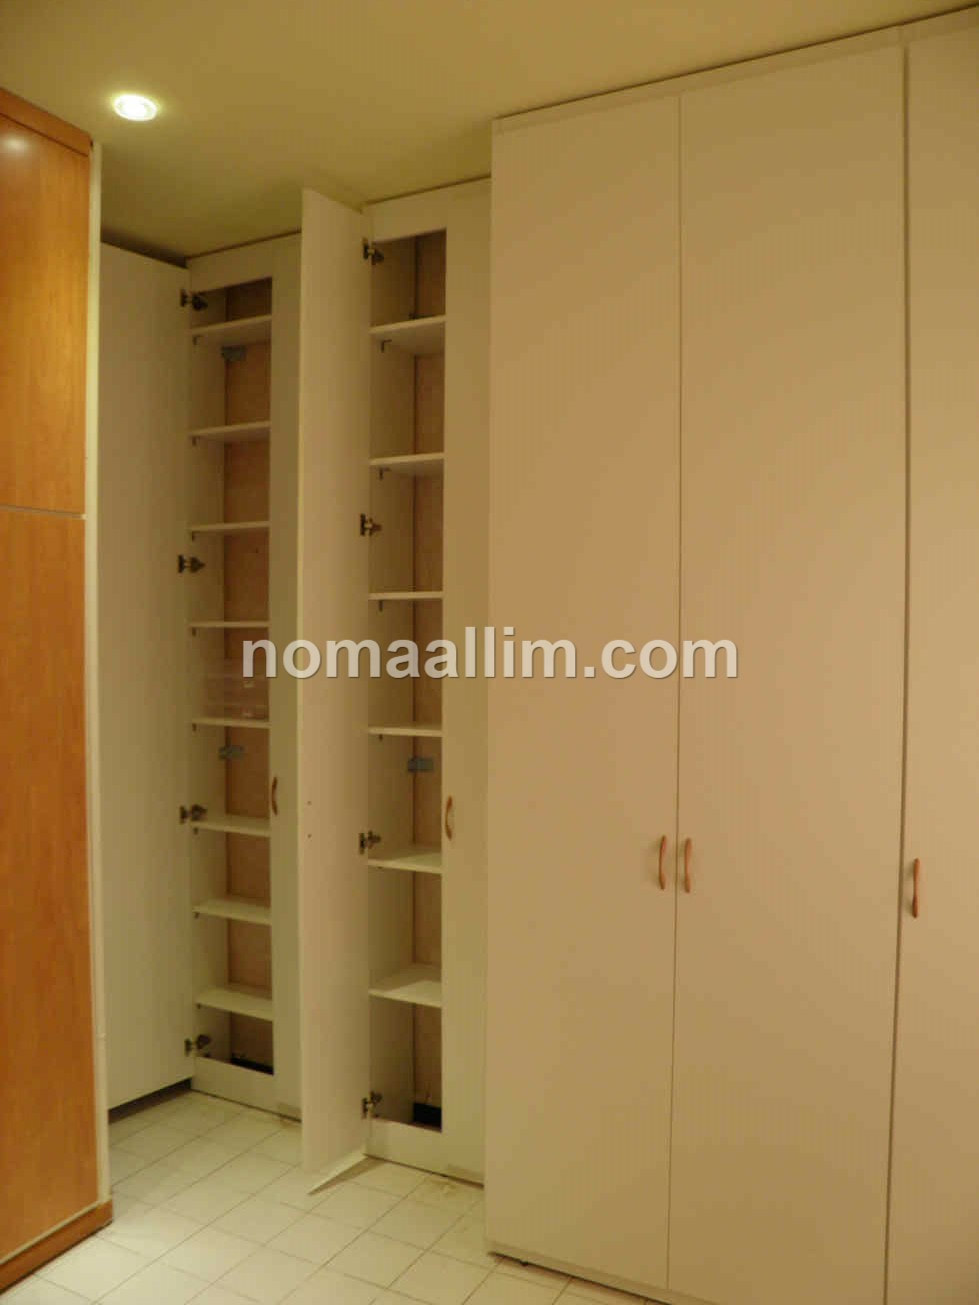
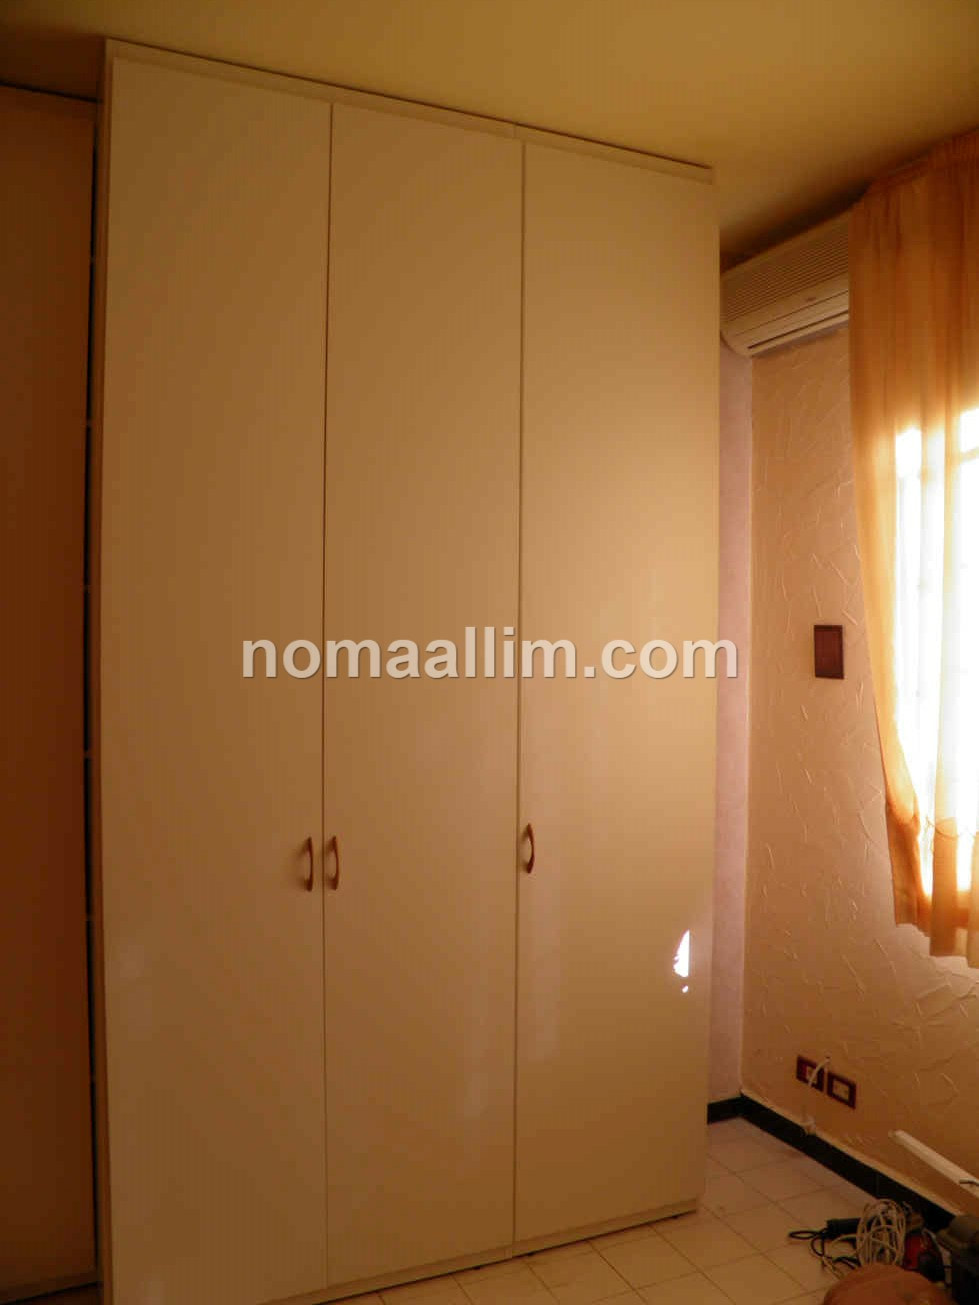
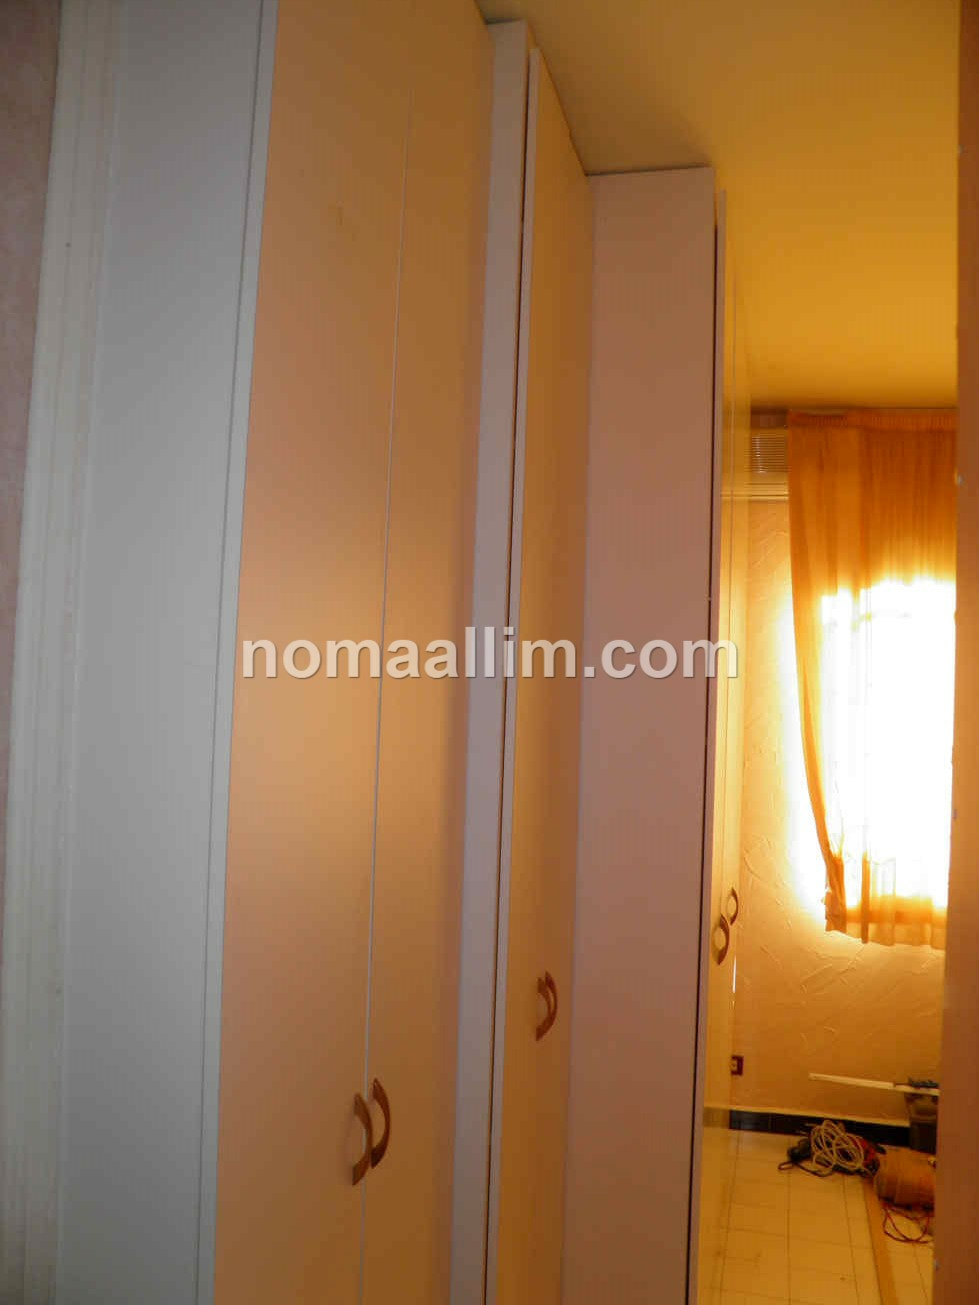
Wall to wall wardrobe dimensions
The dimensions of a wall-to-wall wardrobe are easily set as per the below indication:
- vertically, the distance between floor and ceiling minus 2 cm
- horizontally, as wide as you can do while keeping passages free for circulation; this example shows how this bedroom wardrobe is made of three blocs that get thinner and thinner to leave a satisfactory passage from the rooms' door.
See our cupboards basics page for further info on how to proceed with a cupboard design and assembly.
|
|
|
|
|
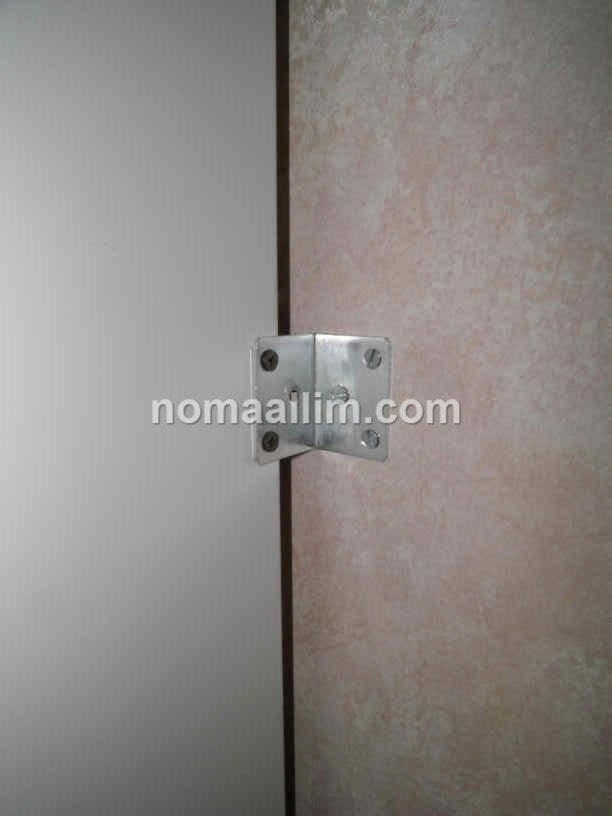
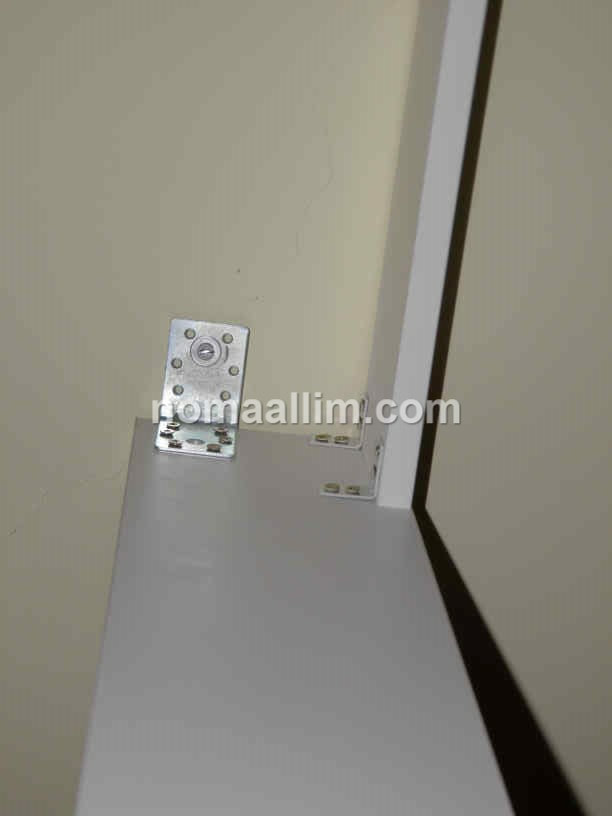
Wall cupboard (wardrobe) panels direct fixing to the wall
A wall-to-wall wardrobe (cupboard) should be directly built on the wall, using the latter as a back panel to fix the other wood panels on it and build the cabinet box which will be later used to fix the shelves, doors, etc.
This is because it is not possible to move a wall-to-wall bedroom cupboard which makes it difficult to clean behind or eventually to maintain the wall, etc. This method allows you to easily access both wall and floor by simply opening the wardrobe doors.
Note how the panels are fixed to the wall and to each other using thick galvanized steel corners.
|
|
|
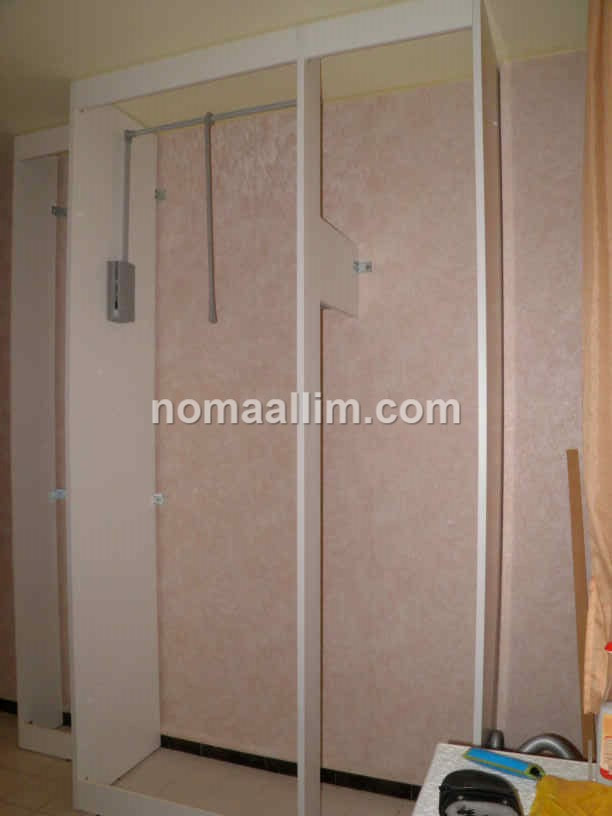
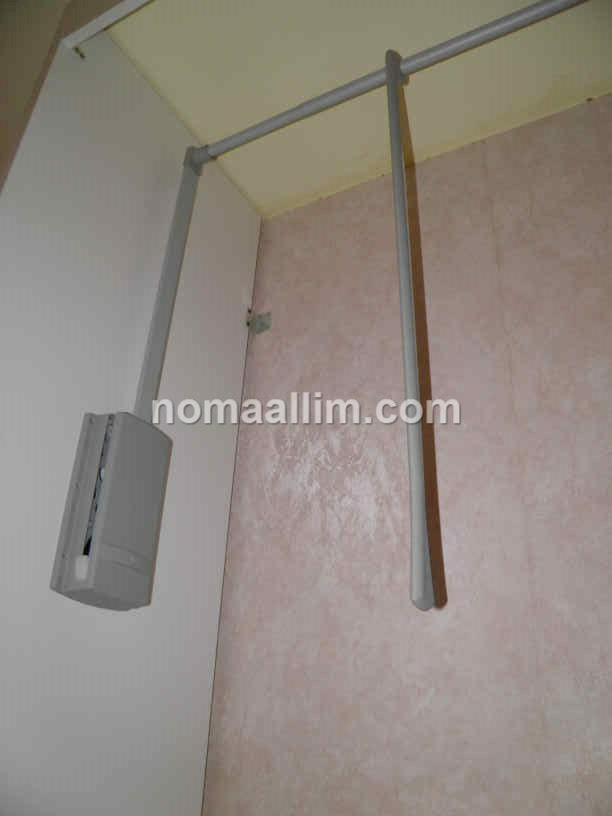
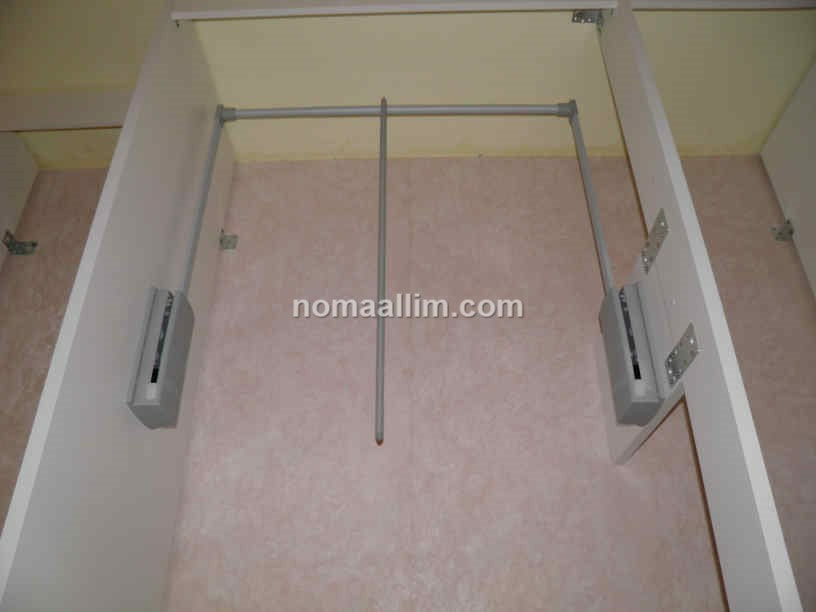
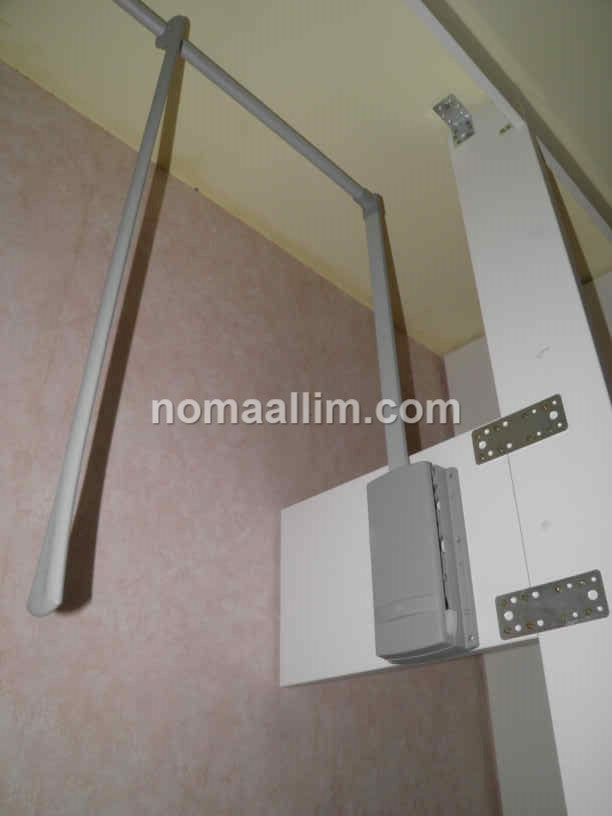
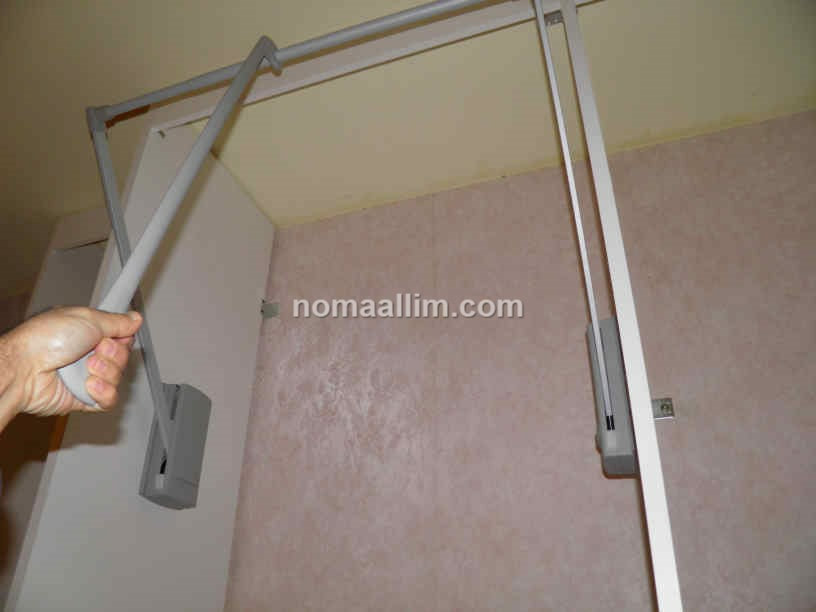
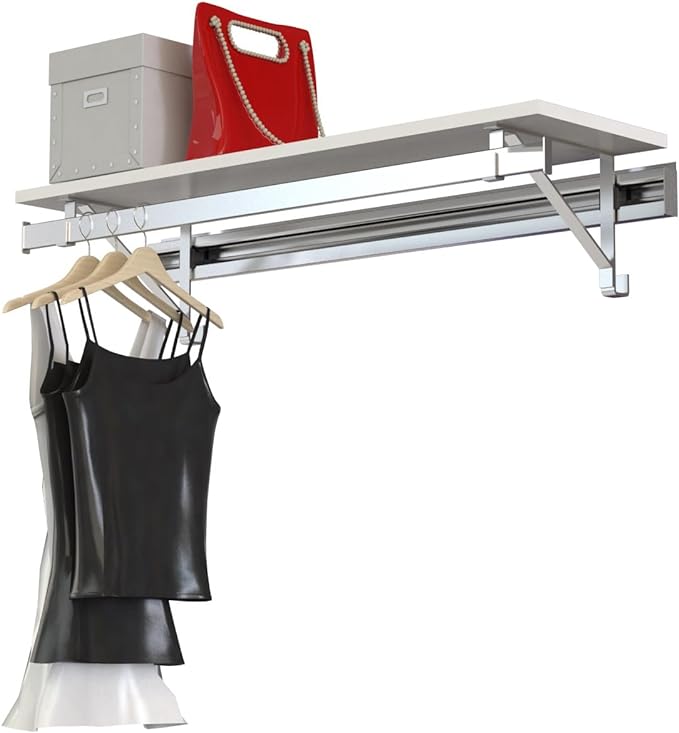
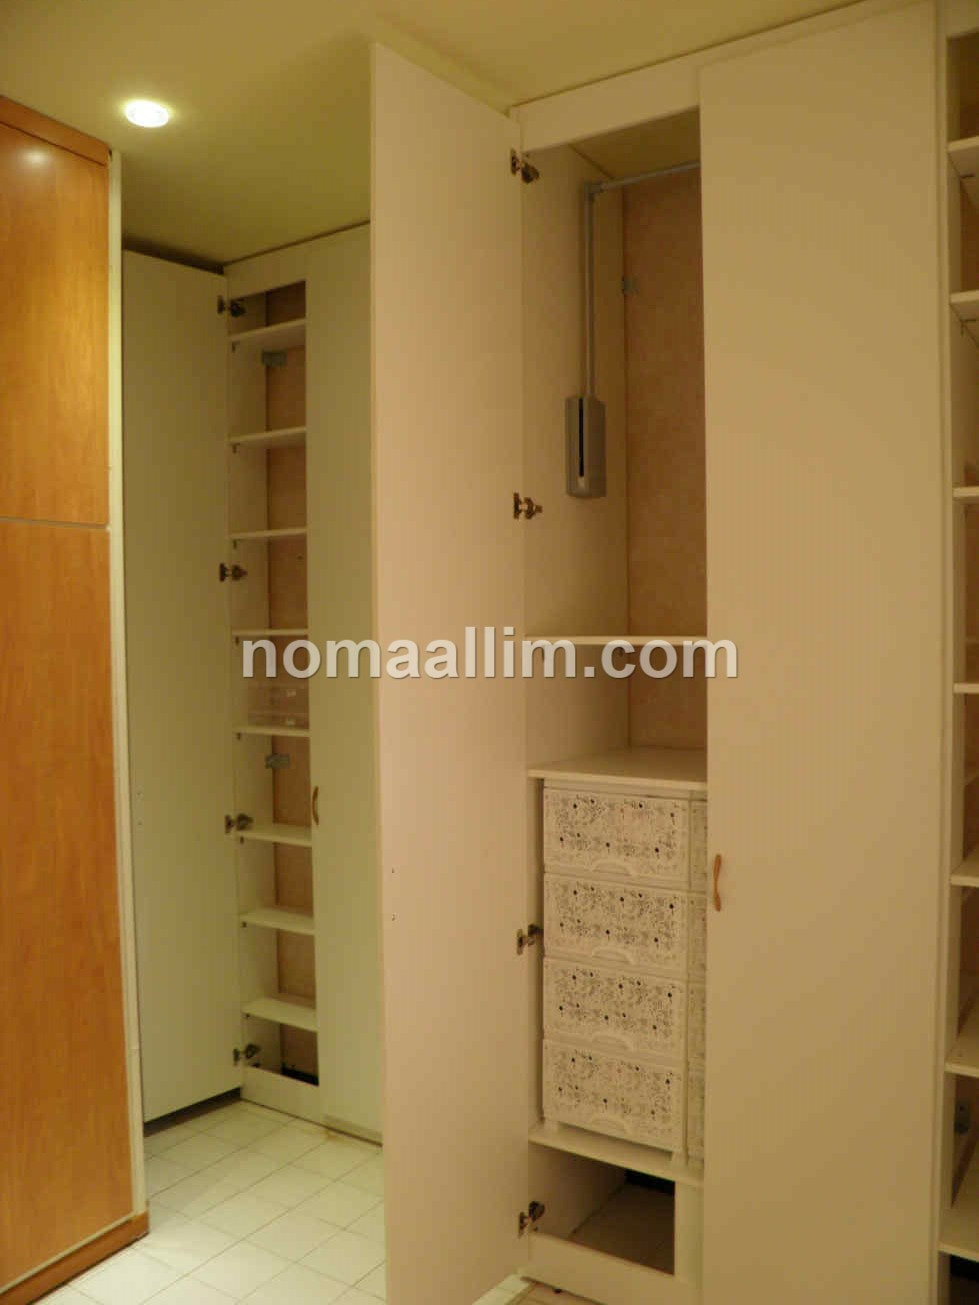
Pull down wardrobe hanger rail lift installation
In order to avoid using a ladder, this pull down hanger with piston lifts from "Servetto" has been fitted to the wardrobe.
It is simply installed at half depth of the cupboard so hanged clothes are centered over the depth, and as high as possible in a manner that the pull down hanger rail does not touch the upper wood panel that links the side panels of the wooden box (see lower picture).
It is simply installed at half depth of the cupboard so hanged clothes are centered over the depth, and as high as possible in a manner that the pull down hanger rail does not touch the upper wood panel that links the side panels of the wooden box (see lower picture).
|
|
|
|
|

|
|
|
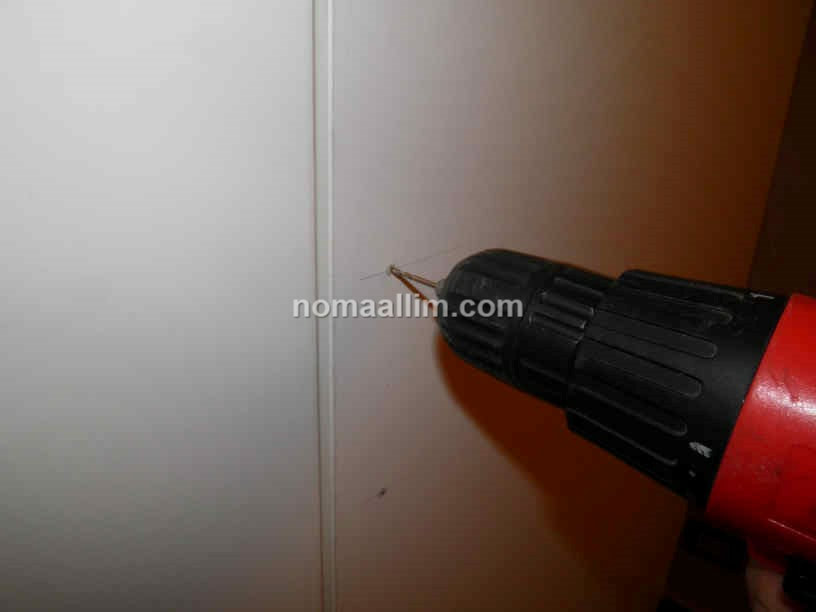
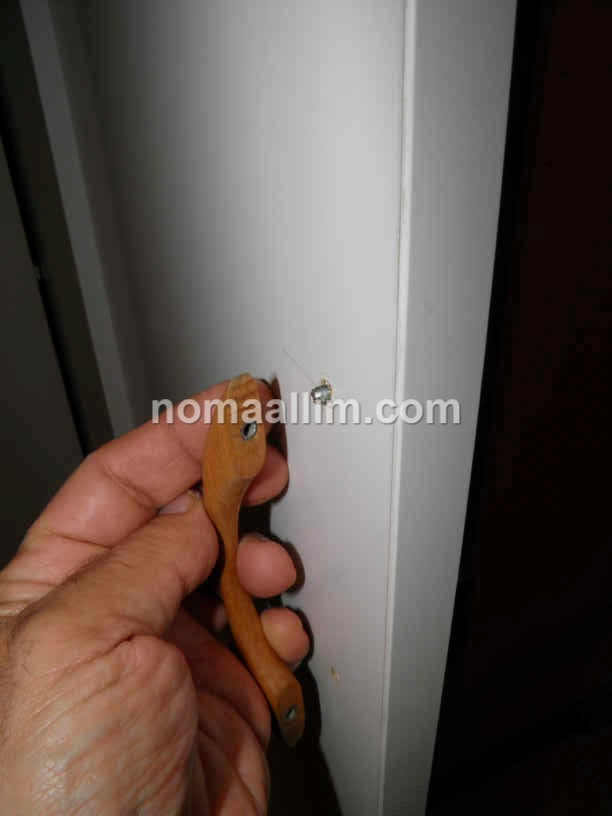
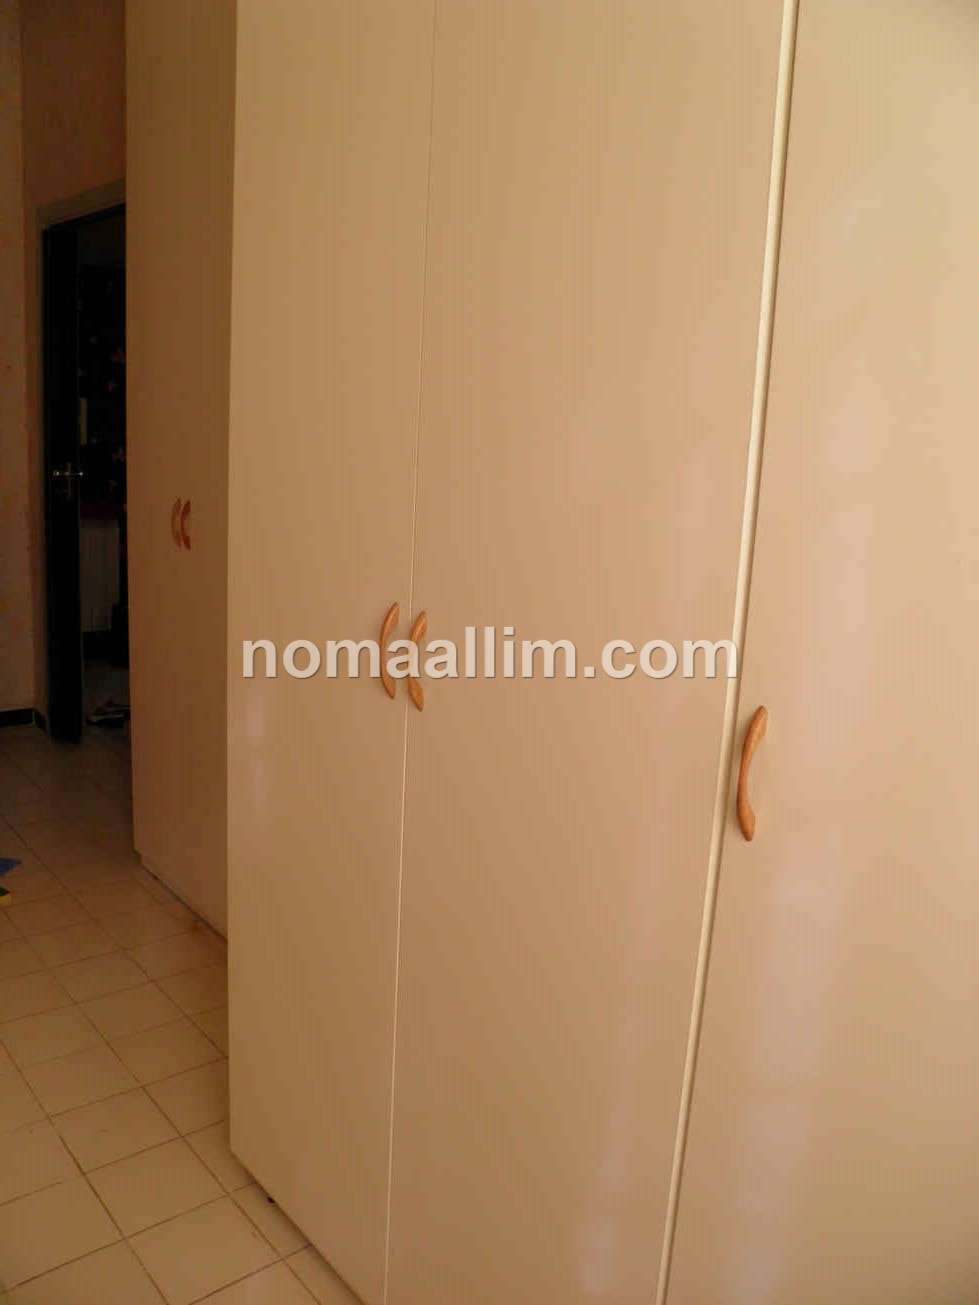
Cupboard handles installation
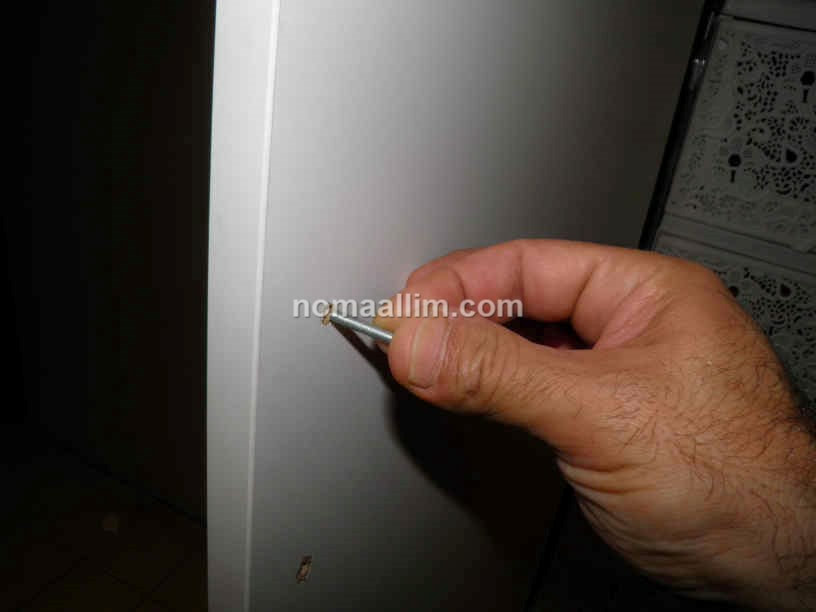
The cupboard door handles in this case require 2 holes.
A metal drill bit of 4.5 mm is used to drill the cupboard doors at the right distance measured as follows:
A metal drill bit of 4.5 mm is used to drill the cupboard doors at the right distance measured as follows:
- handle to be between 100 and 120 cm from floor level
- handle to be 4 to 5 cm away from the cupboard door edge
- distance between holes to match the ones of the handle
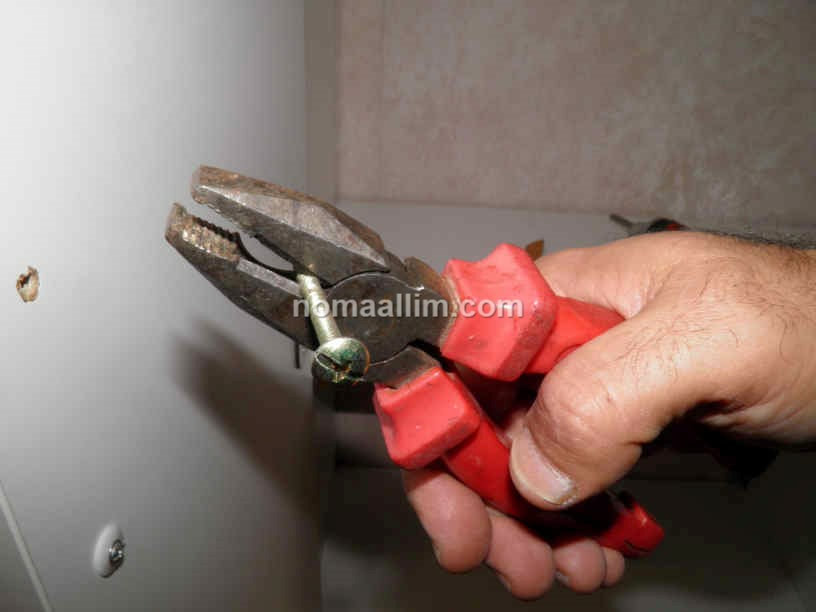
A typical cupboard door handle screw is of 4 mm diameter which explains why a drill bit of 4.5 mm has been used.
Note in the above pictures how the door handle screw has been cut to the right length with multipurpose pliers.
Note in the above pictures how the door handle screw has been cut to the right length with multipurpose pliers.
|
|
|
|
|
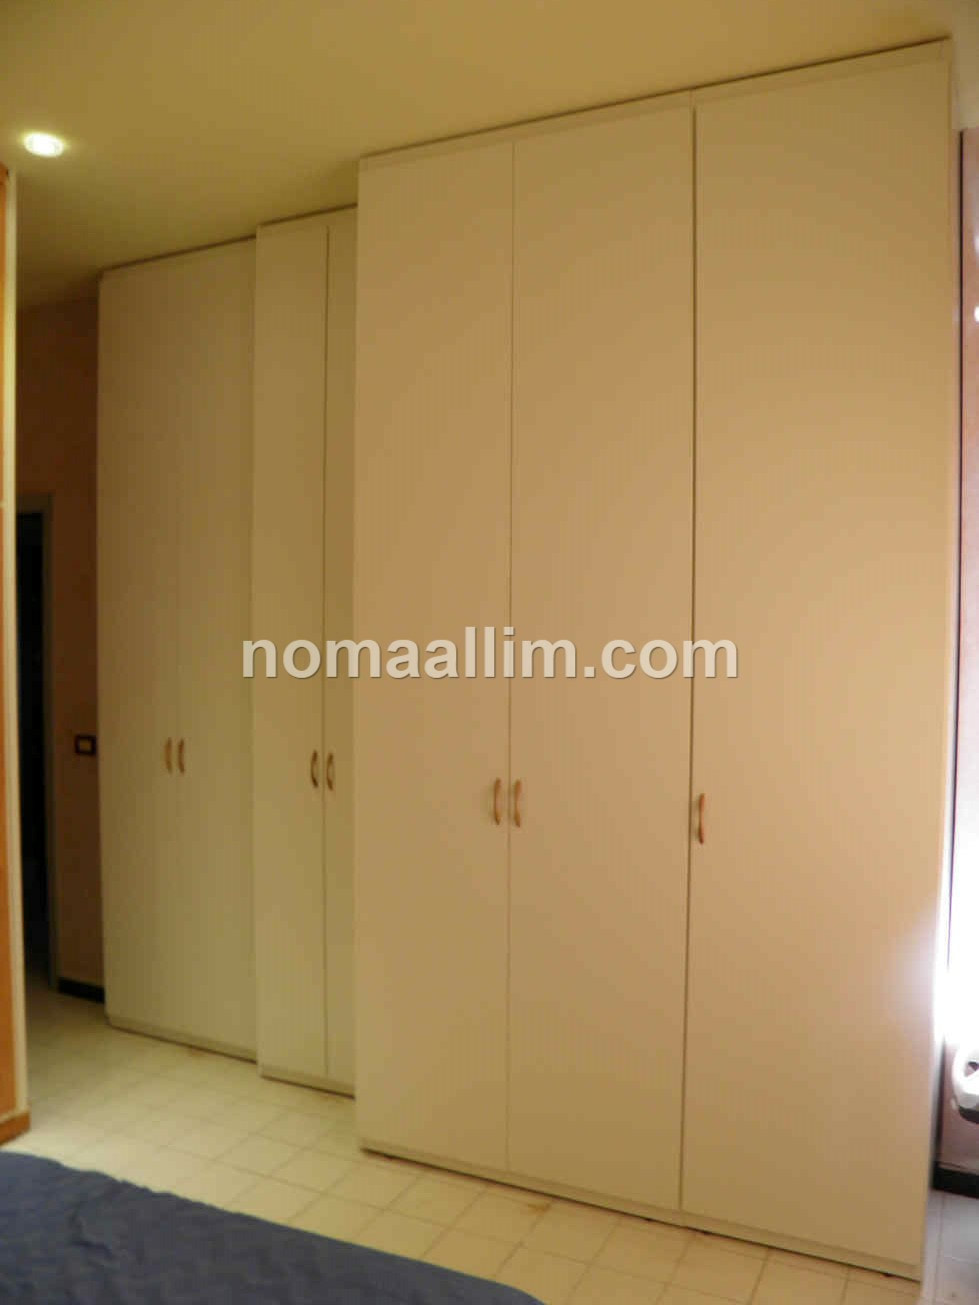
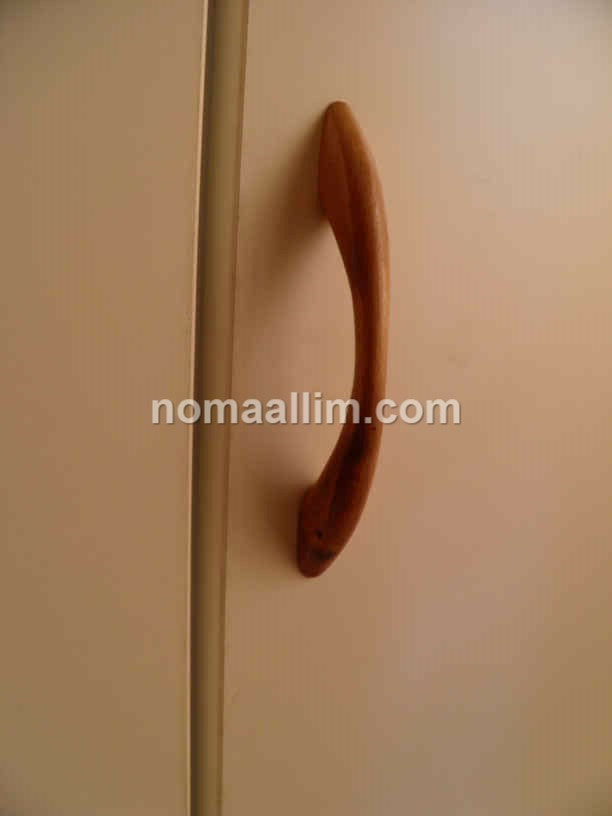
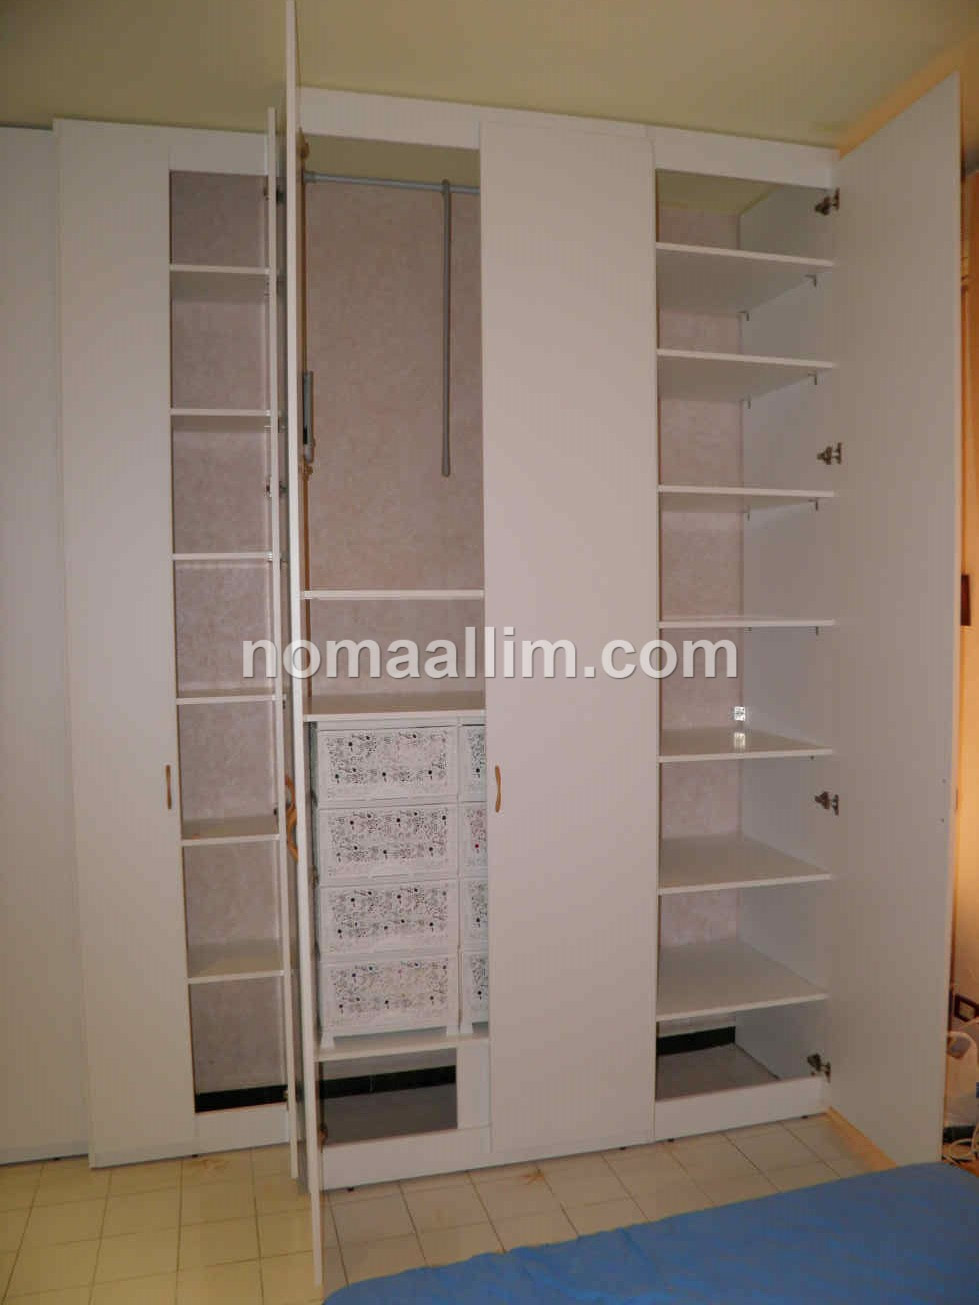
End result: a large wardrobe from floor to ceiling, wall to wall
The end result of floor-to-ceiling and wall-to-wall wardrobes is always elegant and drastically enhances the look of your bedroom.
It provides quite a lot of storage space for shoes, clothes, coats, etc.
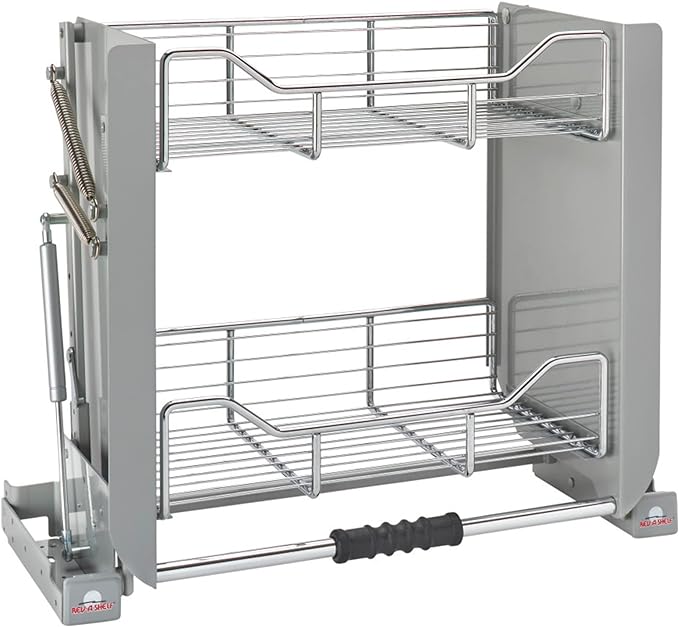
Plastic drawers have been integrated to one of the cabinets.
It provides quite a lot of storage space for shoes, clothes, coats, etc.
Plastic drawers have been integrated to one of the cabinets.
|
|
|
|
|
|
|
|