COPYRIGHT WARNING:
All pictures and texts in this web page are the property of nomaallim.com. Any use of any part of those contents without the written consent of nomaallim.com shall be subject to legal procedures as per international and local laws in the concerned country. Using the name "nomaallim" or "nomaallim com" or "nomaallim.com" in the text describing the unauthorized copied content shall not constitute an exception and shall be sanctioned in accordance to the effective laws and proceedings.
All pictures and texts in this web page are the property of nomaallim.com. Any use of any part of those contents without the written consent of nomaallim.com shall be subject to legal procedures as per international and local laws in the concerned country. Using the name "nomaallim" or "nomaallim com" or "nomaallim.com" in the text describing the unauthorized copied content shall not constitute an exception and shall be sanctioned in accordance to the effective laws and proceedings.
|
BEFORE YOU START:
Visit our general Cupboard Building page showing the basics of chipboard assembly method and accessories. DISCLAIMER:
Our pictorials are of informative nature and do illustrate works carried out by ourselves at our own premises for our own use and satisfaction. Readers who envisage to carry similar works inspired by the below method shall do this at their own risks and liability. |
|
|
|
Step 1 - Understanding how to build a bookshelf
|
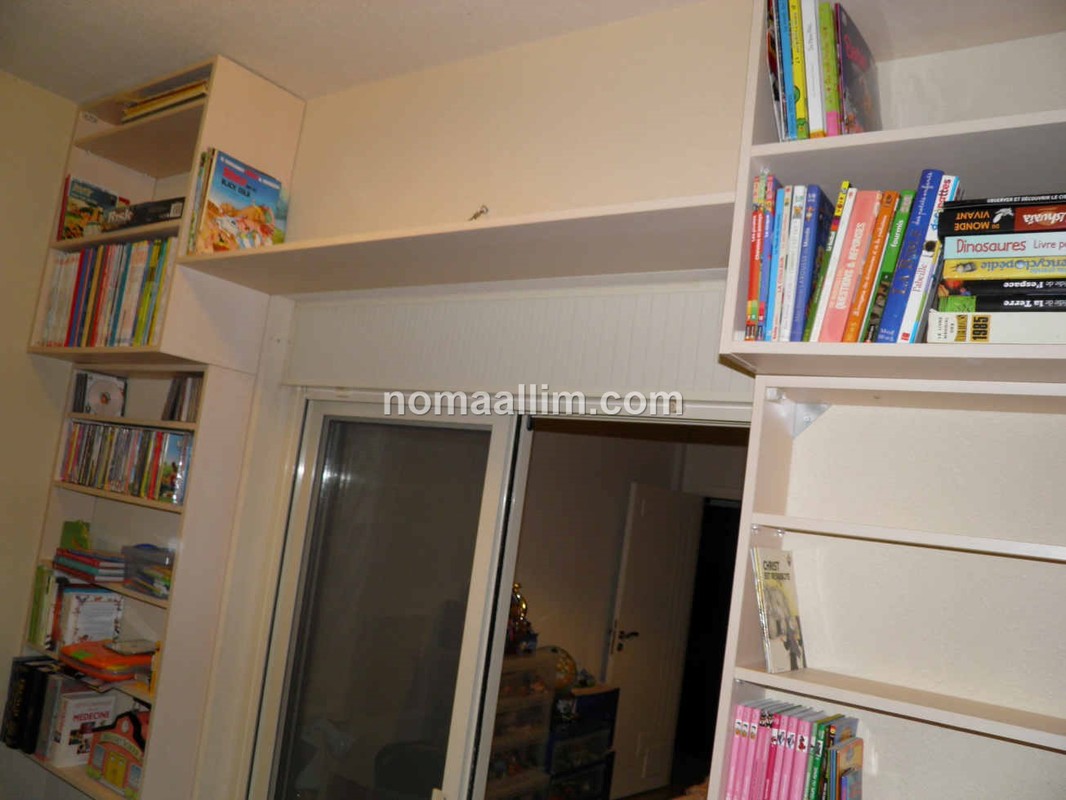
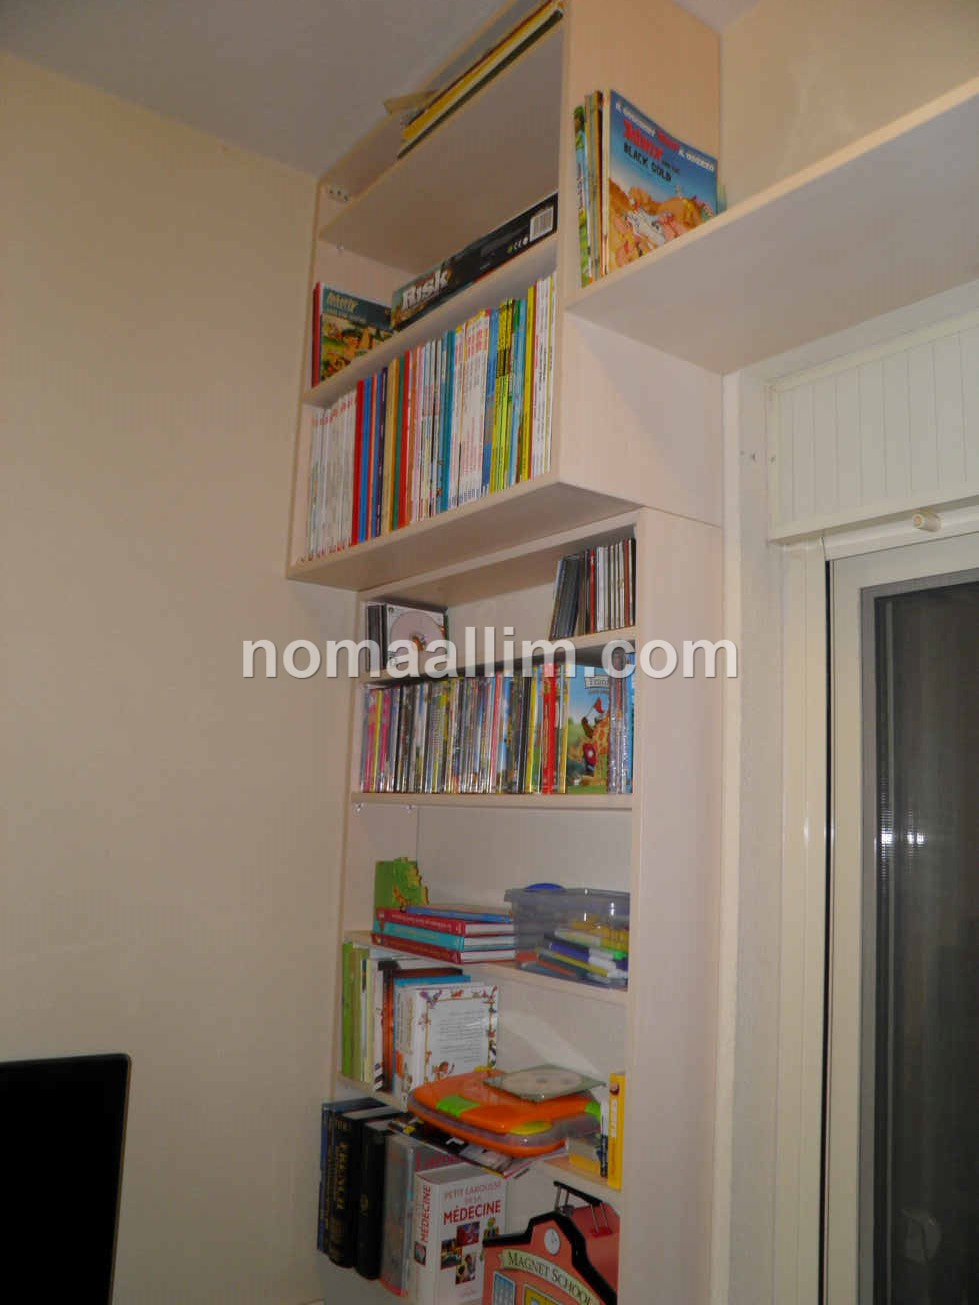
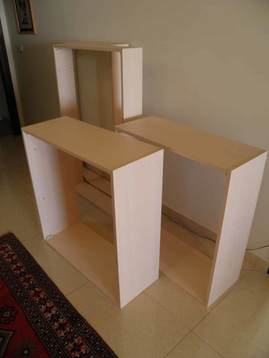
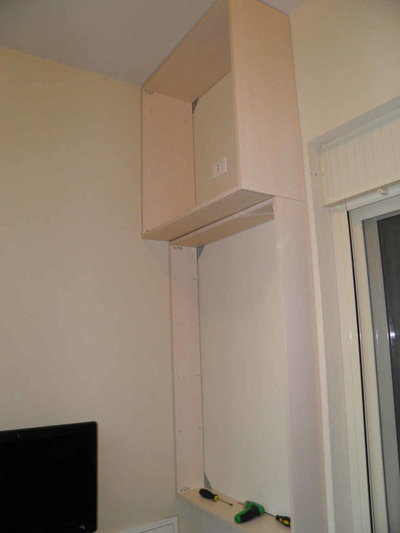
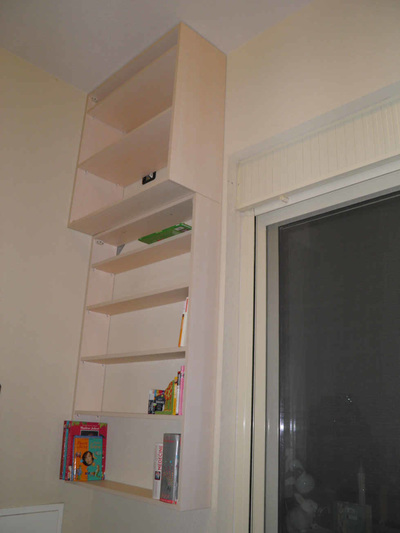
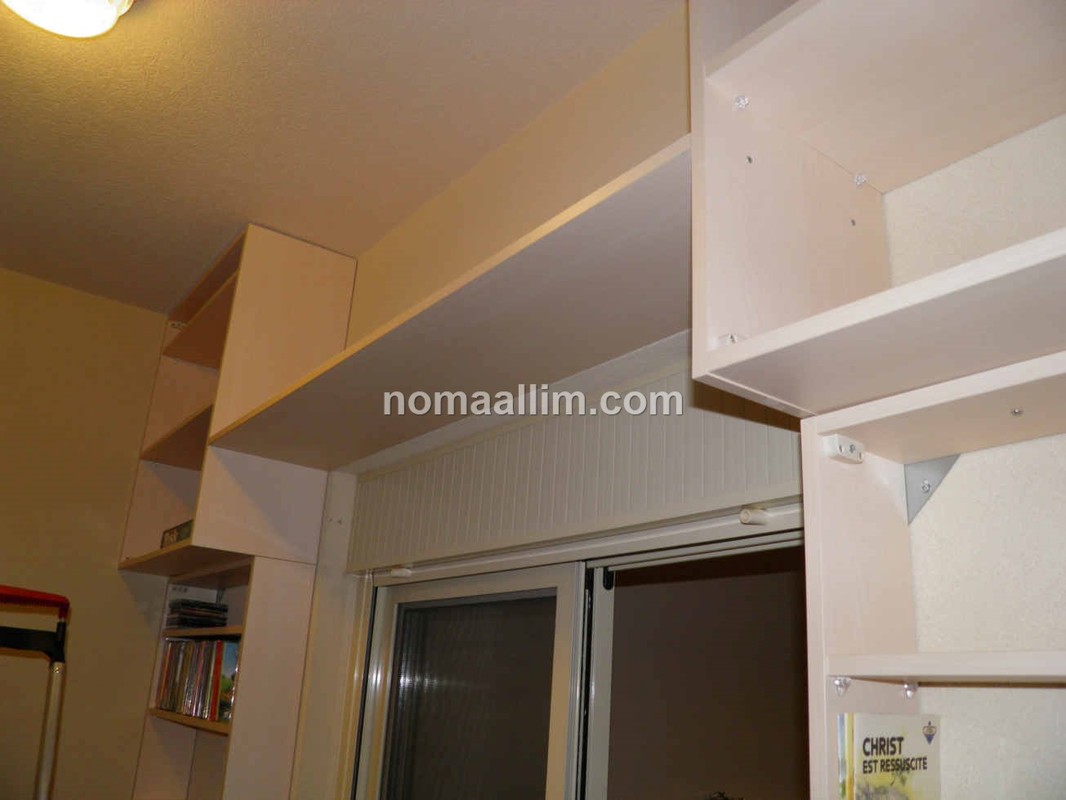
This is a U-shaped and wall hung bookcase built on each side of a balcony door.
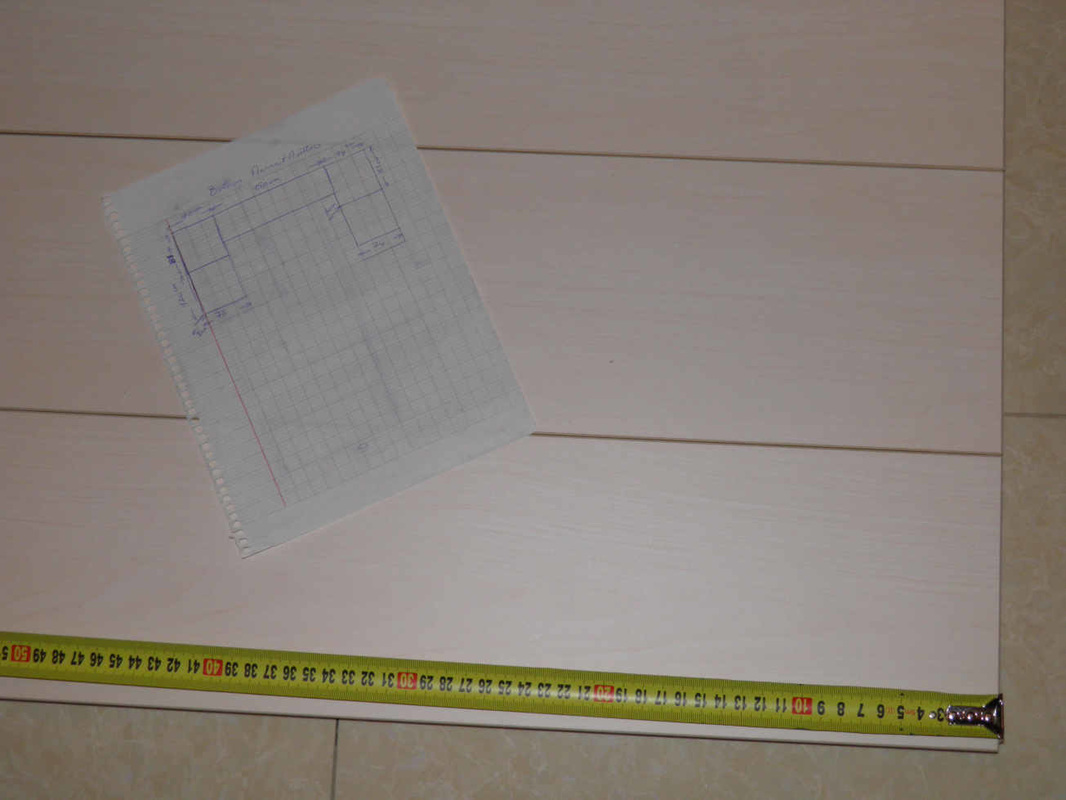
It includes 5 separate elements:
The method is as follows:
|
|
|
|
Step 2 - Preparing the side panels of the bookcase to receive shelves
Based on your overall bookshelf height and the number of shelves you ordered, determine the spacing between shelves that most suits your uses. Do not hesitate to measure your books, objects, etc. prior to making such decision.
Once done, follow the below steps to prepare for the shelves installation:
Once done, follow the below steps to prepare for the shelves installation:
|
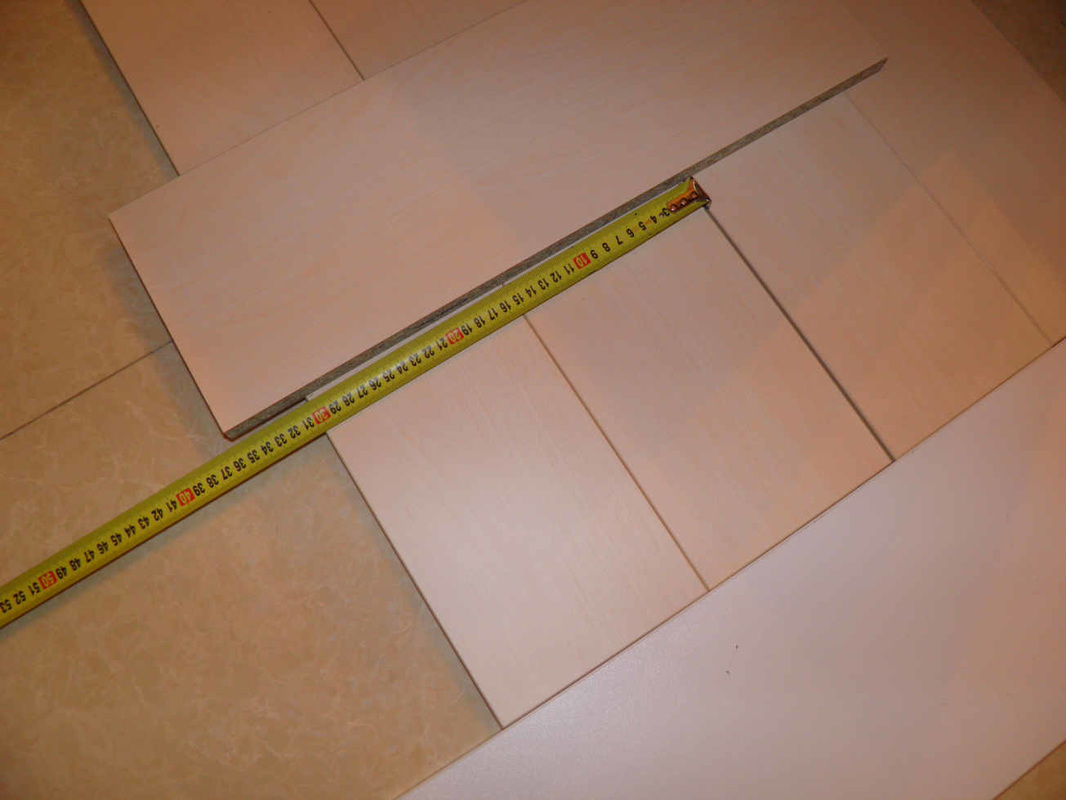
1- Align on the floor all side panels. Make sure the surface is flat, in particular don't work on carpets.
|
2- Use two other panels, one at their bottom to make sure they remain well aligned and the other used to draw the marks.
|
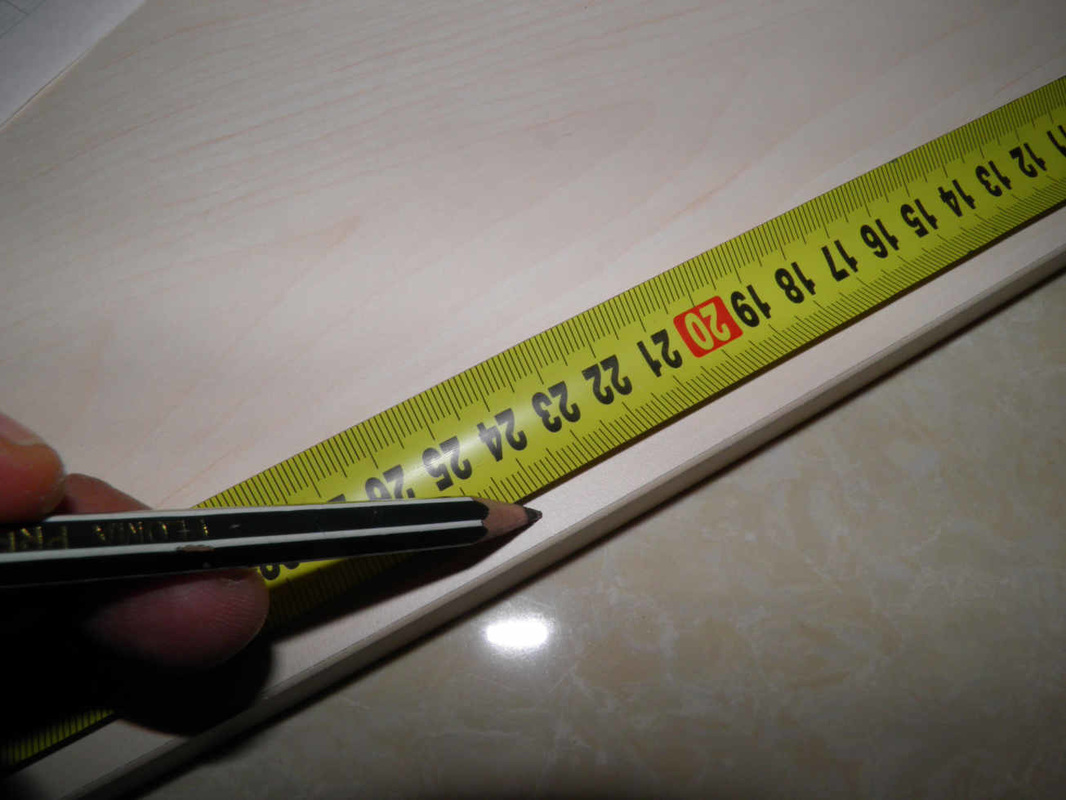
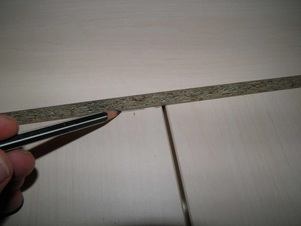
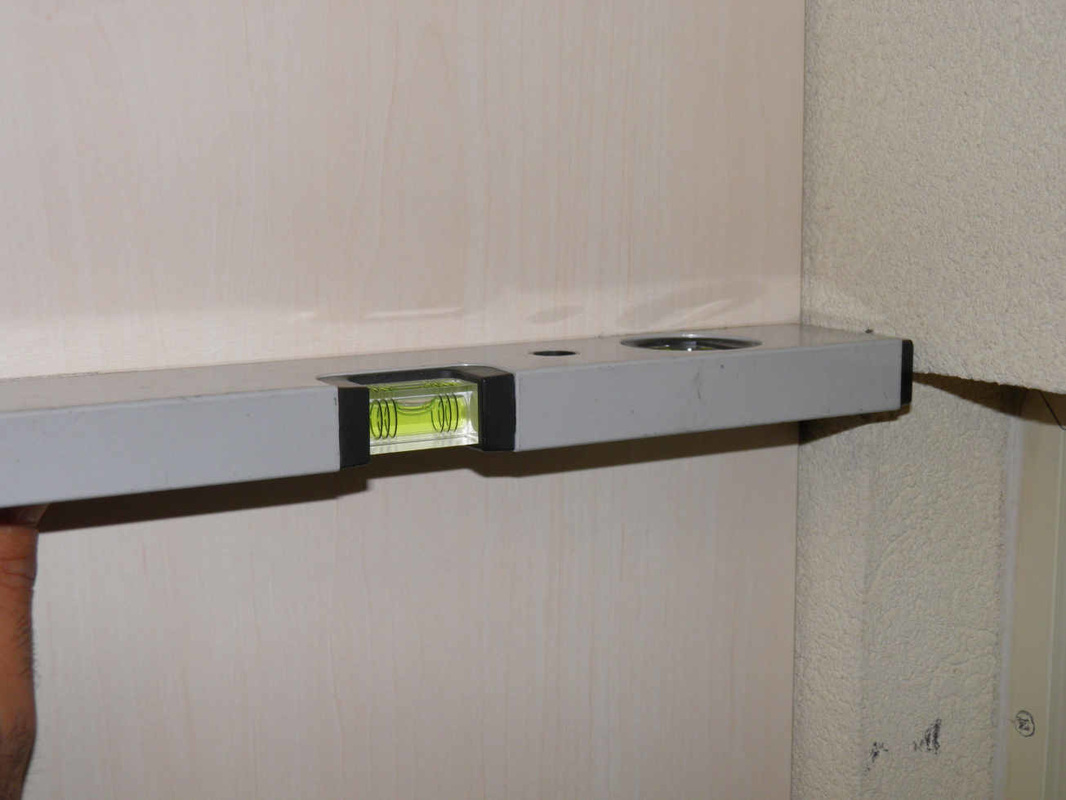
3- Use a pencil to mark the shelves levels on the two opposite extremities.
|
|
4- Place the marks on all panels at a time since these are aligned. This will allow you to save time instead of marking them one by one.
|
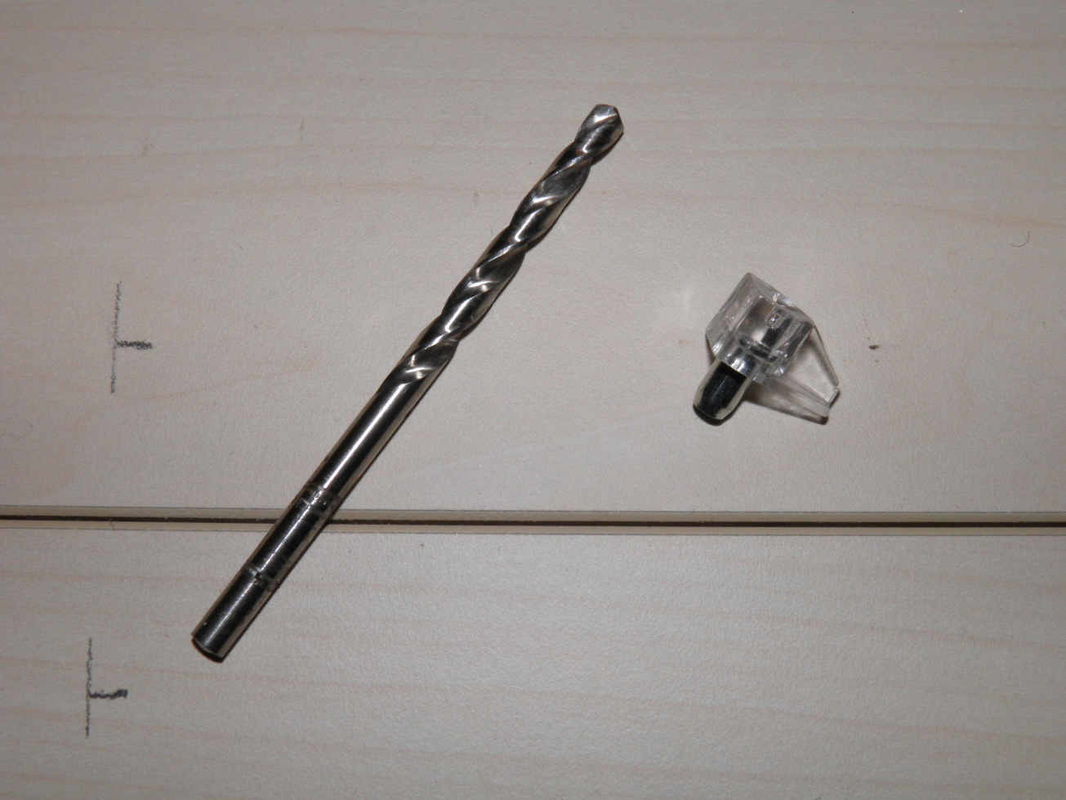
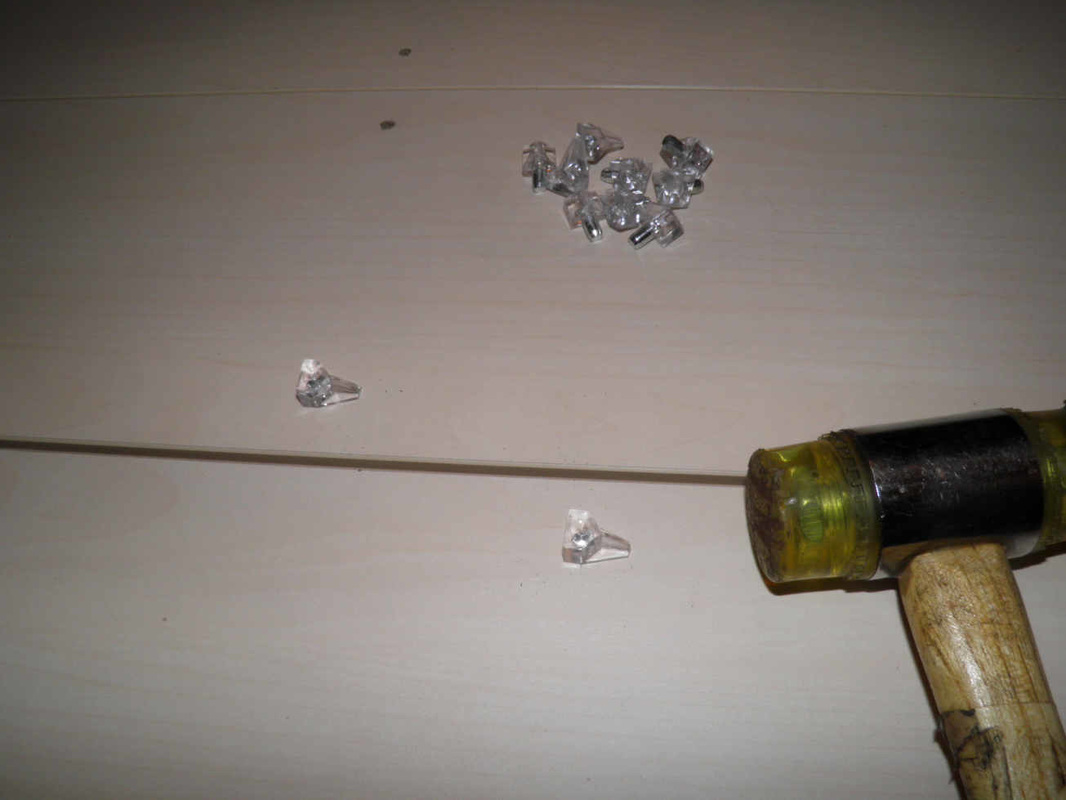
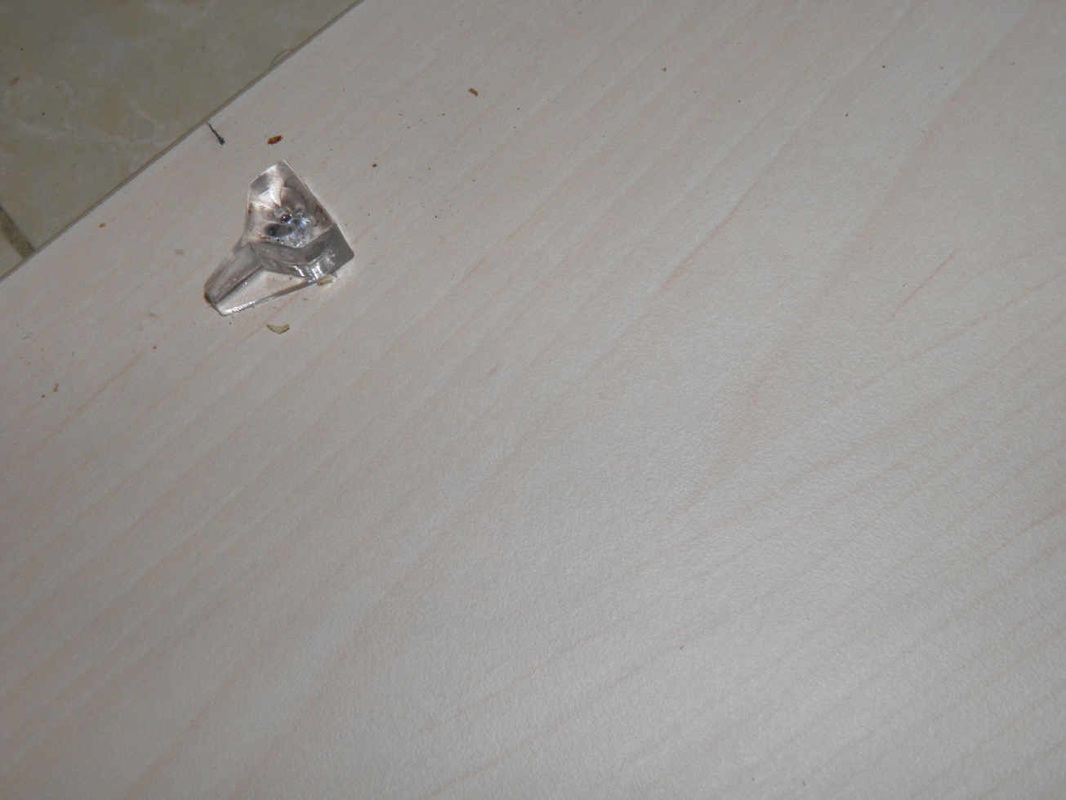
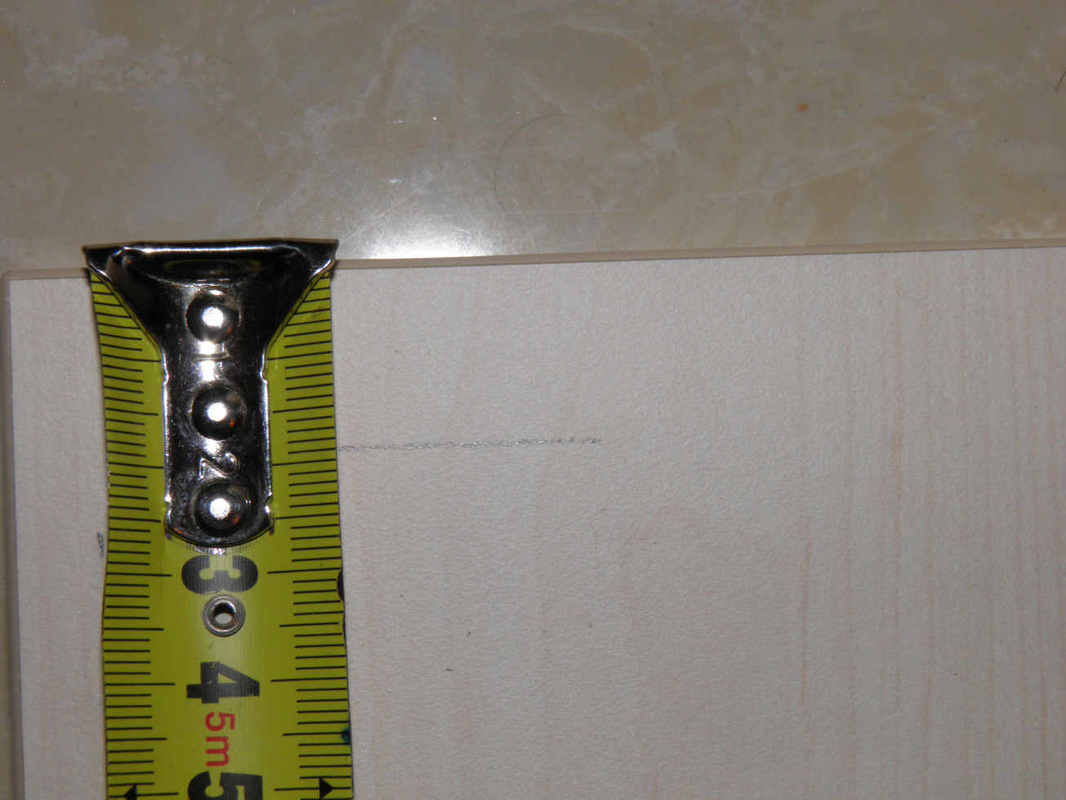
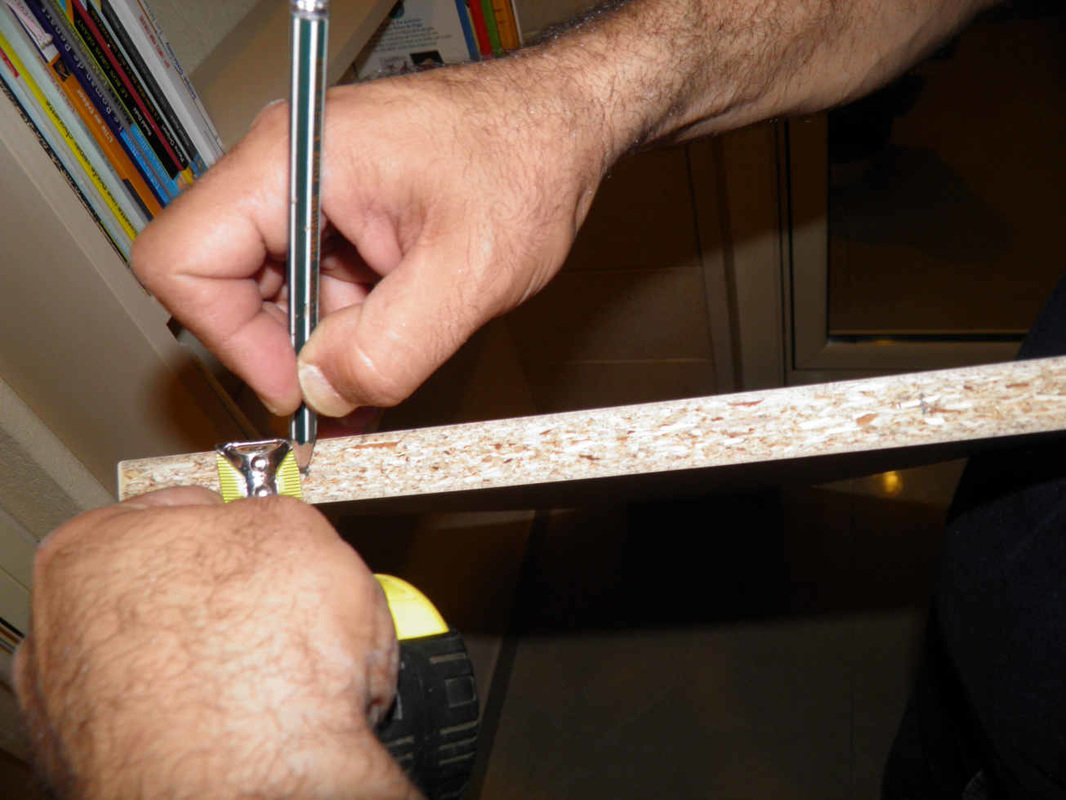
5- Mark also the distance from edge where you intend to fit the shelf pin (peg). Some 2 cm in this case. Normal range is from 2-7 cm depending on cabinet depth.
|
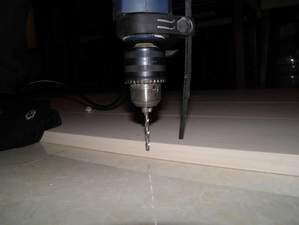
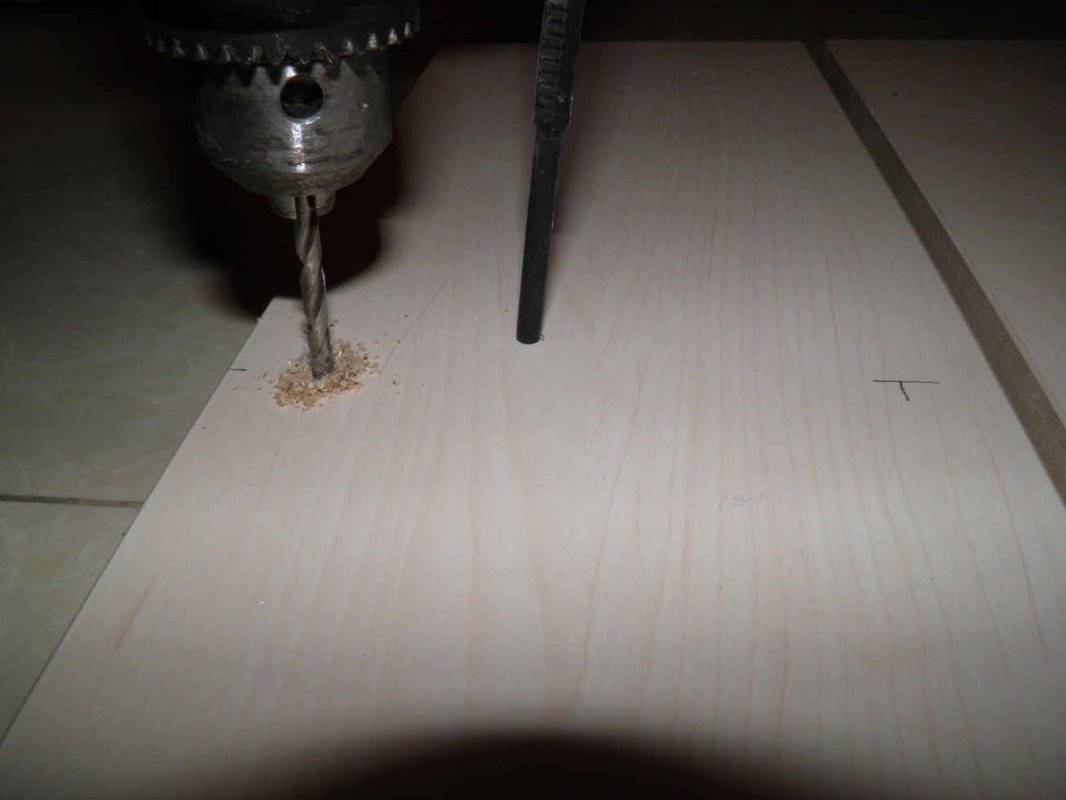
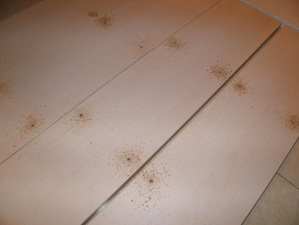
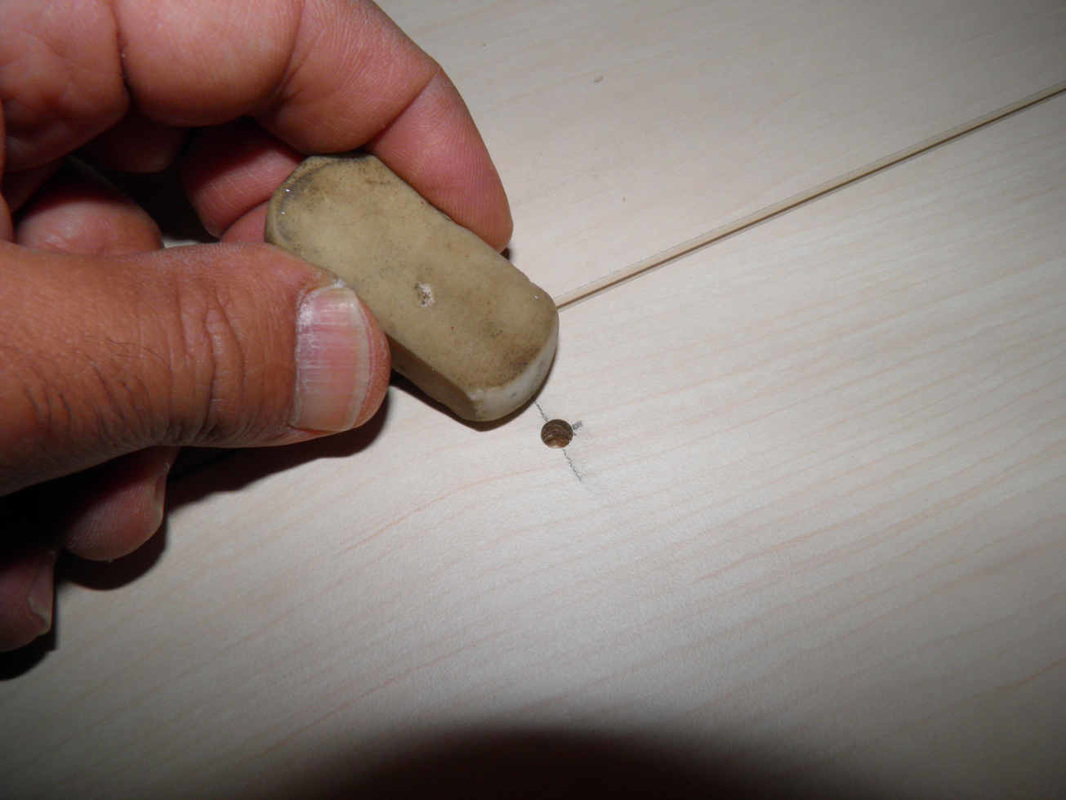
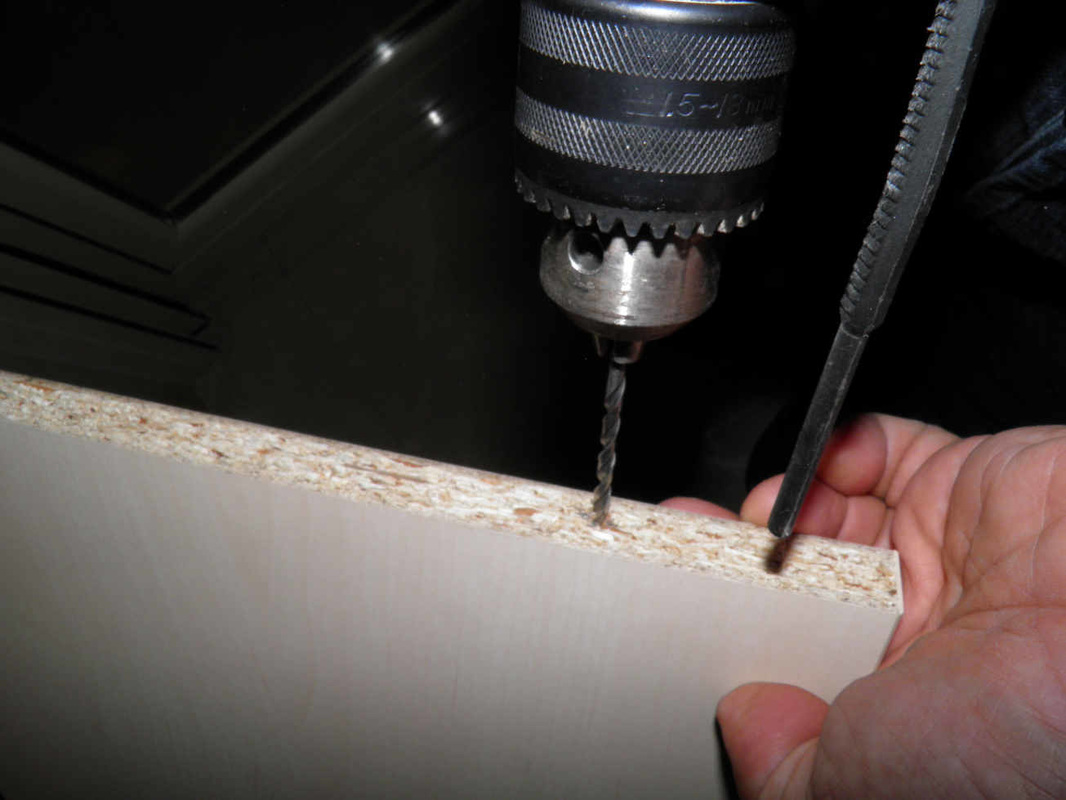
6- Adjust your drill bit in a manner not to let it pierce the wood to the other side. Use a 4.6 or 4.8 mm metal bit.
|
|
|
|
Step 3 - Assembling the bookshelf sides, bottom and top
There are many possibilities to assemble the wooden case.
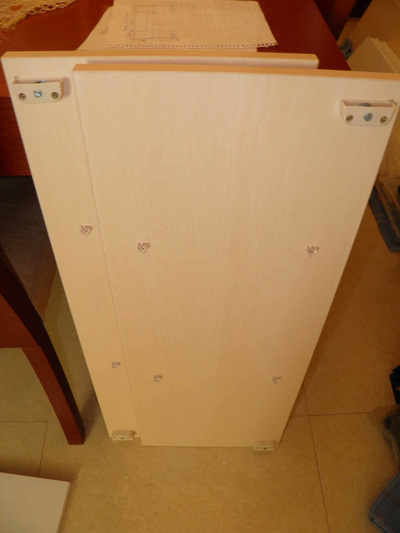
In this example surface mount jointing blocks are used as they offer a quick and immediate way of having the boxes assembled:
In this example surface mount jointing blocks are used as they offer a quick and immediate way of having the boxes assembled:
|
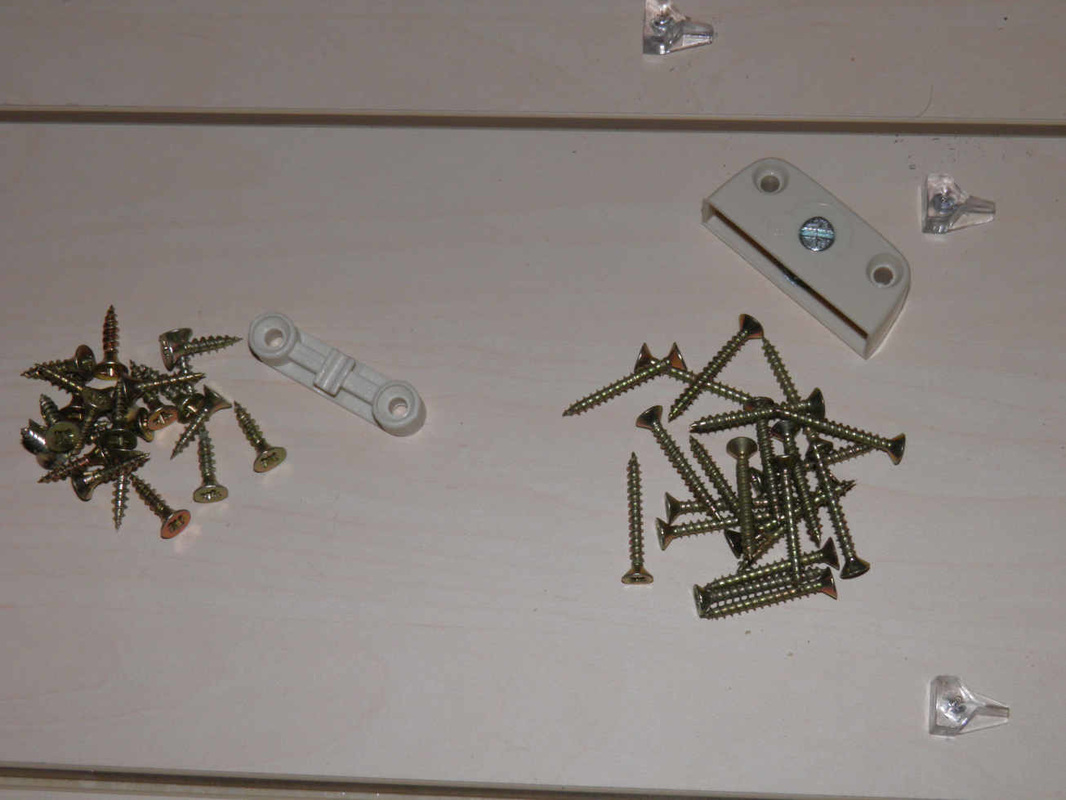
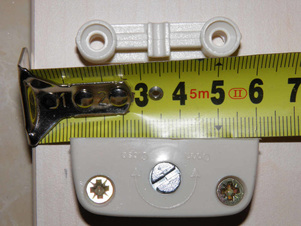
1- Prepare the jointing block along with 2 cm and 3.5 cm chipboard screws of 4 or 4.5 mm diameter.
|
2- The wood panels in this case are 18 mm thick reason why a mark at 19 mm is placed on the bottom panel.
|
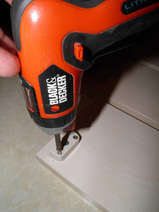
3- The center of the jointing block is marked at 3.5 cm from edge before being fixed with a cordless screwdriver.
|
|
4- You now need to fix the second part of the jointing block to the side panel at the same 3.5 cm distance from edge.
|
5- Vertically, it only needs to be at 1.5 mm from the edge as it has to go into the other part as shown.
|
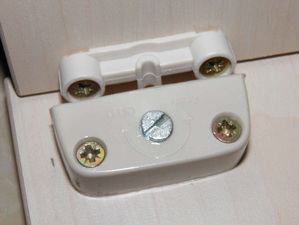
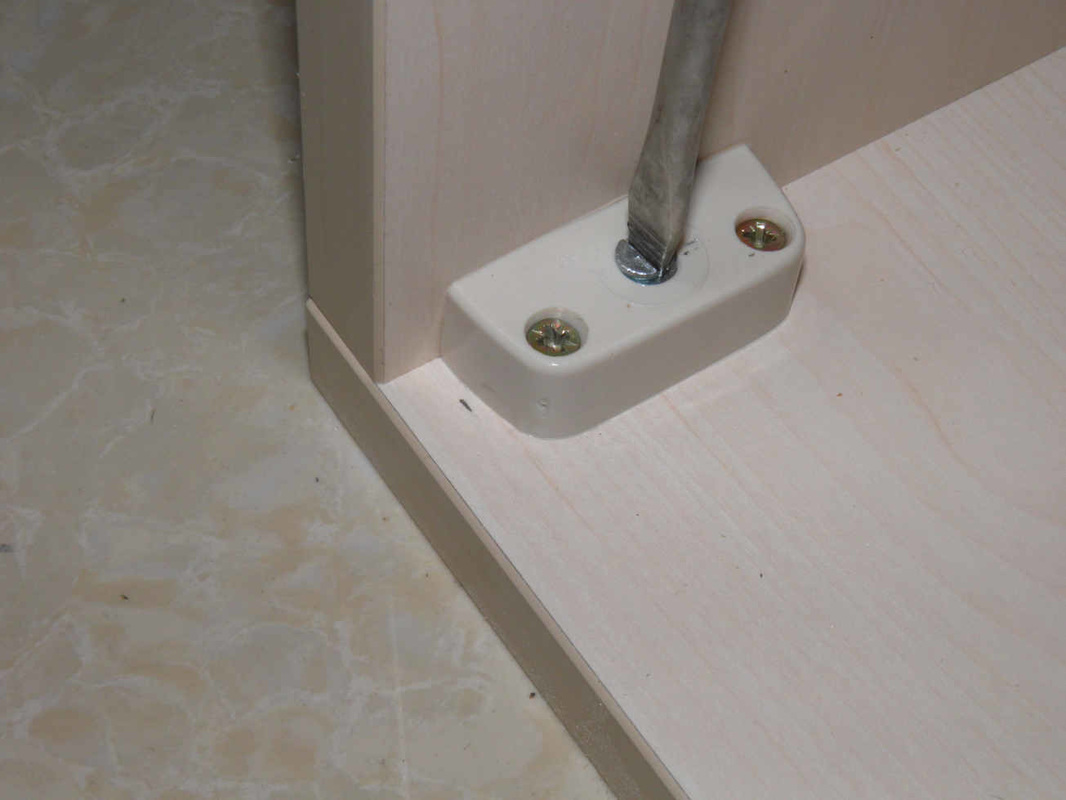
6- Insert the two parts of the jointing block together and turn the screw for tightening. Repeat the same on all panels.
|
|
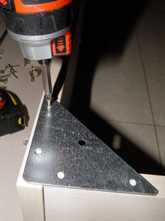
7- It is to note that in this particular case of low depth cabinets, only one jointing block will be used towards the front while a metal triangle that will serve to hang the bookshelf will be fitted to the backside.
|
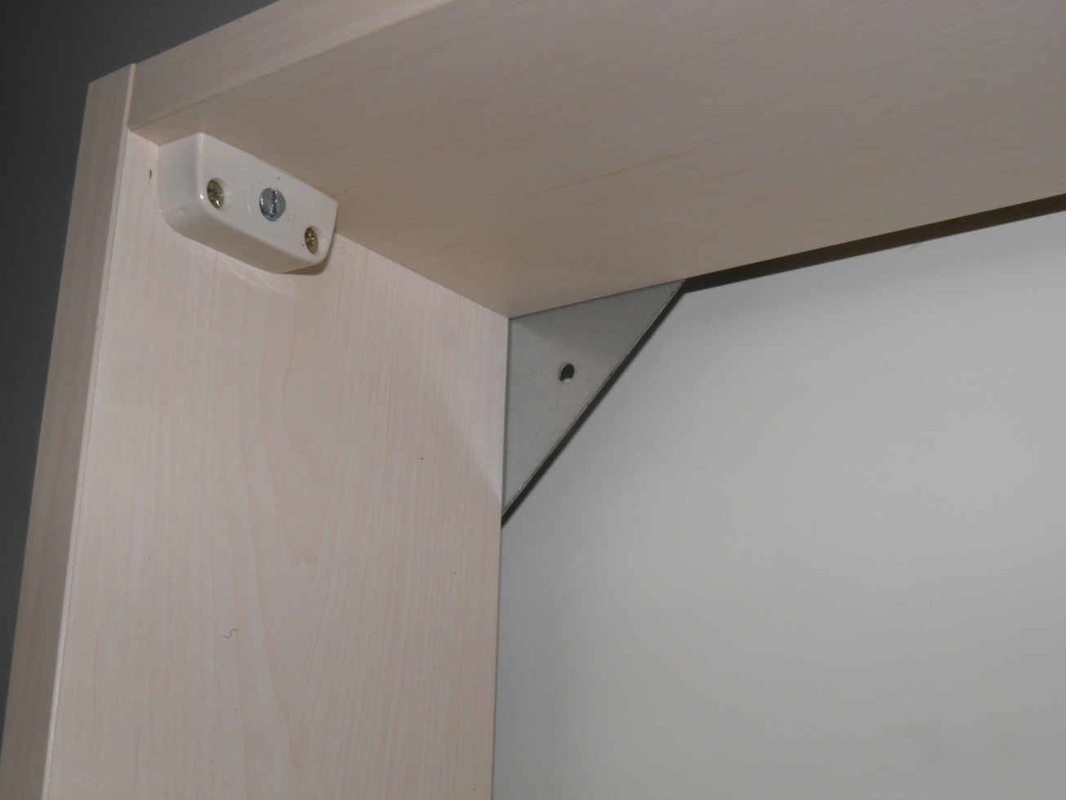
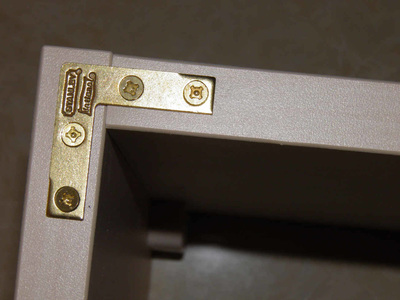
8- This picture shows how each two perpendicular panels are now fixed together with the jointing block to the front side and a metal corner to the wall side. No back cover is considered here, the wall will still be visible.
|
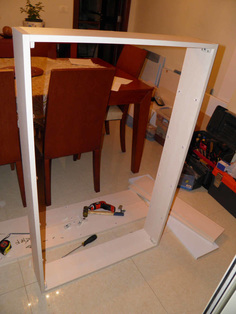
9- This bookshelf case is now ready to be hanged to the wall.
|
|
|
|
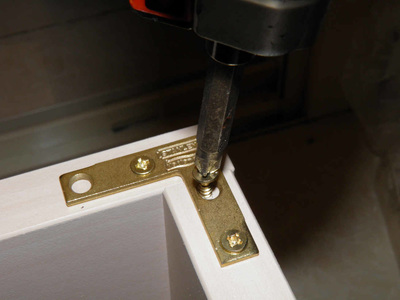
The same procedure will be repeated to the 30 cm bookcases with a difference however since these do sit on the lower cabinets. There is no need to fix them to the wall with 4 screws on the 4 angles. Only two triangles are fixed to the top while brass flat angle (corner) braces are used on the lower angles as shown below:
Step 4 - Hanging the Bookcases to the wall
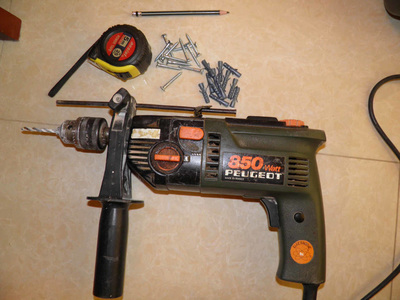
Hold first the upper box in place while making sure it touches the ceiling and wall, mark and drill the fixing holes and then hang it with strong screws. Use 6 mm wall plugs on masonry walls with 4.5 mm wooden screws of 5 cm length.
Complete the assembly by fixing both boxes together.
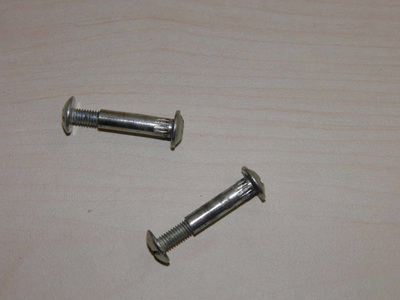
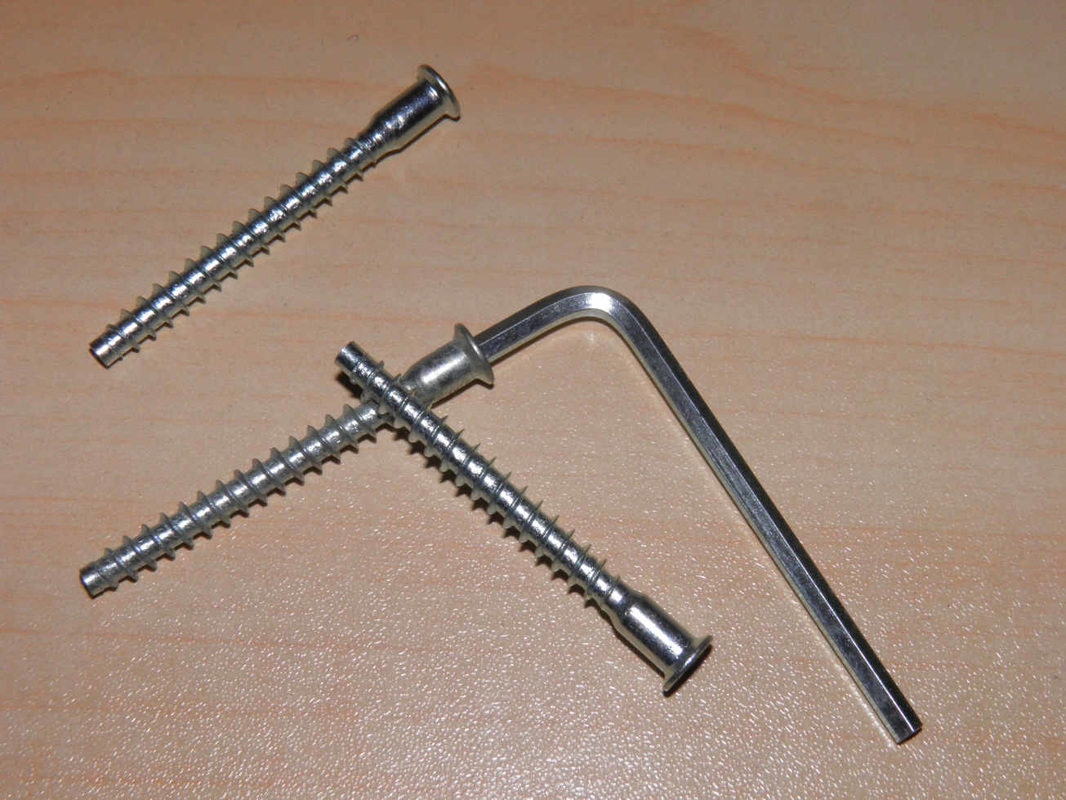
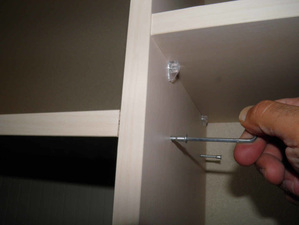
Use the below shown furniture jointing screws (barrel nut furniture screws) which are supplied in two parts, male / female.
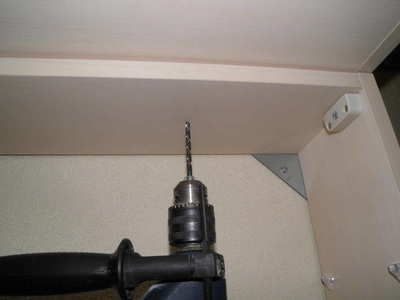
Drill the wood panels from side to side, fit the female on one side, the male to the other and tighten well.
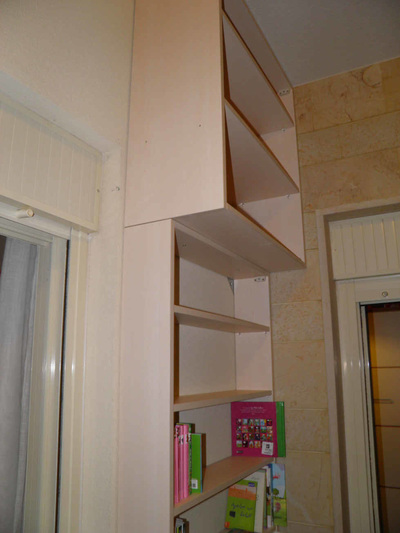
Each bookshelf on each side of the door is now fixed with 6 screws to the wall.
Each part of the bookshelf is fixed to the other by the means of 2 jointing screws.
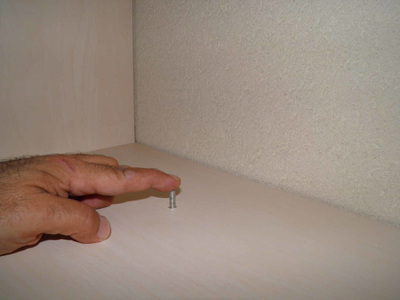
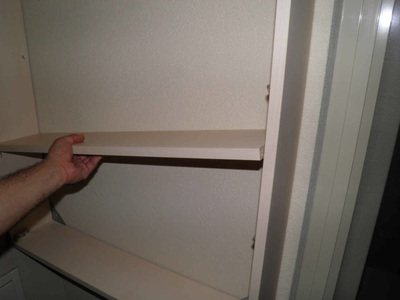
You may now place the shelves onto their fitted cleats.
|
|
|
Step 5 - Adding a shelf between the cabinets
This is an optional shelf that runs above the door from bookcase to bookcase
Step 6 - Strengthening the shelf between bookcases
This shows how to provide an invisible middle support for the central shelf.
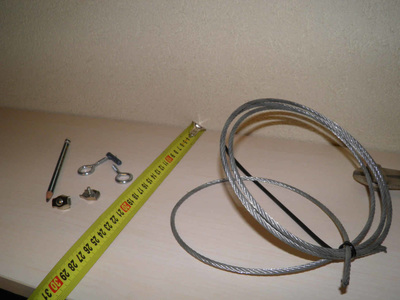
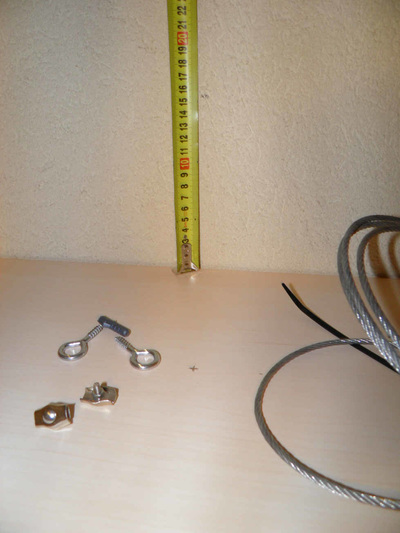
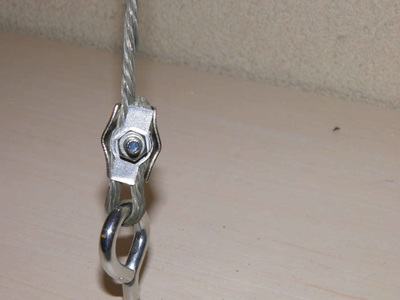
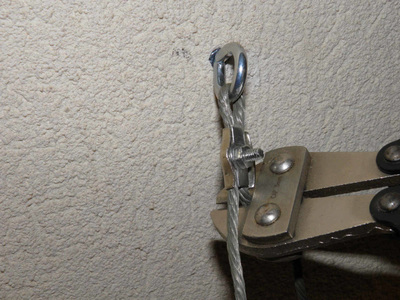
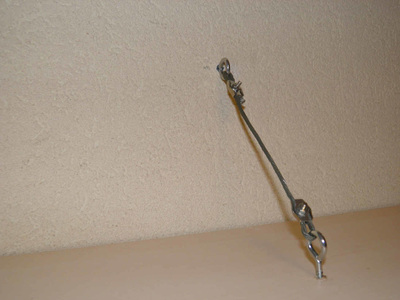
A steel cable is used to anchor it to the wall behind.
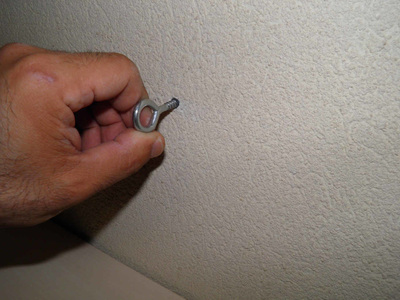
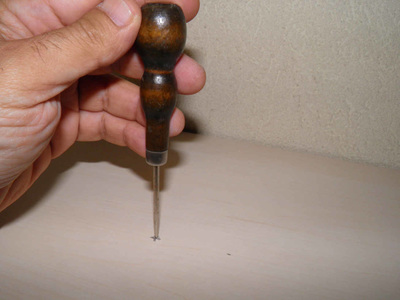
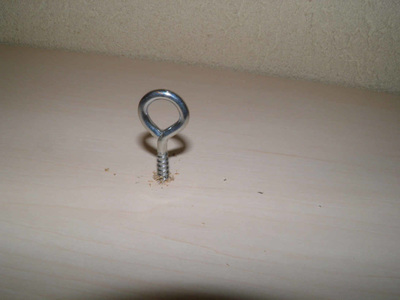
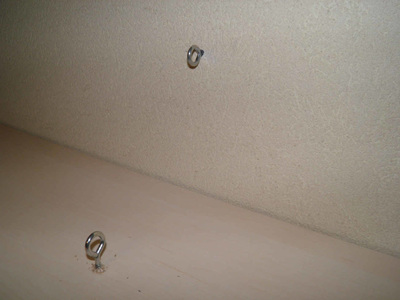
Measure half the shelf depth and the same distance on the wall. Drill both and fit rings.
Fit the cable with its specific accessories and cut the excess length once done.
The whole bookcase is now ready to receive its load.
A steel cable is used to anchor it to the wall behind.
Measure half the shelf depth and the same distance on the wall. Drill both and fit rings.
Fit the cable with its specific accessories and cut the excess length once done.
The whole bookcase is now ready to receive its load.
See also...
|
|
|

