COPYRIGHT WARNING:
All pictures and texts in this web page are the property of nomaallim.com. Any use of any part of those contents without the written consent of nomaallim.com shall be subject to legal procedures as per international and local laws in the concerned country. Using the name "nomaallim" or "nomaallim com" or "nomaallim.com" in the text describing the unauthorized copied content shall not constitute an exception and shall be sanctioned in accordance to the effective laws and proceedings.
All pictures and texts in this web page are the property of nomaallim.com. Any use of any part of those contents without the written consent of nomaallim.com shall be subject to legal procedures as per international and local laws in the concerned country. Using the name "nomaallim" or "nomaallim com" or "nomaallim.com" in the text describing the unauthorized copied content shall not constitute an exception and shall be sanctioned in accordance to the effective laws and proceedings.
DISCLAIMER:
Our pictorials are of informative nature and do illustrate works carried out by ourselves at our own premises for our own use and satisfaction.
Readers who envisage to carry out similar works inspired by the below method shall do this at their own risks and liability.
Our pictorials are of informative nature and do illustrate works carried out by ourselves at our own premises for our own use and satisfaction.
Readers who envisage to carry out similar works inspired by the below method shall do this at their own risks and liability.
|
CONTEXT:
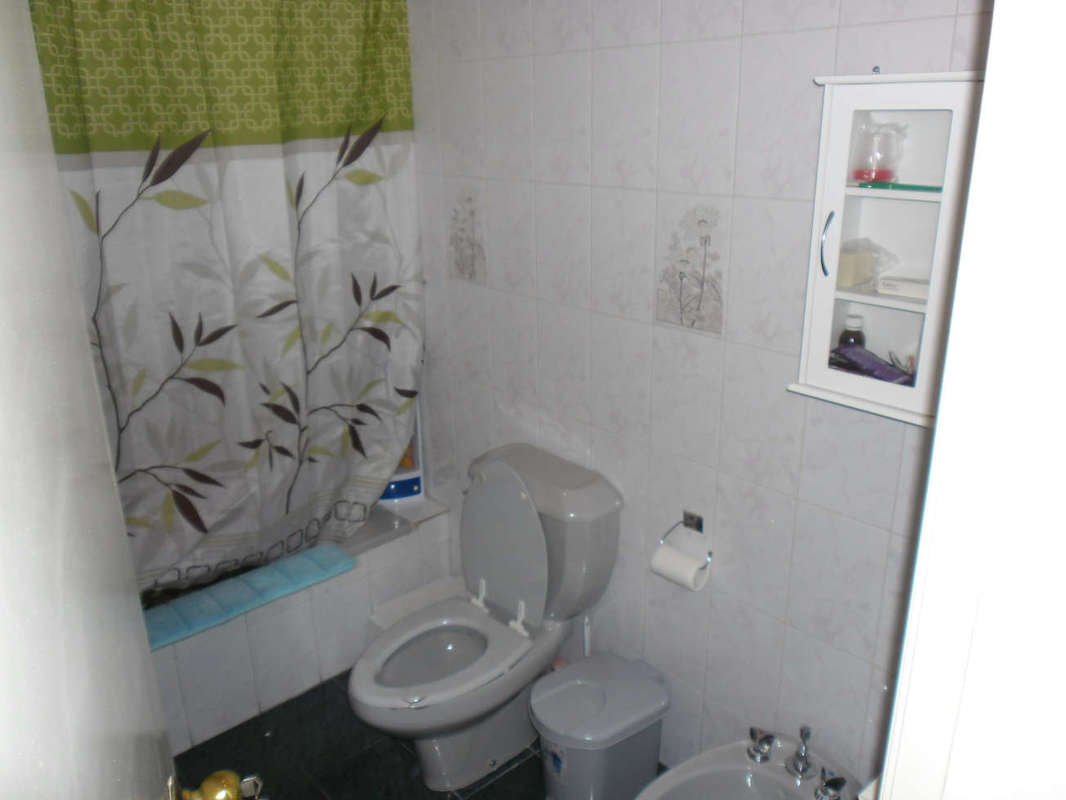
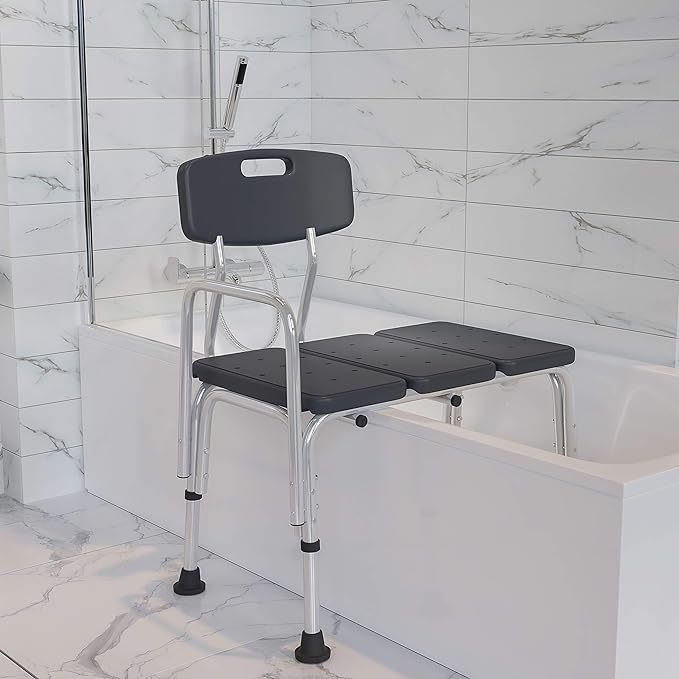
This bathroom was initially built with a bath tub that is no more convenient for an elderly person. There are 3 possible solutions shown here by decreasing order of costs and difficulty:
The last solution was selected and will be shown here. The below day numbers are only suggestions for DIYers who are busy during the day and wish to carry out these works little by little. |
|
DAY 1 - FINDING THE RIGHT PLACE TO BUILD THE SHOWER TRAY
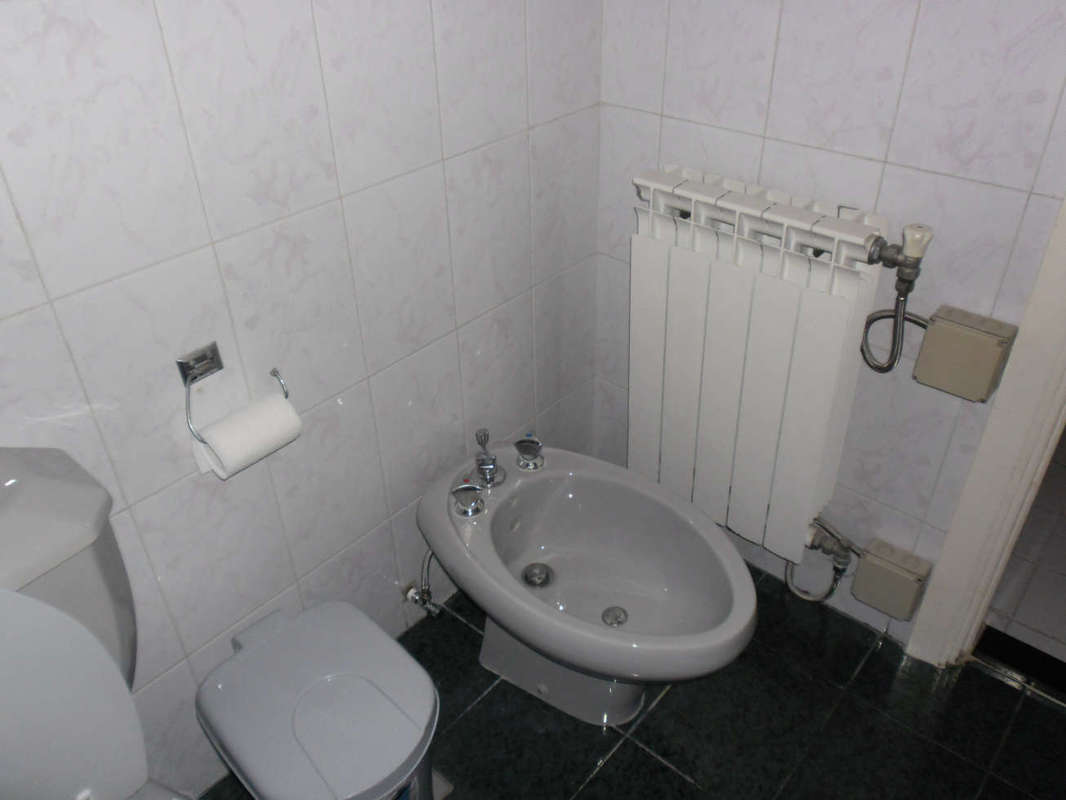
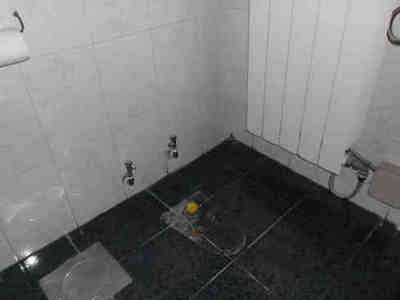
There is enough room in this corner after removing the bidet and relocating the radiator to fit a 60 x 60 cm shower tray.
The existing bidet allows to easily connect water supply and drainage.
The existing bidet allows to easily connect water supply and drainage.
There are two or three types of bidet mounts, this one being the easiest by the means of a couple of screws.
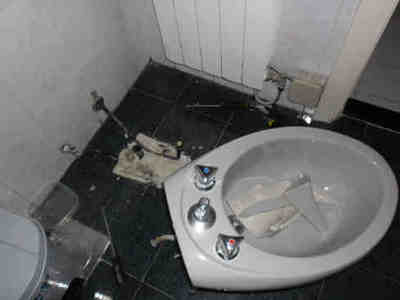
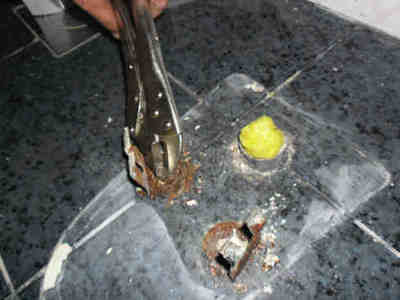
After 20 years of service, the screws are found corroded which requires braking the bidet for removing it.
See also our dedicated page for removing a bidet.
After 20 years of service, the screws are found corroded which requires braking the bidet for removing it.
See also our dedicated page for removing a bidet.
|
|
|
DAY 2 - FIXING THE WALL-MOUNTED SHOWER ACCESSORIES
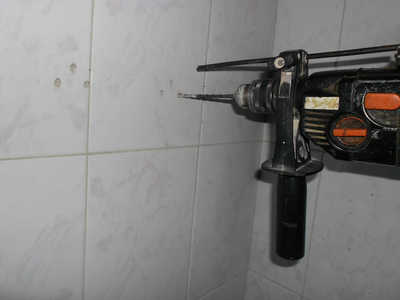
It will be difficult to install the wall mounted accessories once the shower tray is installed since this will require standing inside of it not to forget that a dropped tool can damage the tray.
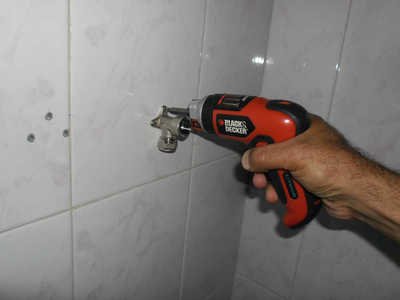
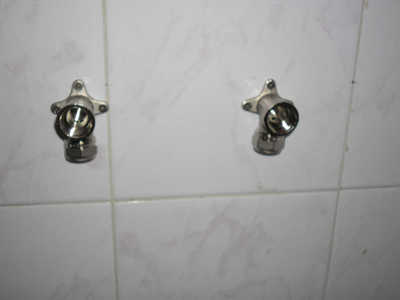
Surface mount water outlets commonly available for Alupex tubing are used as shown here:
Surface mount water outlets commonly available for Alupex tubing are used as shown here:
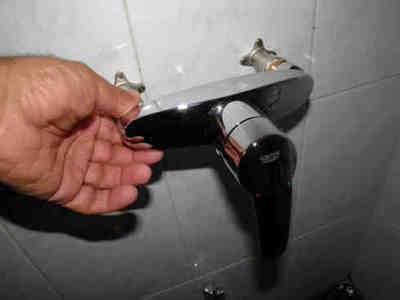
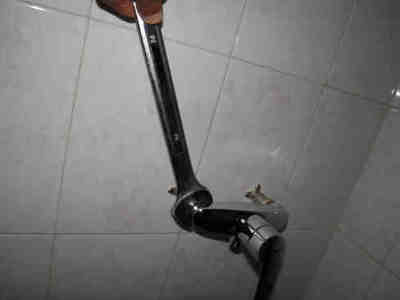
The shower mixer is then fitted to these outlets (left and middle).
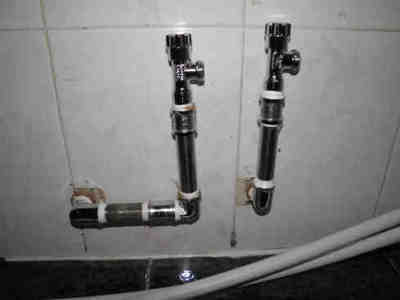
The water supply outlets have been deviated and extended (right) in a manner that the valves don't interfere later on with the shower tray (see further below).
The water supply outlets have been deviated and extended (right) in a manner that the valves don't interfere later on with the shower tray (see further below).
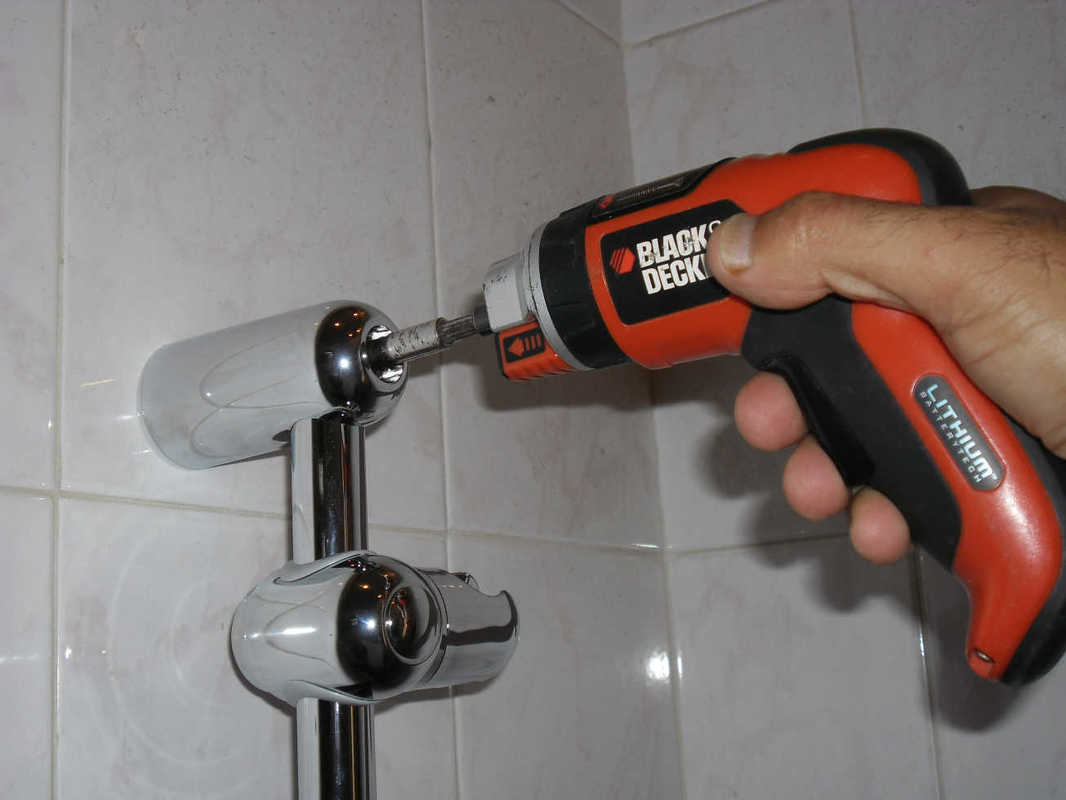
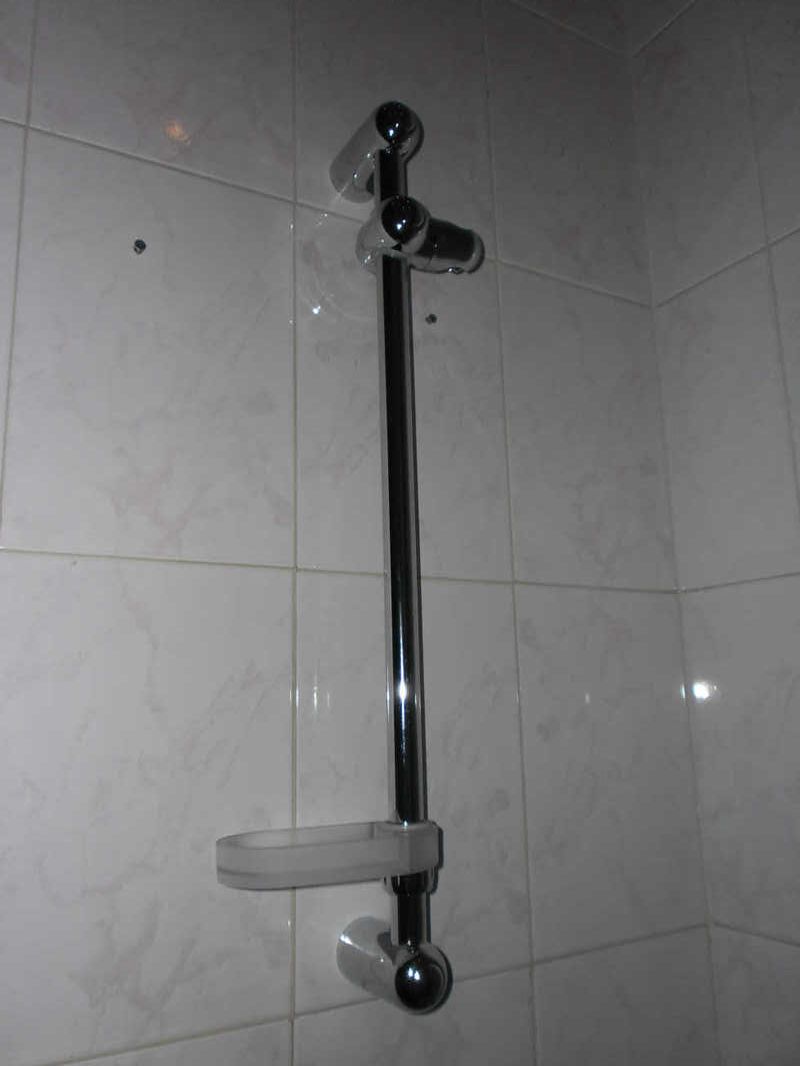
Installation of the shower rail kit:
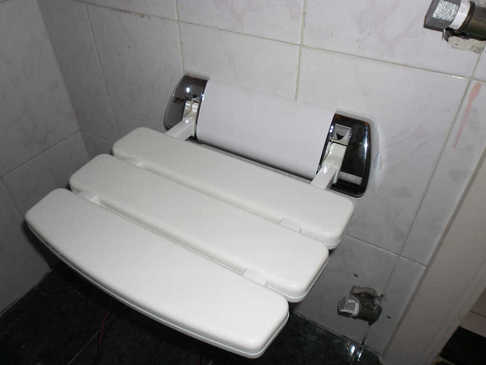
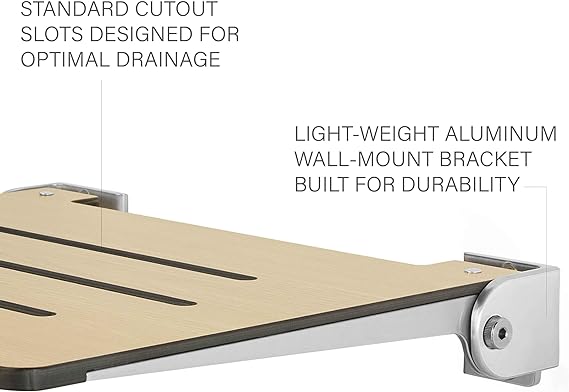
Since this shower is designed to suit an elderly person, a foldable and wall-mounted shower seat is also mounted to the wall where the central heating radiator was installed.
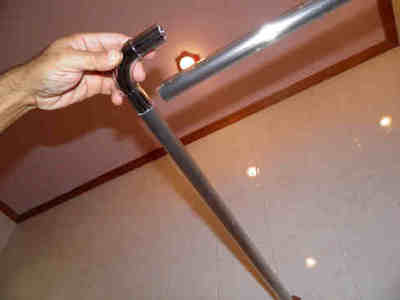
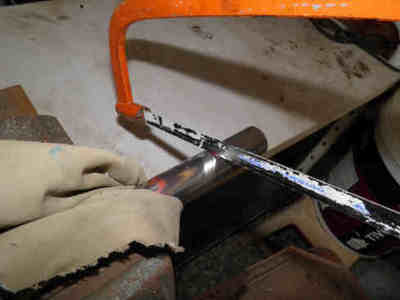
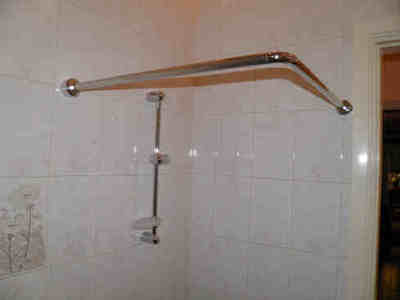
Finally the shower curtain rail is cut to size and installed.

