COPYRIGHT WARNING:
All pictures and texts in this web page are the property of nomaallim.com. Any use of any part of those contents without the written consent of nomaallim.com shall be subject to legal procedures as per international and local laws in the concerned country. Using the name "nomaallim" or "nomaallim com" or "nomaallim.com" in the text describing the unauthorized copied content shall not constitute an exception and shall be sanctioned in accordance to the effective laws and proceedings.
All pictures and texts in this web page are the property of nomaallim.com. Any use of any part of those contents without the written consent of nomaallim.com shall be subject to legal procedures as per international and local laws in the concerned country. Using the name "nomaallim" or "nomaallim com" or "nomaallim.com" in the text describing the unauthorized copied content shall not constitute an exception and shall be sanctioned in accordance to the effective laws and proceedings.
BEFORE YOU START
|
|
|
DISCLAIMER:
Our pictorials are of informative nature and do illustrate works carried out by ourselves at our own premises for our own use and satisfaction. Readers who envisage to carry out similar works inspired by the below method shall do this at their own risks and liability. |
|
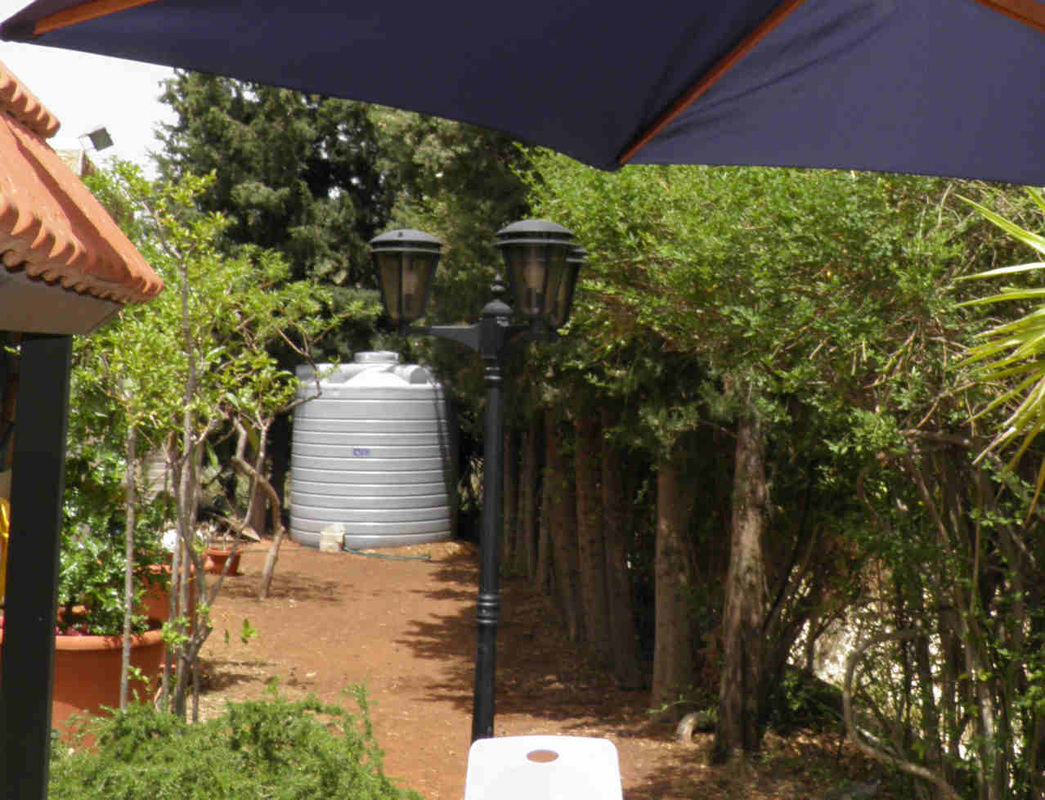
Water tank installation and connection
|
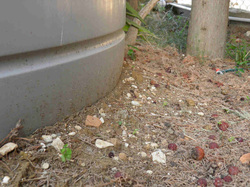
1- Chose a location, check the spacing all around and the orientation of the water connections as well. Level the ground below the tank.

|
2- Just dig on one side, add soil on the other and then comb the tank footprint to make sure it is level.
|
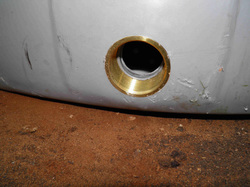
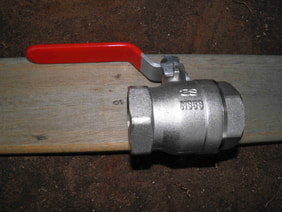
3- Check the water outlet and buy a valve of the same size. Do not install a smaller valve.
|
|
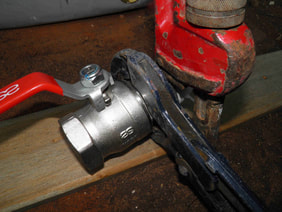
4- A very common "ball valve" is selected in this case. Depending on tank's capacity, the size ranges from 1 to 2".
|
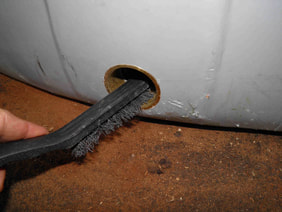
5- Clean the thread with a metal brush to remove any particles.
|
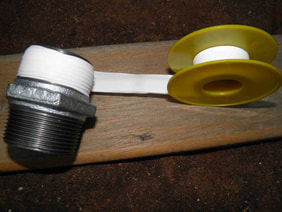
6- Apply Teflon tape on both sides of the union that will be used to connect the valve to the tank.
|
|
7- Teflon is wrapped clockwise until the thread vanishes. Try to make it conical i.e. thicker inside and thinner at the edge.
|
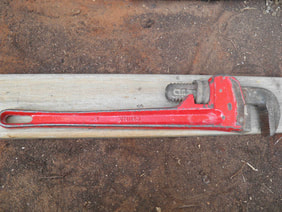
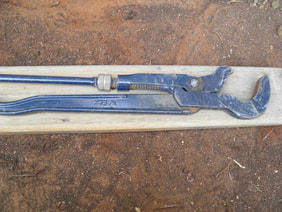
8- You need a plumber wrench to hold either the valve or the union...
|
9- ...and another one to hold the opposite piece.
|
|
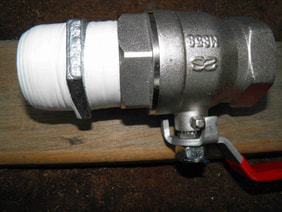
10- Tighten well the union to the valve.
|
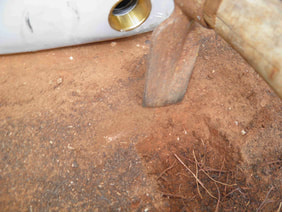
11- If needed, dig a small hole in the soil to allow for the valve to rotate (see next).
|
12- Now screw the union into the thank thread and tighten well.

|
|
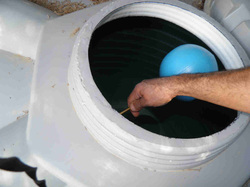
13- Fill first with a little water (around 1/4 of the tank capacity) to test and then to the top.
|
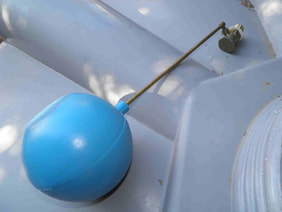
14- A float valve is now needed to complete the installation,
|
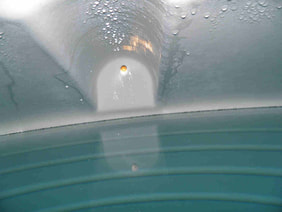
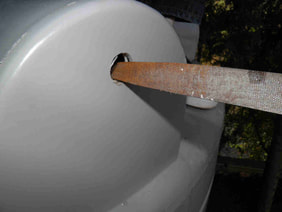
15- If needed, use a file to enlarge the available hole until the valve's thread goes through.
|
|
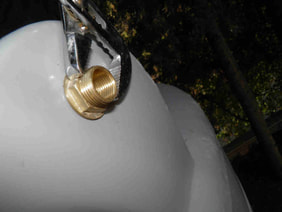
16- Introduce the valve and push it out until its thread crosses the tank's wall.
|
17- Fit the nut and tighten using a smaller wrench or monkey pliers.
|
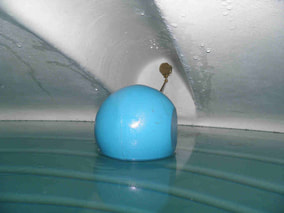
18- Make sure you do not rotate the float valve while tightening. It should remain vertical as shown here.
|
Buy you main tank valve and float valve here:
 |
 |
 |
 |
 |
 |