COPYRIGHT WARNING:
All pictures and texts in this web page are the property of nomaallim.com. Any use of any part of those contents without the written consent of nomaallim.com shall be subject to legal procedures as per international and local laws in the concerned country. Using the name "nomaallim" or "nomaallim com" or "nomaallim.com" in the text describing the unauthorized copied content shall not constitute an exception and shall be sanctioned in accordance to the effective laws and proceedings.
All pictures and texts in this web page are the property of nomaallim.com. Any use of any part of those contents without the written consent of nomaallim.com shall be subject to legal procedures as per international and local laws in the concerned country. Using the name "nomaallim" or "nomaallim com" or "nomaallim.com" in the text describing the unauthorized copied content shall not constitute an exception and shall be sanctioned in accordance to the effective laws and proceedings.
Context:
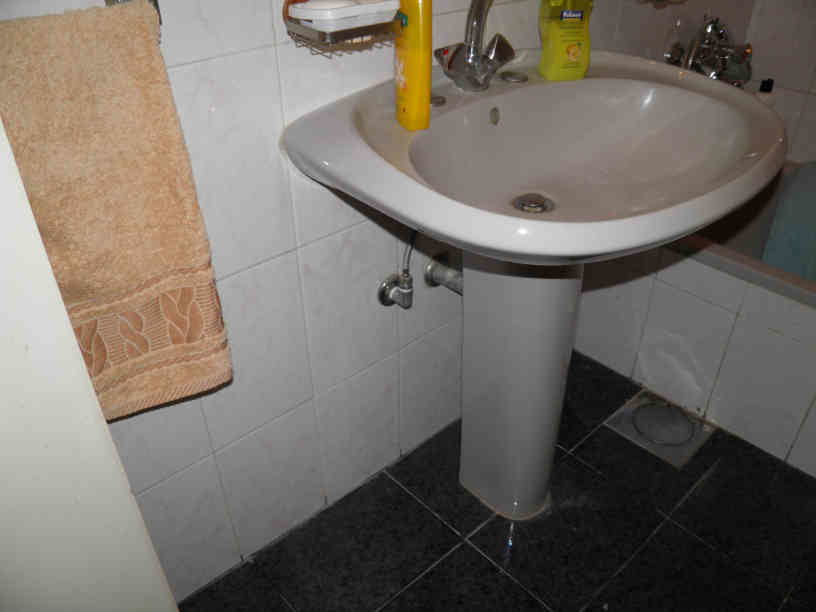
This pedestal sink restricts the circulation space within the bathroom and offers no storage space for small bathroom items.
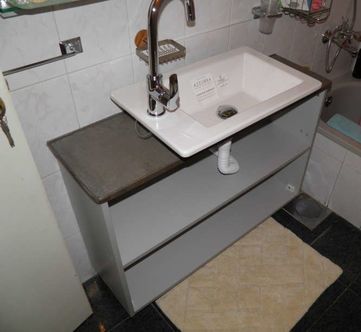
It is decided to get the rid of it and replace it by a small cabinet and a counter top basin.
This pedestal sink restricts the circulation space within the bathroom and offers no storage space for small bathroom items.
It is decided to get the rid of it and replace it by a small cabinet and a counter top basin.
DISCLAIMER:
Our pictorials are of informative nature and do illustrate works carried out by ourselves at our own premises for our own use and satisfaction.
Readers who envisage to carry out similar works inspired by the below method shall do this at their own risks and liability.
Our pictorials are of informative nature and do illustrate works carried out by ourselves at our own premises for our own use and satisfaction.
Readers who envisage to carry out similar works inspired by the below method shall do this at their own risks and liability.
|
|
|
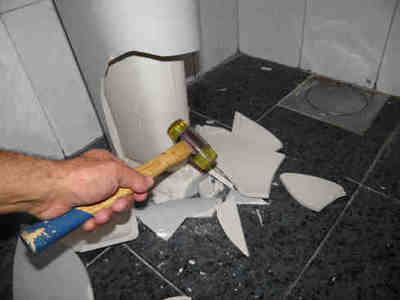
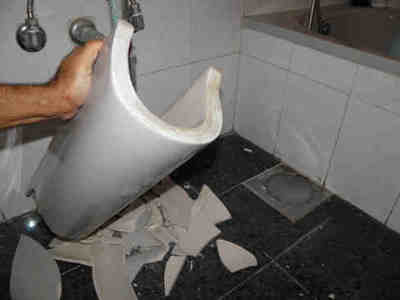
Breaking and removing the pedestal basin
- Pedestal basins are fixed to the wall by the means of 2 bolts and lay on their pedestal which is fixed to the floor with either another pair of screws or simply a little cement.
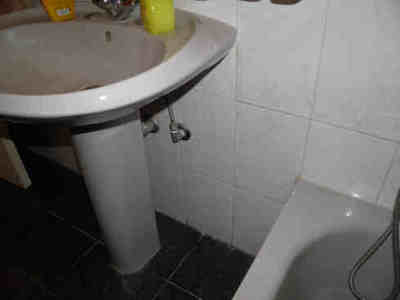
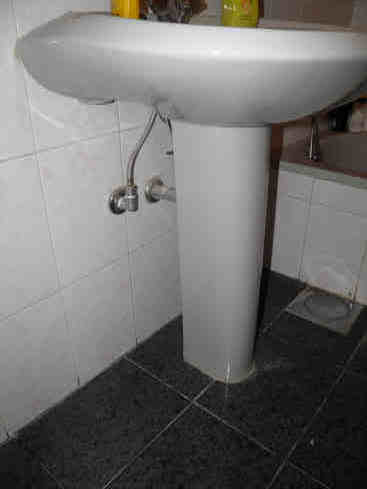
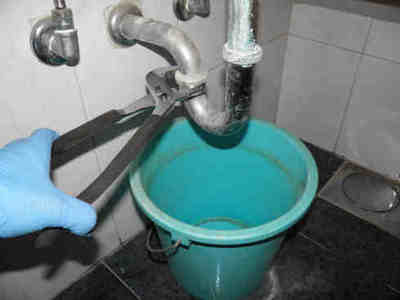
- The easiest remains to break the pedestal, dismantle the drainage then unscrew and/or break the basin and get the rid of all.
|
|
|
|
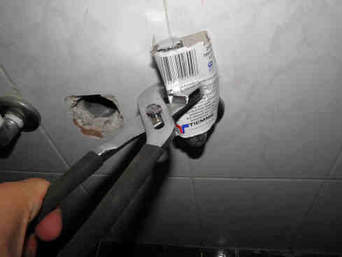
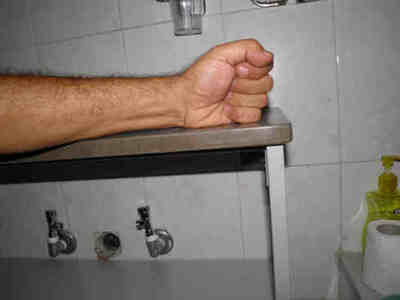
The drainage shall be completely removed and the plumbing works completed prior to the installation of the wall cabinet.
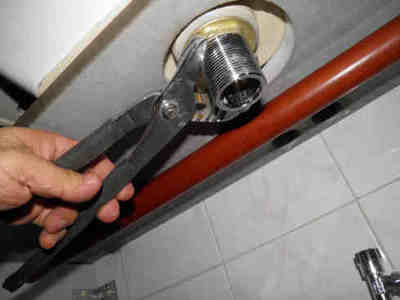
In this case, small outlet valves are being added to the water outlets. The carton inserted between the monkey pliers and the chrome plated valve is to avoid damaging the chrome finish of the valve. |
Building a small cabinet and fixing it to the wall
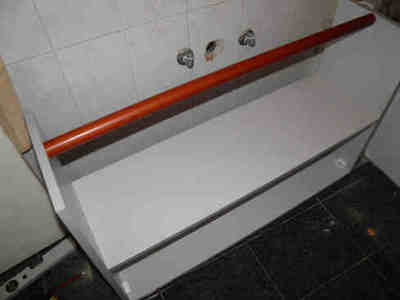
The bathroom cabinet has been designed to be as simple as possible providing only 2 shelves.
No doors have been considered but these can be added any time.
Water repellent wood panels of 18mm thickness are used.
Its overall dimensions are as follows:
W 97cm x D 29cm x H 64cm
The depth should be normally between 34 and 39cm but was considered as little as 29cm in this case because the marble top is only 30cm. This is to free more circulation space in the bathroom.
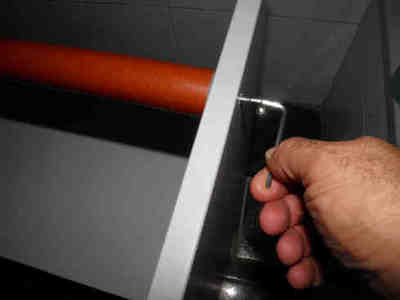
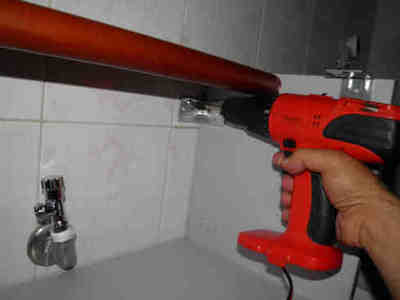
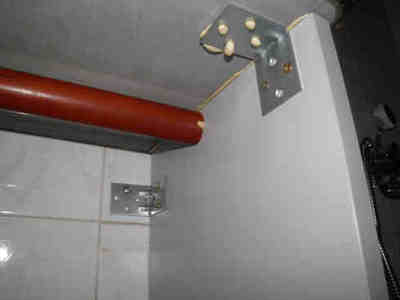
A piece of curtain rail (in brown in the below pictures) has been cut and fixed as shown as a support for the marble top.
The cabinet is then fixed to the wall.
See our detailed pictorials for building cupboards and cabinets for details.
The cabinet is then fixed to the wall.
See our detailed pictorials for building cupboards and cabinets for details.
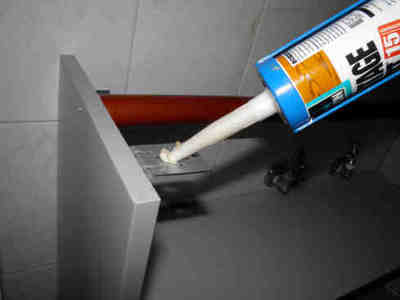
The marble top is 2cm thick and is simply fixed to the cabinet and the wall with installation glue (montage glue).
Tala Maron marble is chosen and the panel size is 100cm x 30cm.
It includes an 11cm hole for fitting the basin drainage and two 4cm holes for having the tap flexible hoses passing through the top down to the water outlets.
Tala Maron marble is chosen and the panel size is 100cm x 30cm.
It includes an 11cm hole for fitting the basin drainage and two 4cm holes for having the tap flexible hoses passing through the top down to the water outlets.
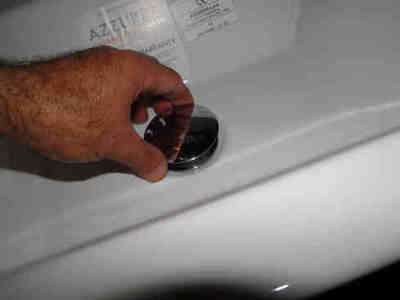
The basin drainage valve is first fitted to the basin and a trial is made prior to fixing the basin to make sure the basin pop-up valve can be easily dismantled for maintenance in the future.
|
|
|

