COPYRIGHT WARNING:
All pictures and texts in this web page are the property of nomaallim.com. Any use of any part of those contents without the written consent of nomaallim.com shall be subject to legal procedures as per international and local laws in the concerned country. Using the name "nomaallim" or "nomaallim com" or "nomaallim.com" in the text describing the unauthorized copied content shall not constitute an exception and shall be sanctioned in accordance to the effective laws and proceedings.
All pictures and texts in this web page are the property of nomaallim.com. Any use of any part of those contents without the written consent of nomaallim.com shall be subject to legal procedures as per international and local laws in the concerned country. Using the name "nomaallim" or "nomaallim com" or "nomaallim.com" in the text describing the unauthorized copied content shall not constitute an exception and shall be sanctioned in accordance to the effective laws and proceedings.
DISCLAIMER:
Our pictorials are of informative nature and do illustrate works carried out by ourselves at our own premises for our own use and satisfaction.
Readers who envisage to carry out similar works inspired by the below method shall do this at their own risks and liability.
Our pictorials are of informative nature and do illustrate works carried out by ourselves at our own premises for our own use and satisfaction.
Readers who envisage to carry out similar works inspired by the below method shall do this at their own risks and liability.
Material needed for building a brick planter
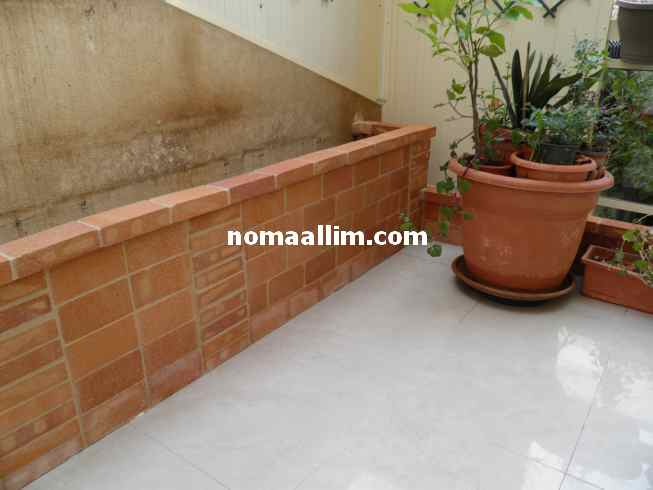
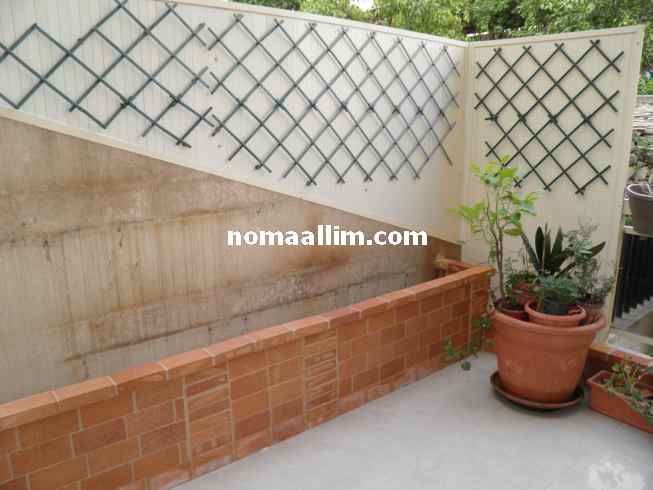
This refractory bricks wall has been built in just one day using less bricks than usual since these were used vertically.
Unless the brick planter is ti be built on a tiled terrace (see further below on how to fix the first layer), the only material needed is as follows:
Unless the brick planter is ti be built on a tiled terrace (see further below on how to fix the first layer), the only material needed is as follows:
- 1 bag of tiles cement (tiles adhesive)
- Little sand (unless the tiles cement is already sanded)
- Tap water
- Refractory or regular bricks
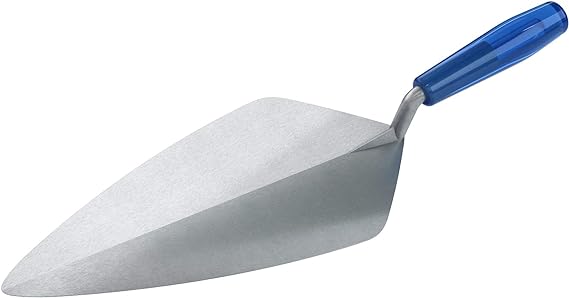
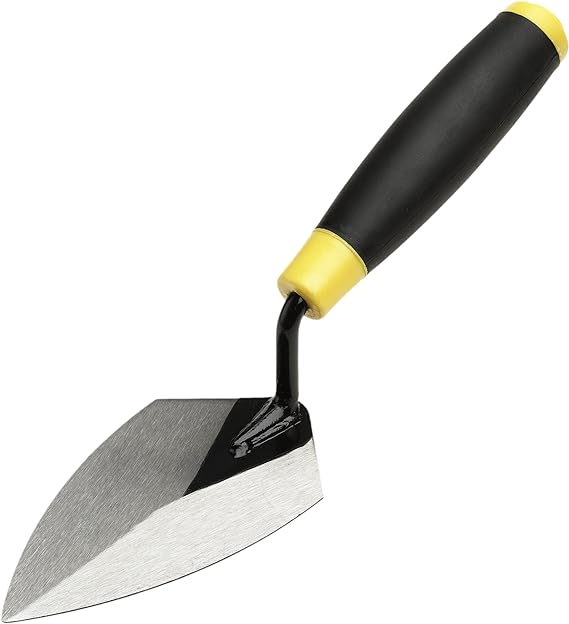
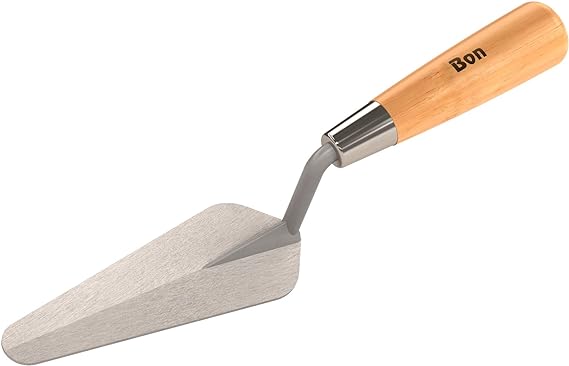
- A trowel
- A sponge
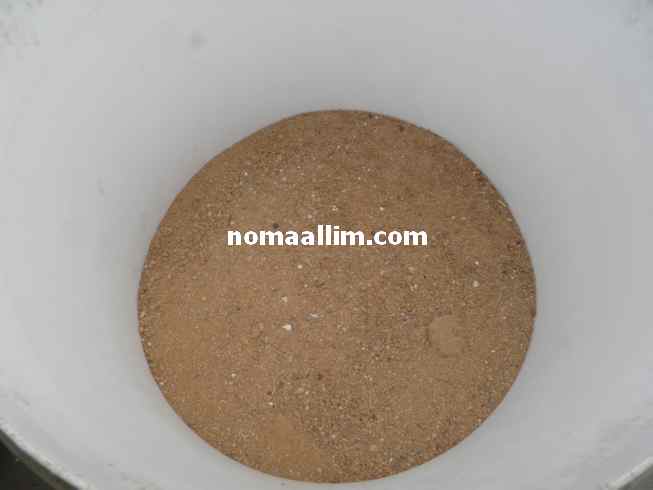
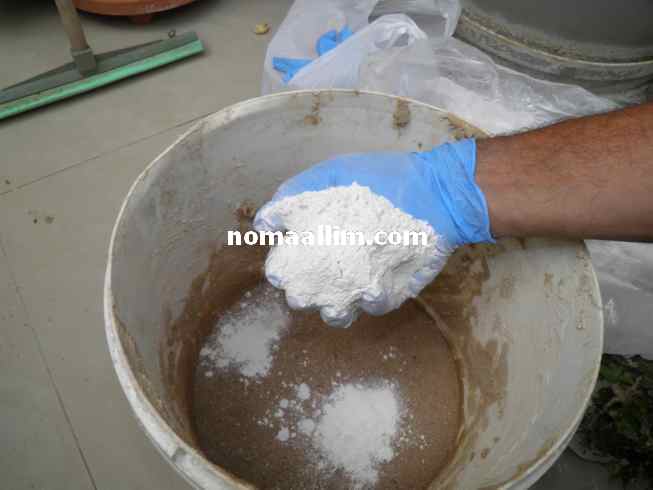
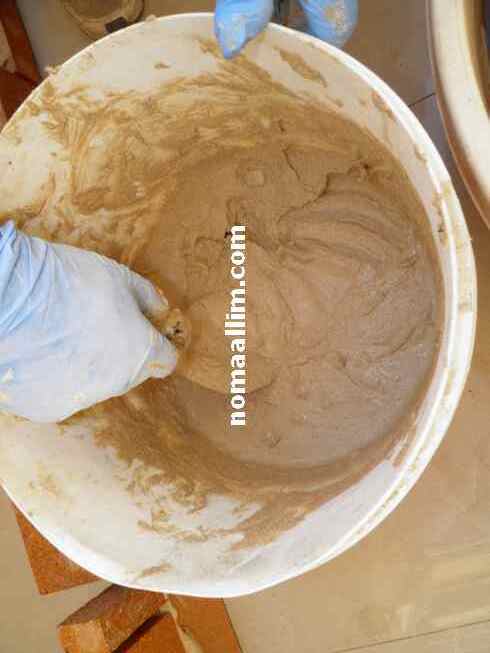
Mix well equal parts of tiles cement (adhesive) and sand until the two powders constitute a uniform mix of a beige color.
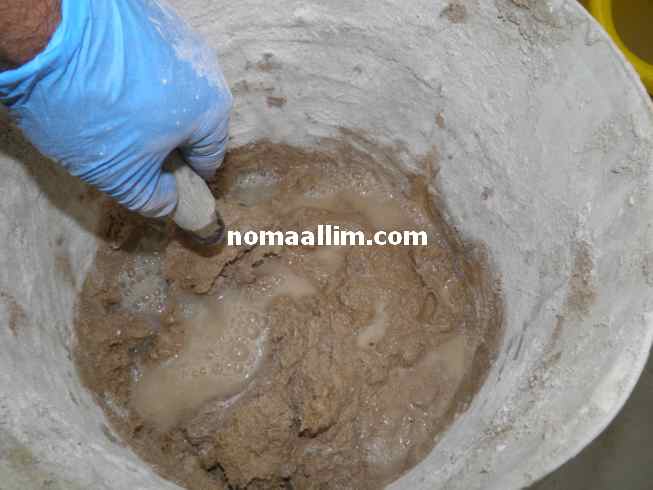
Add water little by little and mix well each time until obtaining a smooth, regular and uniform mortar.
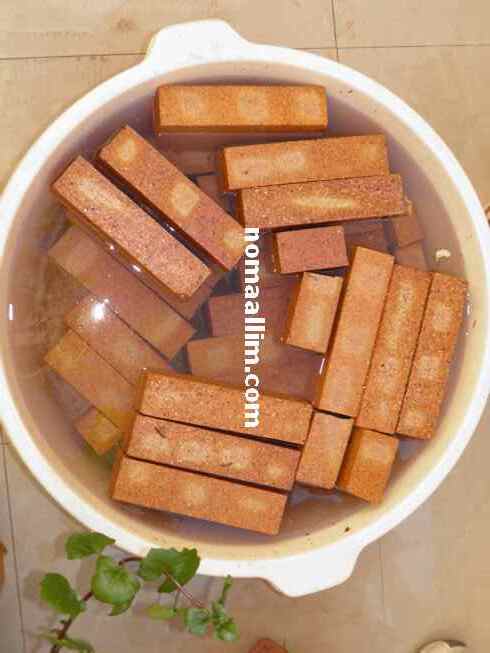
You should have immersed your bricks in water prior to using them and that's it!
You're good to start building your bricks wall!
Add water little by little and mix well each time until obtaining a smooth, regular and uniform mortar.
You should have immersed your bricks in water prior to using them and that's it!
You're good to start building your bricks wall!
|
|
|
How to build a bricks planter on ceramic tiles
|
If the bricks wall is not to be built on a porous surface, you need first to proceed as shown below.
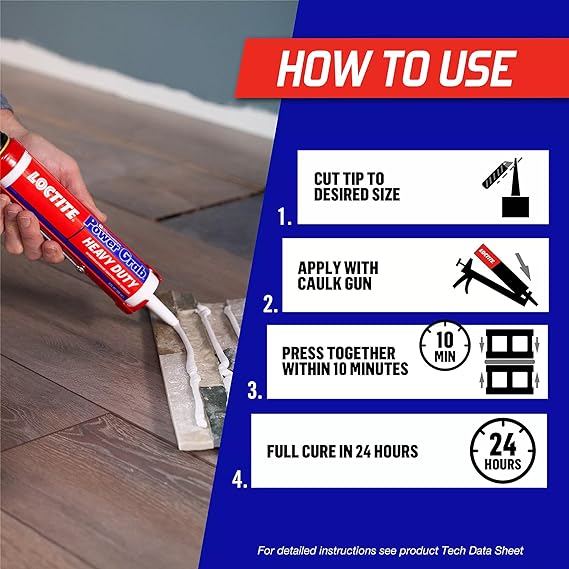
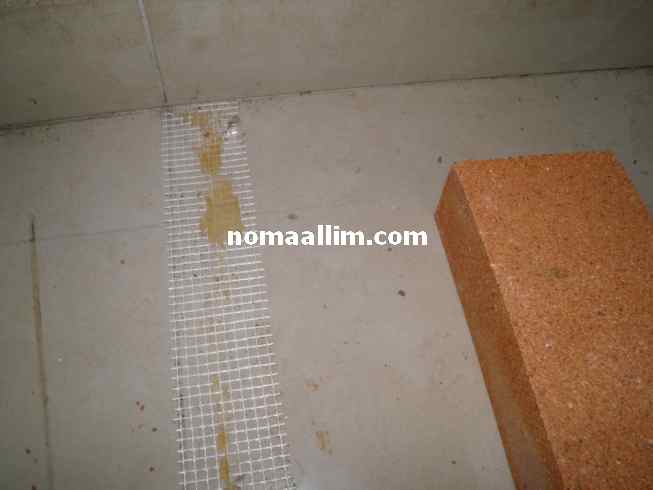
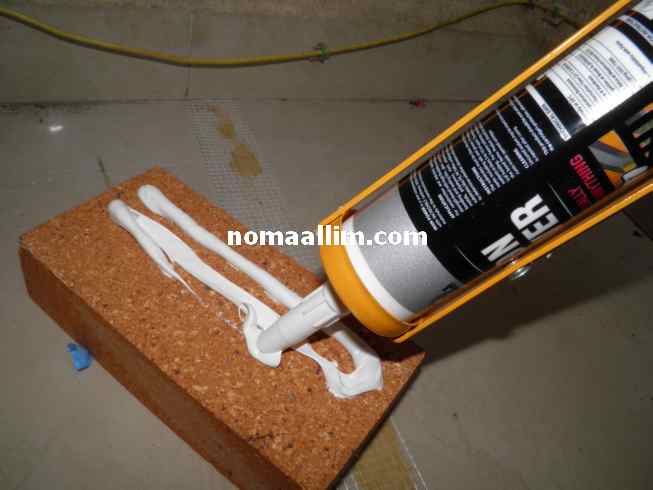
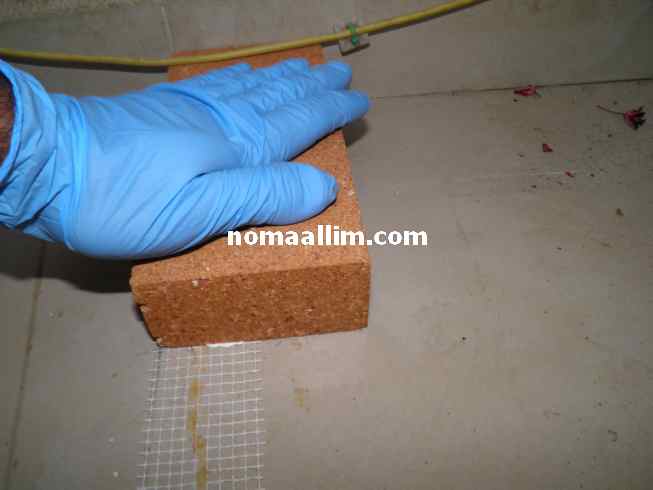
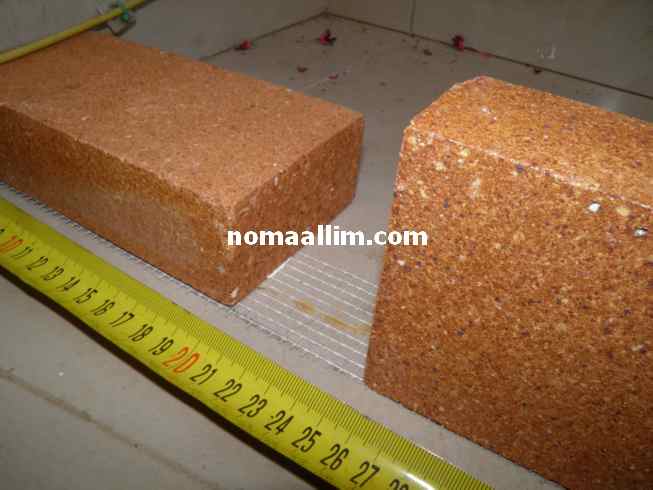
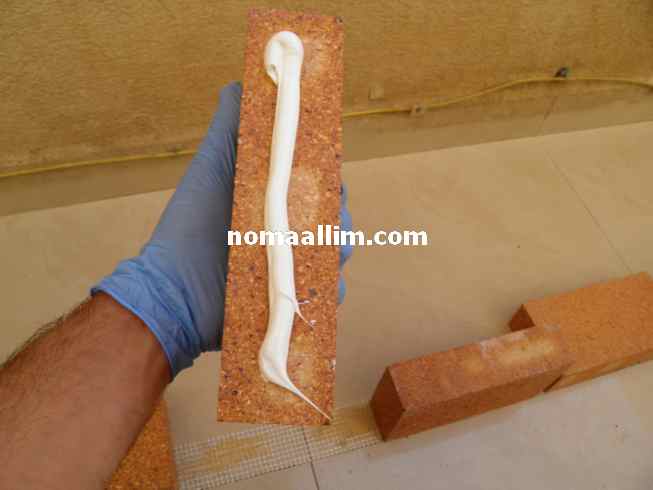
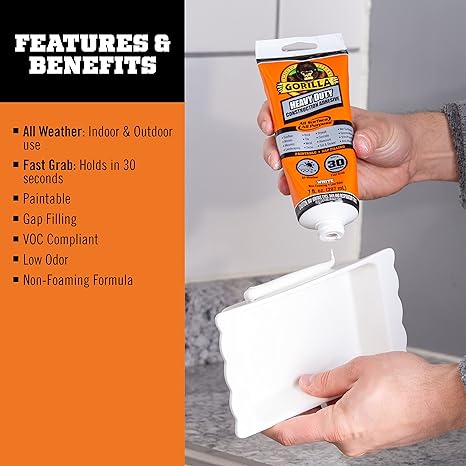
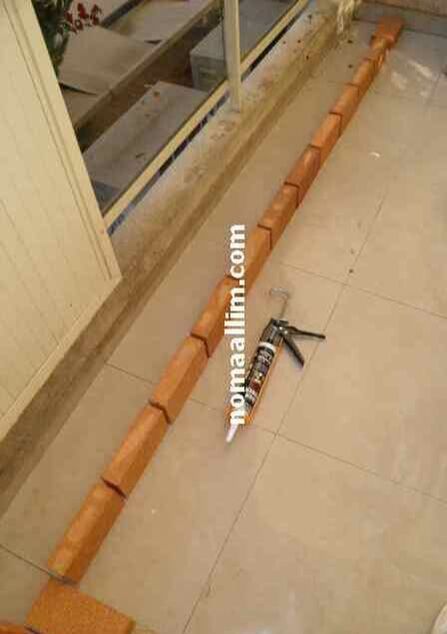
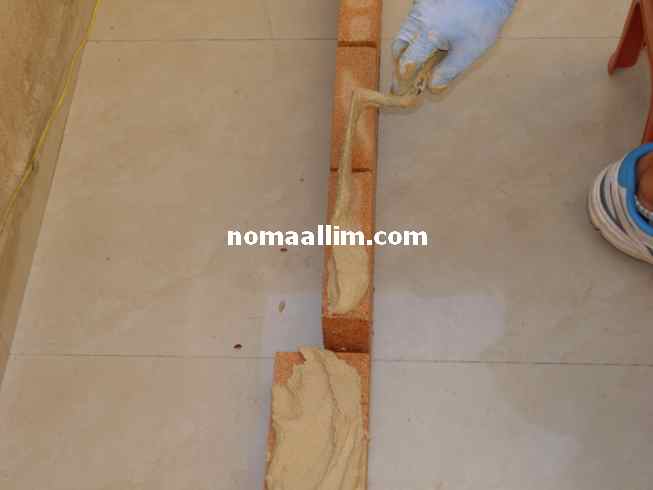
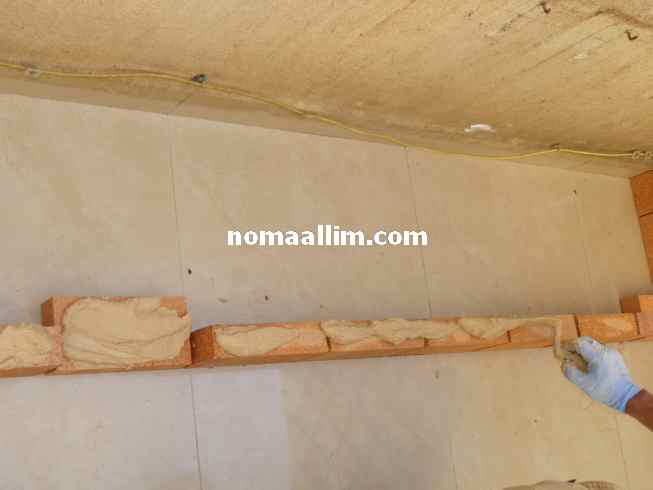
The idea is to fix a plaster mesh on the tiles with montage glue, then fix the first layer of bricks to the tiles on top of the mesh using the same glue. The left picture shows how the mesh has been fixed first to the tiles all along and beneath the place where the brick wall is to be built. The refractory brick is then fixed on top of it with the same glue.
|
Working with montage glue for the first layer of bricks is practical since it allows you to:
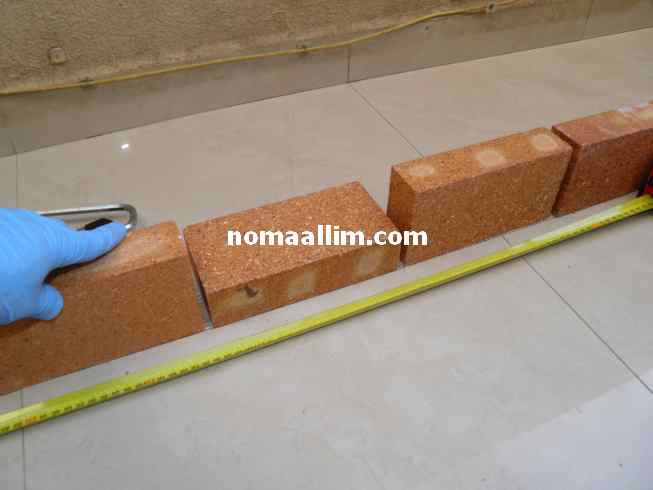
- Try your bricks prior to fixing them in order to make sure of your measurements
- Measure any remaining spaces in order to cut some bricks with an angle grinder to the matching measurement
- Take you time to fix the first layer without worrying about any mortar (grout) drying out
|
|
|
Constructing the bricks wall
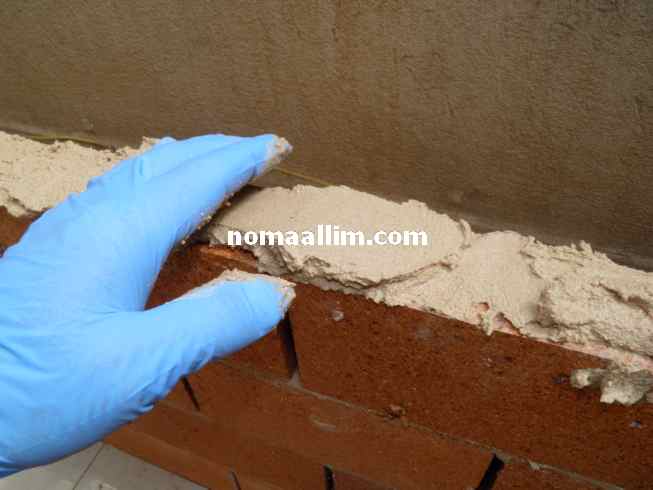
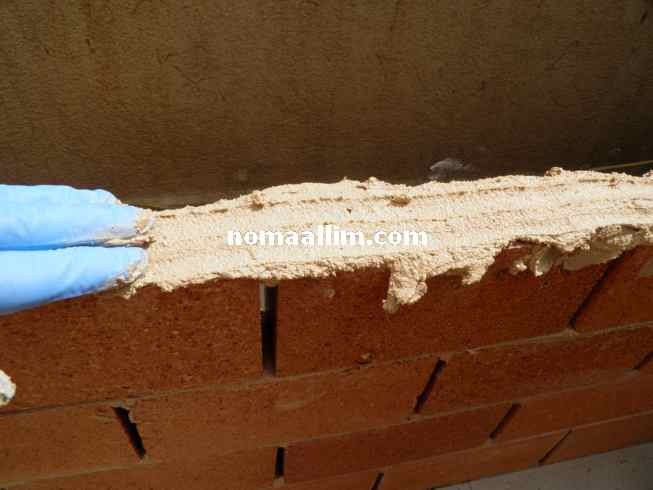
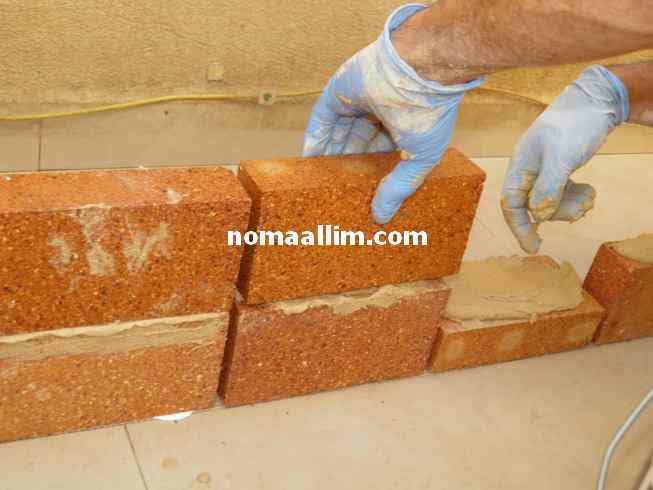
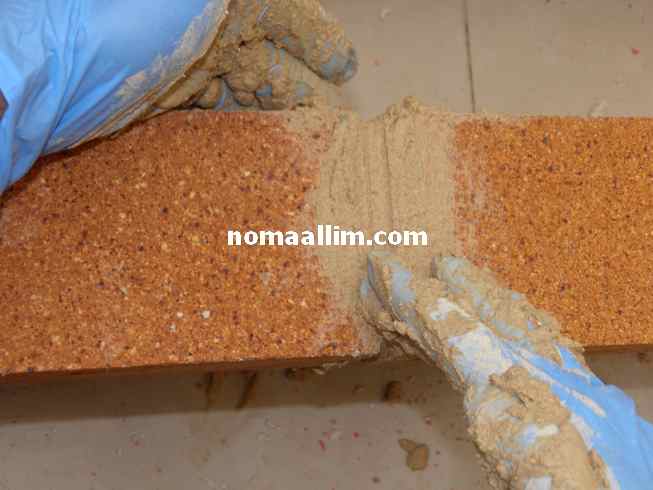
Use your trowel to spread a thick coat of mortar all over a few bricks.
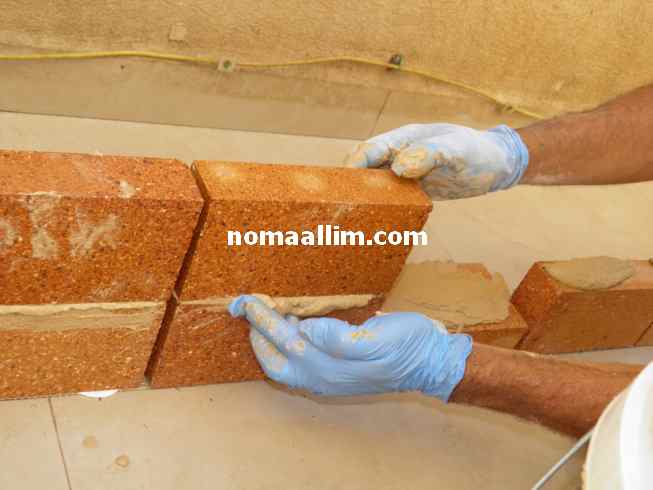
You should cover 80% at least of a brick surface then spread the mortar (grout) with your hand as shown in the right pictures.
You should cover 80% at least of a brick surface then spread the mortar (grout) with your hand as shown in the right pictures.
Simply let the bricks crush the mortar under their own weight while you remove the excess grout with your finger.
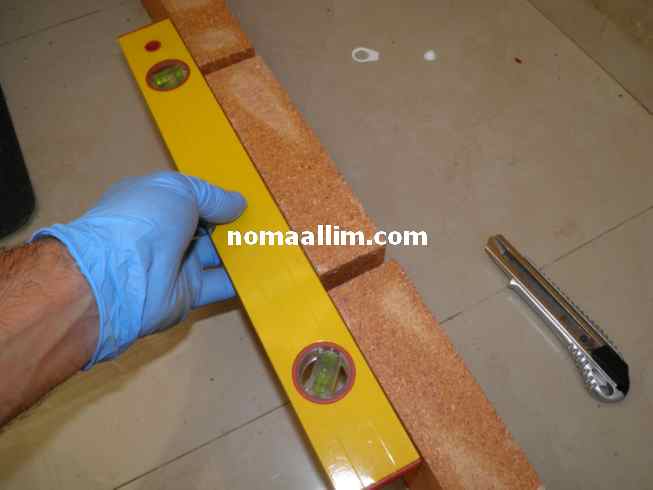
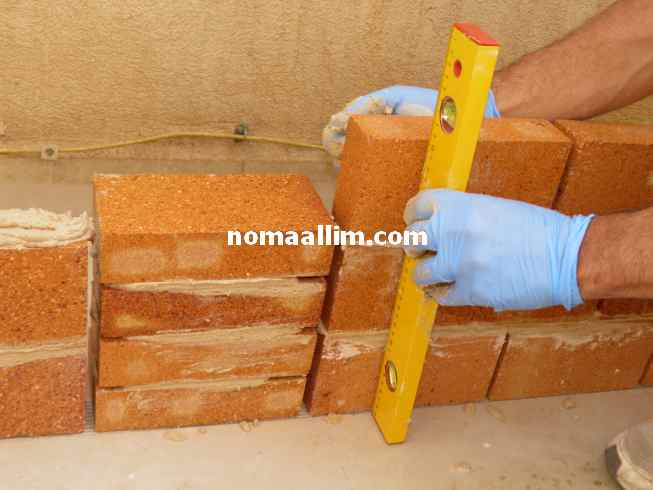
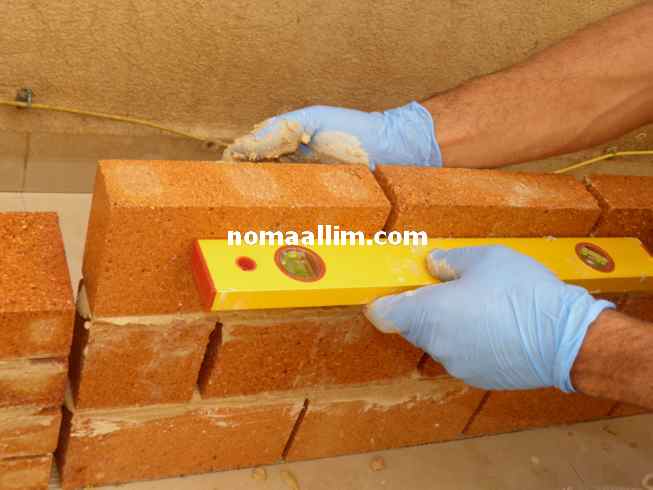
Wait a few minutes before using a long level to adjust the bricks vertically and horizontally to each other.
Wait a few minutes before using a long level to adjust the bricks vertically and horizontally to each other.
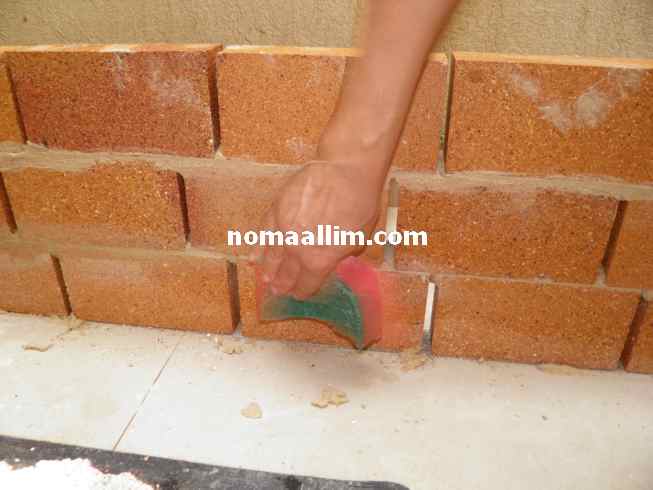
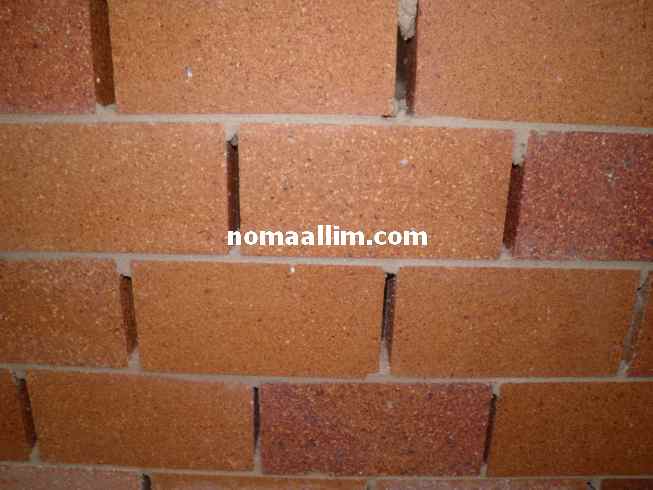
Continue working then use a sponge on the bricks that you've installed since 15 to 20 minutes in order to eliminate the excess grout and leave only a horizontal neat horizontal joint as shown in the right picture.
The vertical gaps between bricks are left empty for the time being.
The vertical gaps between bricks are left empty for the time being.
|
|
|
Grouting the brick wall joints
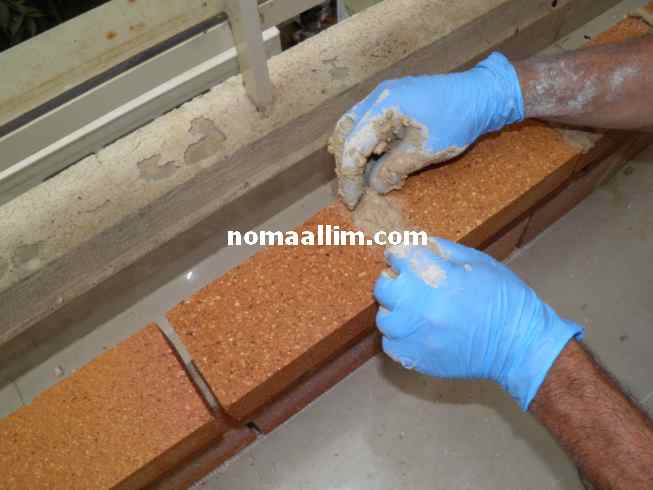
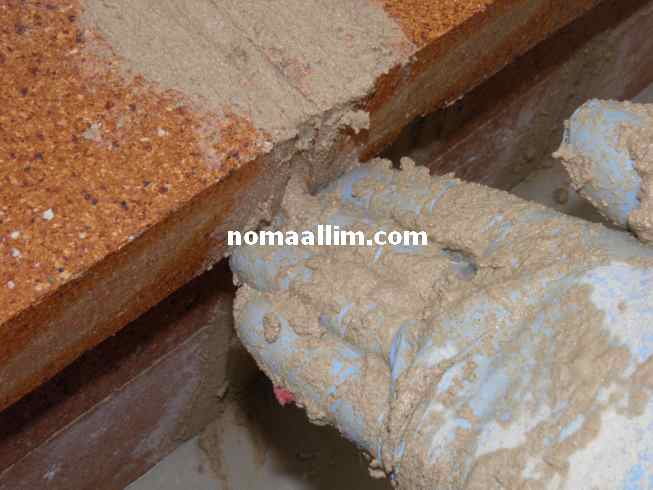
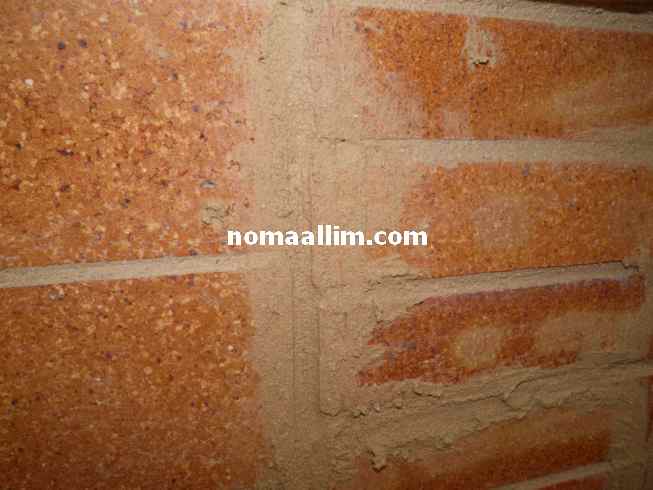
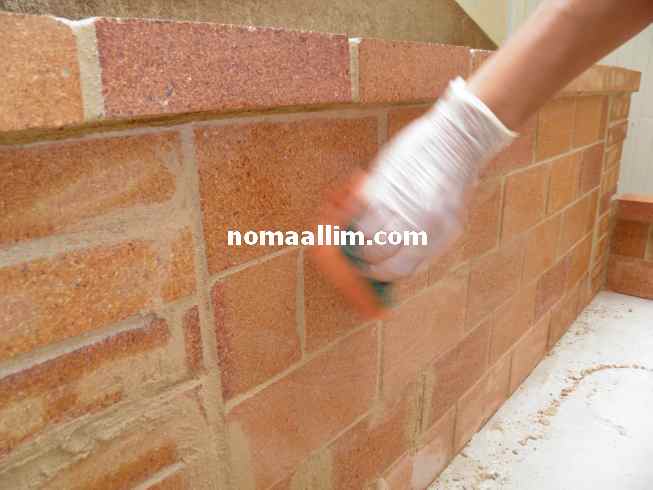
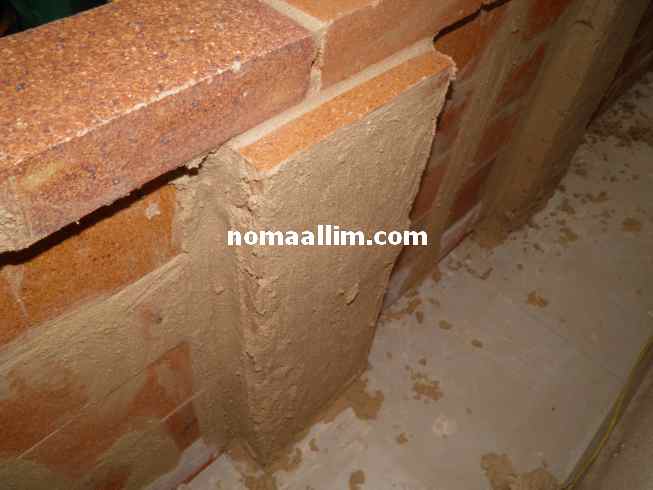
Once your brick wall has been completed and the joints cleaned with a sponge, you can now proceed with the grouting of all gaps between bricks. Put some mortar in your hand and spread it as shown with your fingers so that it penetrates in the gaps between bricks.
Do not worry about any excess grout as you will later remove them with a sponge (again).
Do not worry about any excess grout as you will later remove them with a sponge (again).
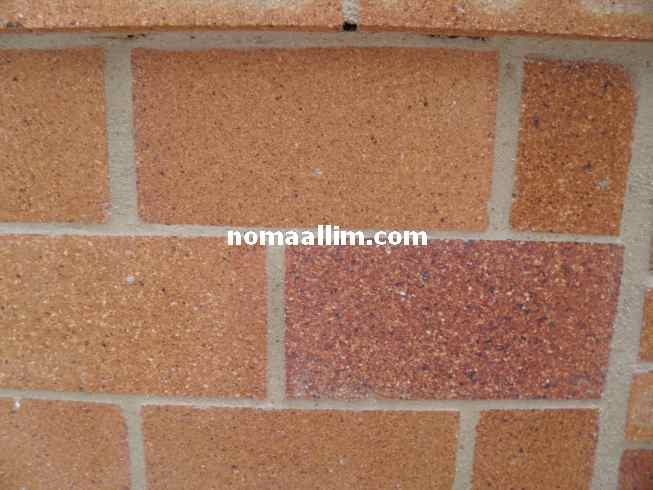
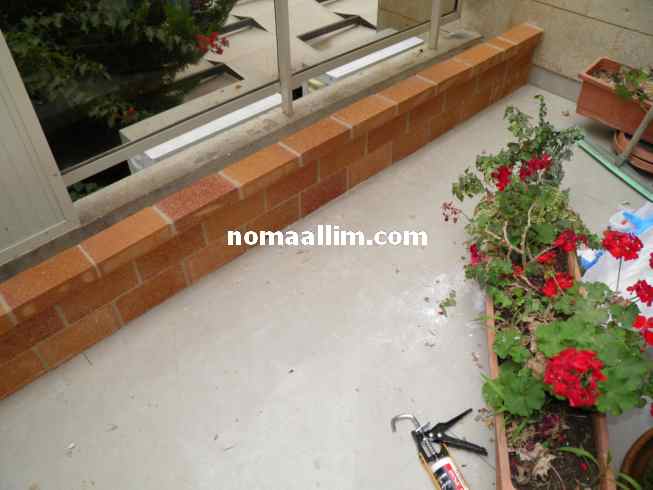
Once the mortar joints start drying, repeat the cleaning process with a sponge until the result is perfect as shown in the right picture.
The sponge is used dry first but you can wet it if you notice that it is more efficient when wet.
The sponge is used dry first but you can wet it if you notice that it is more efficient when wet.
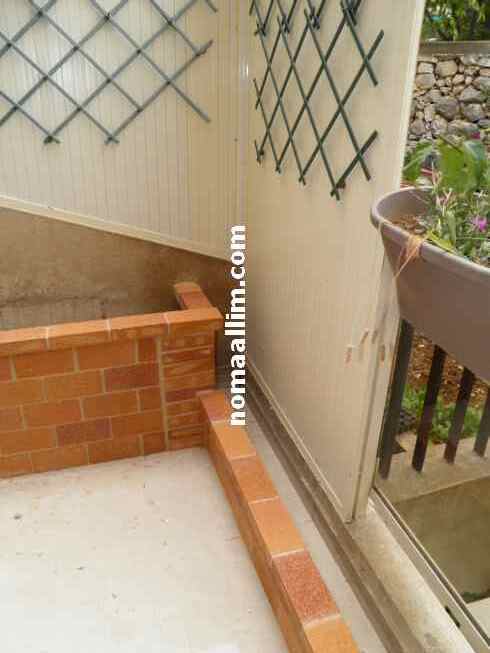
Note here how the refractory bricks have been used on their vertical side to build this planter.
This allows to save space and use less bricks i.e. build the planter faster.
A few columns have been however built with horizontally laid bricks in order to increase the strength of the planter wall and to create a decorative variation in the bricks jointing.
Note also how all gaps have been filled from the interior of the planter without however cleaning these with a sponge.
|
|
|

