COPYRIGHT WARNING:
All pictures and texts in this web page are the property of nomaallim.com. Any use of any part of those contents without the written consent of nomaallim.com shall be subject to legal procedures as per international and local laws in the concerned country. Using the name "nomaallim" or "nomaallim com" or "nomaallim.com" in the text describing the unauthorized copied content shall not constitute an exception and shall be sanctioned in accordance to the effective laws and proceedings.
All pictures and texts in this web page are the property of nomaallim.com. Any use of any part of those contents without the written consent of nomaallim.com shall be subject to legal procedures as per international and local laws in the concerned country. Using the name "nomaallim" or "nomaallim com" or "nomaallim.com" in the text describing the unauthorized copied content shall not constitute an exception and shall be sanctioned in accordance to the effective laws and proceedings.

|
FEATURES:
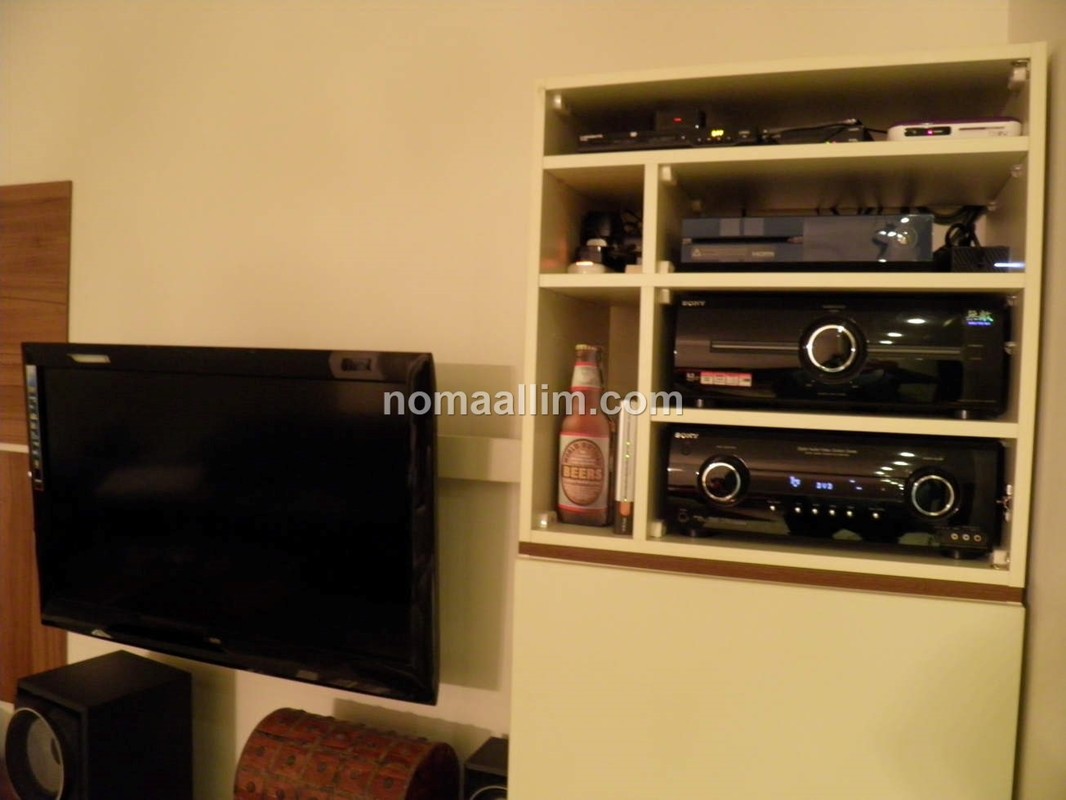
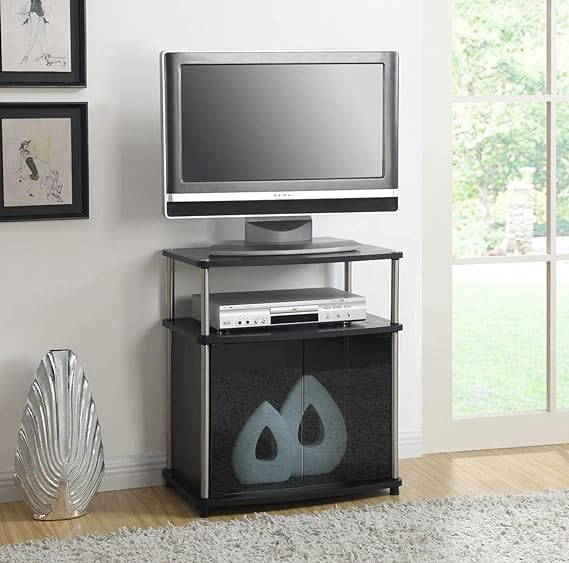
Robust wooden cabinet that accommodates the following: Bass amplifier (Booster Amp) Game Console (Xbox) SAT receiver DVD player Audio Video media player Hard disk storage Ethernet switch Bluetooth receiver UPS |
DISCLAIMER:
Our pictorials are of informative nature and do illustrate works carried out by ourselves at our own premises for our own use and satisfaction. Readers who envisage to carry out similar works inspired by the below method shall do this at their own risks and liability. |
How to start the wooden component cabinet building
Visit our Cupboards and Bookshelves basics page to learn about the required accessories and the cabinet assembly techniques:
AV equipment (media component) requirements and context:
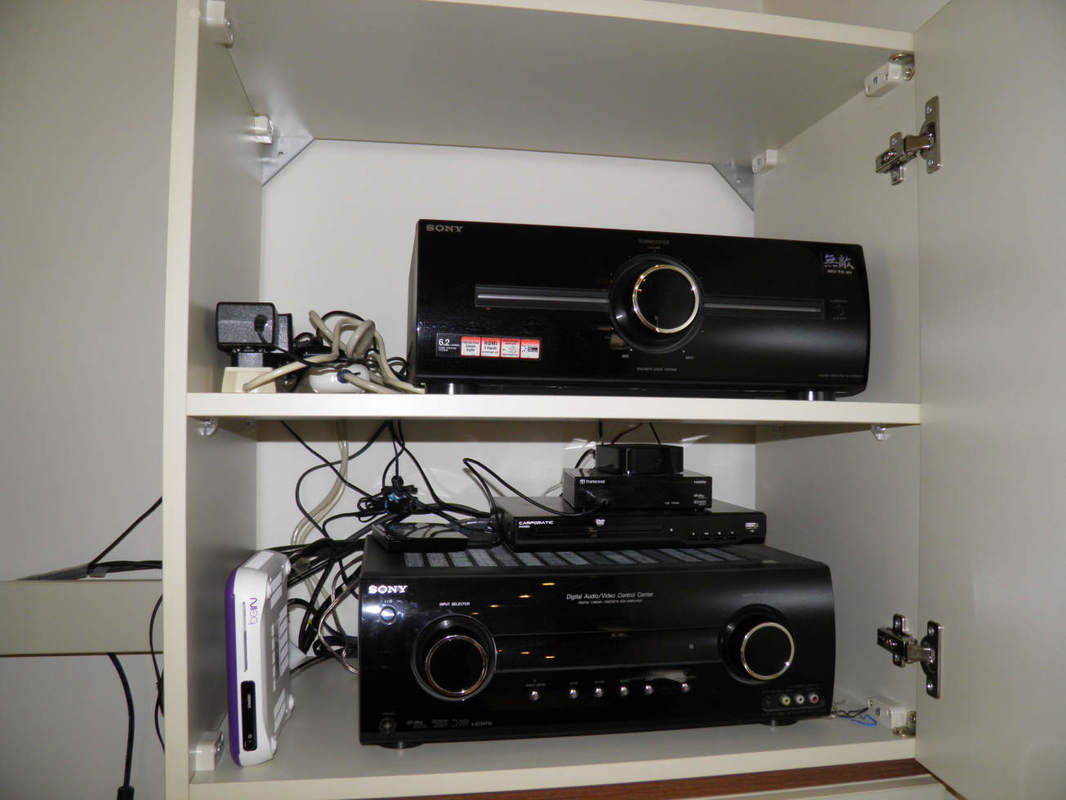
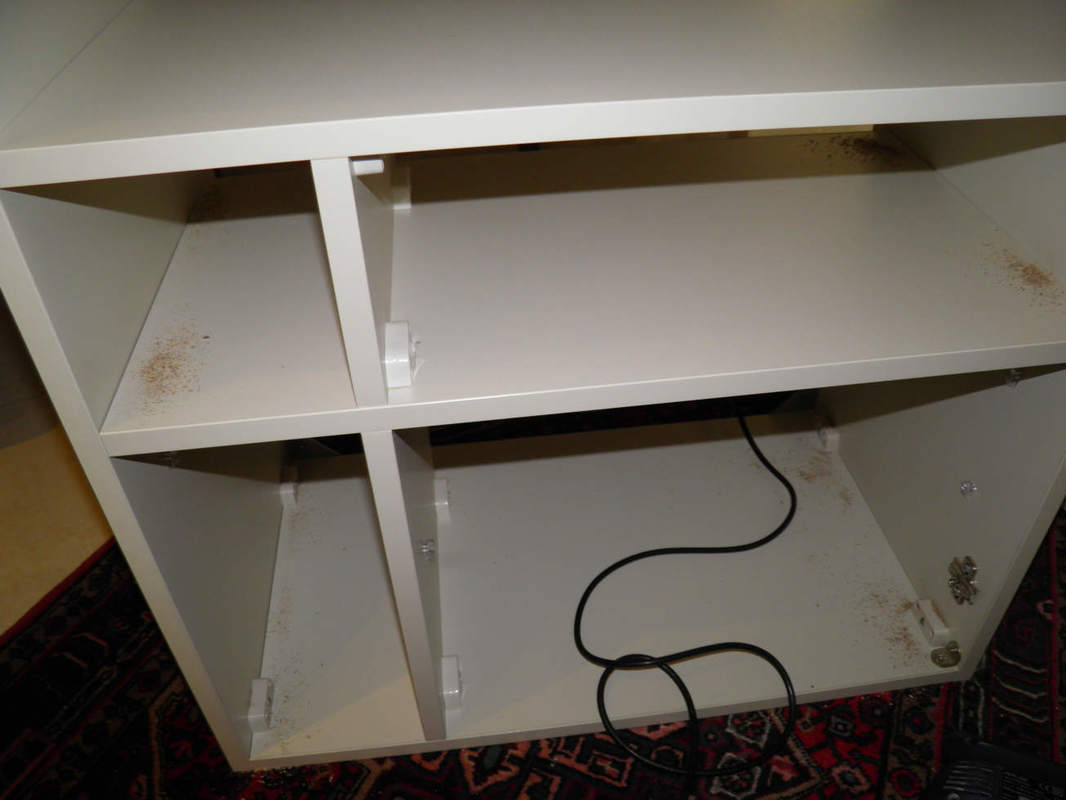
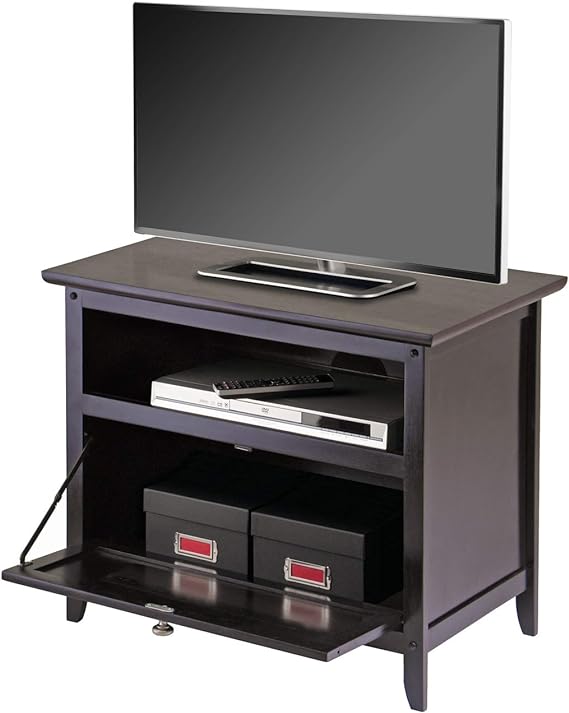
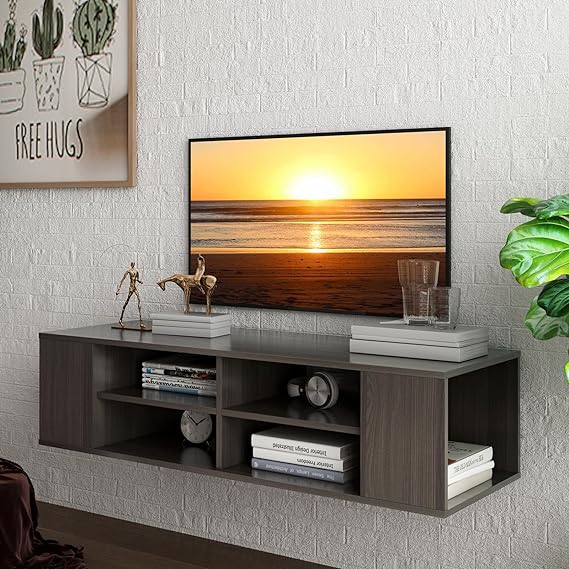
You did use a cabinet for installing some AV equipment and soon reached a stage where:
-There is an aesthetic problem (left)
-Wires are visible and there is no separation between electrical outlets and AV wires (center)
-No more equipment can be added like for example a game console (right)
-There is an aesthetic problem (left)
-Wires are visible and there is no separation between electrical outlets and AV wires (center)
-No more equipment can be added like for example a game console (right)
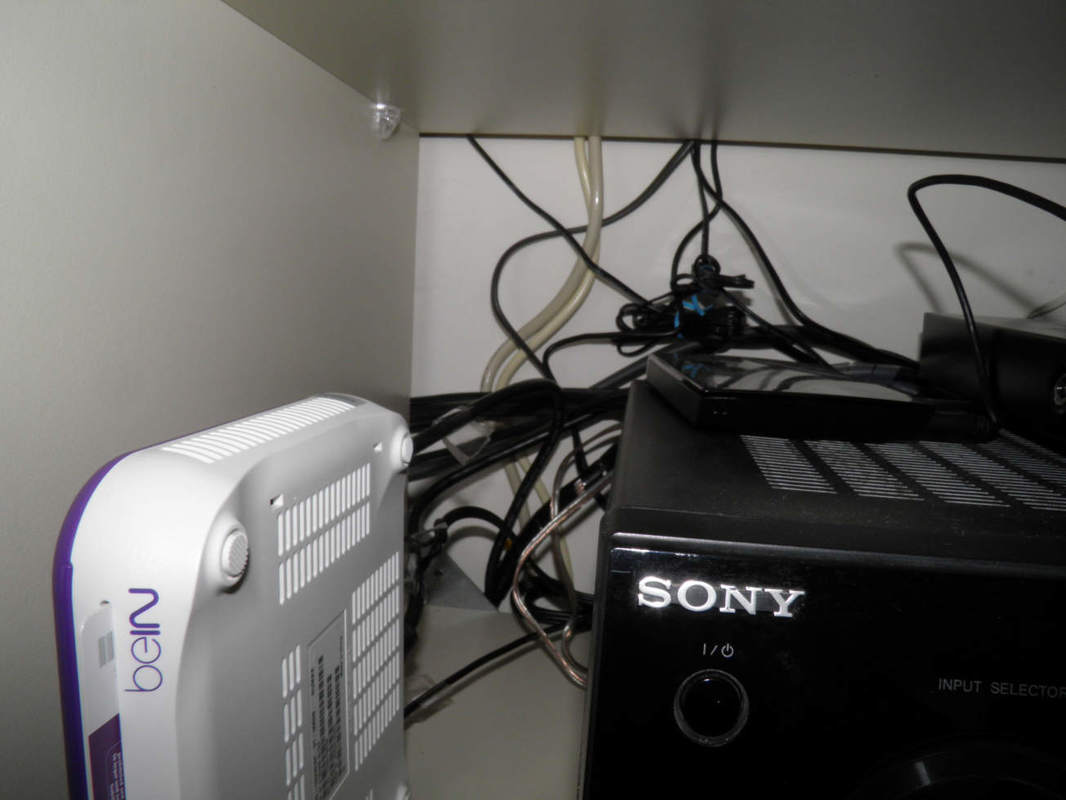


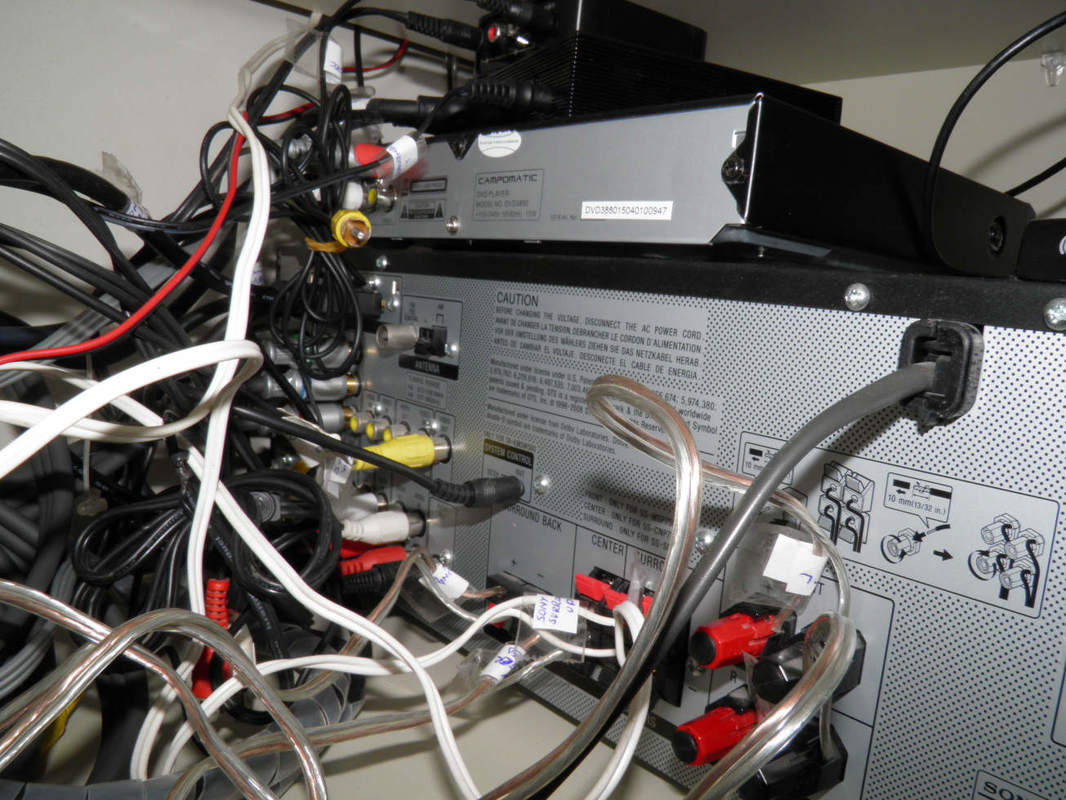
A complete mess on the back side of the AVR is soon reached and gets worse when connecting more AV equipment.
Some AV devices are laid on top of each other due to the lack of shelves.
Some AV devices are laid on top of each other due to the lack of shelves.

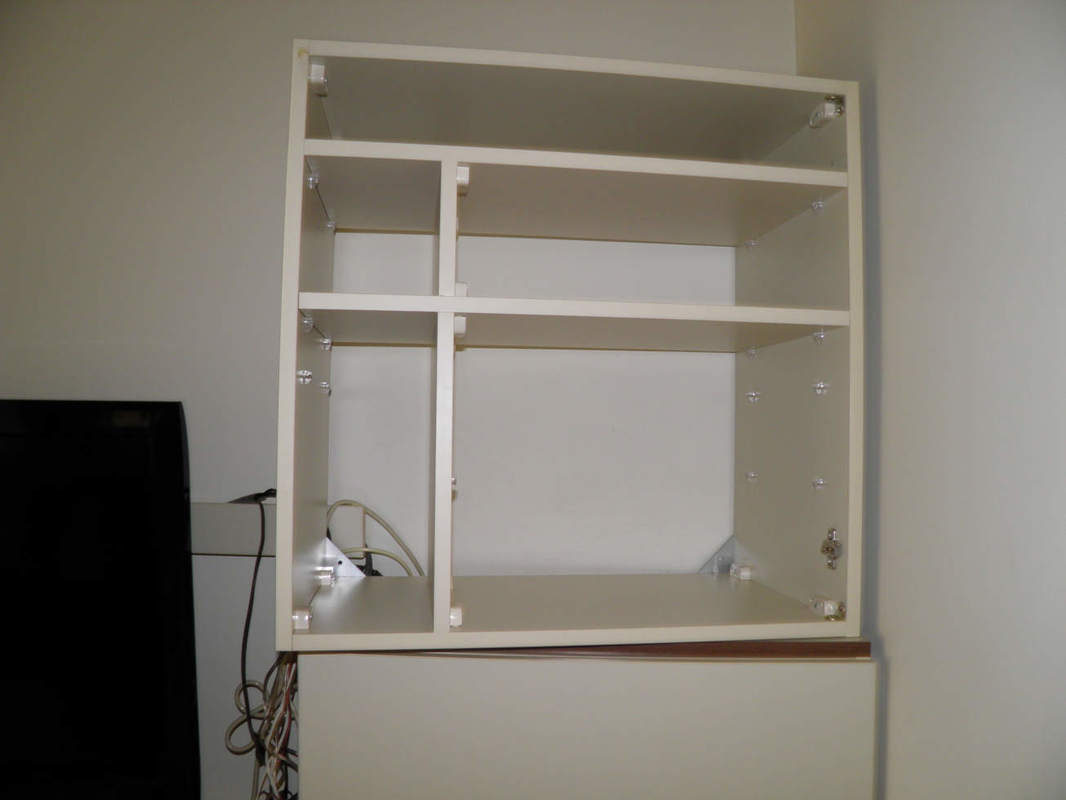
Adding compartments to transform it into an AV cabinet:
Before starting:
- First, make sure your cabinet has a depth of at least 40 cm.
- Do not attempt to fit AV equipment in less than a 40 cm deep cabinet.
- If you are building a new cabinet, consider 45 or 50 cm depth. It can be inspired from the below, but better can be done on the back side for the wiring. The modified cabinet in this case has a 40 cm depth and is sitting on other cabinets of the same depth which does not allow for adding special compartments or PVC trunking to route the cables.
- Also note that the cabinet shouldn't have a back cover. If yours has one, just remove it. This is mandatory for the proper ventilation of the AV equipment especially the bass amplifier which has a fan to its back side.
Take your measurements, order the wooden panels and proceed with the compartmentalization.
All partitions and shelves should be of a lesser depth than the cabinet by 2 cm. See further below.
The details of the assembly are not shown here, please visit our page for cupboard assembly if needed:
All partitions and shelves should be of a lesser depth than the cabinet by 2 cm. See further below.
The details of the assembly are not shown here, please visit our page for cupboard assembly if needed:
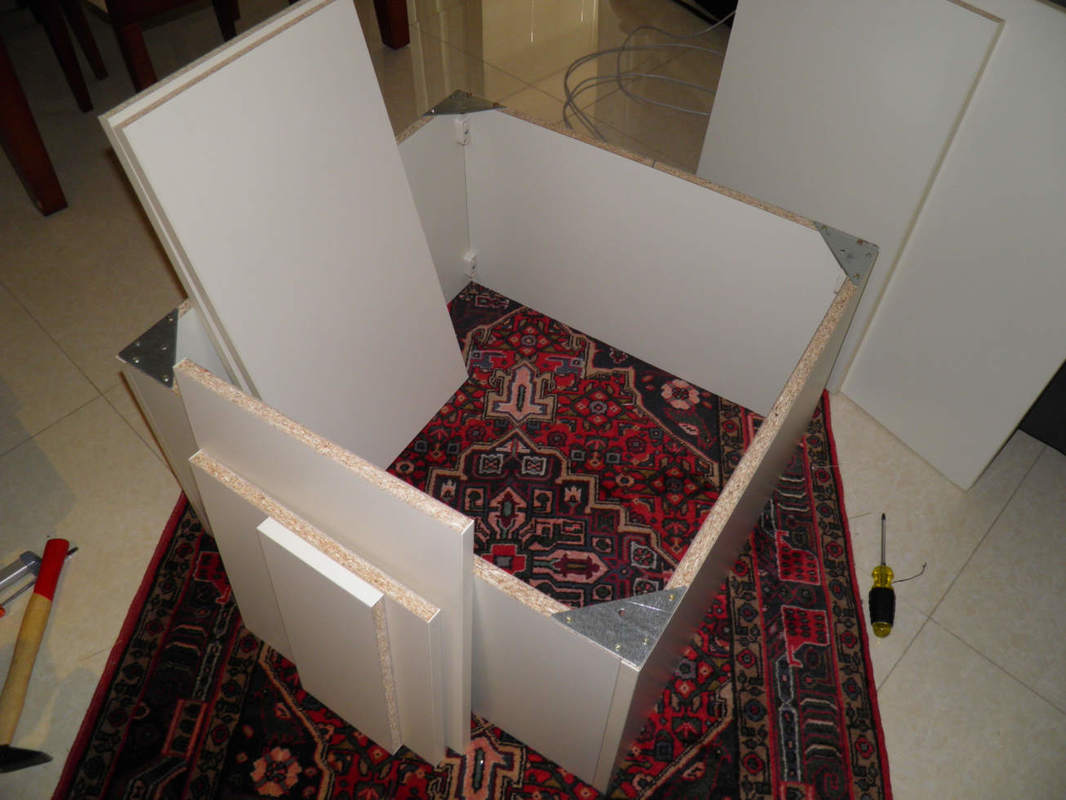

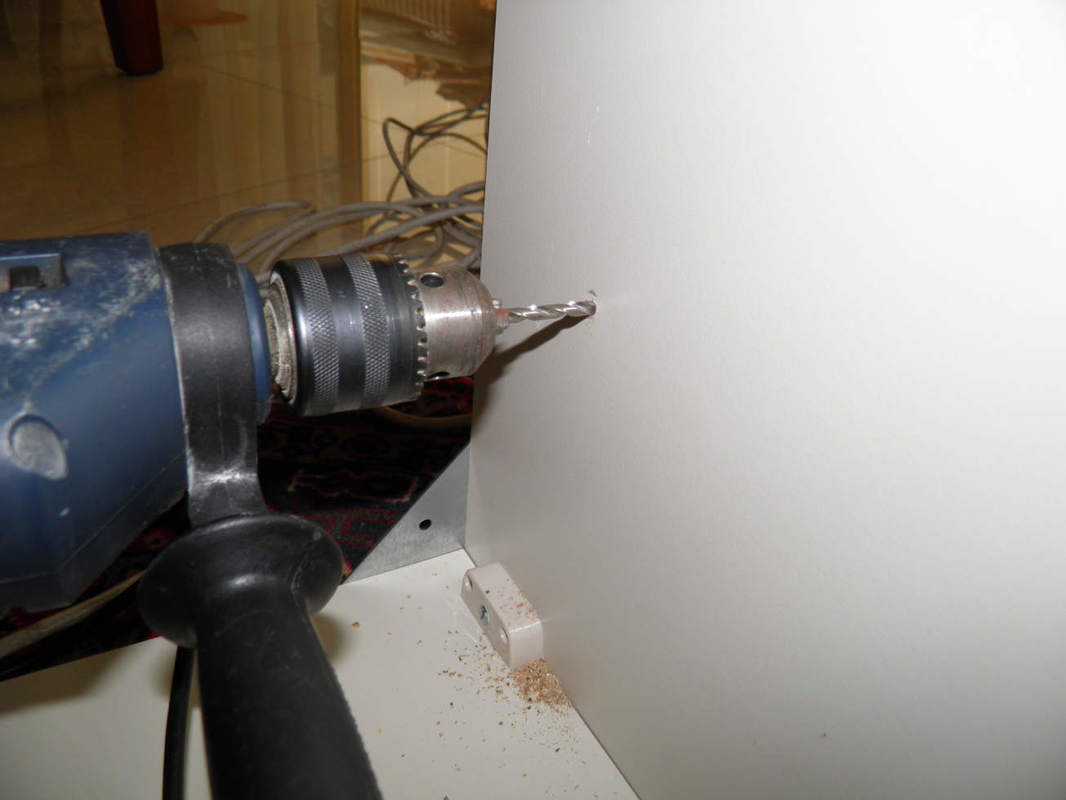
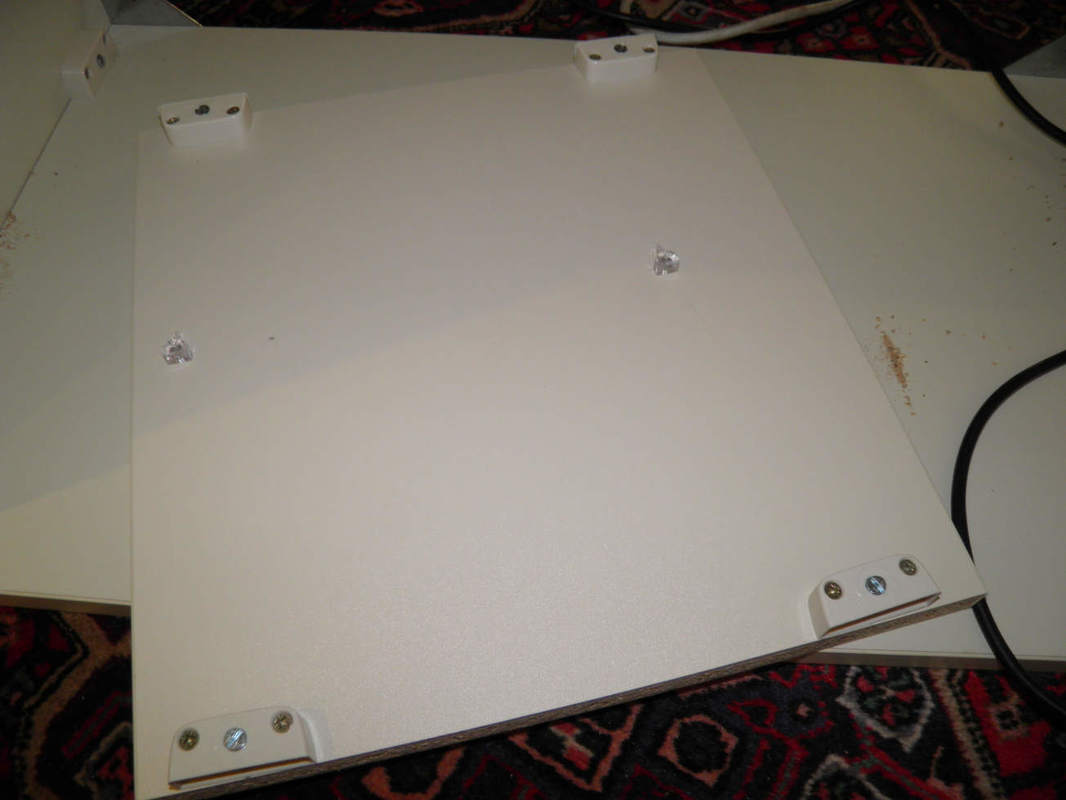
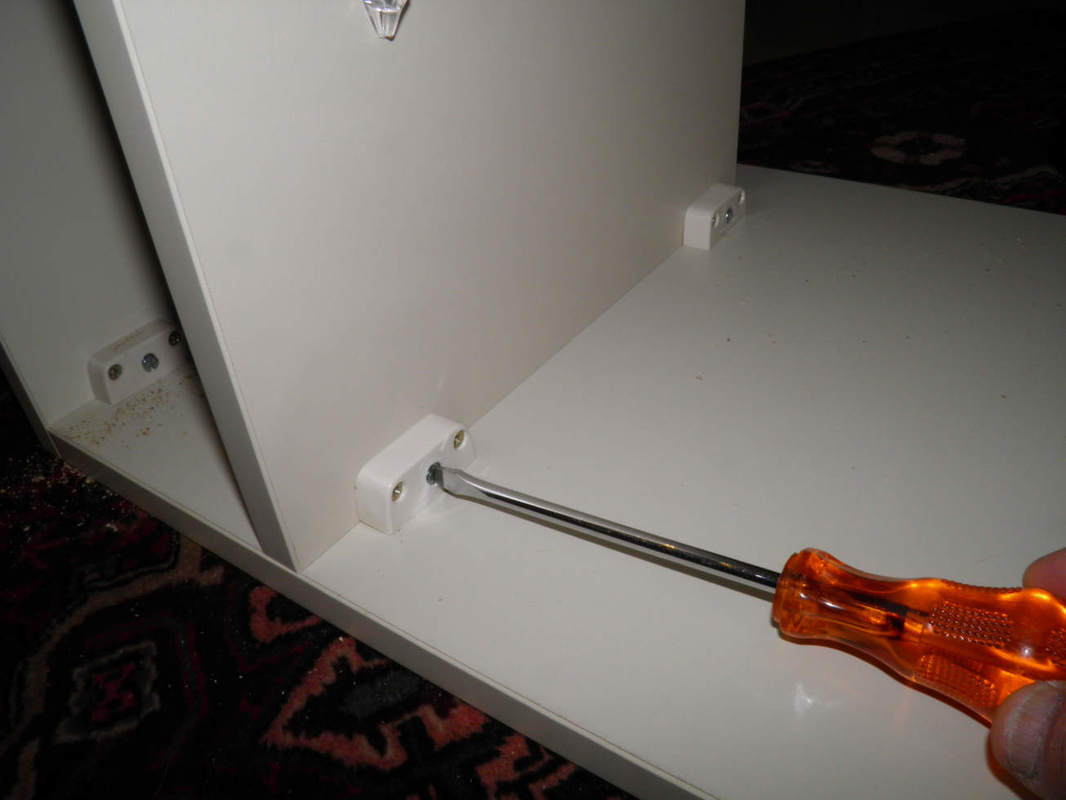
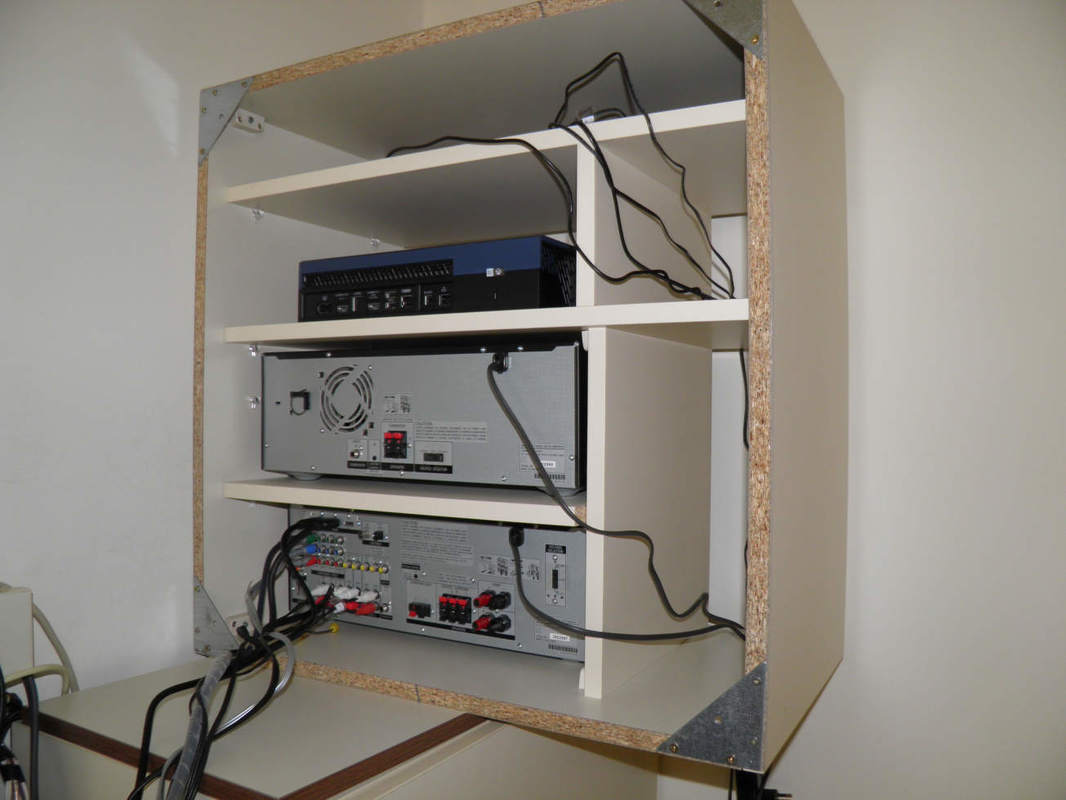
Note how the vertical partitions are fixed t the shelves using assembly accessories to avoid that the shelves move when you install the AV equipment or later when cleaning, etc. This is because some equipment is so light in weight (DVD, SAT receiver) that the shelf will keep moving easily unlike a bookshelf.

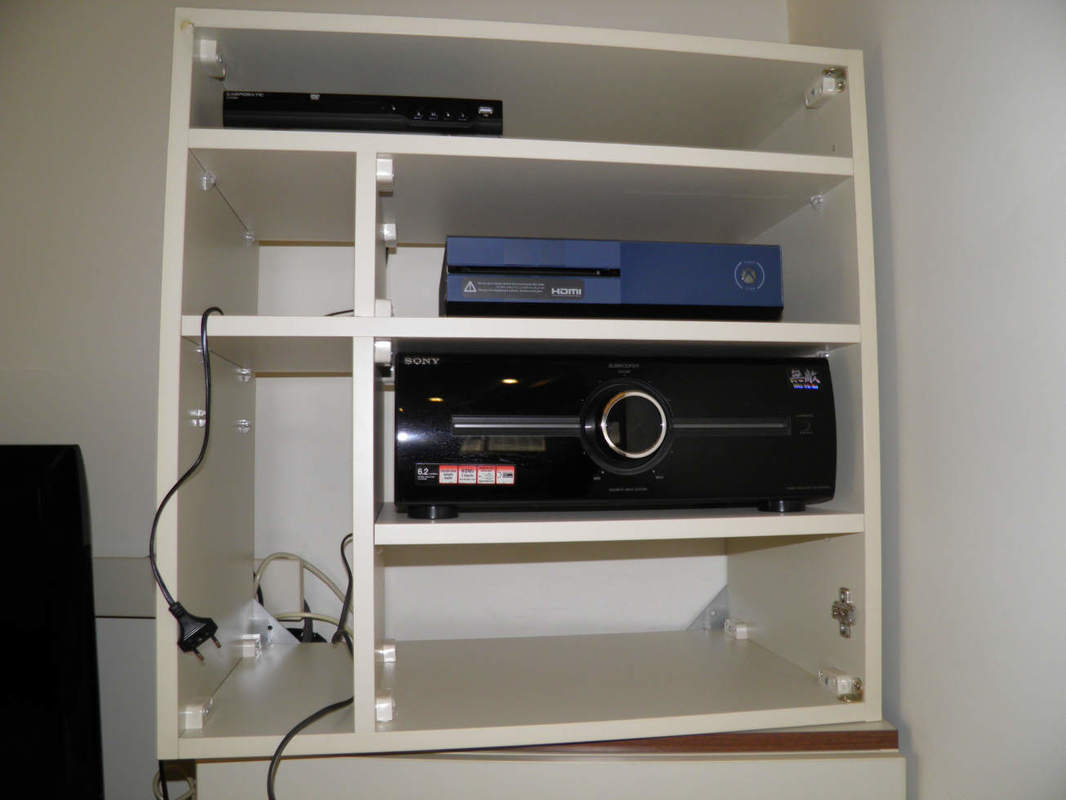
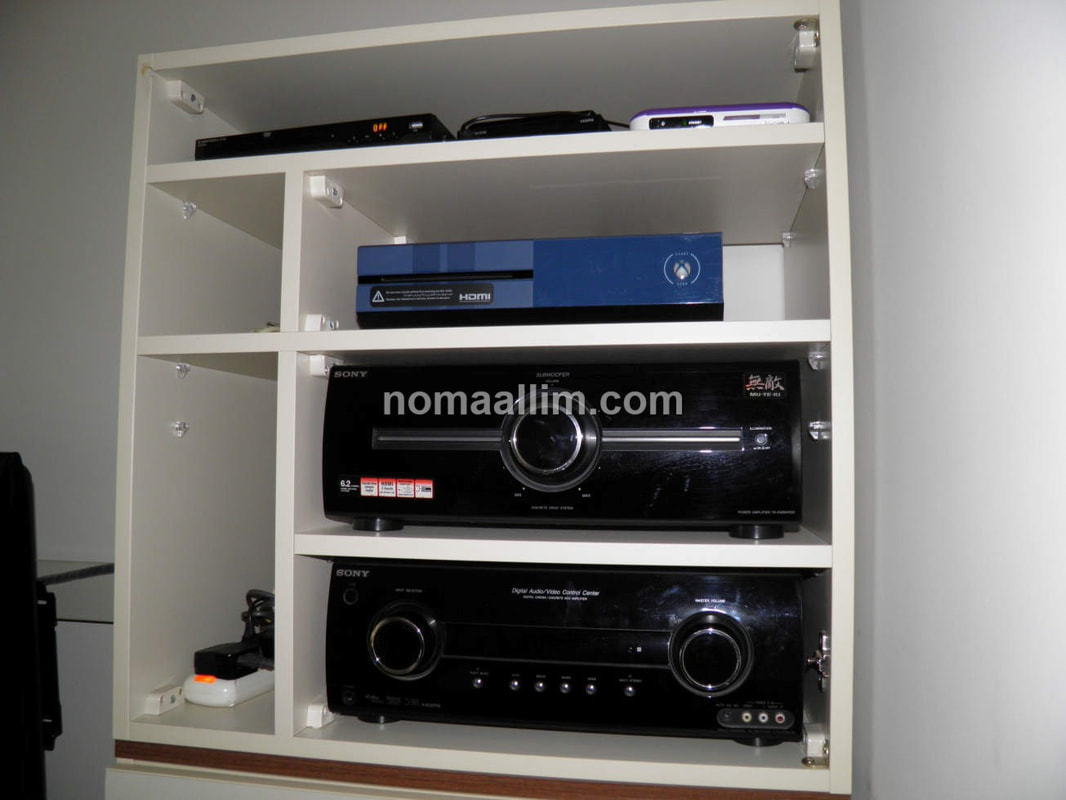
Start "populating" your AV equipment (media component) cabinet:
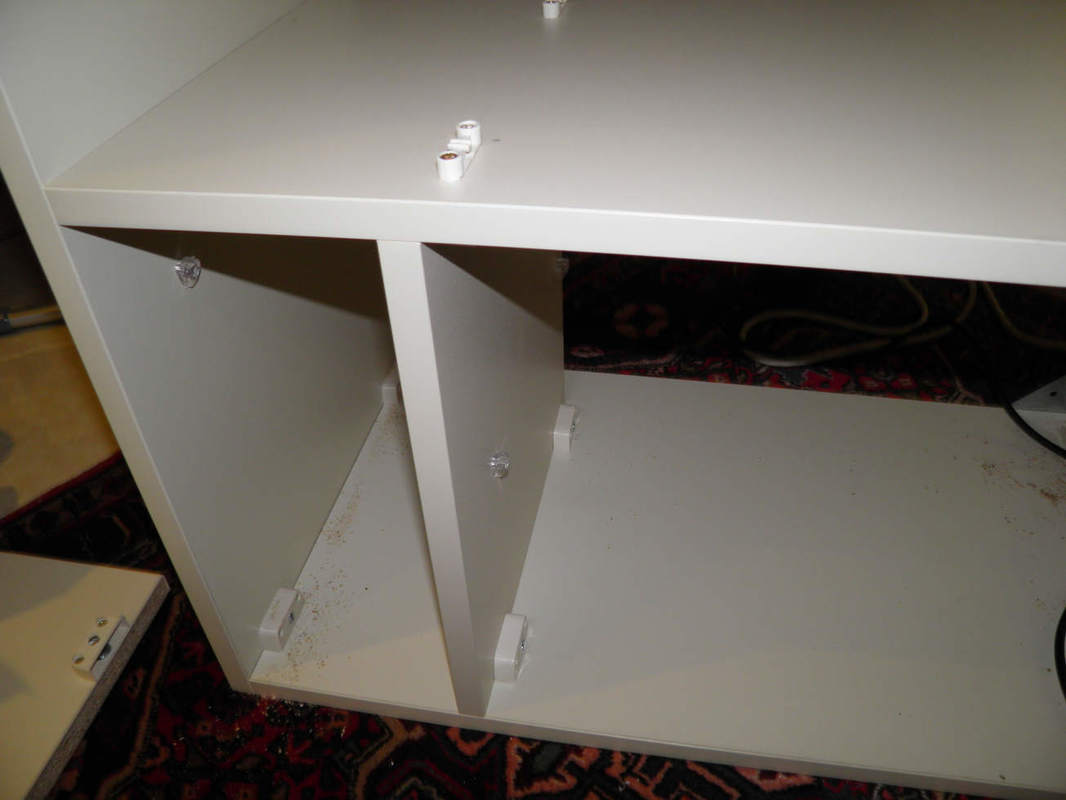
- When taking the measurements, make sure to keep at least 10 mm free as an absolute minimum on top of any AV device for ventilation.
- I should be designed in a manner that no AV device sits on the other anymore.
- The left compartments are used to plug the AV equipment into an AC extension cord, which separates the electrical cables from the AV cables.
- The lower left compartment is high enough to accommodate a UPS if needed.
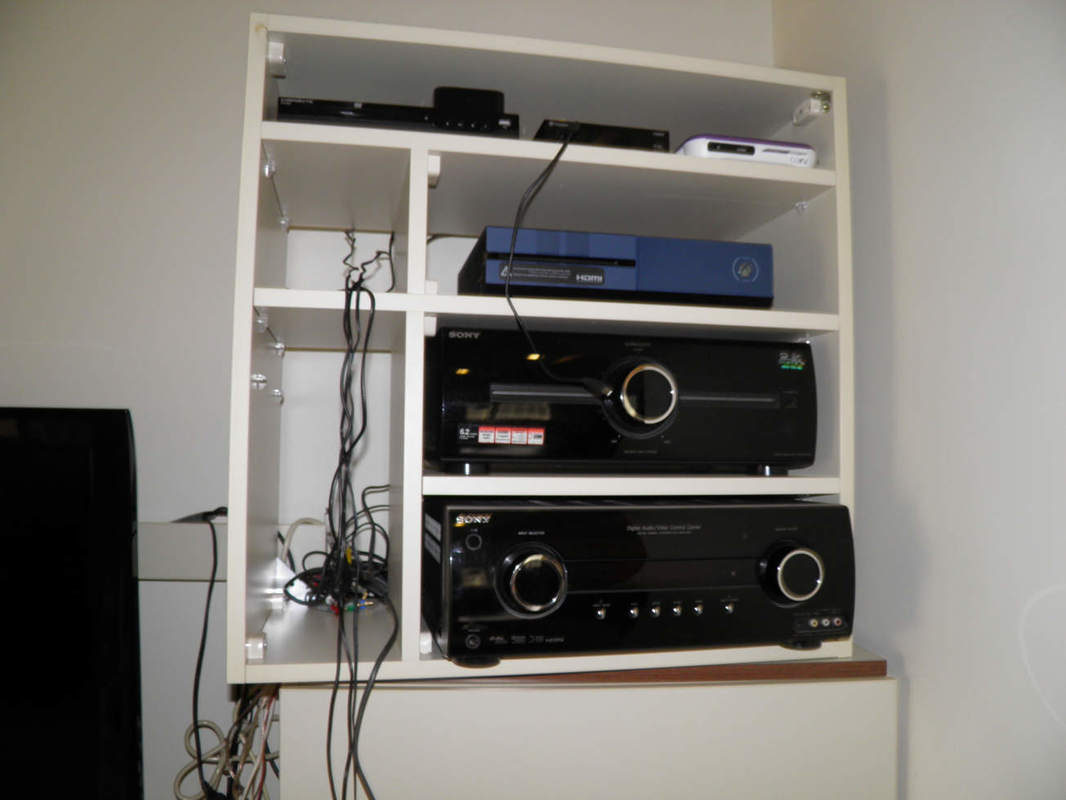
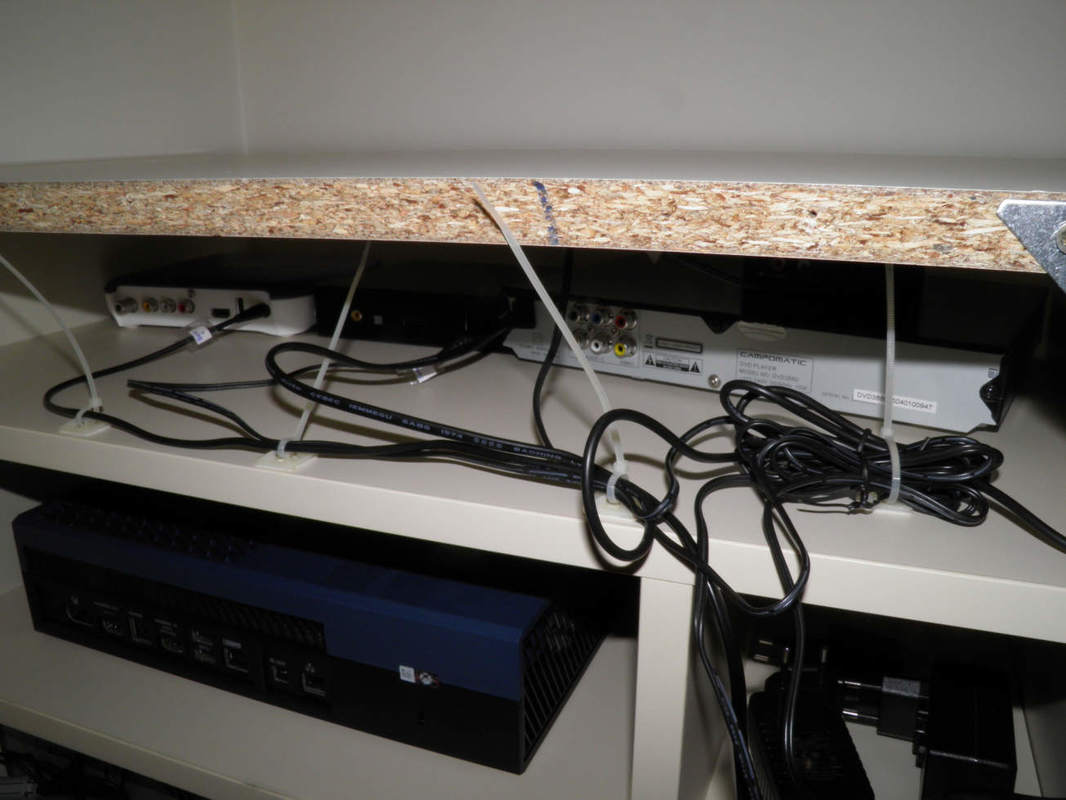
Put some order in the wiring. Use widely available self adherent wire holders.
Many types are available, the ones designed to receive a cable tie has been used here.
Attach all cables and run them parallel as much as possible.
Keep some free cable length between the last tie and the AV device in order to be able to move the latter a bit when cleaning or checking a connection.
Many types are available, the ones designed to receive a cable tie has been used here.
Attach all cables and run them parallel as much as possible.
Keep some free cable length between the last tie and the AV device in order to be able to move the latter a bit when cleaning or checking a connection.

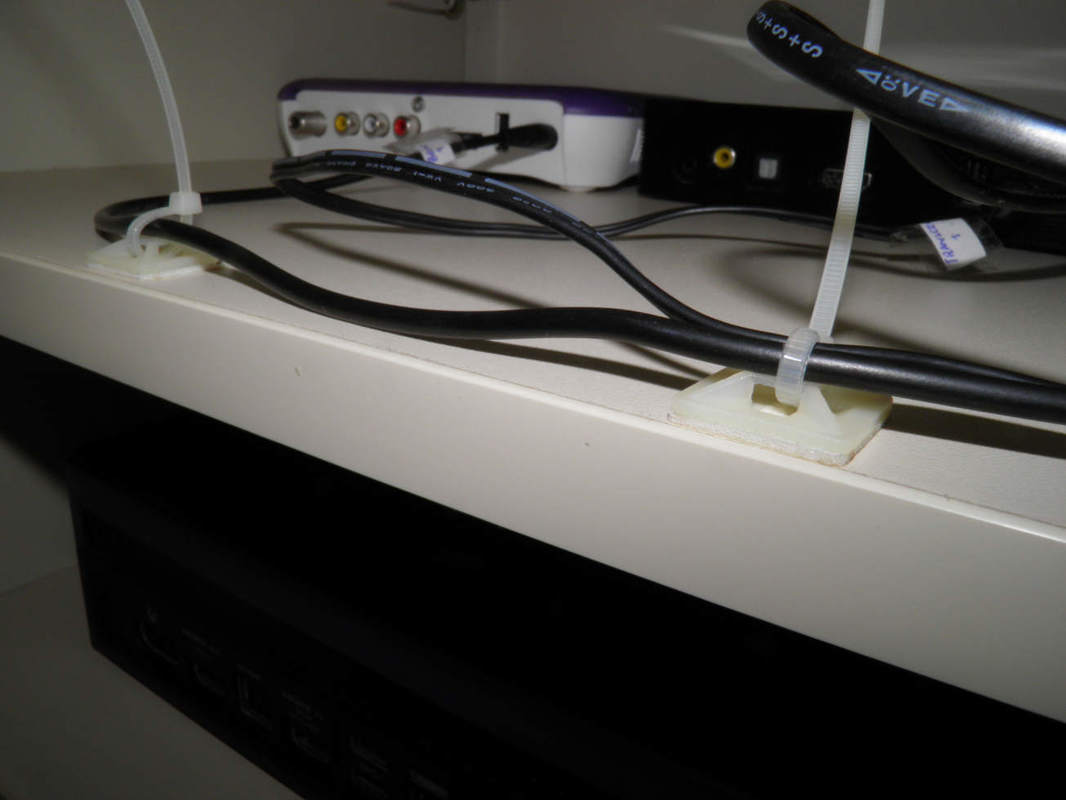
Your partitions and shelves should not be as deep as the cabinet, rather 2 cm shorter as this allows the cables to run within the cabinet depth itself and not outside of it.
Fix the wires on both horizontal and vertical runs.
Longer cables shall be looped properly without excessive bending .
Fix the wires on both horizontal and vertical runs.
Longer cables shall be looped properly without excessive bending .
|
|
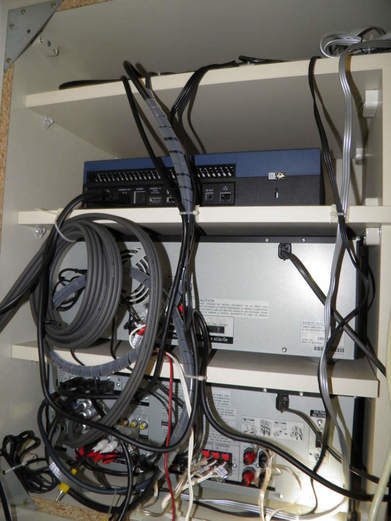
And here is the final result.
You can refit the wooden door or replace it with a glass door if you wish to keep the AV equipment (media component) visible.
You can refit the wooden door or replace it with a glass door if you wish to keep the AV equipment (media component) visible.
|
|
See also:
|
|
|