BEFORE YOU START
|
|
DISCLAIMER:
Our pictorials are of informative nature and do illustrate works carried by ourselves at our own premises for our own use and satisfaction.
Readers who envisage to carry out similar works inspired by the below method shall do this at their own risks and liability.
Our pictorials are of informative nature and do illustrate works carried by ourselves at our own premises for our own use and satisfaction.
Readers who envisage to carry out similar works inspired by the below method shall do this at their own risks and liability.
The material you need for fitting a LED strip
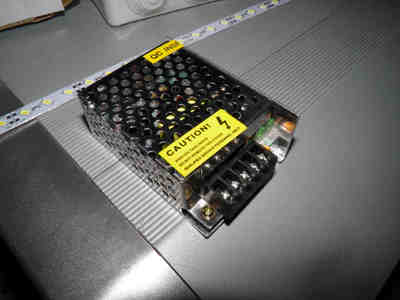
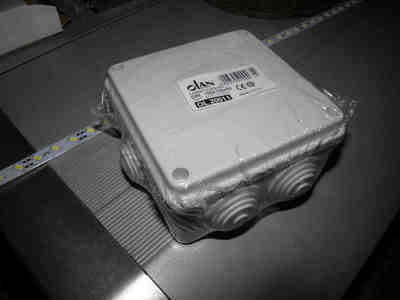
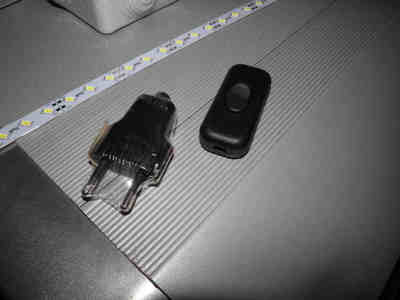
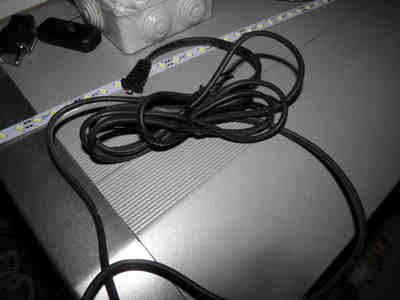
From left to right:
- A 12VDC LED strip light 1m long and of Daylight color with its power supply (see below the safety note)
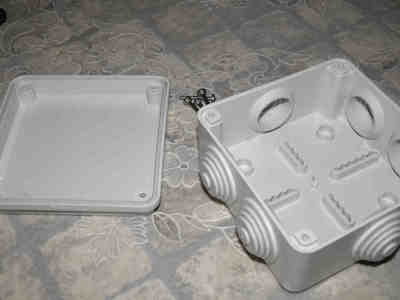
- A 10x10 cm PVC box to house the power supply
- A plug and a switch
- A flat cable like the ones widely used for table lamps, small appliances and electronic devices, etc.
NOTE:
Use exclusively 12V LED strips as a safety issue since the LED strip will remain uncovered on one hand and is mounted close to the water on the other. This guarantees a minimum of safety by eliminating the risk of electrocution from the aquarium lighting.
Use exclusively 12V LED strips as a safety issue since the LED strip will remain uncovered on one hand and is mounted close to the water on the other. This guarantees a minimum of safety by eliminating the risk of electrocution from the aquarium lighting.
Preparing the LED strip 12V power supply (driver)
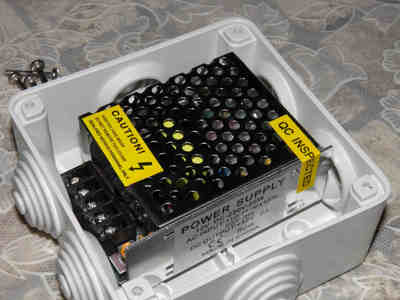
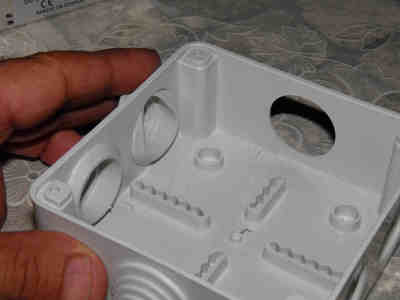
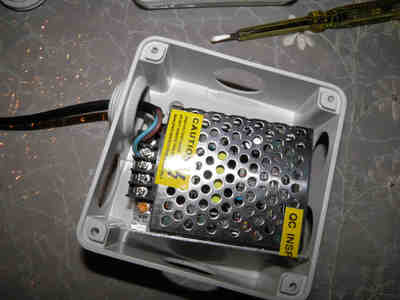
Open the PVC box and make sure the power supply fits inside easily.
Remove all the cable plugs as you only need to reinstall the ones where the cables will pass and keep the others out to ensure the proper power supply ventilation.
Remove all the cable plugs as you only need to reinstall the ones where the cables will pass and keep the others out to ensure the proper power supply ventilation.
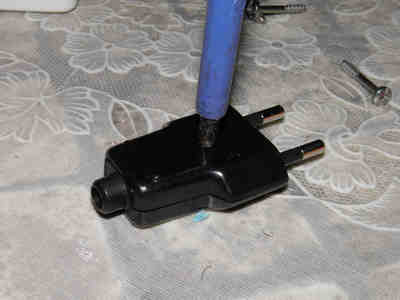
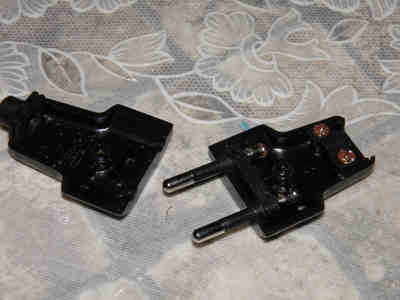
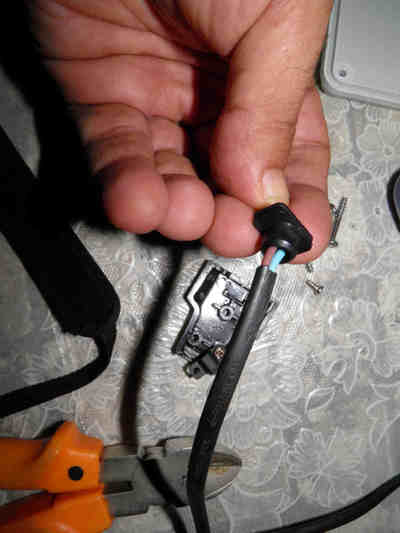
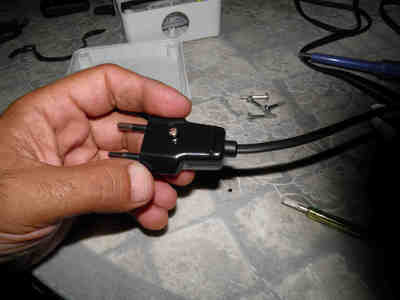
Open the plug and strip some length of the cable, around 2 cm:
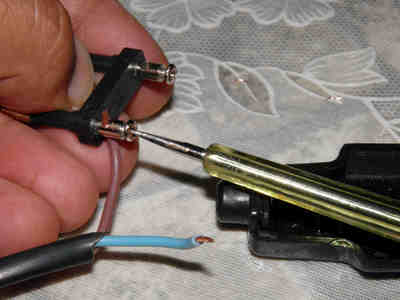
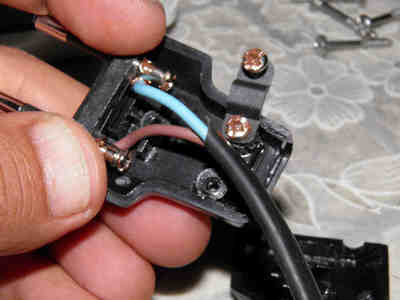
Introduce the plug's rubber seal (if it has one) in the cable and connect the wires:
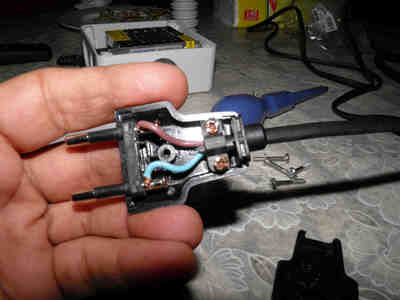
Secure the cable by tightening the cable holder prior to closing the plug.
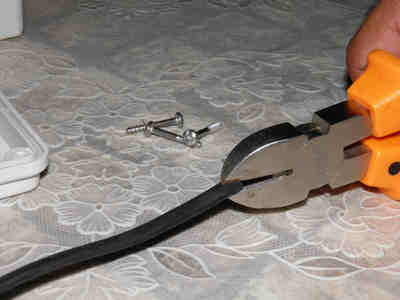
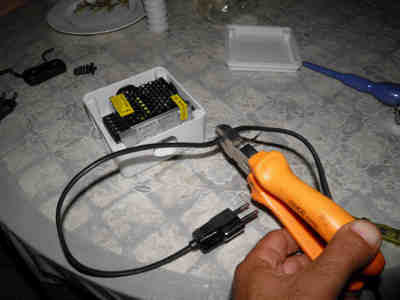
Cut the right length of cable.
Cut the right length of cable.
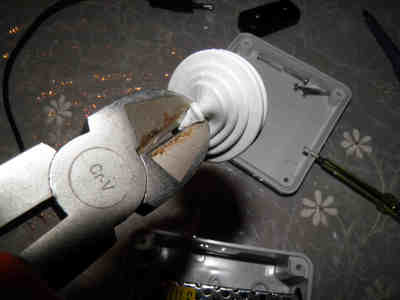
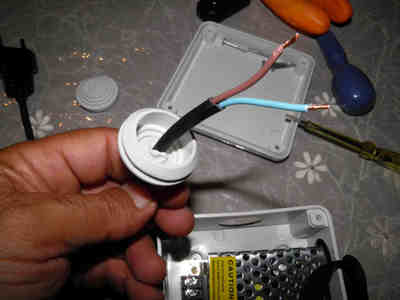
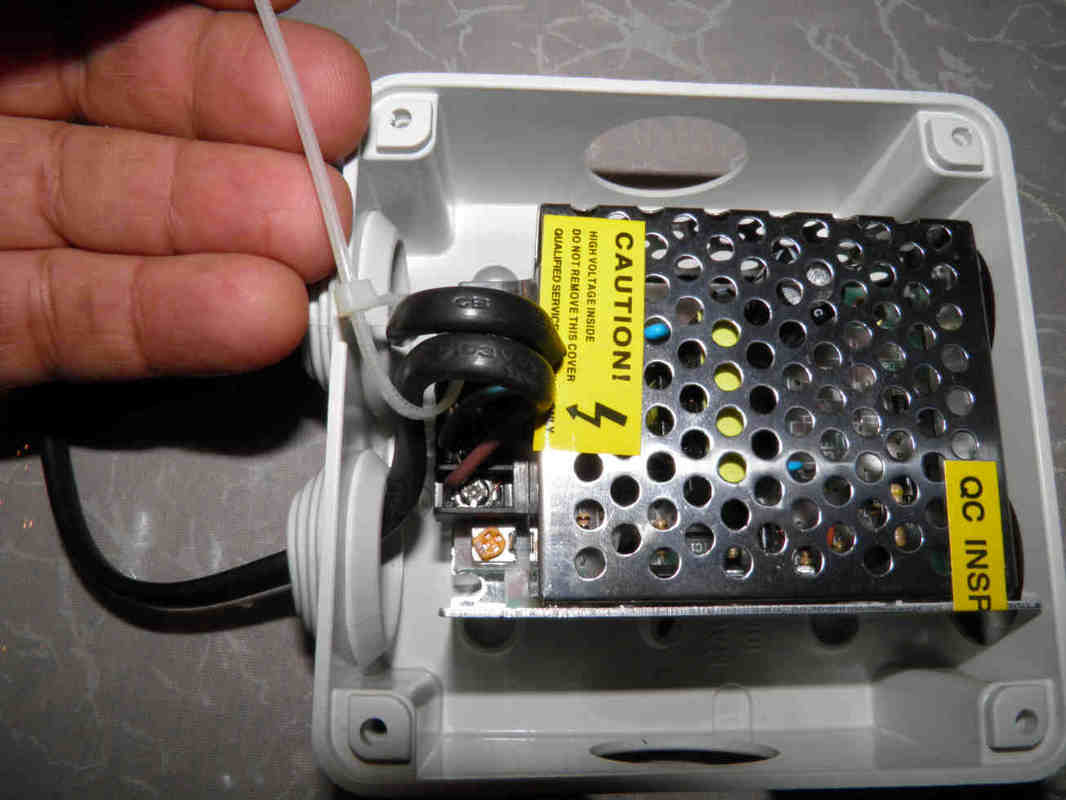
Cut a small opening in the rubber plug and let the cable pass through before connecting it to the power supply.
Fit well the plug into its opening and as previously stated keep all unused plugs out to ensure the power supply ventilation.
Fit well the plug into its opening and as previously stated keep all unused plugs out to ensure the power supply ventilation.
|
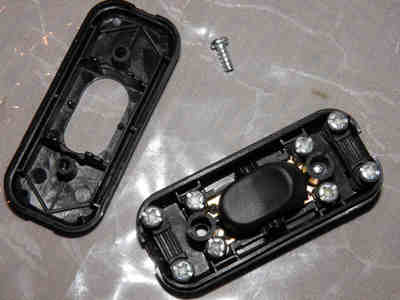
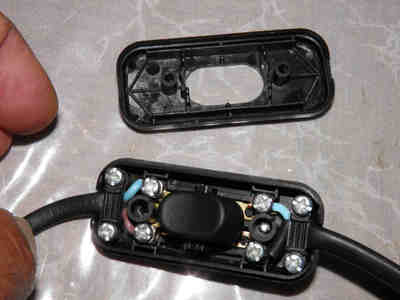
Cut either side of the cable (230V or 12V) and fit the switch.
The power supply preparation is now complete. |
|
|
|
|
Fixing the LED strip to the aquarium
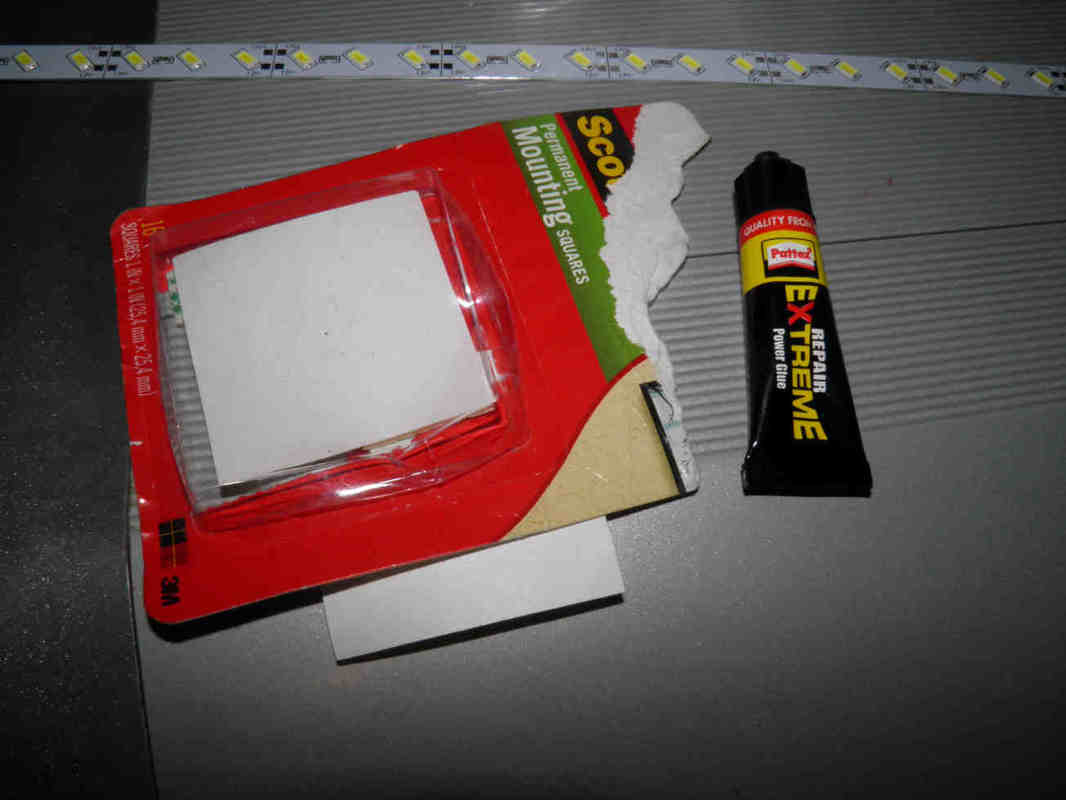
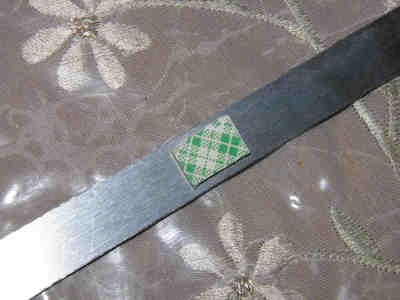
Start by measuring then cutting the LED strip and applying 2 or 3 pieces of mounting tape to it.
Use the so called "aviation snip shear cutter" or cutting pliers to cut the LED strip at the exact place where it is designed to be cut.
Use the so called "aviation snip shear cutter" or cutting pliers to cut the LED strip at the exact place where it is designed to be cut.
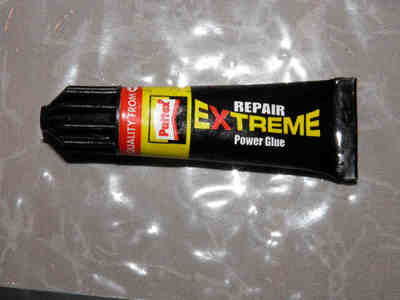
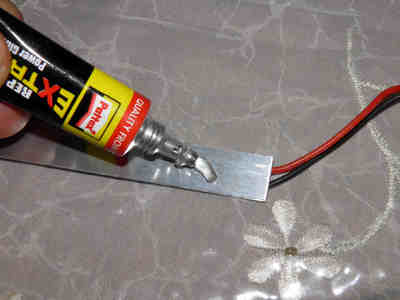
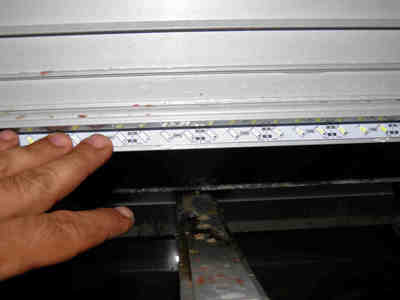
Add 5 or 6 drops of the silicone sealant or any flexible glue like the Pattex Extreme shown here and stick the strip to its place by pushing hard with your fingers.
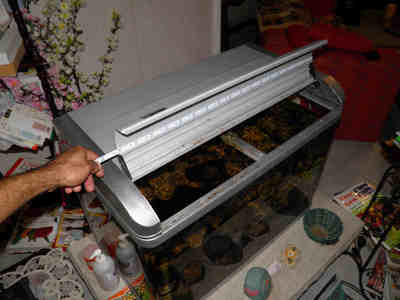
Note that the LED strip has been fixed to the cover away from the condensation.
Note that the LED strip has been fixed to the cover away from the condensation.
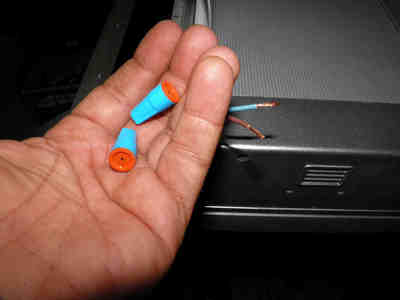
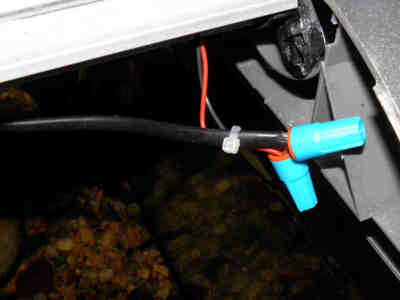
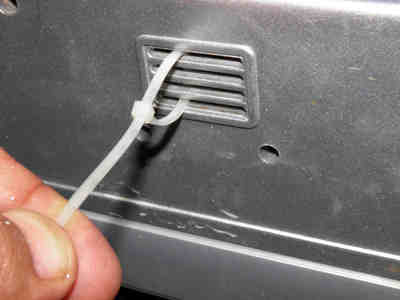
Finish the job by using water tight wire connectors to connect the LED strip wires to the power supply cable and attach the cable with cable ties in a manner that the connection remains away from the water, the job is complete!
See also...
|
|
|

