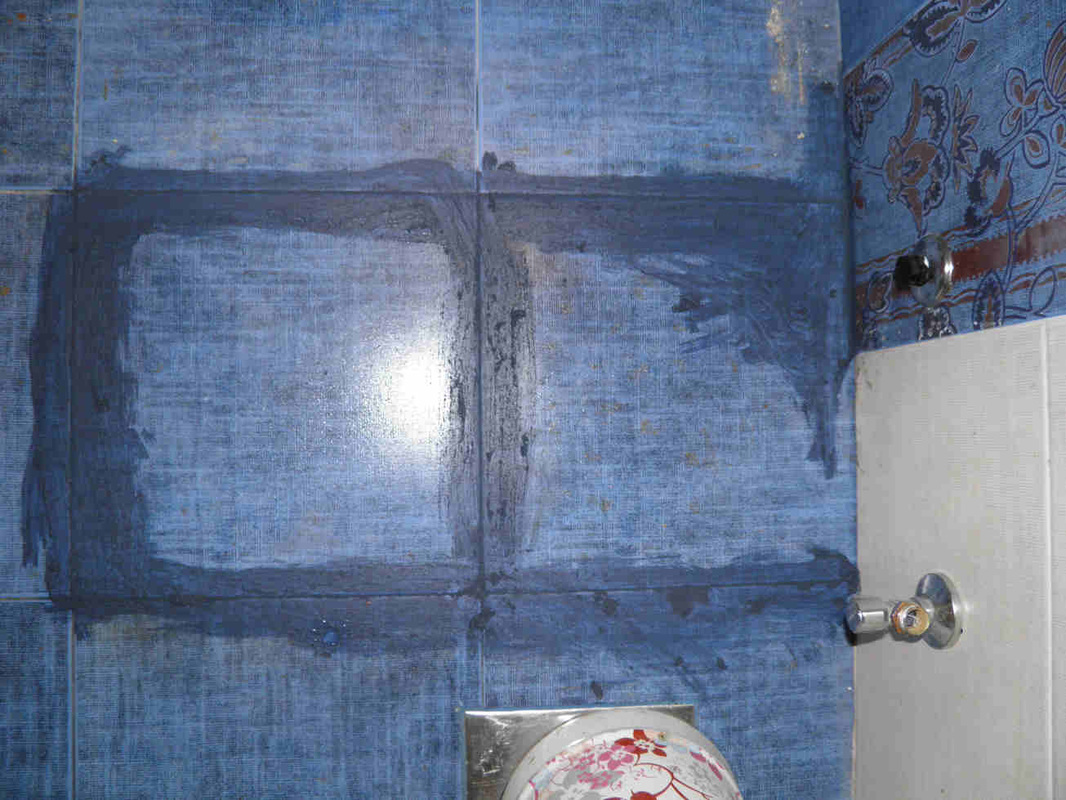
Wednesday: remove the tiles - 2 hours - Continued from part 1
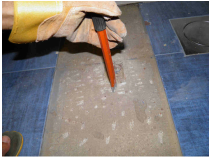
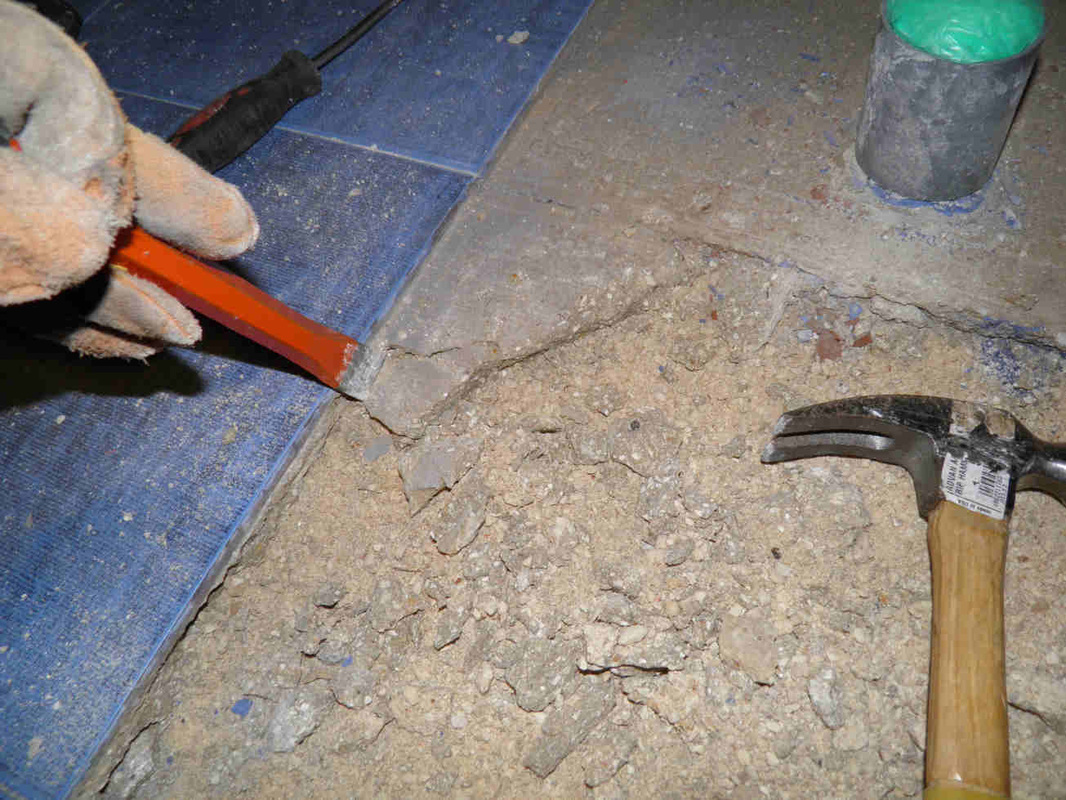
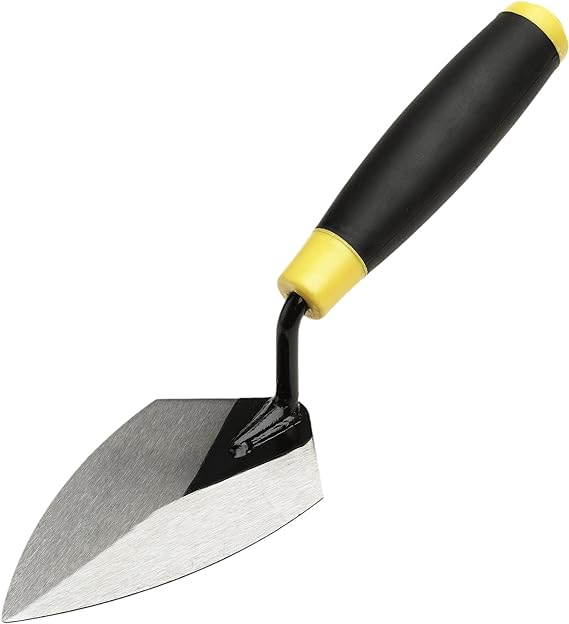
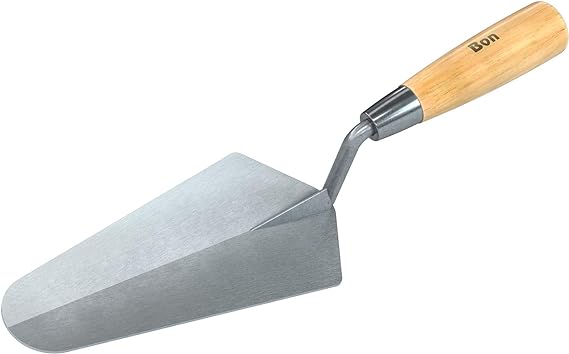
You think you're done? Not yet, get a flat chisel and wear gloves.
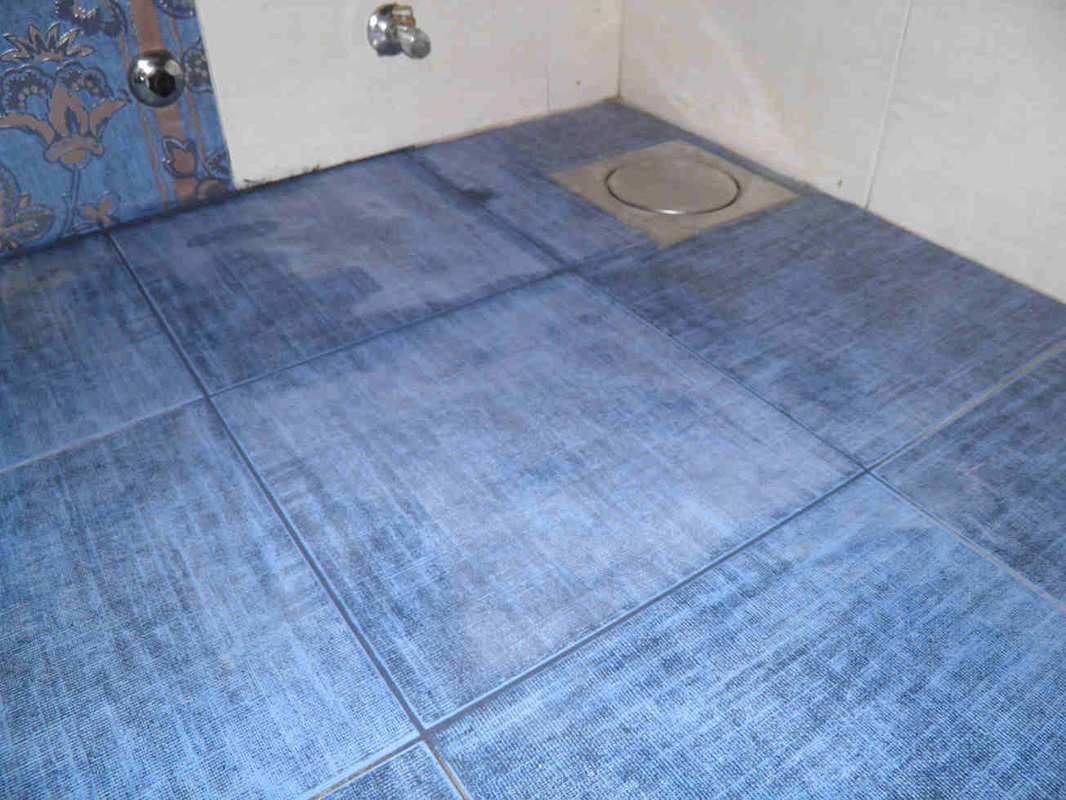
The job is now complete.
|
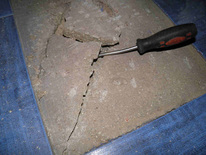
Open oblique cracks in the concrete and take it piece by piece.
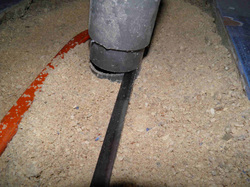
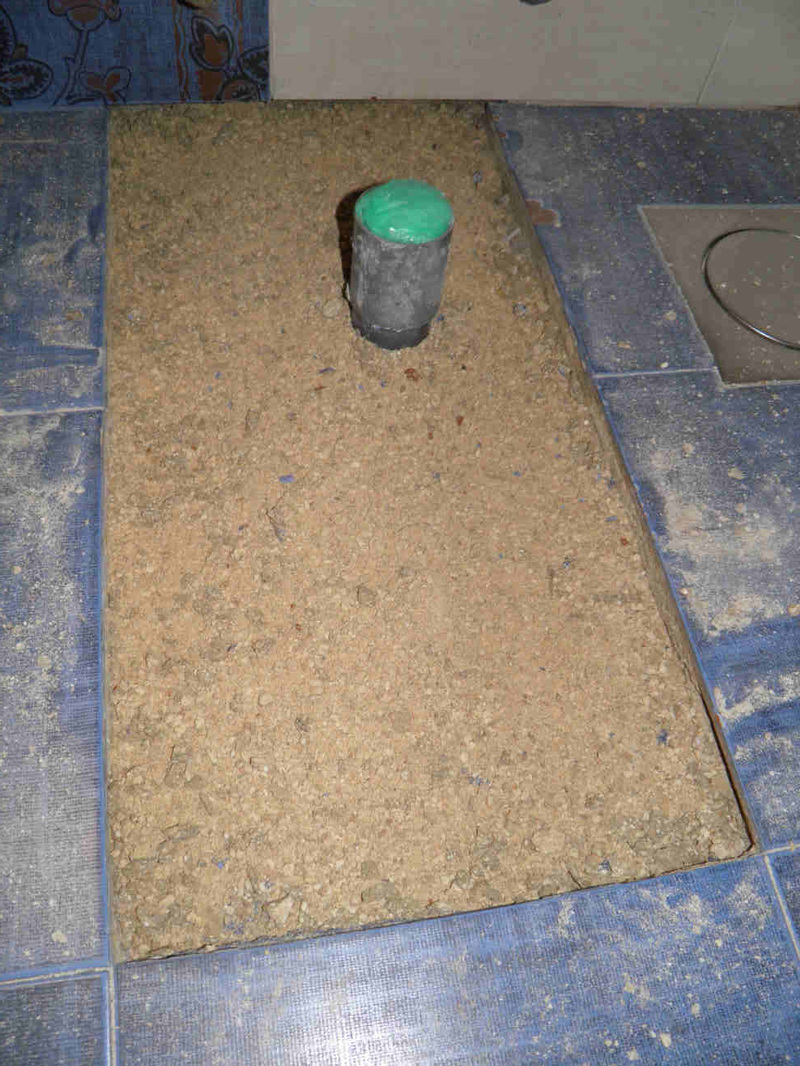
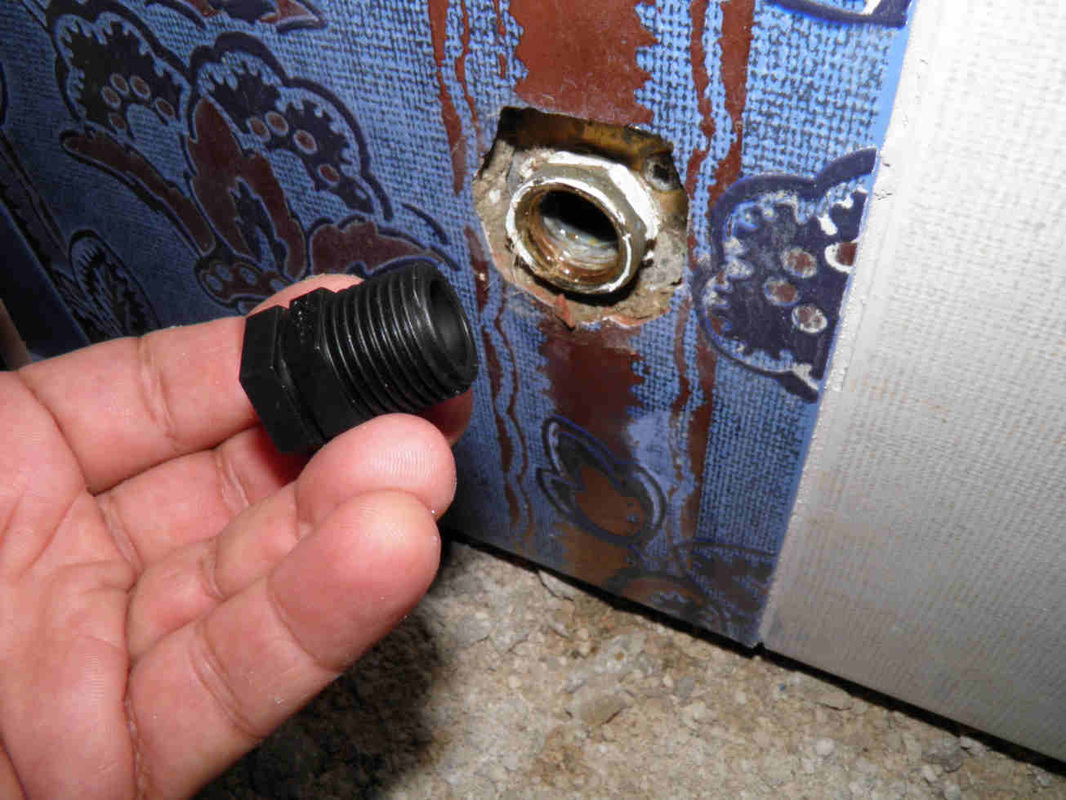
Get the rid of that excess pipe.
|
It's much easier than the tiles. Carefully clear the edges.
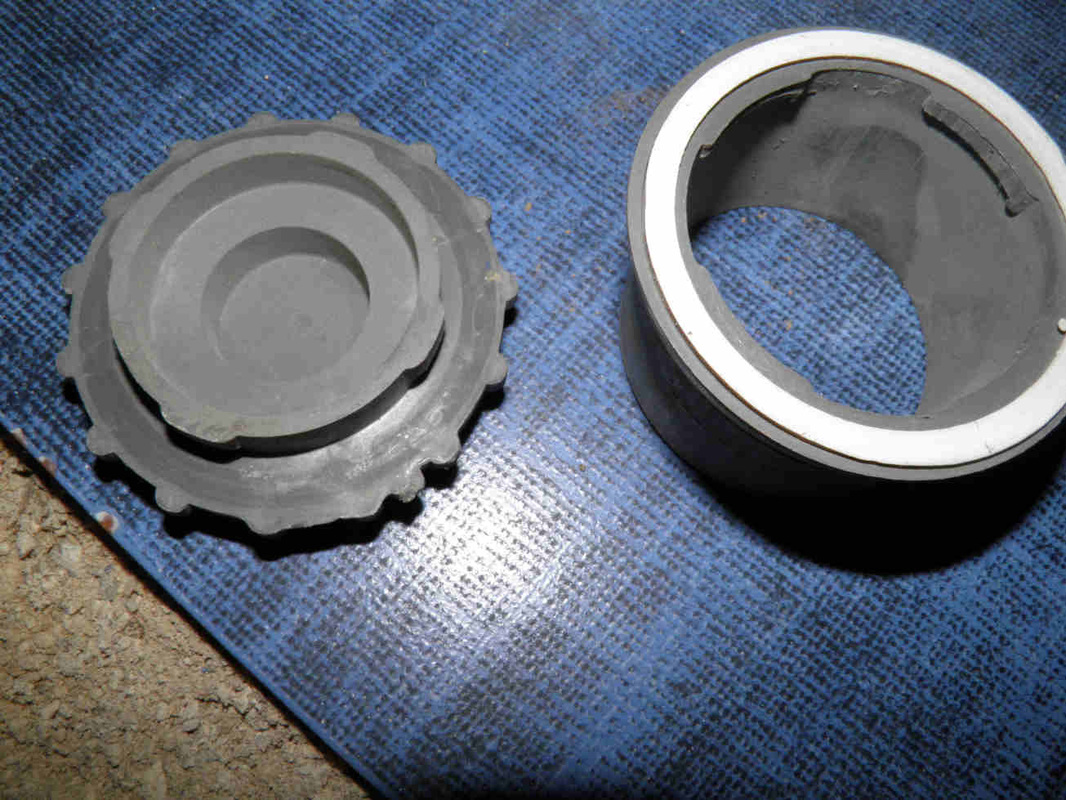
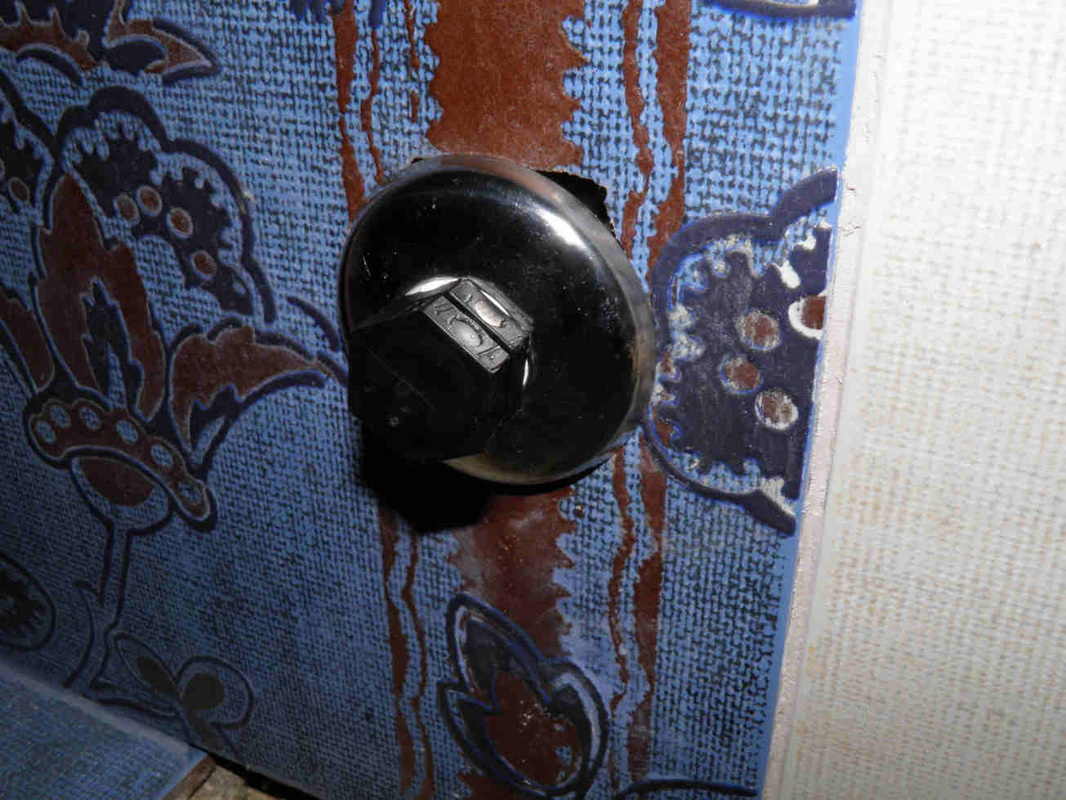
Use the cover of a pipe plug to close it.
|
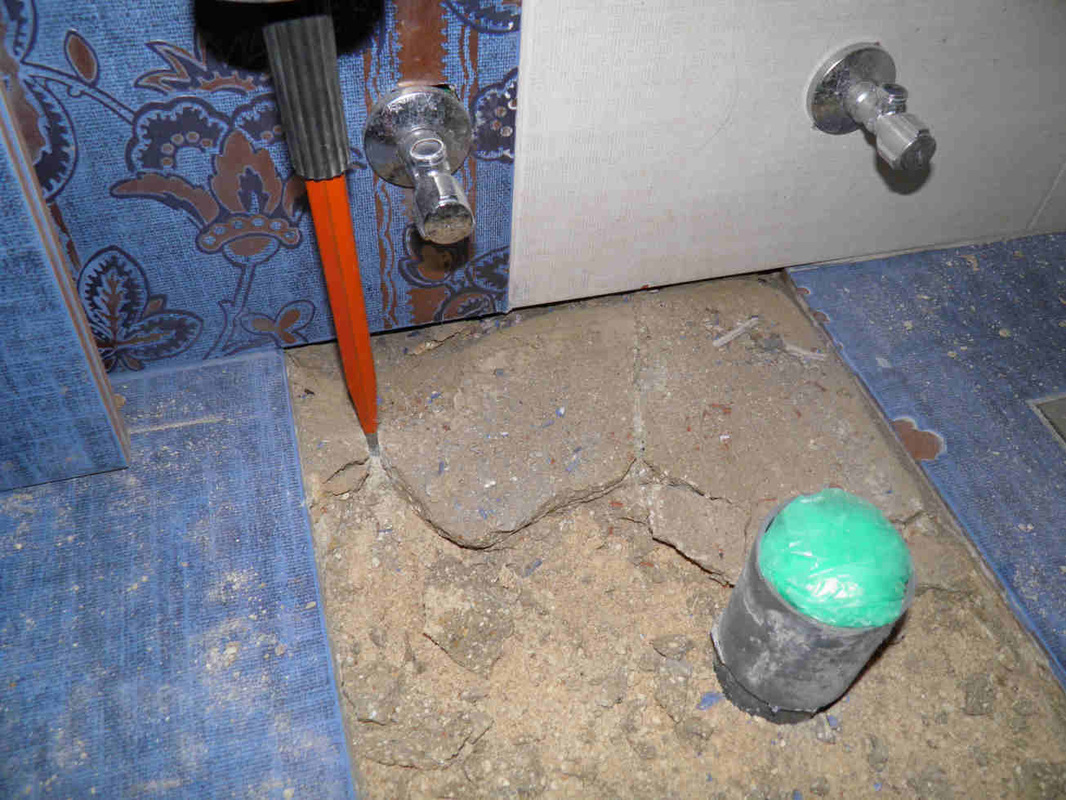
No way to manage without removing the concrete; tiles will be higher than the floor.
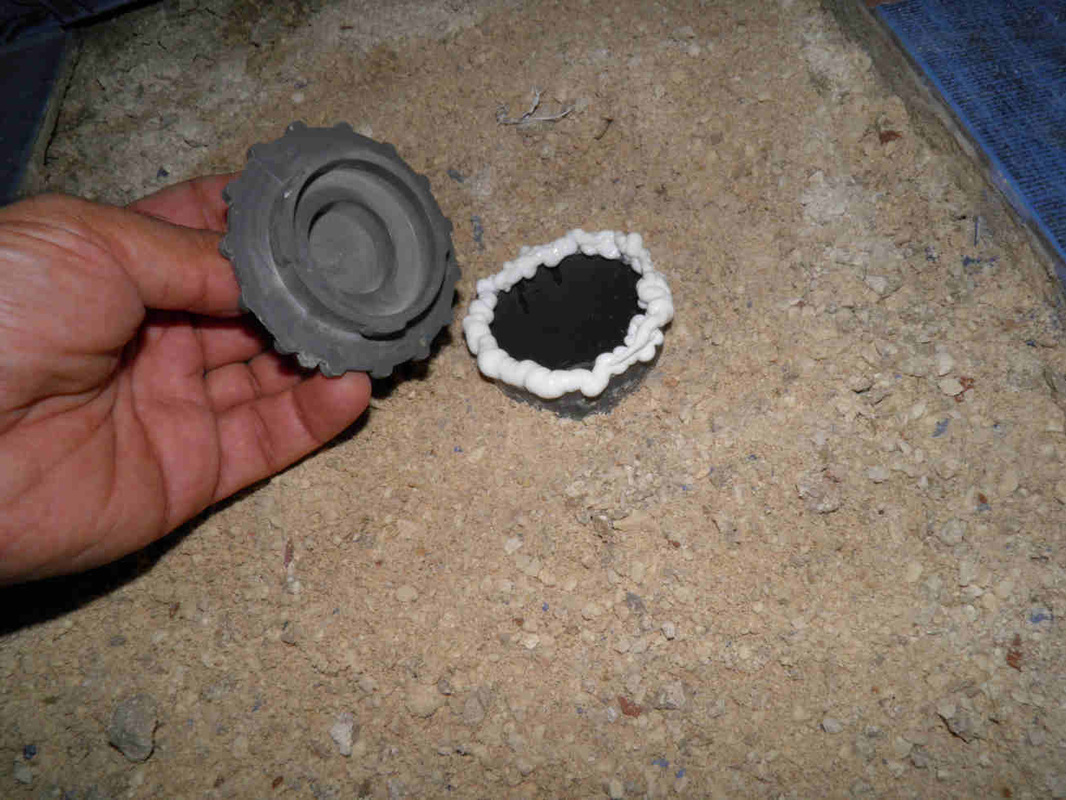
Any silicone sealant or montage glue will do. PVC pipe cement is not suitable in this case.
|
|
|
|
Thursday: some plumbing works - 30 minutes.
Close the main valve that feeds the Hot water tap.
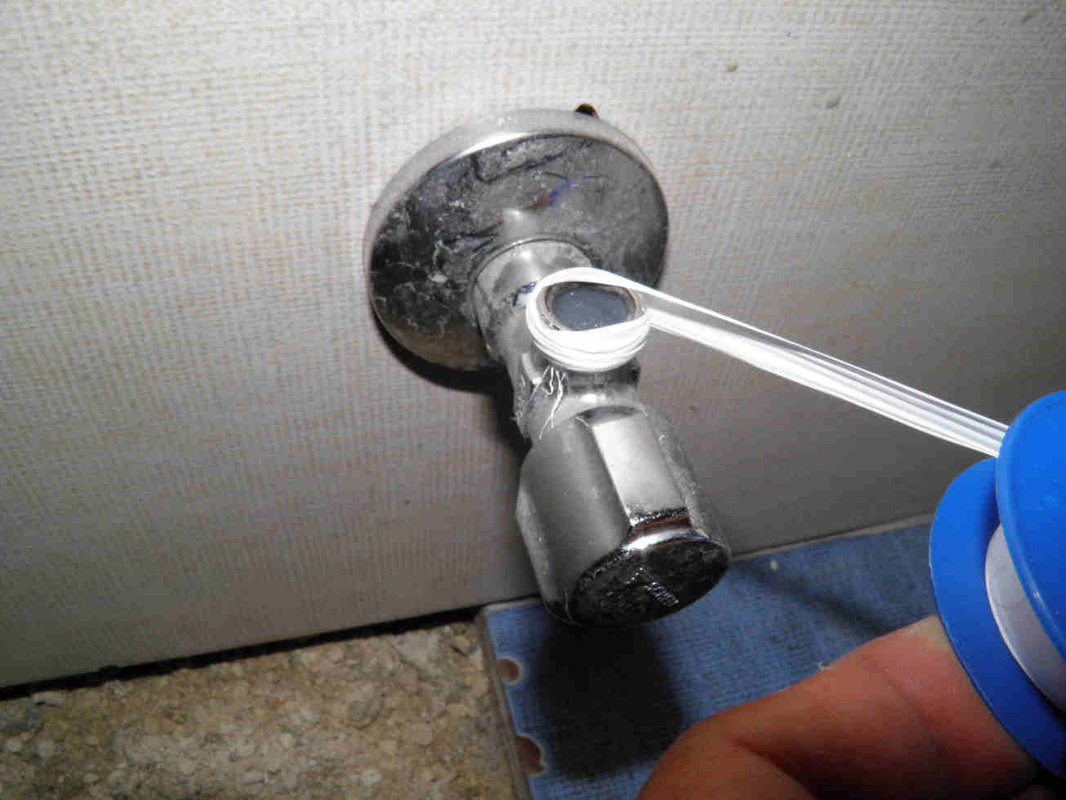
Apply Teflon tape and plug the hot water.
|
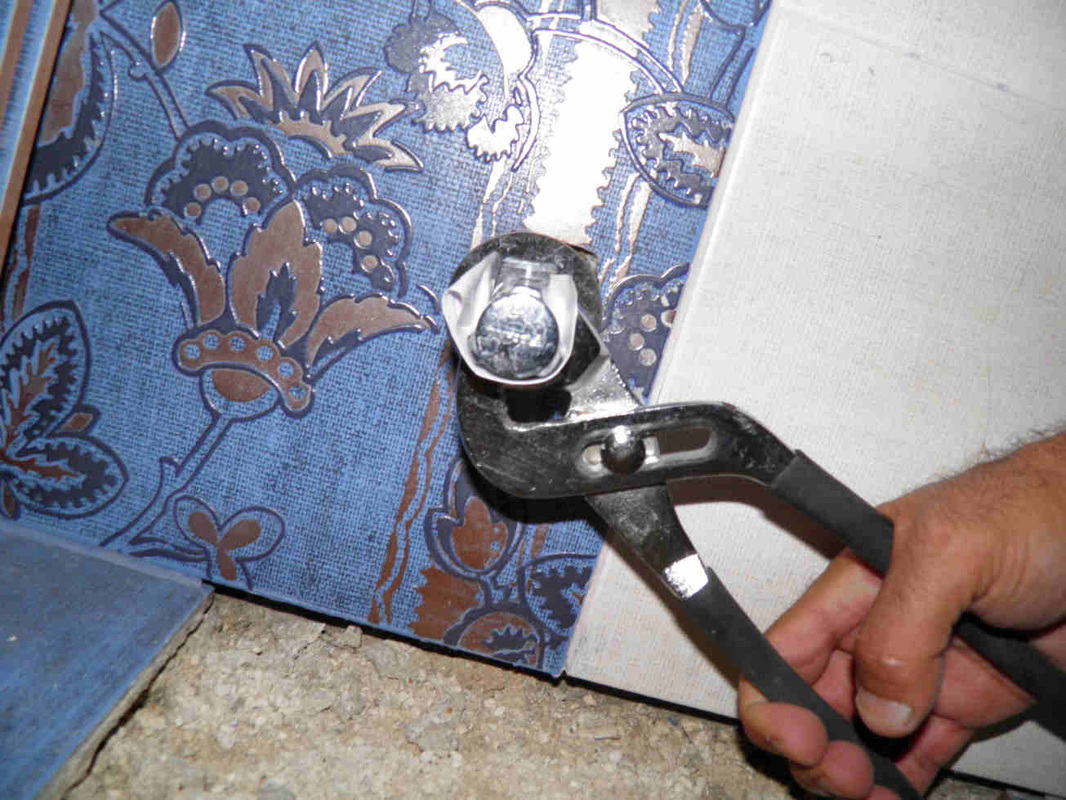
Unscrew and remove the elbow valve to the left (Hot).
I decided to keep the cold water valve for fitting a garden hose.
|
A plastic material plug is used to avoid corrosion.
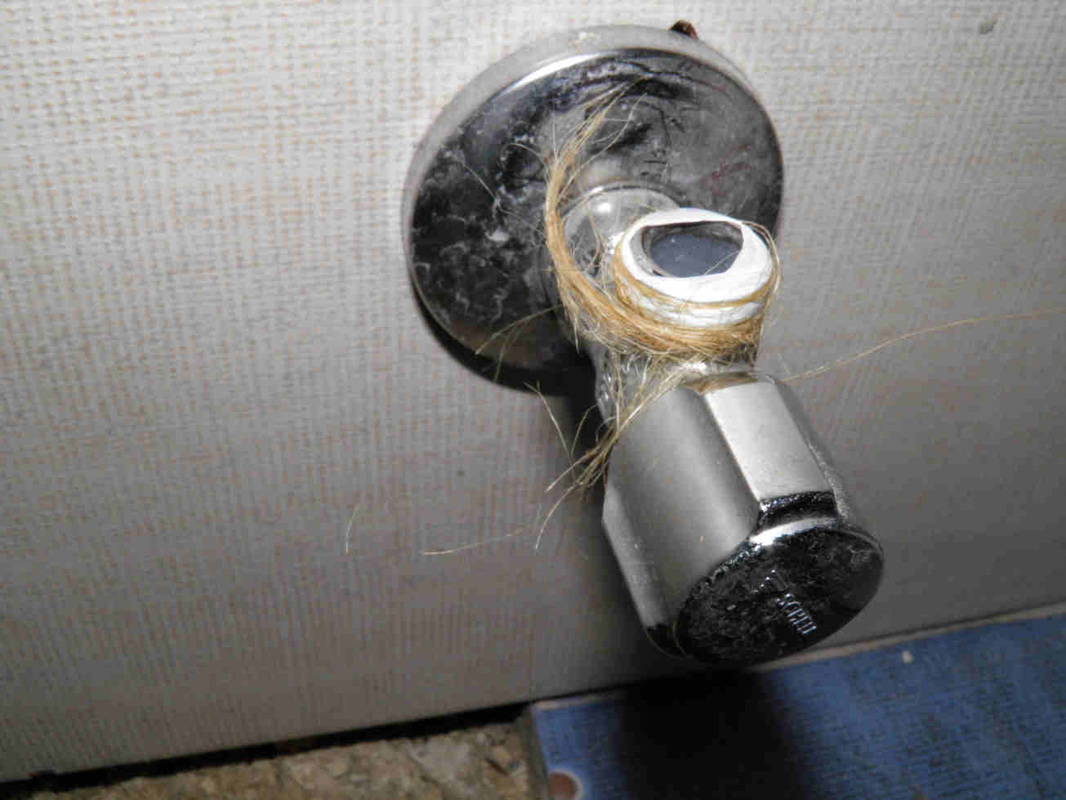
A first layer of Teflon is applied, then one of plumbers hemp and Teflon again.
|
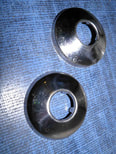
You might need to chose a thinner wall rosette.
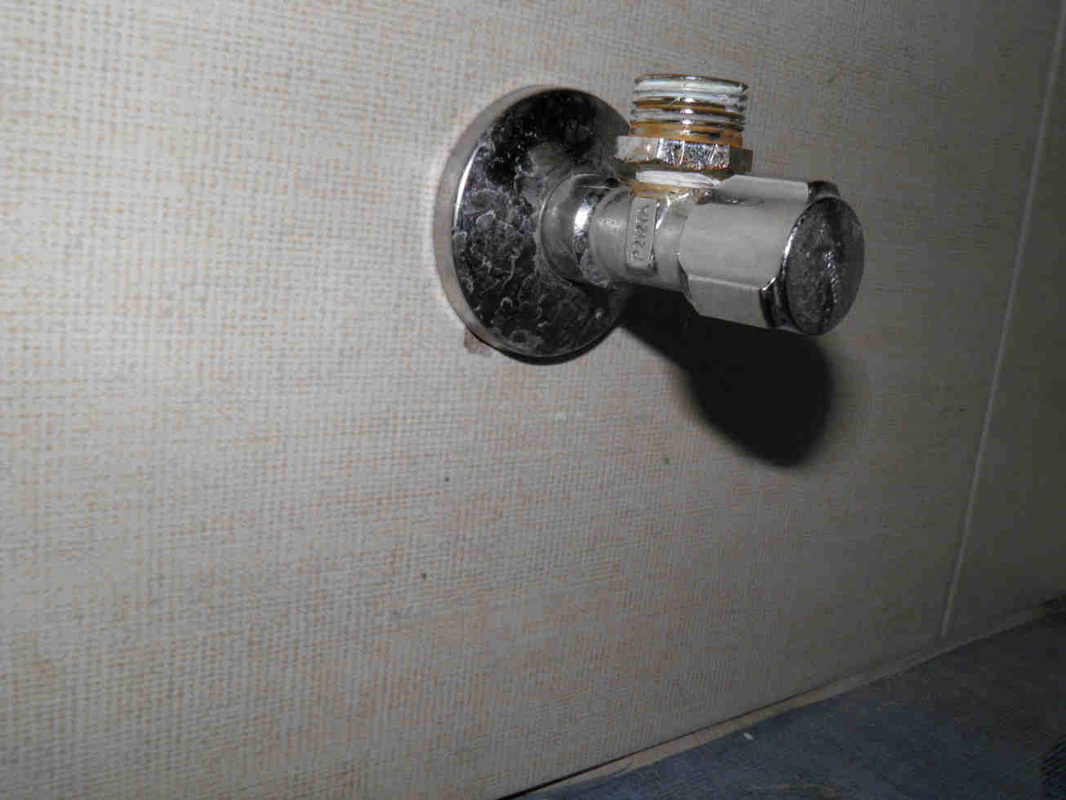
The 3/8" to 1/2" adapter is now fitted to later accommodate the hose connector
|
|
|
|
Friday: tiling and finishing - 1 hour
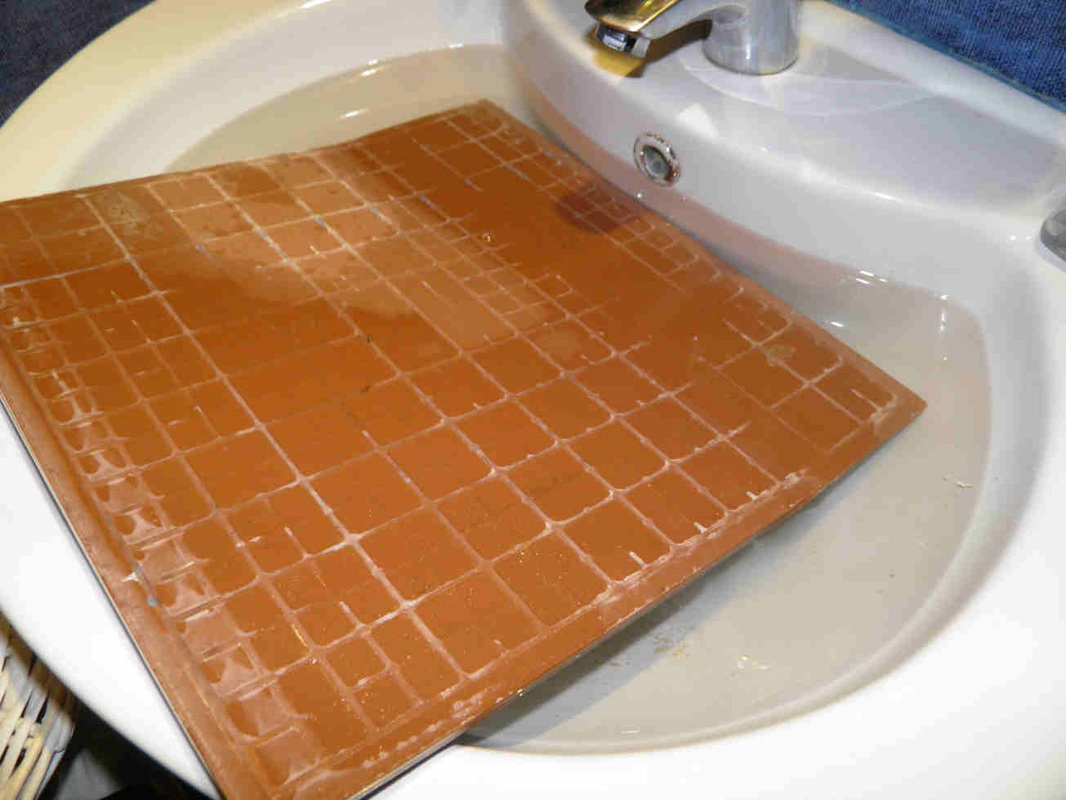
Soak the tiles while working with the cement.
Make a crater and fill it with water.
Fill all corners and leave only the tiles thickness uncovered.
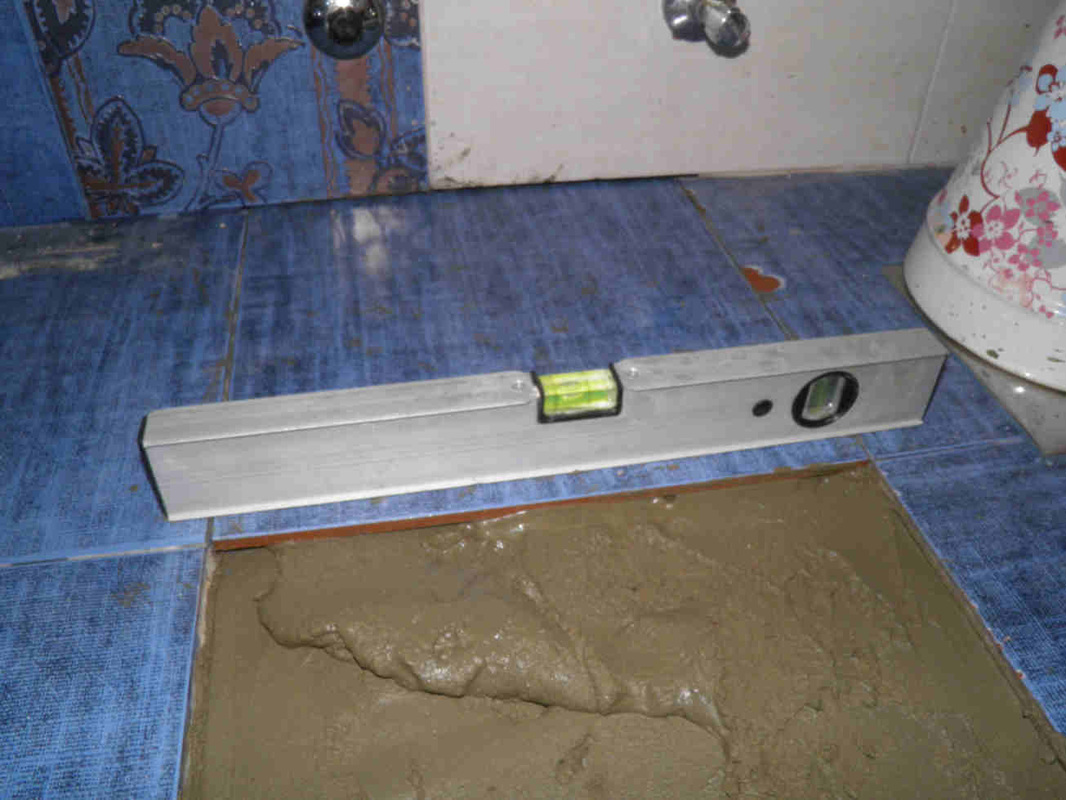
Check it is at the same level than its adjacent tiles.
|

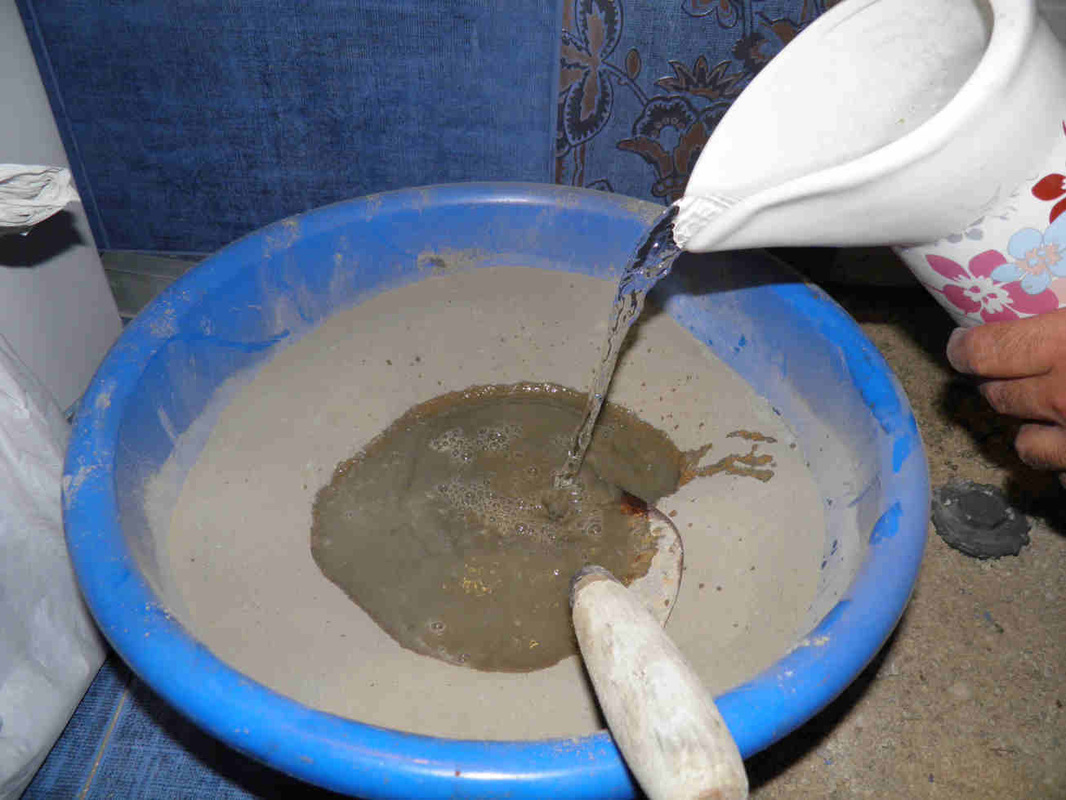
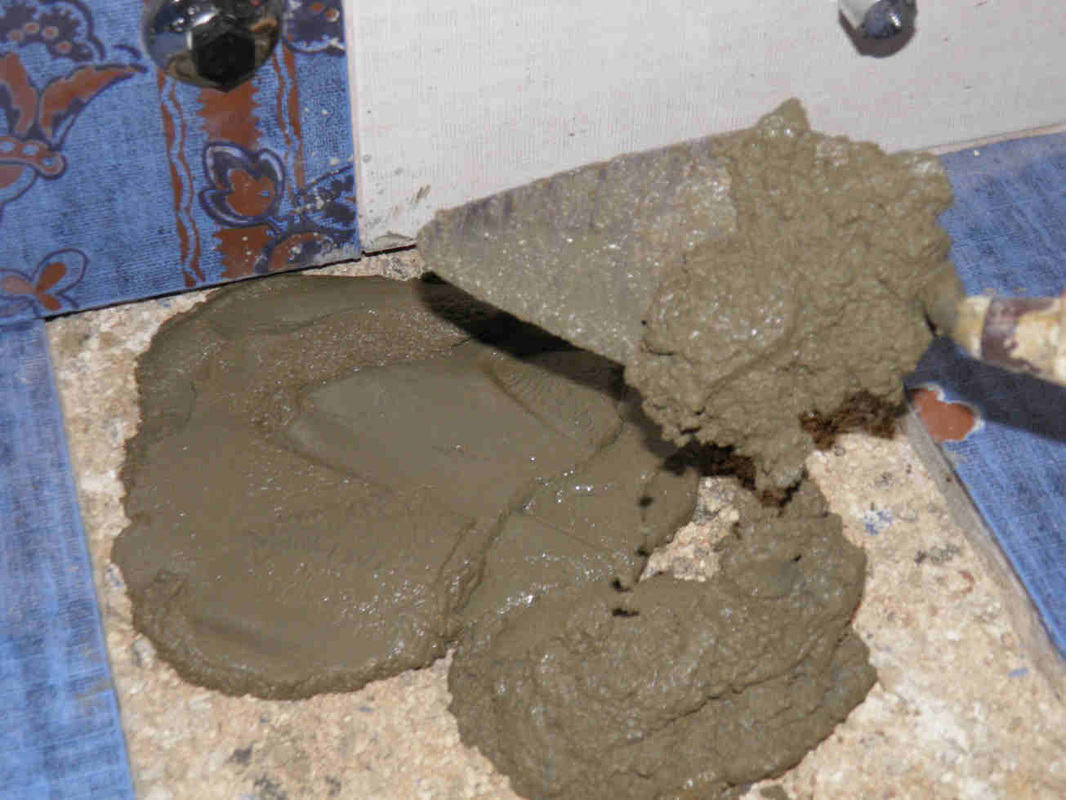
Pour 3 Kg of cement into a basin.
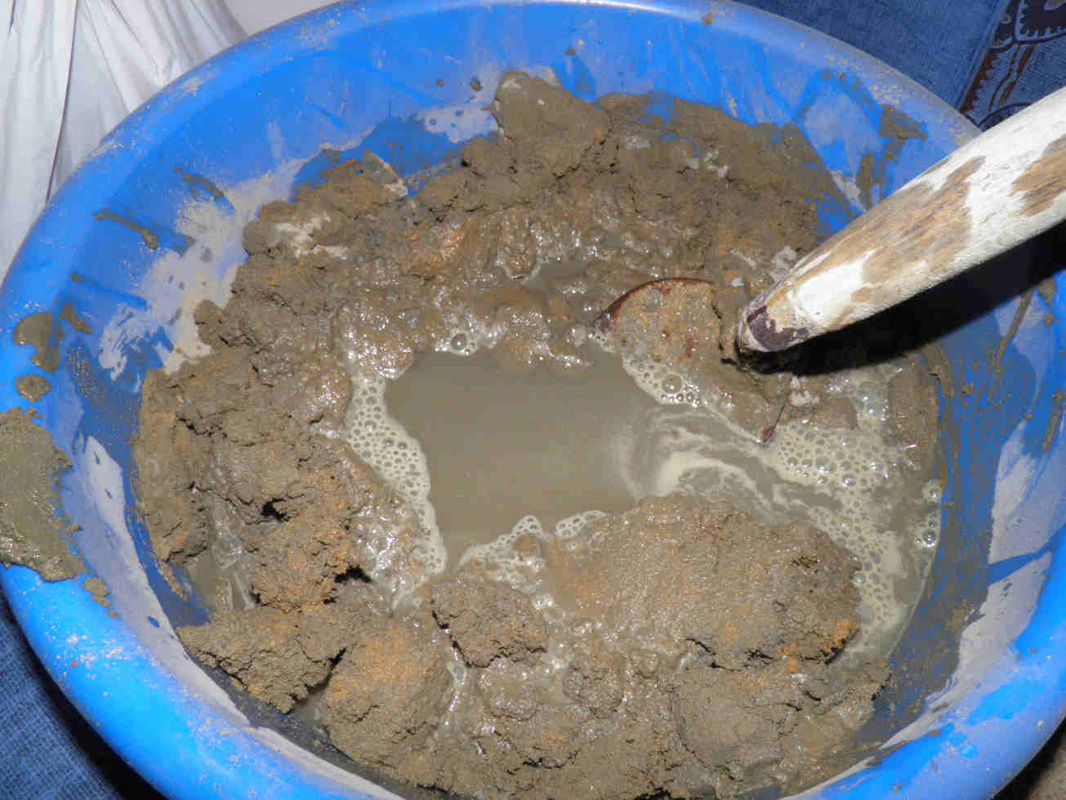
Mix and continue adding water as long as powder is there.
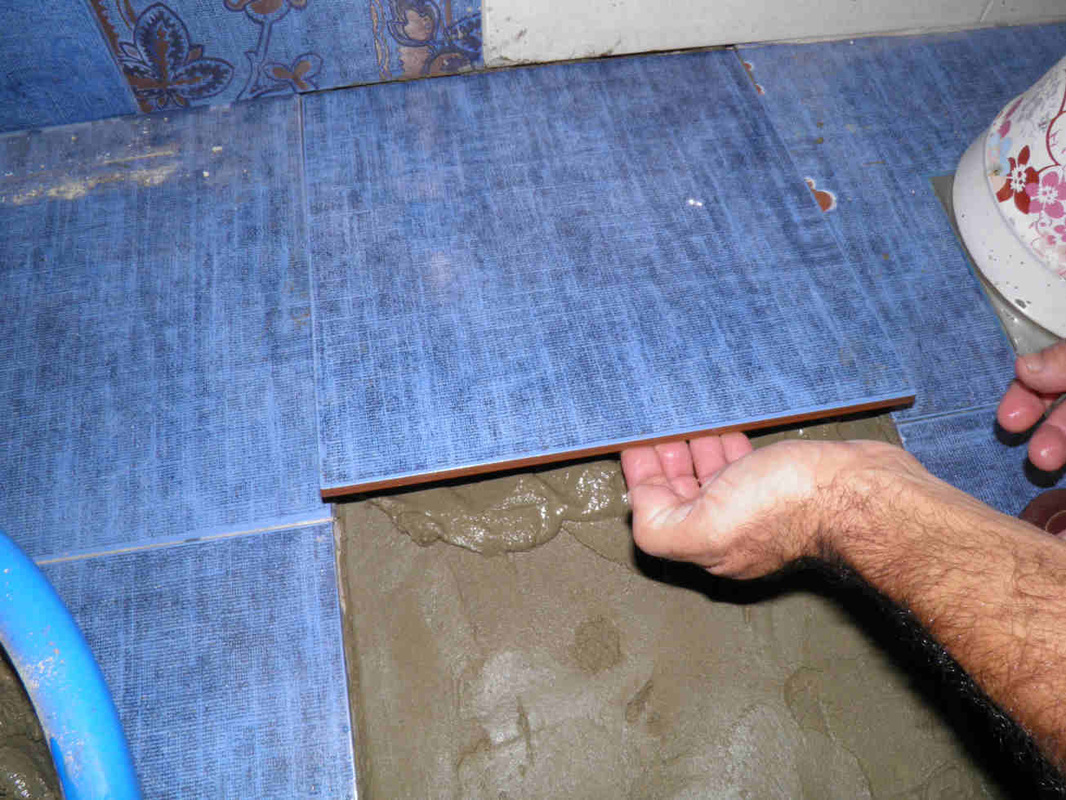
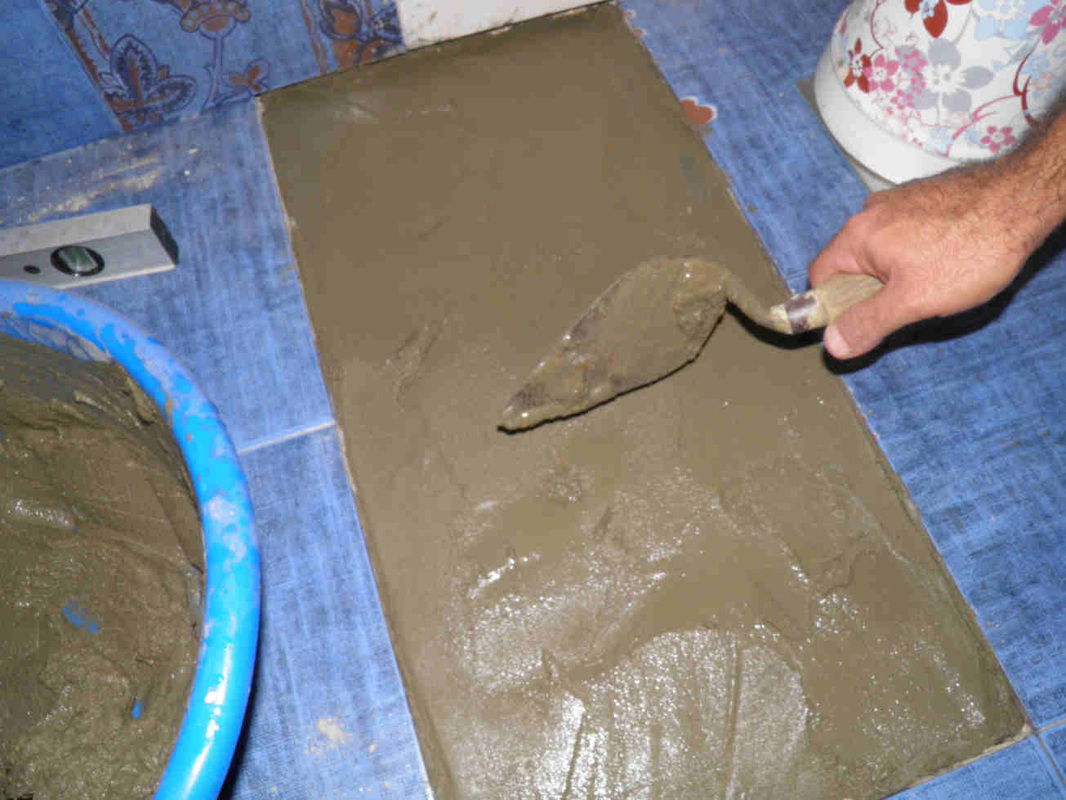
Now add 1 trowel of mortar, place the tile and drop it.
Again, add 1 trowel of mortar, and place the second tile.
|
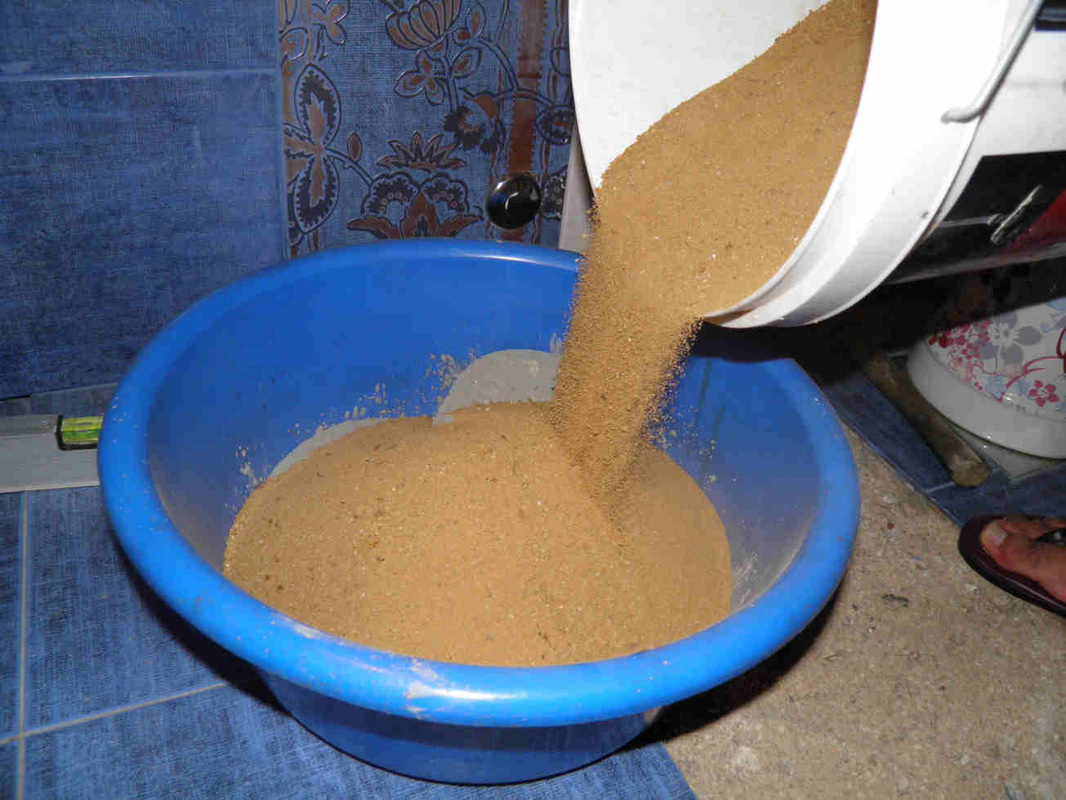
Add 8 to 9 Kg of sand that is approximately a 1:3 mix.
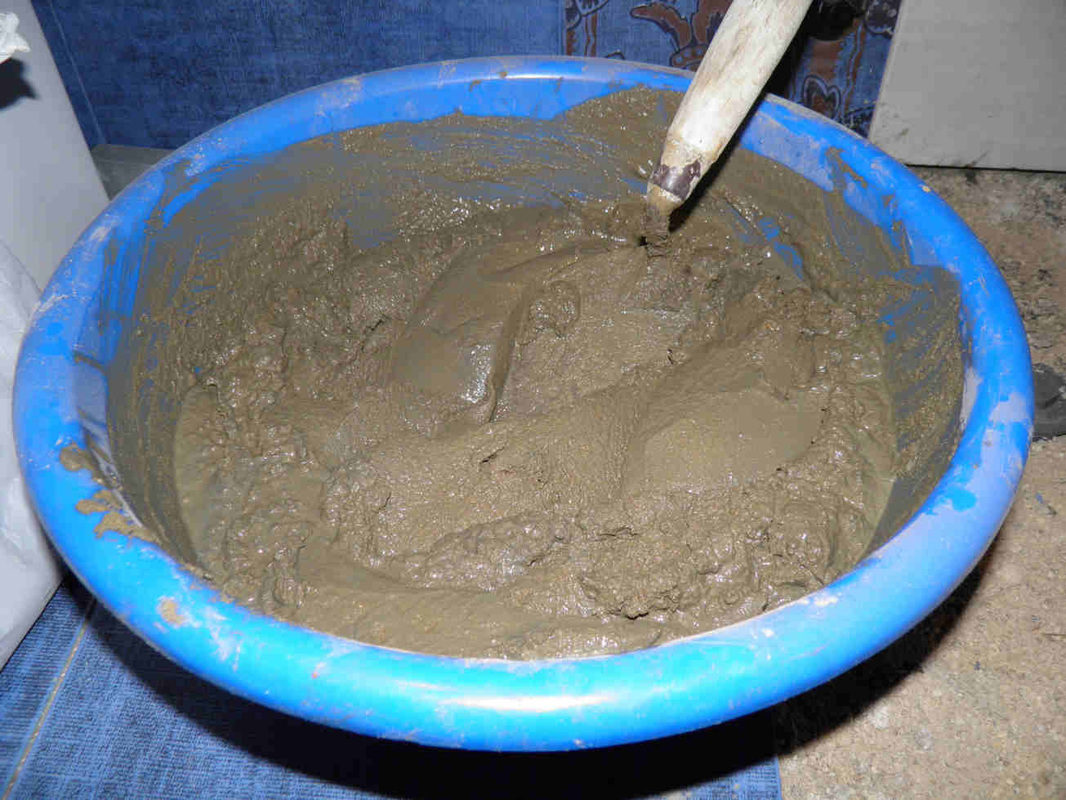
Stop mixing once your mortar is like a paste.
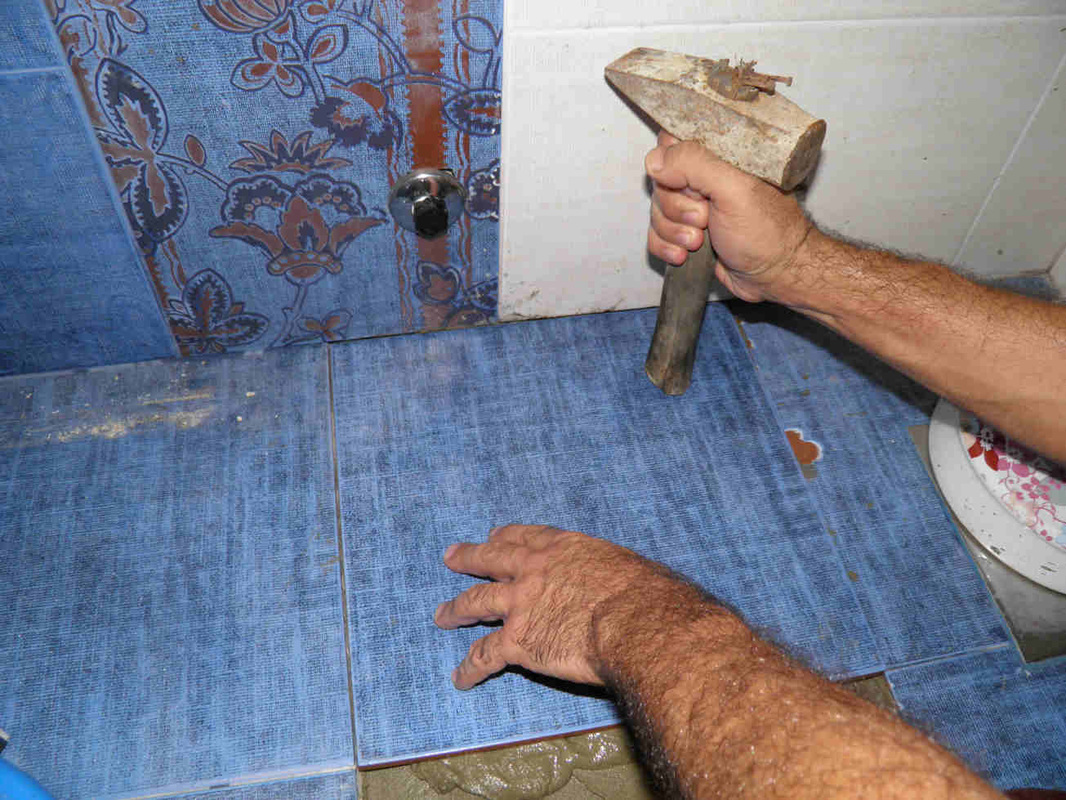
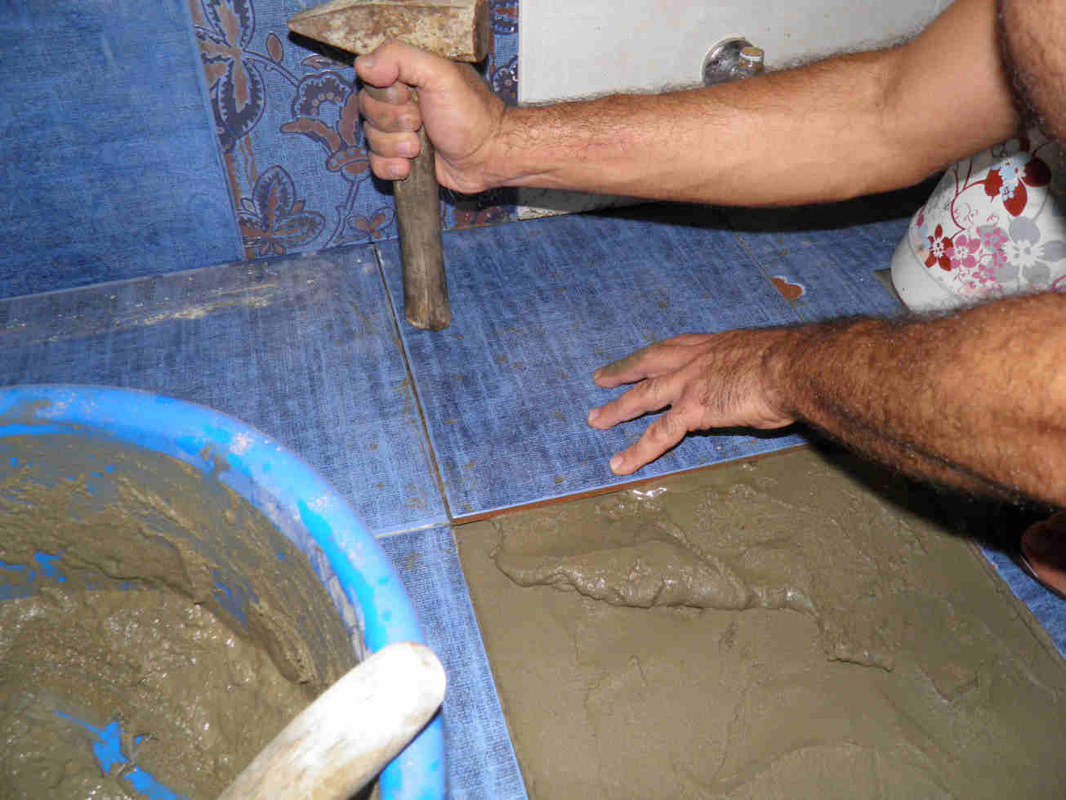
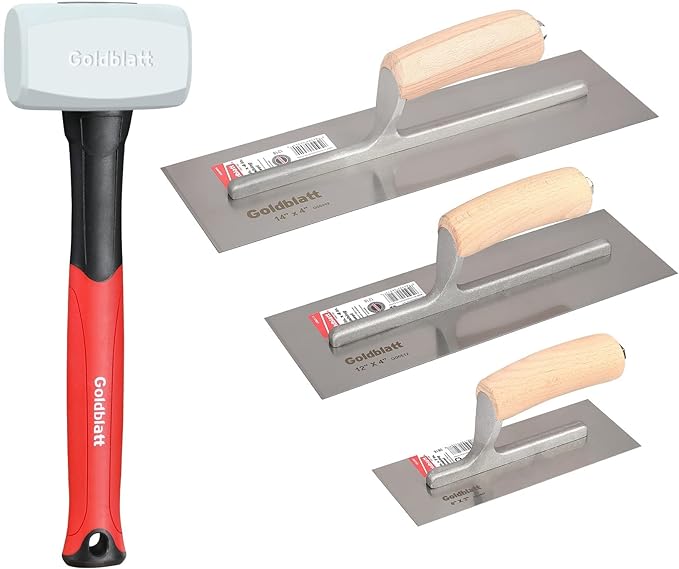
Hit it with the bottom of a 1 Kg short hammer.
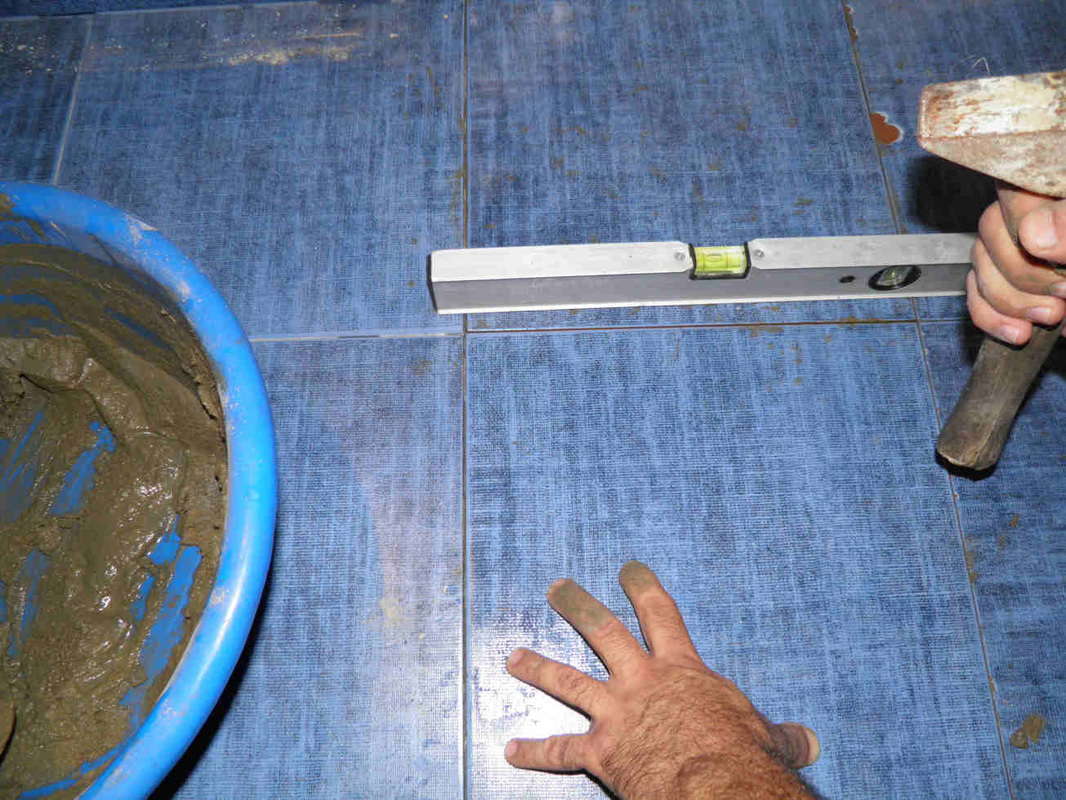
Repeat the same short hits until the floor is level.
|
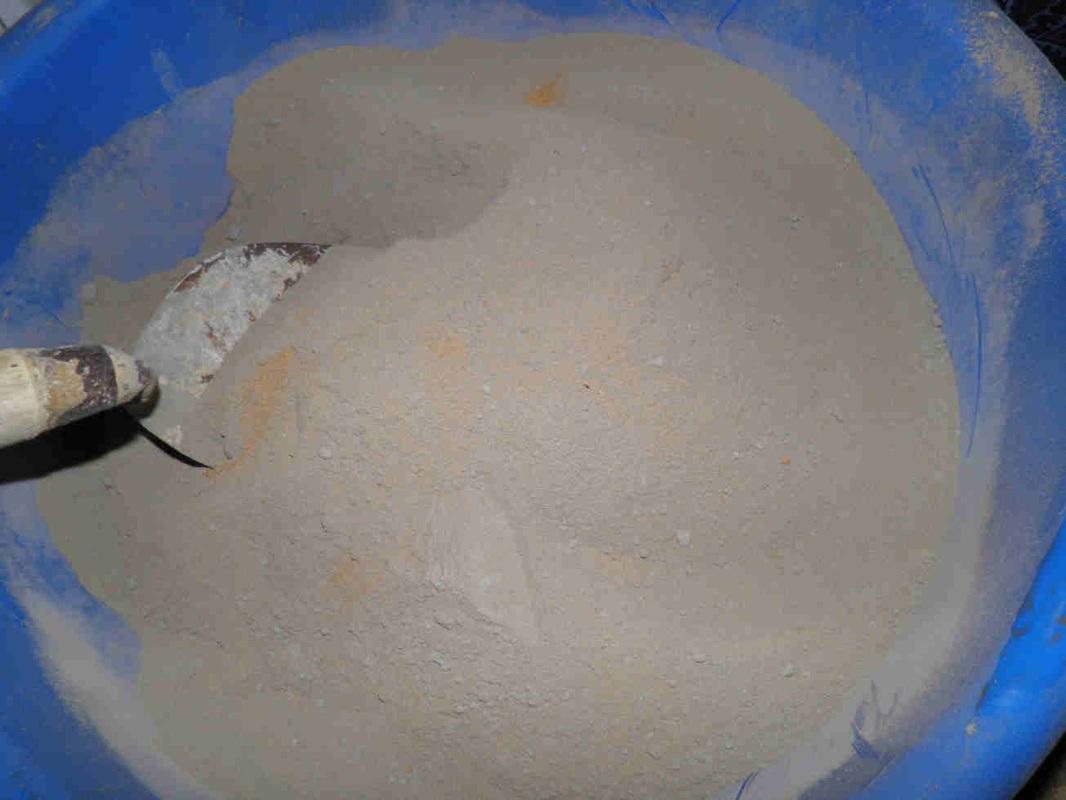
Mix well both until they form a uniform powder.
Pour it and spread it below both tiles.
Make short and soft hits alternating sides.
|
|
|
|
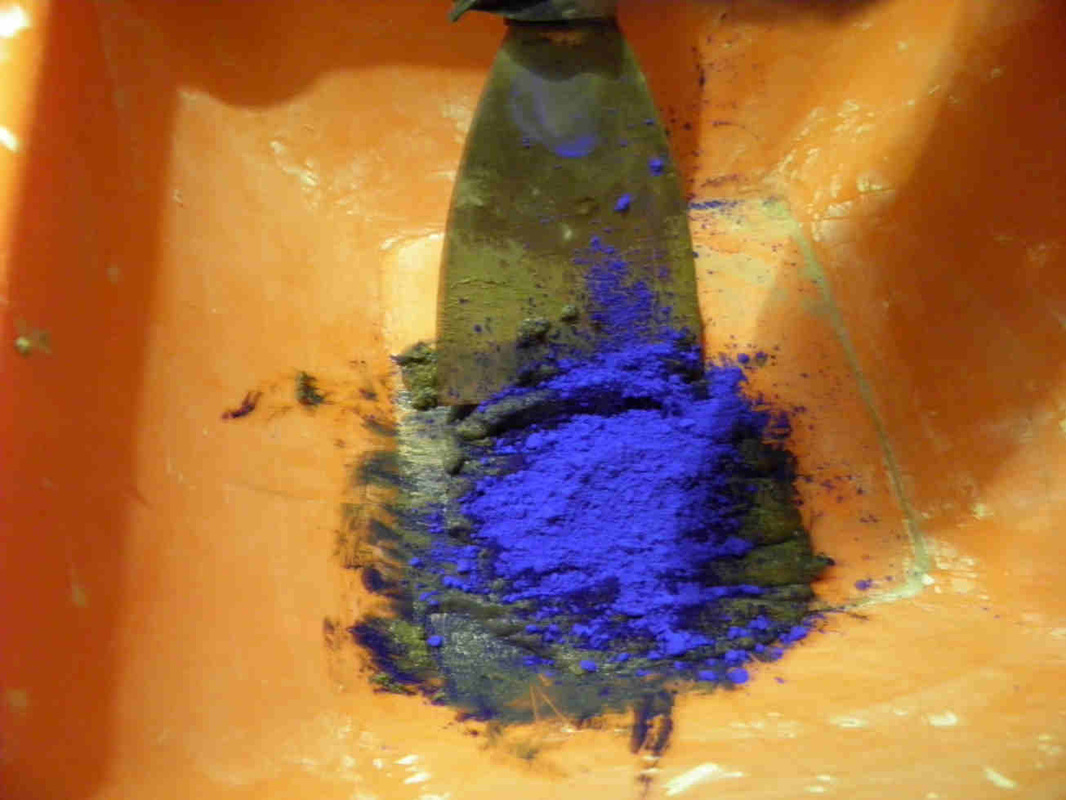
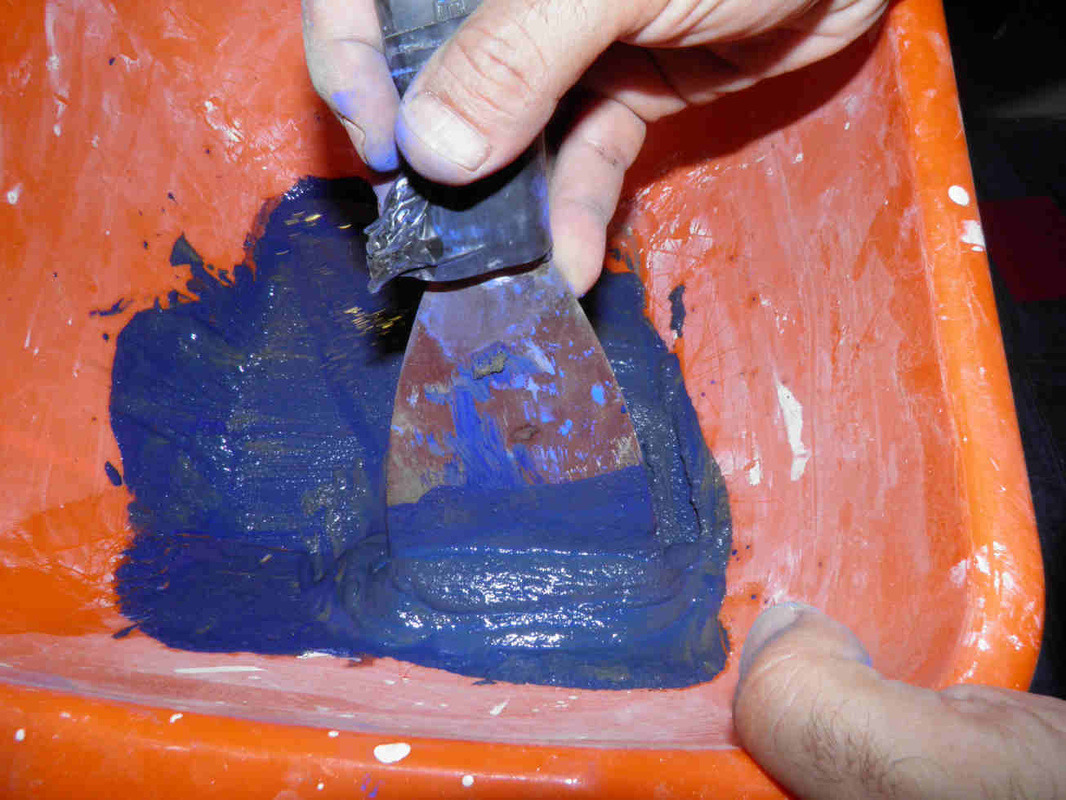
Time now to get pigment powder. Add it to little mortar.
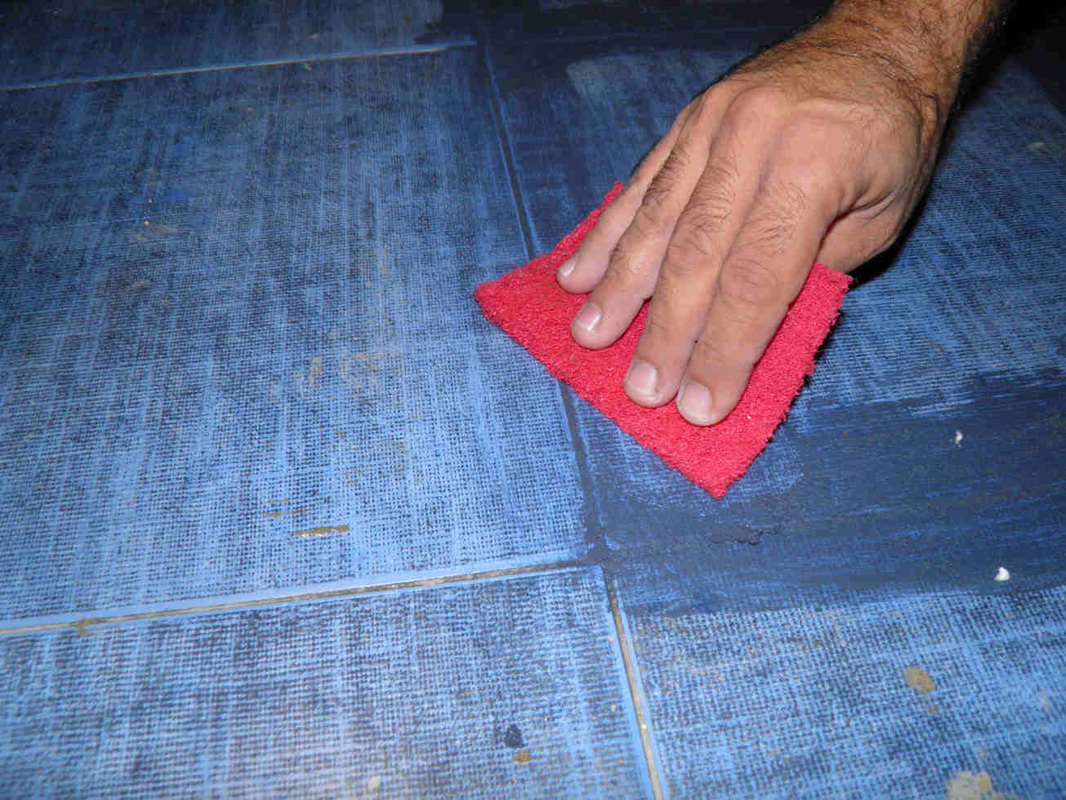
Wait 30 to 50 minutes and wipe the joint with a dry sponge. Use a small broom to clean.
|
Mix well with some water until the paste is uniform.
Do not forget to place obstacles for blocking the access.
|
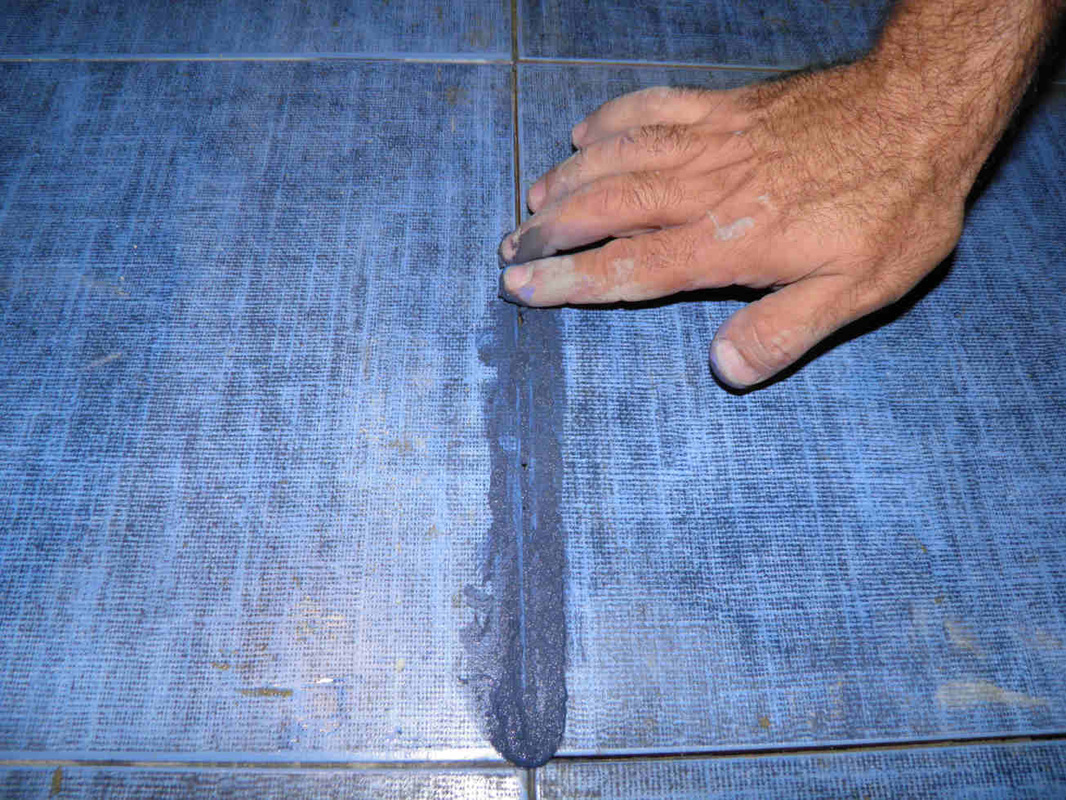
Spread it with your finger all over the joints.
Wait 12 hours before walking on the new tiles. You're done!
|
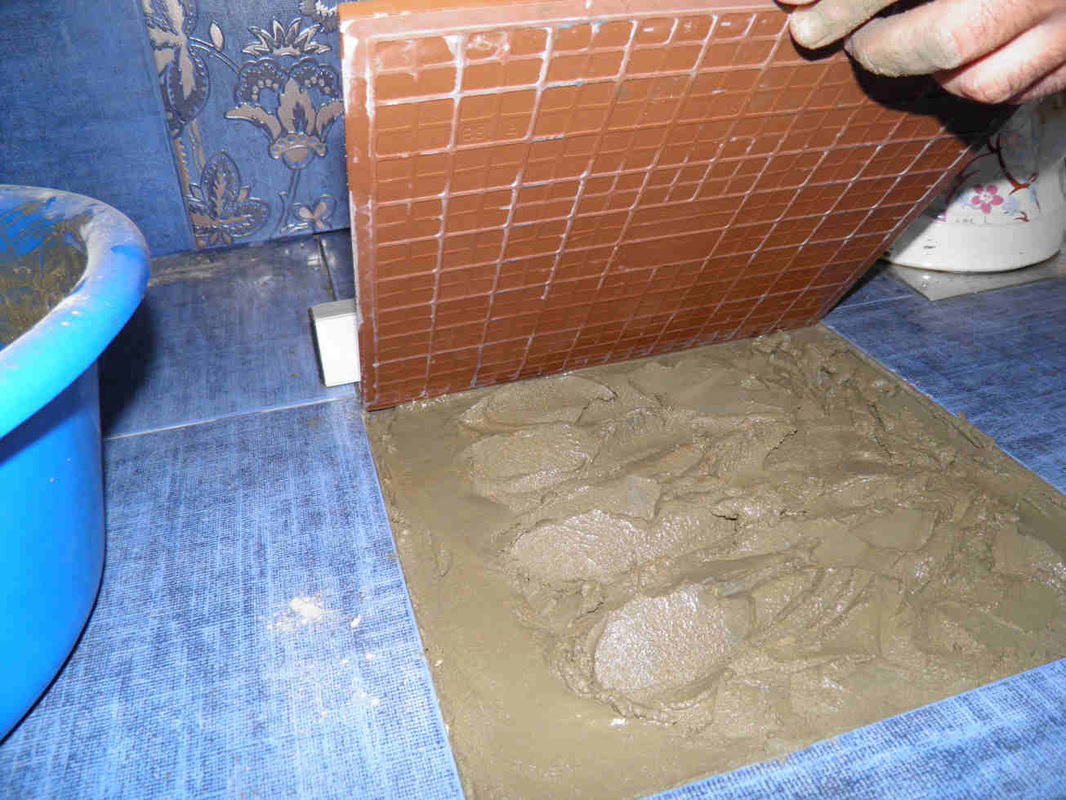
Cover all of them. Do not worry about the excess material.
|
See also...

|

|

|
|
|
|
|
|