COPYRIGHT WARNING:
All pictures and texts in this web page are the property of nomaallim.com. Any use of any part of those contents without the written consent of nomaallim.com shall be subject to legal procedures as per international and local laws in the concerned country. Using the name "nomaallim" or "nomaallim com" or "nomaallim.com" in the text describing the unauthorized copied content shall not constitute an exception and shall be sanctioned in accordance to the effective laws and proceedings.
All pictures and texts in this web page are the property of nomaallim.com. Any use of any part of those contents without the written consent of nomaallim.com shall be subject to legal procedures as per international and local laws in the concerned country. Using the name "nomaallim" or "nomaallim com" or "nomaallim.com" in the text describing the unauthorized copied content shall not constitute an exception and shall be sanctioned in accordance to the effective laws and proceedings.
BEFORE YOU START
|
DISCLAIMER:
Our pictorials are of informative nature and do illustrate works carried out by ourselves at our own premises for our own use and satisfaction.
Readers who envisage to carry out similar works inspired by the below method shall do this at their own risks and liability.
Our pictorials are of informative nature and do illustrate works carried out by ourselves at our own premises for our own use and satisfaction.
Readers who envisage to carry out similar works inspired by the below method shall do this at their own risks and liability.
Causes of a warm fridge
A fridge can have its cooling power reduced or eliminated because of the below common causes:
This pictorial shows how to remove the internal panels of the fridge and test its damper.
Click on the below link for the fan replacement.
- Defective fan
- Defective air damper
- Defective control board
- Defective temperature sensor or thermostat
This pictorial shows how to remove the internal panels of the fridge and test its damper.
Click on the below link for the fan replacement.
Fridge damper testing and replacement pictorial
|
|
|
|
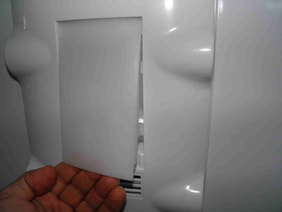
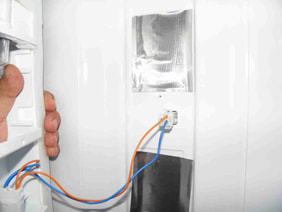
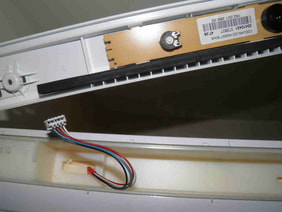
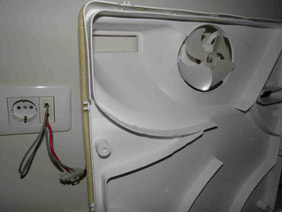
4- Gently pull out the panel and put is aside. Do not touch the wires.
|
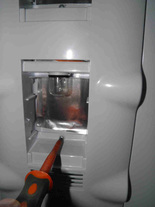
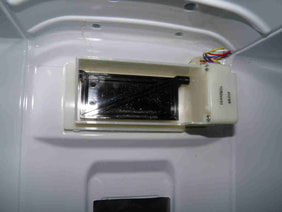
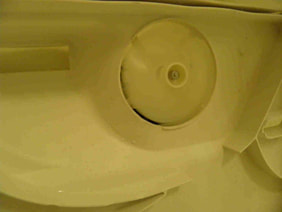
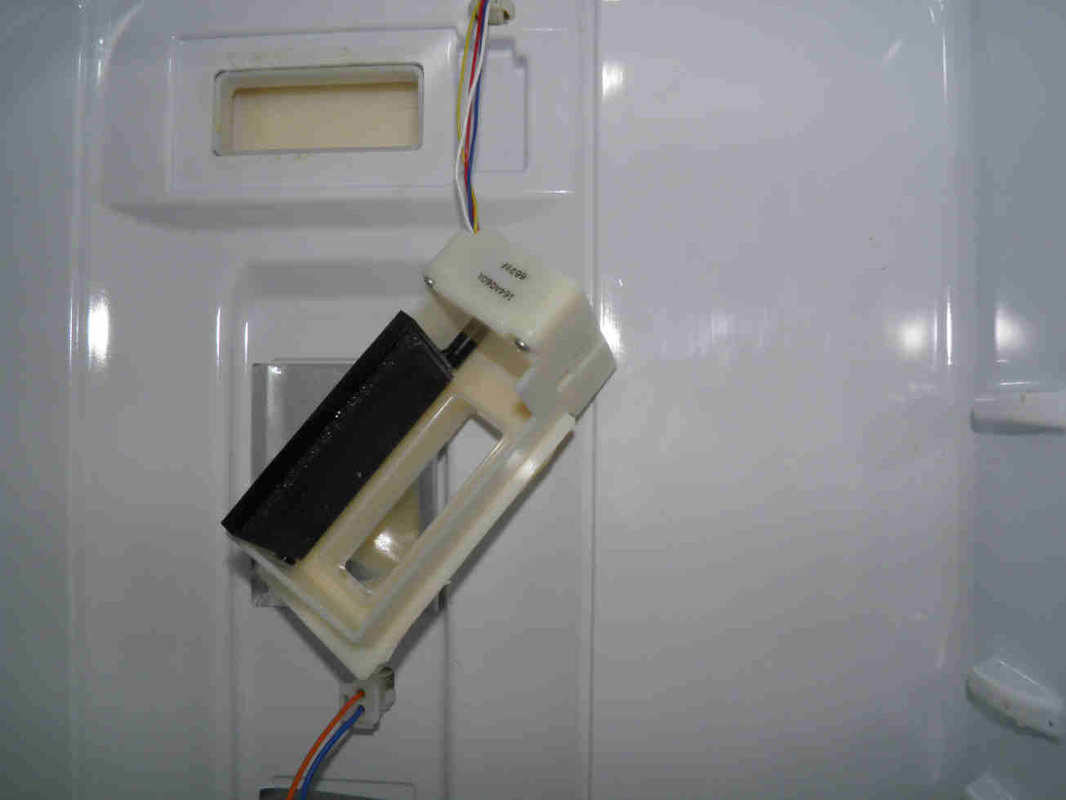
5- Find a rectangular piece of plastic material like this one. This is the damper that regulates the air flow into the fridge. The cold air comes from the freezer compartment pushed by a fan. The damper is closed.
|
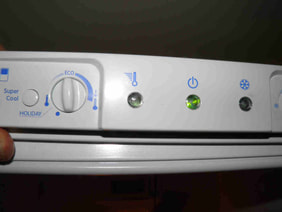
6- Move the control knob of the fridge right and left and make sure to set it back to any position in the middle: the damper emits noise but remains stuck in place.
|
|
|
|
|
16- Test the fan directly into a wall socket. Make sure you do not expose yourself to any risk of electrocution. Secure the wires you use for this testing.
|
17- Let it rotate for a few minutes while keeping an eye from time to time to make sure it does not stop. Apply a light pressure with your finger, the motor should stop and restart smoothly as soon as you remove your fingers.
|
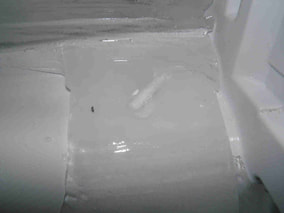
18- If the freezer built ice, allow it to deice first. Do not force out the ice, do not use any tool. Once done, see our tip for "freezer building ice" to understand the cause and solve the problem.
|
|
19- Now the distributor in my country doesn't have the defective damper so I decided to attempt a repair until the new one is made available.
|
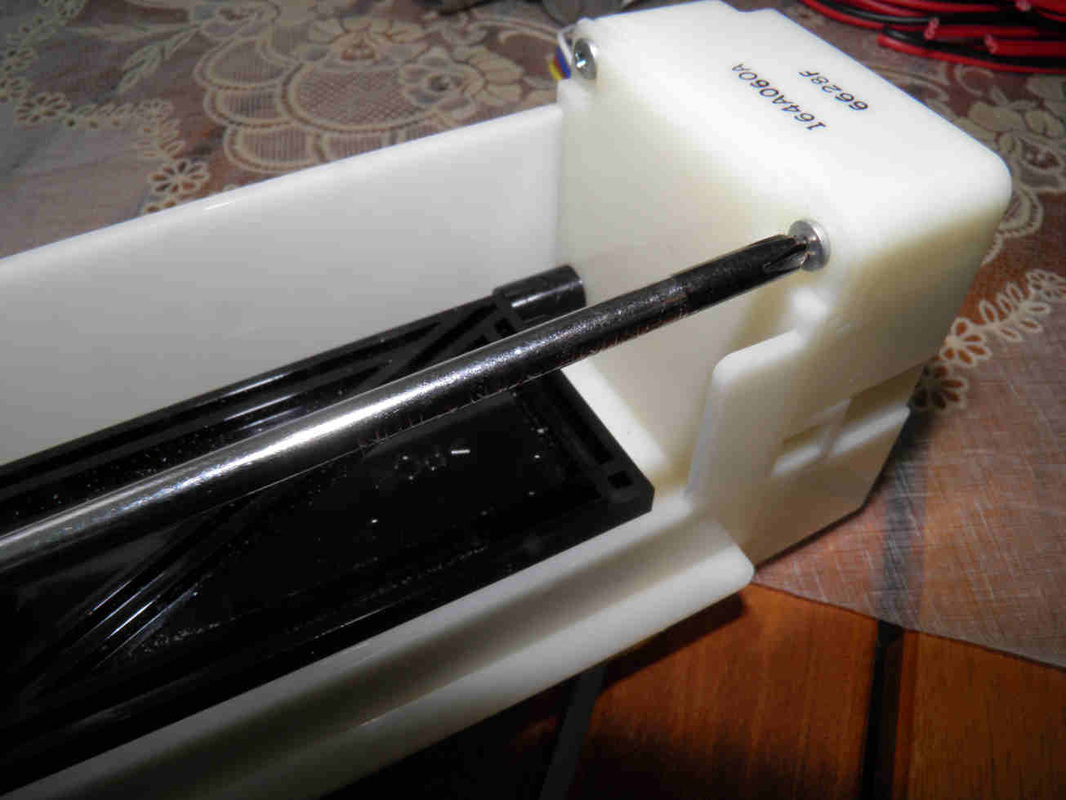
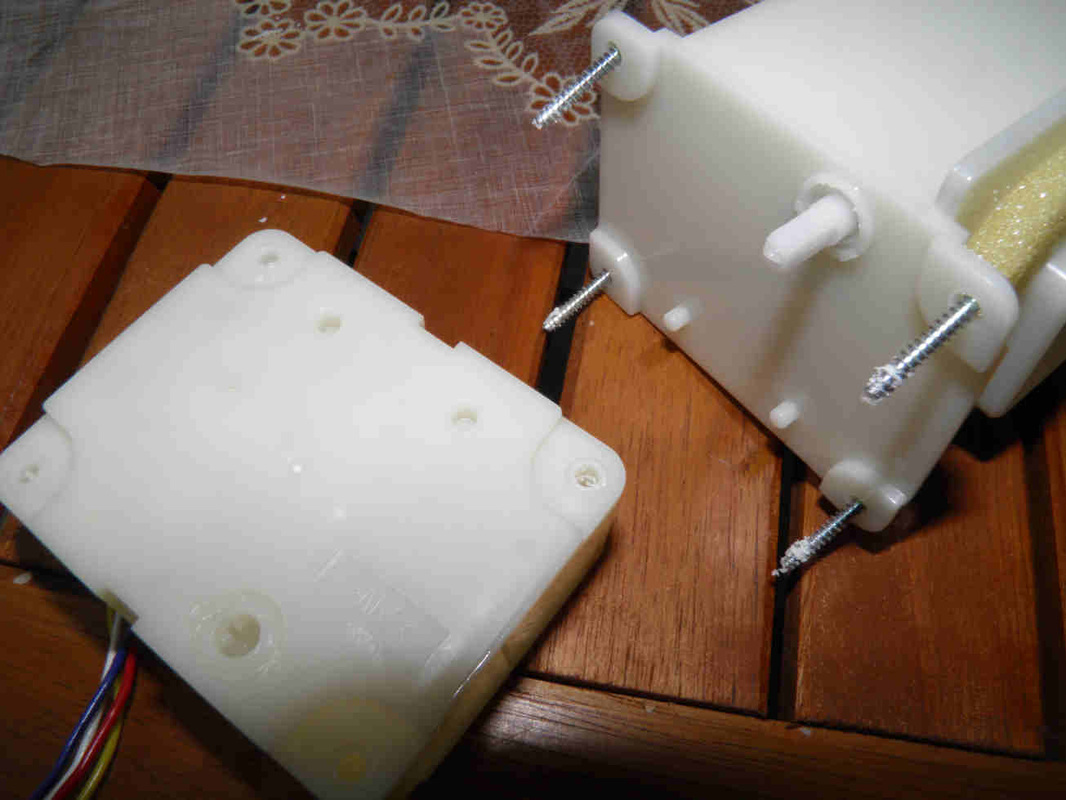
20- The motor is separated from the damper housing.
|
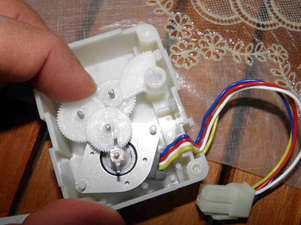
21- And the gear carefully inspected. The motor pinion seems worn a little where the friction occurs with the next one.
|
|
|
|
|
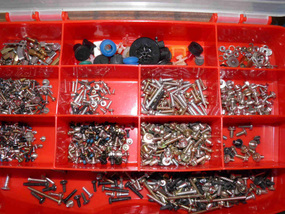
22- Time to get my miraculous storage box including all dismantled miniature items from damaged devices.
|
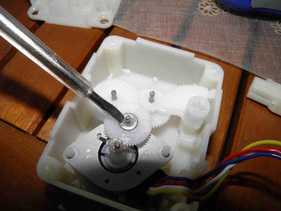
23- And to find that little washer which will shift the friction by half a mm to a new part of the drive pinion.
|
24- Carefully reassemble the fridge. Have all wires pass within the intended clips.
|
|
25- Meticulously push and secure every panel.
|
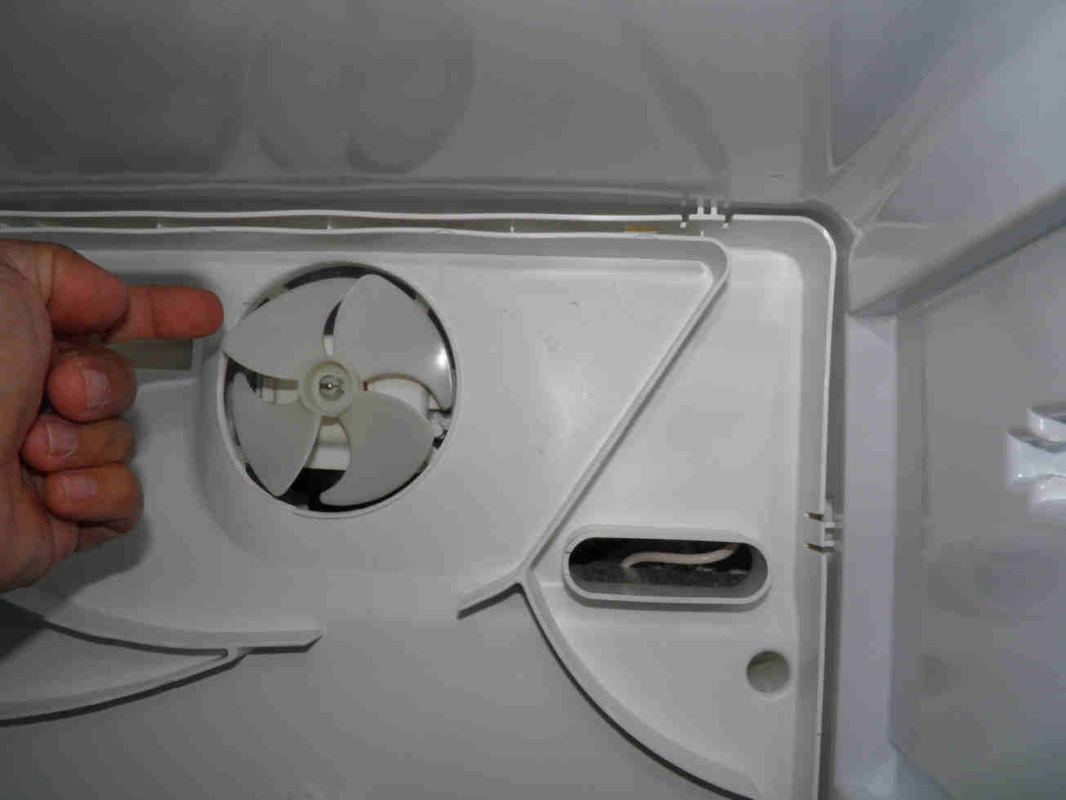
26- Make sure the fan rotates freely.
|
27- Keep the lighting panel out, plug the fridge, apply the starting procedure, wait a few minutes for the compressor to start then activate the fridge knob and make sure the damper now opens. It works!. This should be fine until the new spare is received.
|

