COPYRIGHT WARNING:
All pictures and texts in this web page are the property of nomaallim.com. Any use of any part of those contents without the written consent of nomaallim.com shall be subject to legal procedures as per international and local laws in the concerned country. Using the name "nomaallim" or "nomaallim com" or "nomaallim.com" in the text describing the unauthorized copied content shall not constitute an exception and shall be sanctioned in accordance to the effective laws and proceedings.
All pictures and texts in this web page are the property of nomaallim.com. Any use of any part of those contents without the written consent of nomaallim.com shall be subject to legal procedures as per international and local laws in the concerned country. Using the name "nomaallim" or "nomaallim com" or "nomaallim.com" in the text describing the unauthorized copied content shall not constitute an exception and shall be sanctioned in accordance to the effective laws and proceedings.
BEFORE YOU START
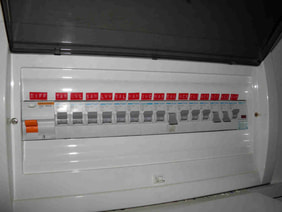
You'd like to add some light sources and have a separate switch controlling each. Most of the time no space is available in the existing recessed switch box. You should make sure not to work on live wires! Your breaker should be switched off and taped to avoid someone loads it again inadvertently. |
DISCLAIMER: Our pictorials are of informative nature and do illustrate works carried out by ourselves at our own premises for our own use and satisfaction. Readers who envisage to carry out similar works inspired by the below method shall do this at their own risks and liability. |
Lack of switches in a home
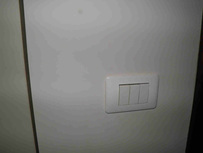
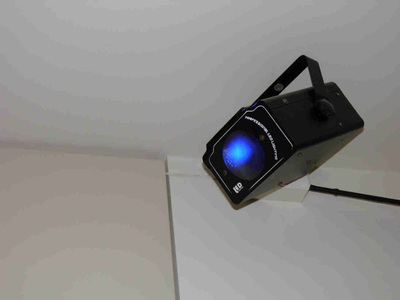
This does not serve the purpose since all below lights are to be individually controlled:
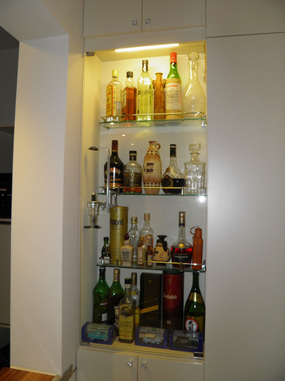
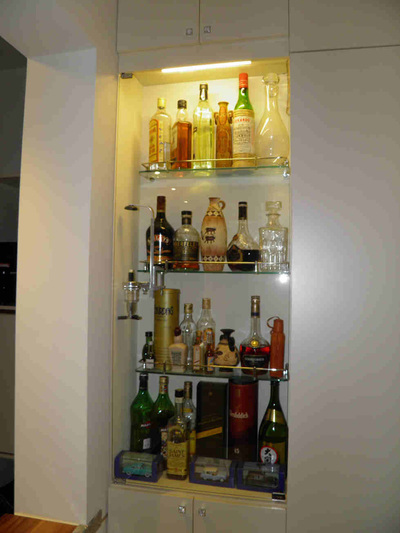
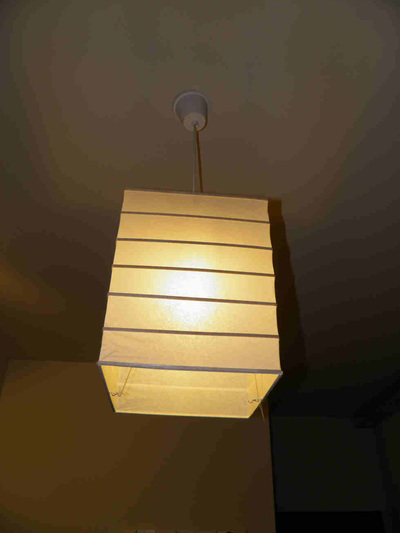
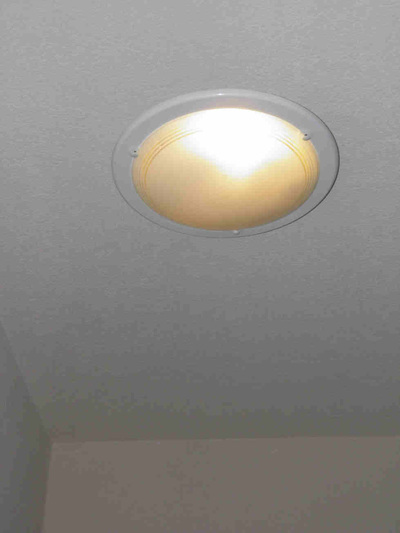
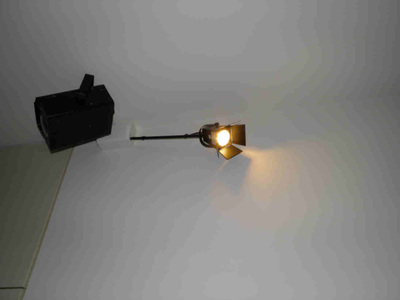
Bar lighting, entrance shade, dance light, stairs ceiling light and a projector.
Bar lighting, entrance shade, dance light, stairs ceiling light and a projector.
The shade and the stairs light are connected through separate electrical tubing. The other three sources are all connected to the unique outlet box controlled by one and only switch.
|
|
|
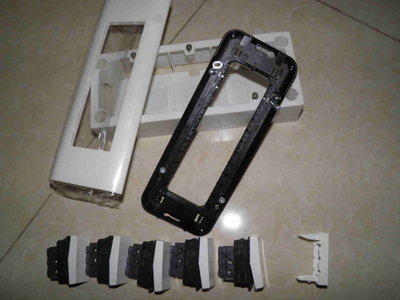
The material you need for adding lighting switches at your home
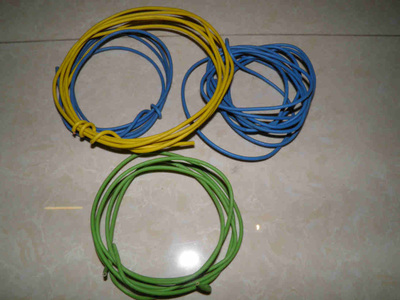
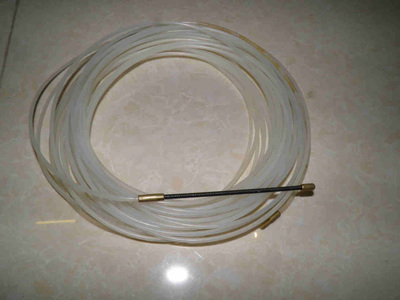
From left to right: a surface mount 6-module switch box complete with its frame, 5 switches and a blind plug, some wires of a few meters length, and a wire pulling rod. 2 wires will be added between the switch and outlet boxes to cover the additional 2 light sources.
How to multiply existing switches to control more lights
|
|
|
|
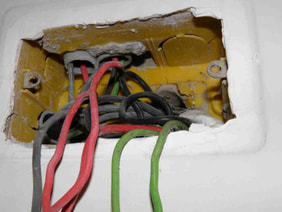
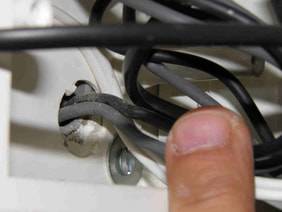
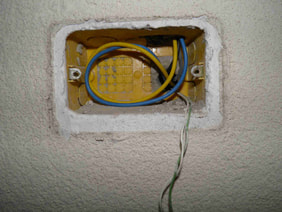
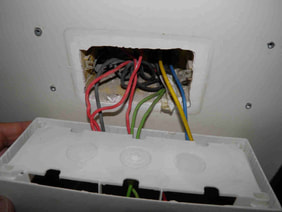
7- Check the wires that come from wall in the outlet box. Colors do not match which indicates the two boxes are not directly connected.
|
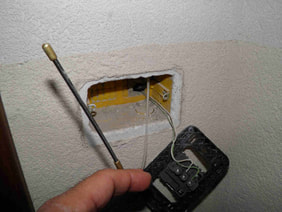
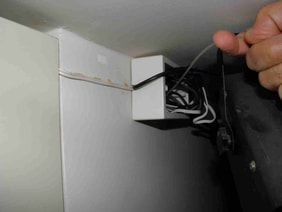
8- The wire pulling rod is then introduced first from the outlet box to see where exactly it will reach.
|
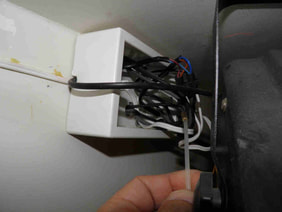
9- It is found in the door chime push button box on the backside of the switch box.
|
|
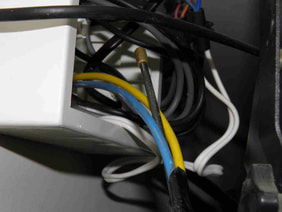
10- Push as many wires as needed ( 2 in this case) from box to box, tape them to the pulling rod.
|
11- Gently pull the rod. Do not force as this indicates it is stuck somewhere. Try to maintain a steady movement.
|
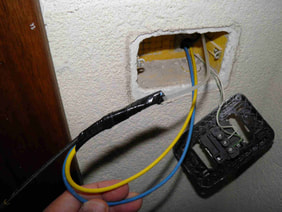
12- You would need that someone helps you on the other side. Now the new wires show in the outlet box.
|
|
13- Leave a small length in the intermediate box (no more than one loop) and close the box.
|
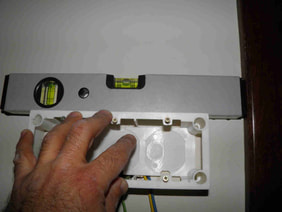
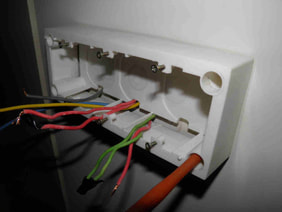
14- Place and level the surface box in a manner to cover completely the recessed wall outlet. Make sure the wires can go in this new box from the purpose made bottom or top passages.
|
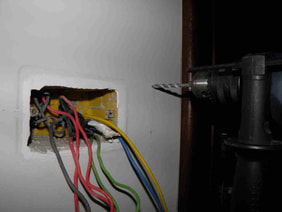
15- Drill the holes, vacuum them, fit plugs. Till now, you did not remove the wires from the existing switches not to mix them and get confused.
|
|
|
|
|
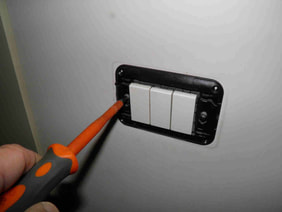
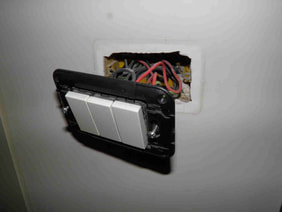
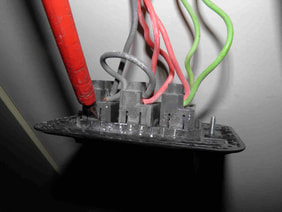
16- Use a voltage tester to confirm the wires are not live. Unclip the switches from their mounting frame.
|
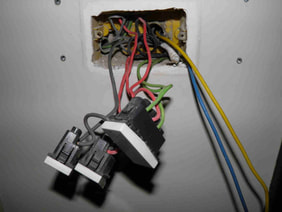
17- Get the rid of the frame and keep the switches connected.
|
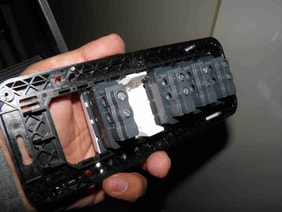
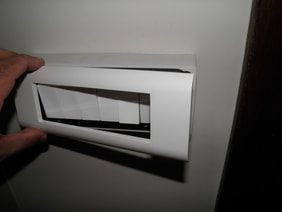
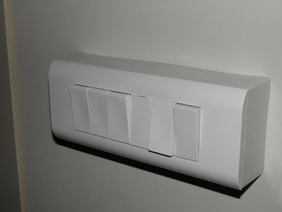
18- Fit the new switches in the new frame. 5 switches are required in a 6-module box which explains why a blind cover has been fitted also.
|
|
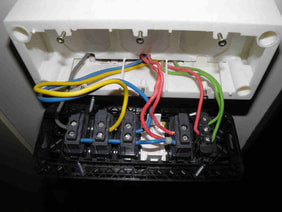
19- Remove one switch at a time and have the wires passing through the new box, each set of wires in one of the box's compartments not to mix them.
|
20- Fix the box to the wall. Use 4mm screws in 5mm plugs or 4.5 to 4.8mm screws in 6mm plugs.
|
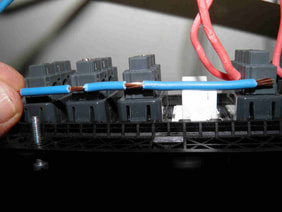
21- When several switches are to be fed from the same phase conductor, measure and strip one jumper wire as shown to feed them all.
|
|
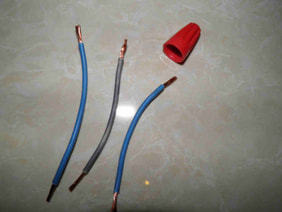
22- Prepare small wire cuts to multiply the neutral and connect it to the 5 circuits in the wall outlet box.
|
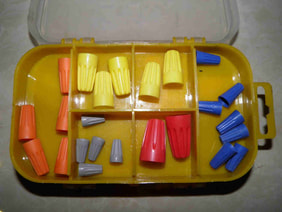
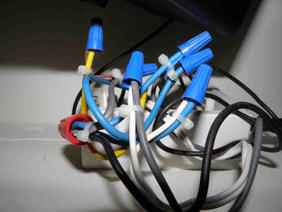
23-Use these very practical so-called "wire nuts" to make your connections within the wall outlet box.
|
24- A small cable tie is used to secure 2 wires of different section. Close the outlet box.
|
See also how to add a new power outlet.
|
|
|

