COPYRIGHT WARNING:
All pictures and texts in this web page are the property of nomaallim.com. Any use of any part of those contents without the written consent of nomaallim.com shall be subject to legal procedures as per international and local laws in the concerned country. Using the name "nomaallim" or "nomaallim com" or "nomaallim.com" in the text describing the unauthorized copied content shall not constitute an exception and shall be sanctioned in accordance to the effective laws and proceedings.
All pictures and texts in this web page are the property of nomaallim.com. Any use of any part of those contents without the written consent of nomaallim.com shall be subject to legal procedures as per international and local laws in the concerned country. Using the name "nomaallim" or "nomaallim com" or "nomaallim.com" in the text describing the unauthorized copied content shall not constitute an exception and shall be sanctioned in accordance to the effective laws and proceedings.
BEFORE YOU START
|
DISCLAIMER:
Our pictorials are of informative nature and do illustrate works carried out by ourselves at our own premises for our own use and satisfaction.
Readers who envisage to carry out similar works inspired by the below method shall do this at their own risks and liability.
Our pictorials are of informative nature and do illustrate works carried out by ourselves at our own premises for our own use and satisfaction.
Readers who envisage to carry out similar works inspired by the below method shall do this at their own risks and liability.
Auxiliary belt removal
|
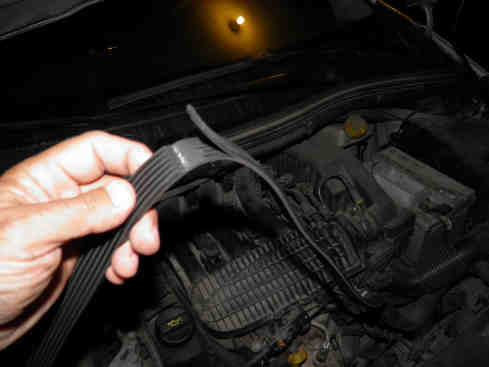
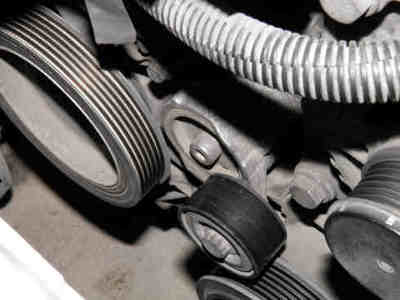
An accessory belt (serpentine belt) needs replacement every 60,000 to 100,000 Km depending on how much you drive at high revs, how often the A/C remains ON, climatic conditions, etc.
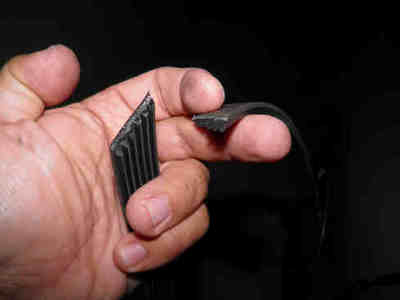
It has to be replaced as soon as it shows signs of cracks but can also be subject to teared grooves as it is the case in this picture. |
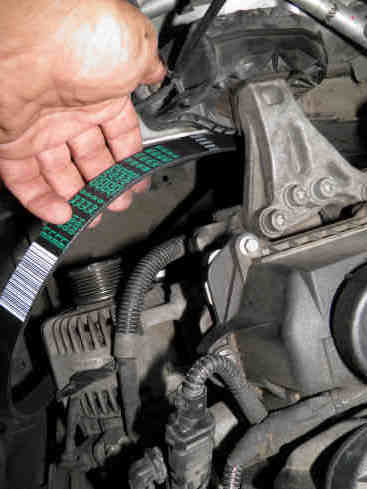
Simply cut the belt with scissors and take it out or remove it as shown below if you intend to reuse it.
In this case (reuse), mark well its rotation direction in order to refit it the same way.
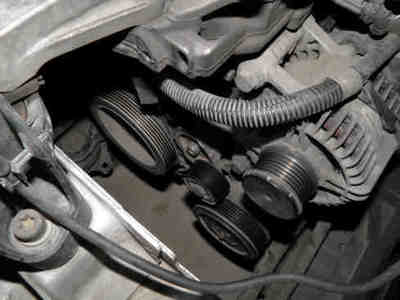
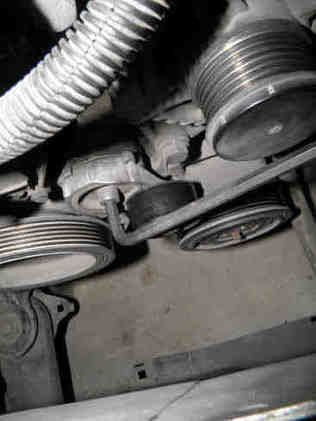
Your next move is now the belt tensioner which has to be replaced at the same time (middle of the right picture).
In this case (reuse), mark well its rotation direction in order to refit it the same way.
Your next move is now the belt tensioner which has to be replaced at the same time (middle of the right picture).
|
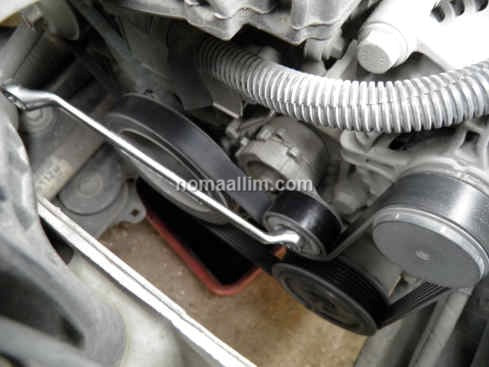
NOTE: if you're just removing the drive belt as part of another intervention and you intend to reuse it, just insert a combination spanner in the belt tensioner wheel bolt and press counter clockwise which releases the belt and allows you to take it out:
|
The belt tensioner in this case is of the dynamic type (automatic).
Unscrew the only and central bolt that holds it like the one being slacken with an Allen key in this picture: |
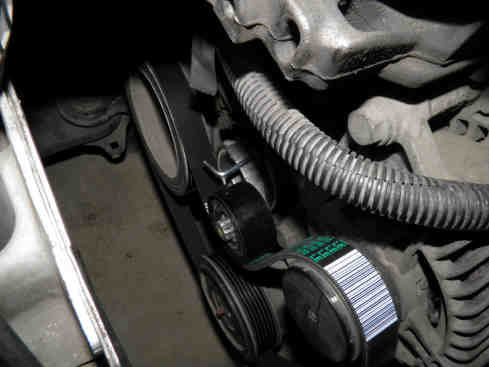
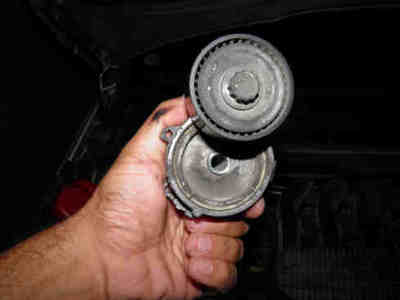
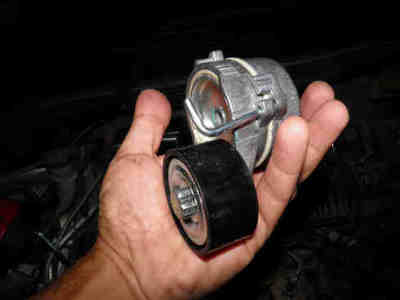
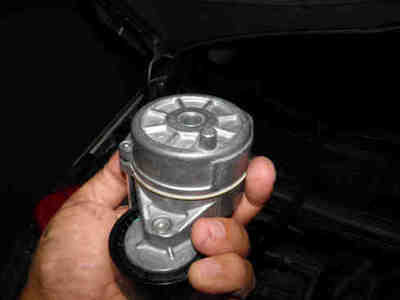
Compare it (left) to the one you purchased (right) and note how the new one is pre-loaded with an L-shaped pin holding it.
In all cases, inspect it when you buy it and make sure no one had previously removed the pin before accepting the product.
In all cases, inspect it when you buy it and make sure no one had previously removed the pin before accepting the product.
|
|
|
Serpentine belt refitting
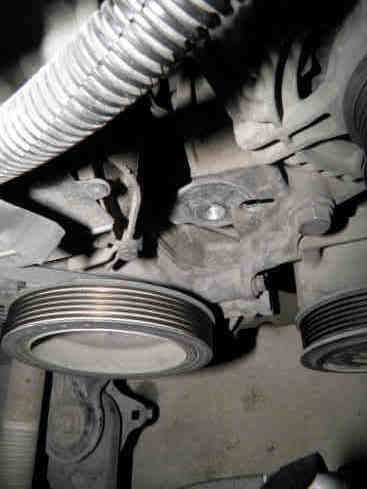
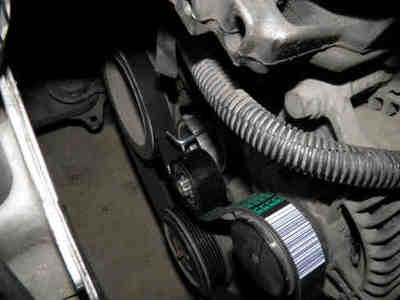
Note well how the serpentine belt tensioner has a small leg (right) that has to go into its hole to the right of the bolt thread (left picture).
Install the new tensioner and tighten it completely.
Install the new tensioner and tighten it completely.
- Fit the new belt in place and make sure all of its grooves are matching the ones of the pulleys.
- The belt is still loose at this stage
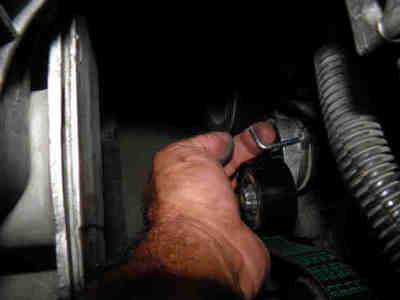
- Use a large screw driver to pull out the pin.
- DO NOT USE your finger (right picture) as the proximity of your hand to the tensioner can have it pinched between the tensioner and the belt once the belt tensioner spring releases.
- The spring will release with a noise and the belt will be immediately under tension due to the action of the tensioner wheel
- Visually inspect the belt again and make sure it seats into its grooved pulleys.
- Start the engine and check once more all is fine
See also...
|
|
|

