COPYRIGHT WARNING:
All pictures and texts in this web page are the property of nomaallim.com. Any use of any part of those contents without the written consent of nomaallim.com shall be subject to legal procedures as per international and local laws in the concerned country. Using the name "nomaallim" or "nomaallim com" or "nomaallim.com" in the text describing the unauthorized copied content shall not constitute an exception and shall be sanctioned in accordance to the effective laws and proceedings.
All pictures and texts in this web page are the property of nomaallim.com. Any use of any part of those contents without the written consent of nomaallim.com shall be subject to legal procedures as per international and local laws in the concerned country. Using the name "nomaallim" or "nomaallim com" or "nomaallim.com" in the text describing the unauthorized copied content shall not constitute an exception and shall be sanctioned in accordance to the effective laws and proceedings.
BEFORE YOU START
|
|
DISCLAIMER:
Our pictorials are of informative nature and do illustrate works carried out by ourselves at our own premises for our own use and satisfaction.
Readers who envisage to carry out similar works inspired by the below method shall do this at their own risks and liability.
Our pictorials are of informative nature and do illustrate works carried out by ourselves at our own premises for our own use and satisfaction.
Readers who envisage to carry out similar works inspired by the below method shall do this at their own risks and liability.
How to seal a door | Entrance door weather stripping
|
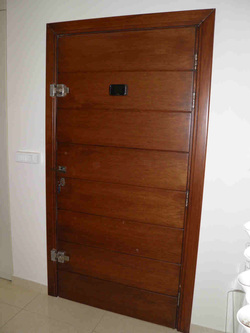
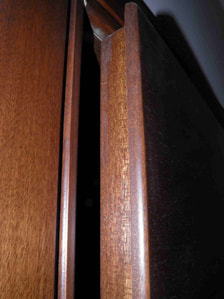
1- This pictorial shows how to seal the gap between a door and its frame.
|
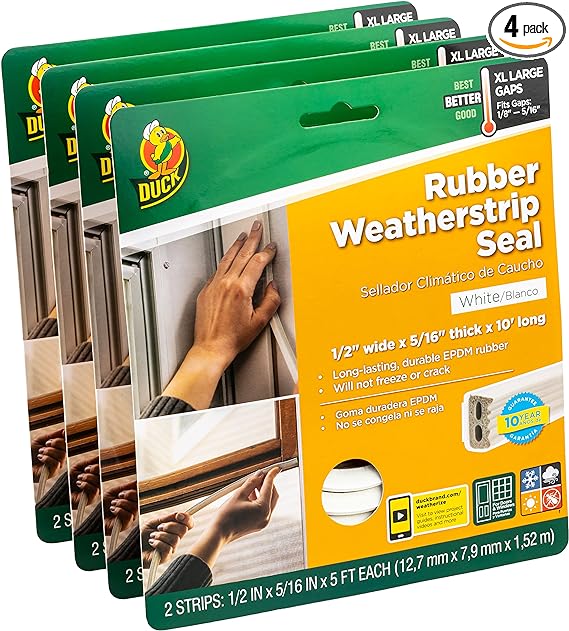
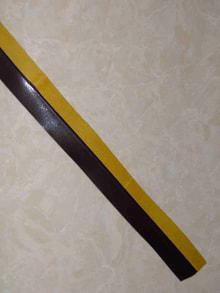
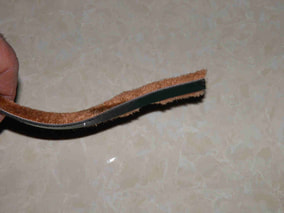
2- Many sealing tapes are available, the one that is V-shaped is preferred.
|
3- It is flat when purchased but can be bent to form a V that blocks the drafts.
|
|
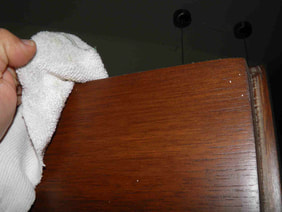
4- Start by cleaning well your door and frame all around with a wet towel.
|
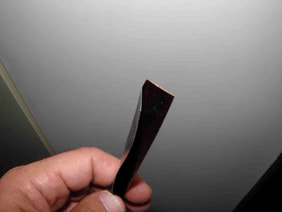
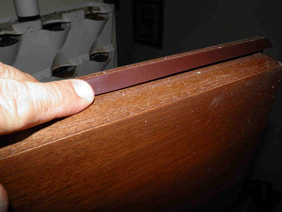
5- Cut the tape to size and apply while pressing firmly. Peel the adhesive on the go.

|
6- Once done, bend down the half that has no adhesive.
|
|
|
|
|
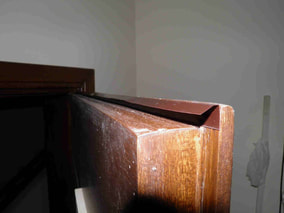
7- This is what it will look like once done. The V blocks the drafts. It always tends to open which keeps the door well sealed.
|
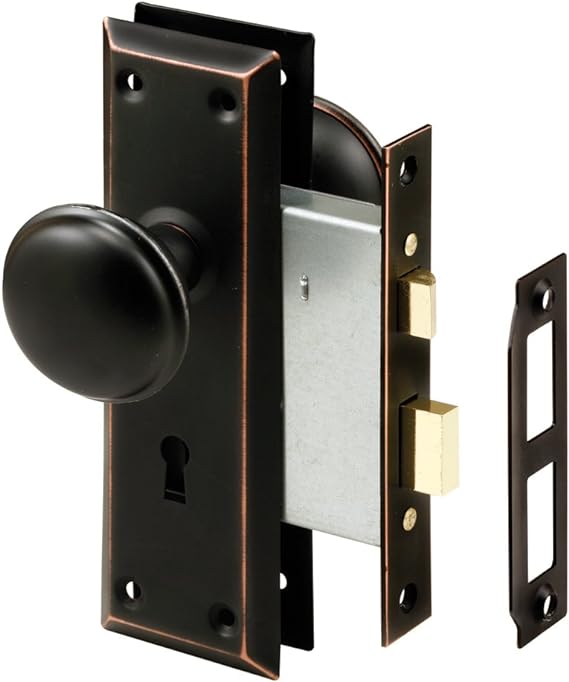
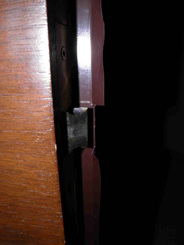
8- Do the same for the lock side. Cut the tape at the latch level.
|
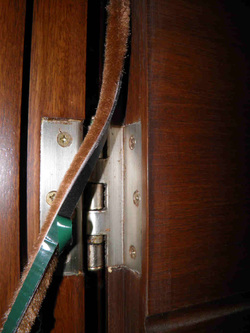
9- You may also use this soft brush type of seals on the hinges side (not advised to the lock side as it could prevent the door from closing properly).
|
|
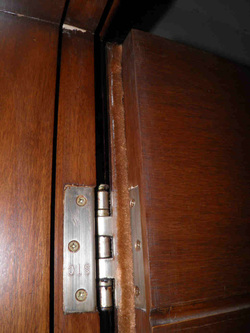
10- Apply it the same way to the door frame by peeling the tape little by little.
|
11- Press firmly and keep it straight.
|
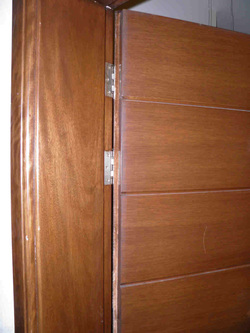
12- It is almost invisible especially if its color matches well the door.
|
|
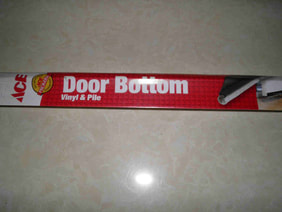
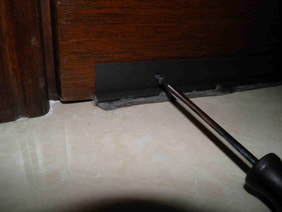
13- Finish the job by adding a door bottom which is widely available in many colors.
|
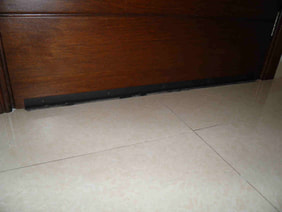
14- Do not press the door bottom downwards when fixing it with the provided screws, simply let it lay on the floor.
|
15- Now the door is sealed all around. The door bottom generates some noise at each opening when new. This is normal.
|
Buy your door draft and dust stopper here:
 |
 |
 |
 |
 |