COPYRIGHT WARNING:
All pictures and texts in this web page are the property of nomaallim.com. Any use of any part of those contents without the written consent of nomaallim.com shall be subject to legal procedures as per international and local laws in the concerned country. Using the name "nomaallim" or "nomaallim com" or "nomaallim.com" in the text describing the unauthorized copied content shall not constitute an exception and shall be sanctioned in accordance to the effective laws and proceedings.
All pictures and texts in this web page are the property of nomaallim.com. Any use of any part of those contents without the written consent of nomaallim.com shall be subject to legal procedures as per international and local laws in the concerned country. Using the name "nomaallim" or "nomaallim com" or "nomaallim.com" in the text describing the unauthorized copied content shall not constitute an exception and shall be sanctioned in accordance to the effective laws and proceedings.
BEFORE YOU START
DISCLAIMER:
Our pictorials are of informative nature and do illustrate works carried out by ourselves at our own premises for our own use and satisfaction. Readers who envisage to carry out similar works inspired by the below method shall do this at their own risks and liability. |
|
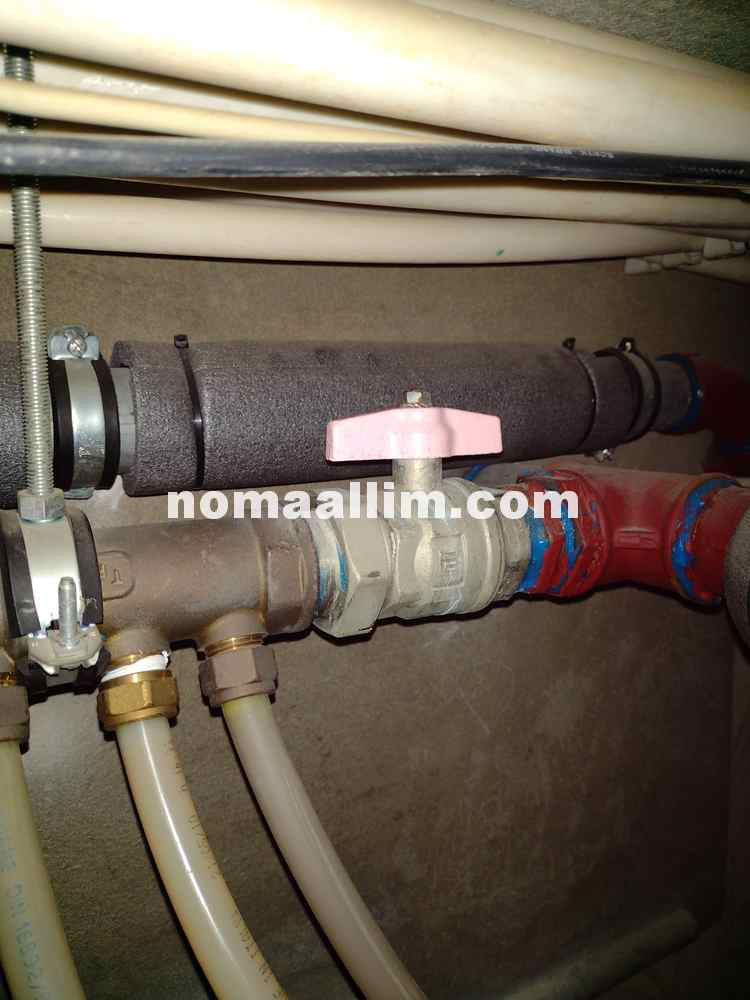
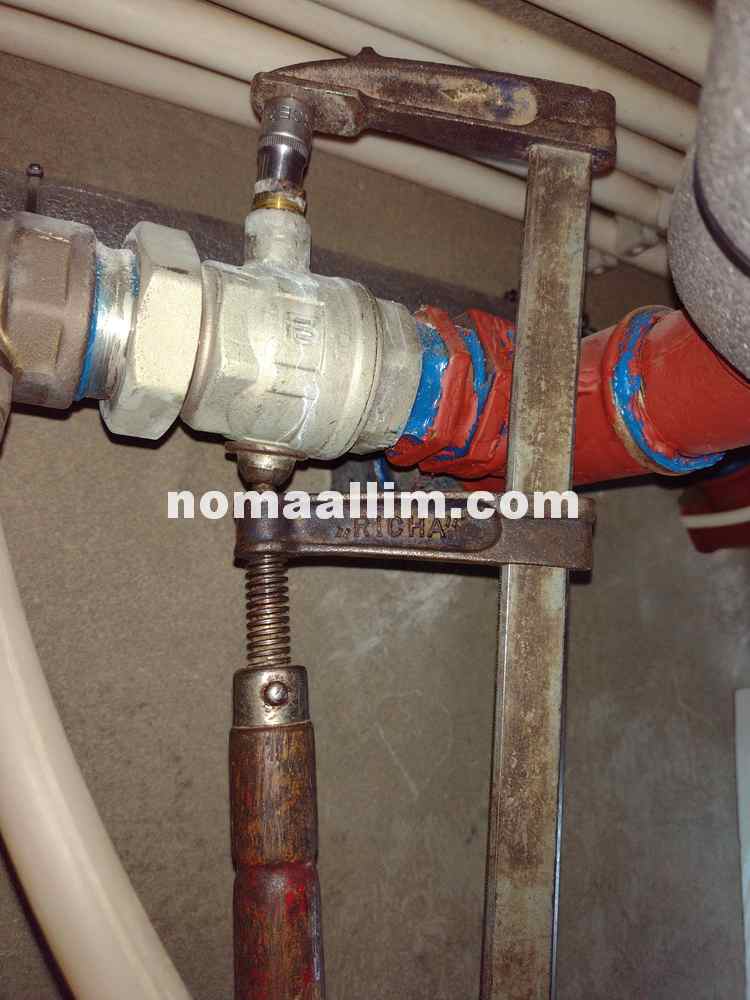
How to fix a ball valve that leaks from handle
It is absolutely normal that ball valves end up leaking from their stem with time.
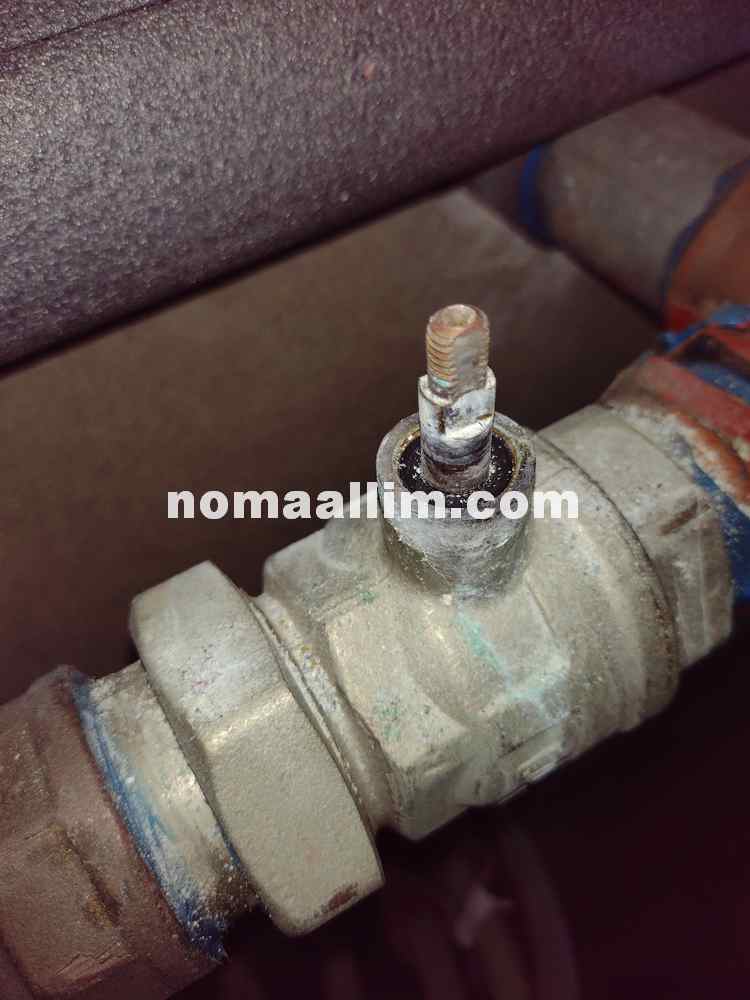
The stem is located just beneath the handle and the latter is fixed to it with a nut.
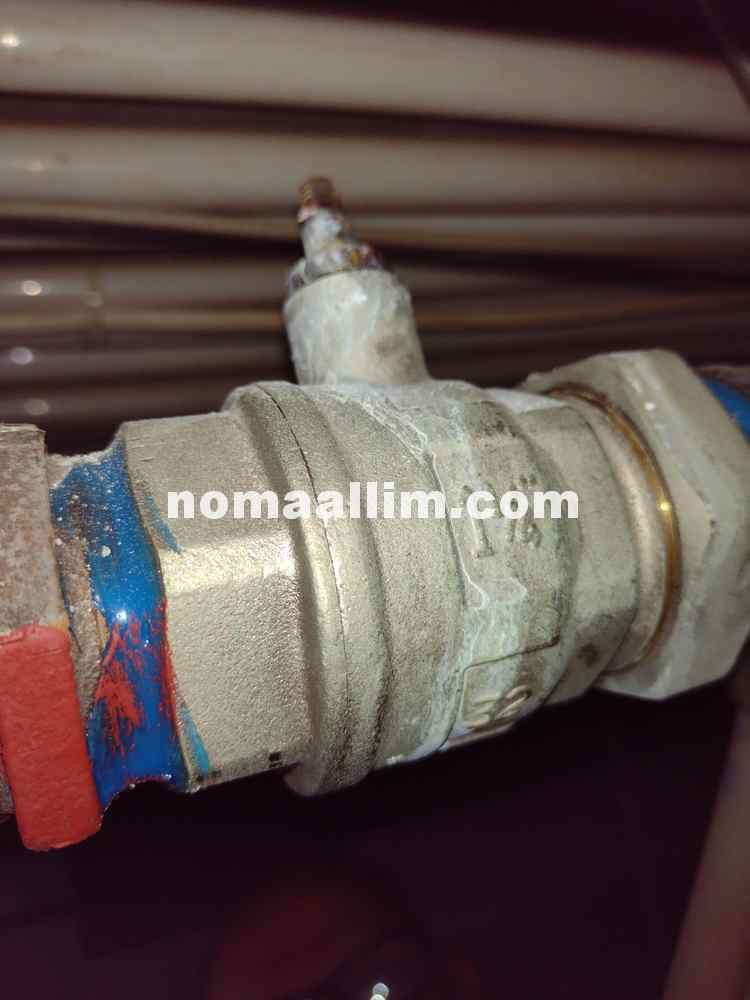
You need then to take out the ball valve handle by removing its nut in order to access the stem.
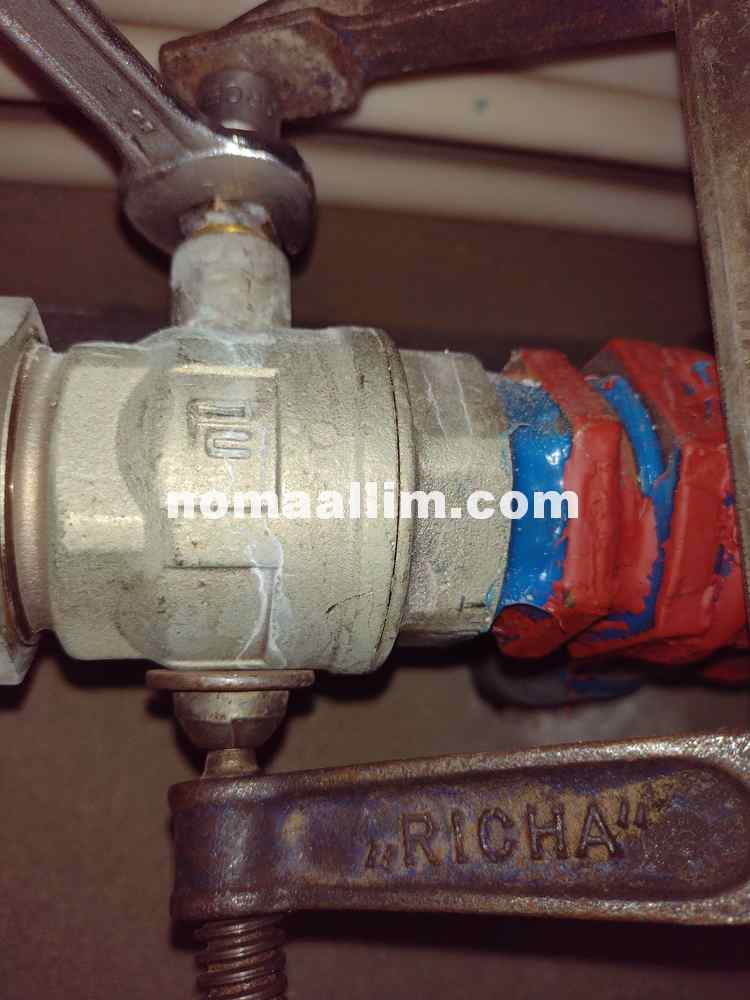
You will notice another bigger nut around the ball valve stem which you need to unscrew and remove using a spanner.
The stem is located just beneath the handle and the latter is fixed to it with a nut.
You need then to take out the ball valve handle by removing its nut in order to access the stem.
You will notice another bigger nut around the ball valve stem which you need to unscrew and remove using a spanner.

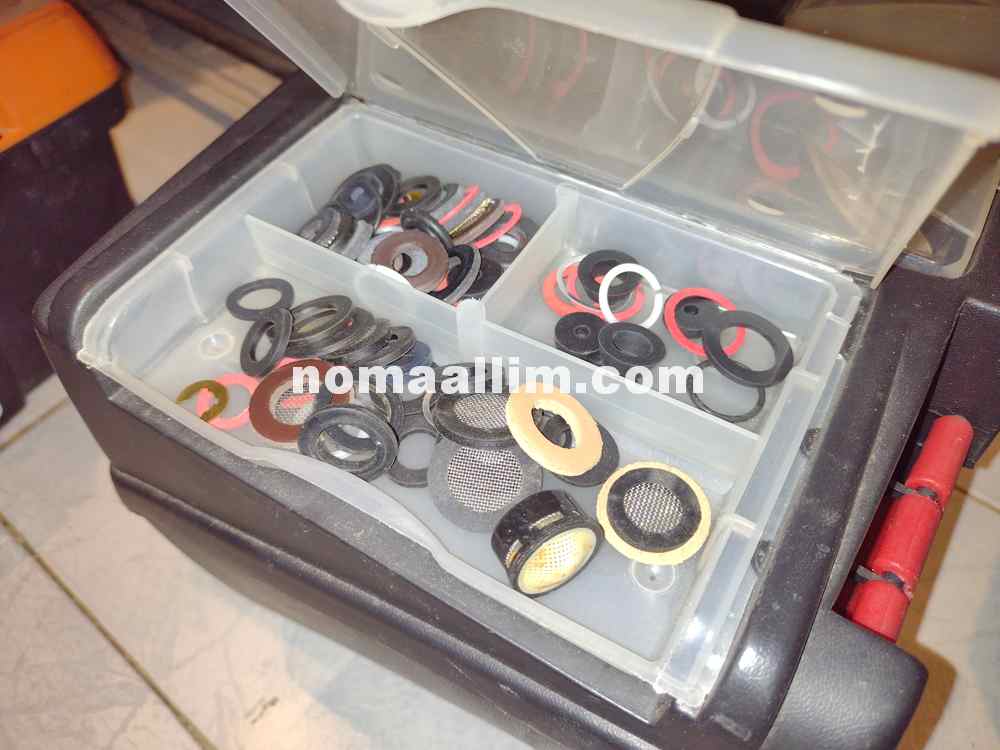
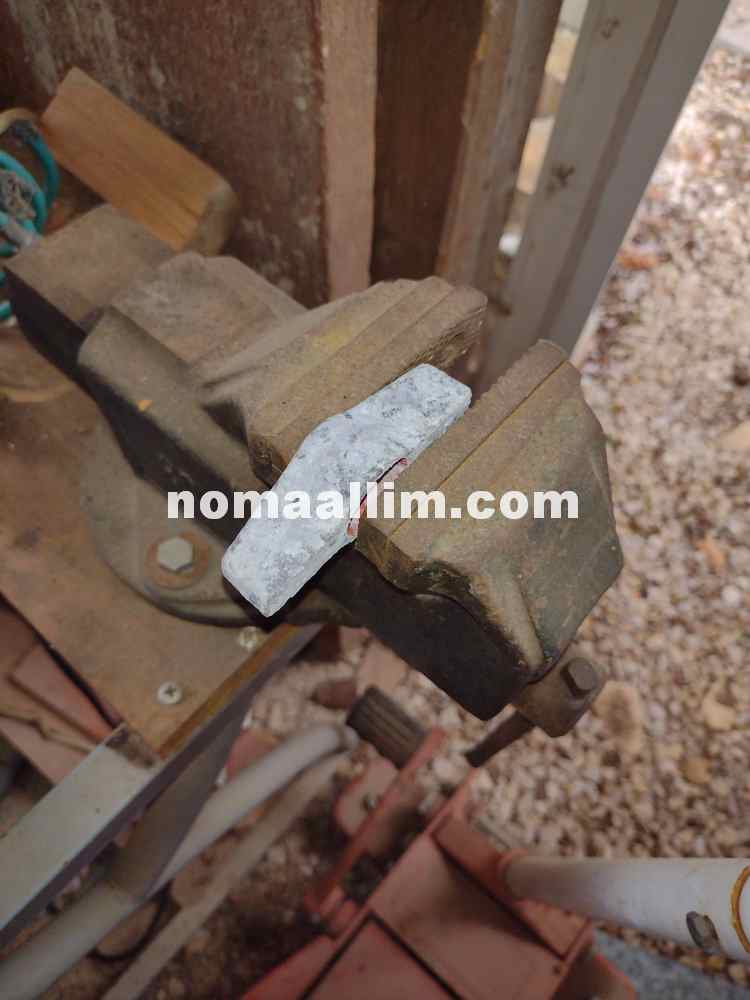
Now find a rubber washer which outer diameter almost matches the one of the nut and innder dia the one of the stem.
Preferably, a conical seal will be used but a flat one will work also.
Preferably, a conical seal will be used but a flat one will work also.
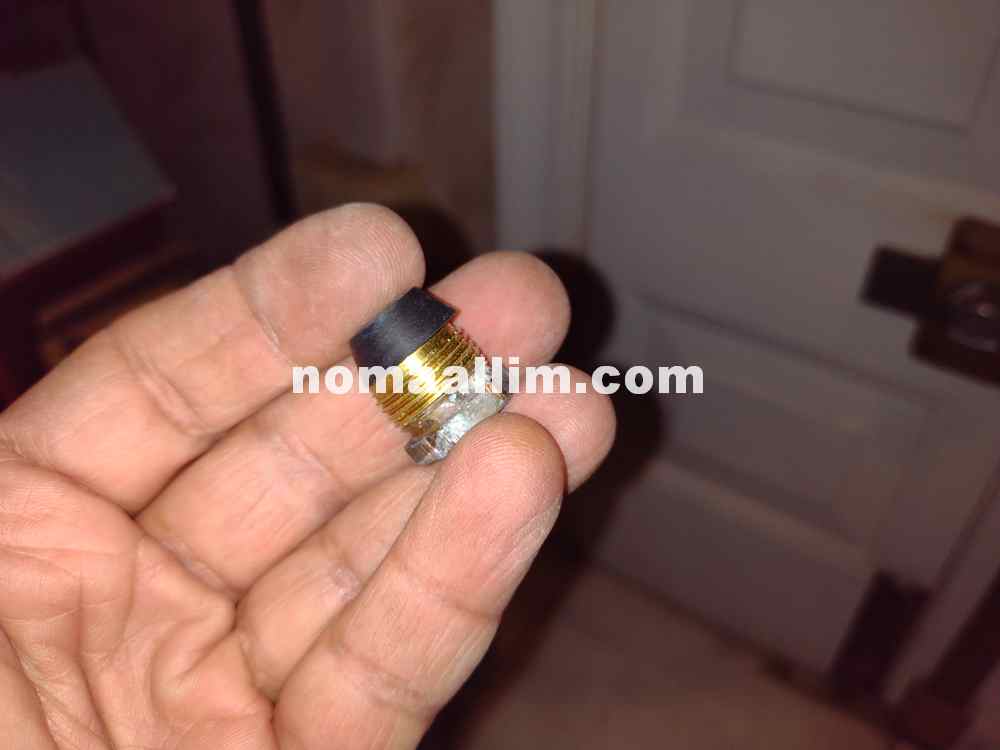
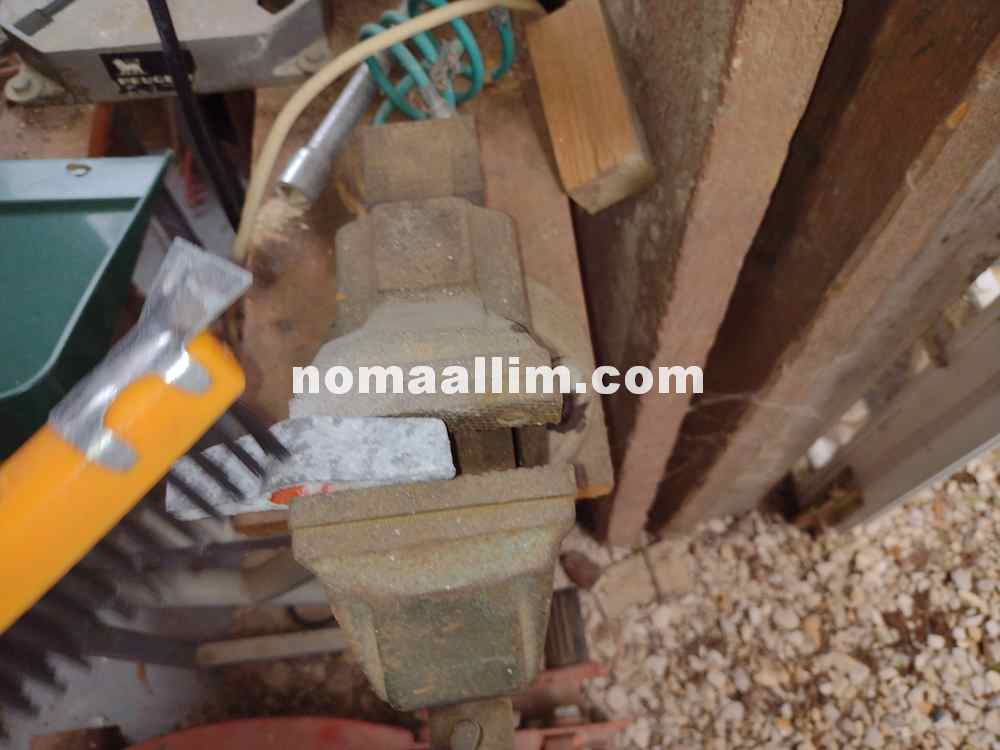
Insert the washer around the stem and push it down with a flat screwdriver.
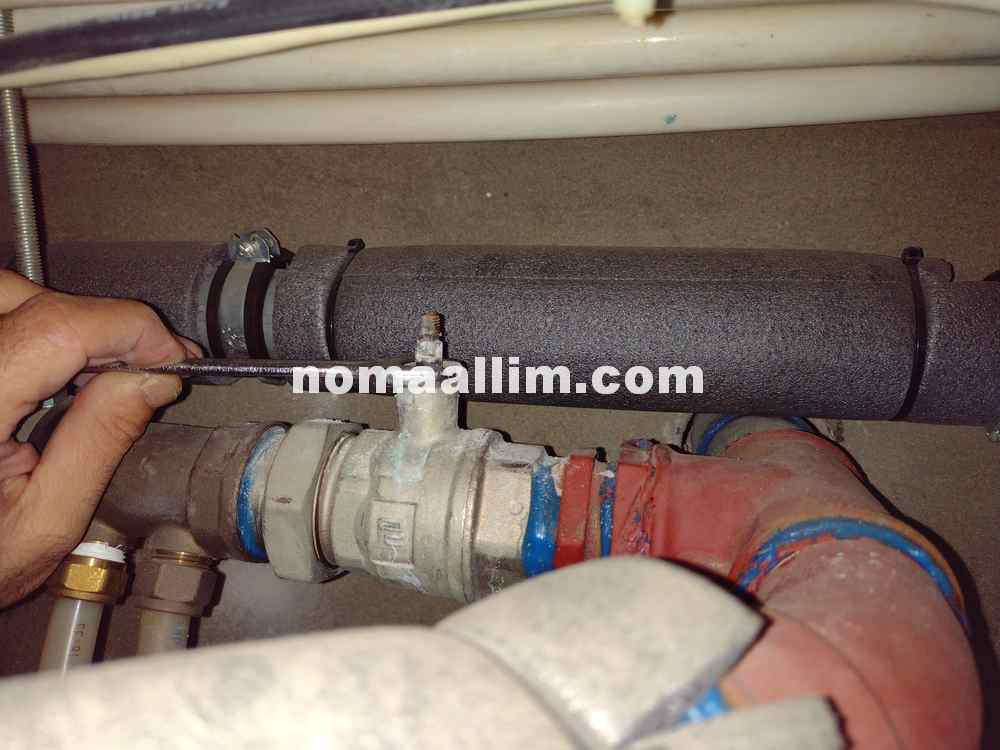
You might not be able to put again the ball valve stem nut due to the thickness of the washer you just inserted.
If this is the case, use as shown a nut socket of the adequate size around the stem, so this socket compresses the seal when you tighten the C-clamp, then turn the nut with a spanner in order to have its thread catching the one on the ball valve body.
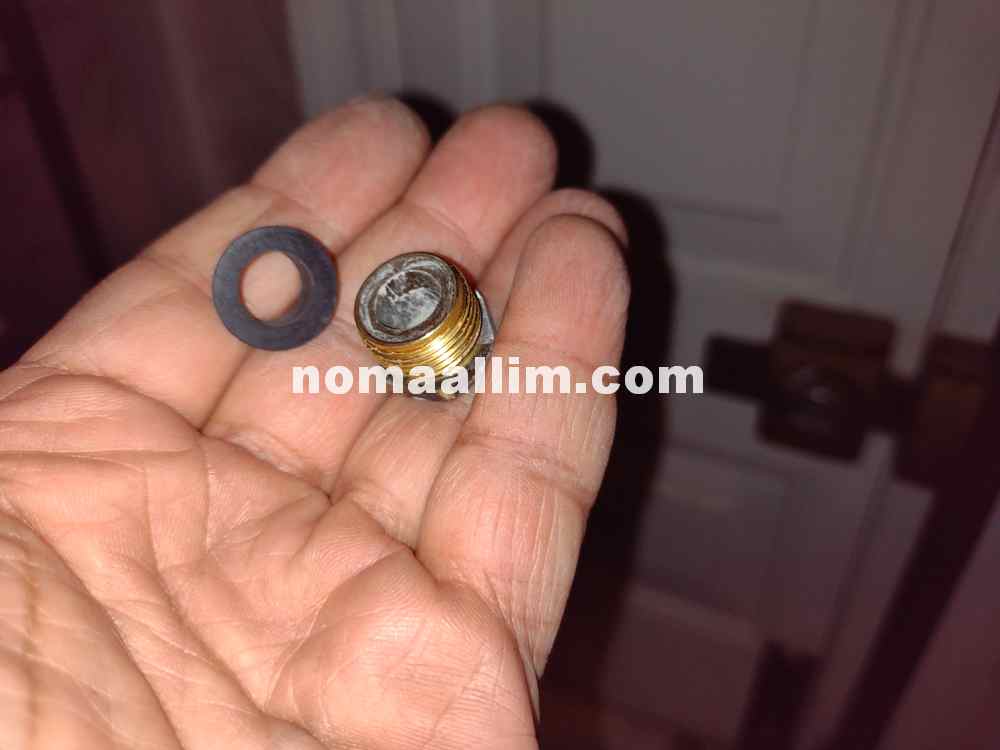
Tighten well the stem nut.
You might not be able to put again the ball valve stem nut due to the thickness of the washer you just inserted.
If this is the case, use as shown a nut socket of the adequate size around the stem, so this socket compresses the seal when you tighten the C-clamp, then turn the nut with a spanner in order to have its thread catching the one on the ball valve body.
Tighten well the stem nut.
|
|
|
|
|
|
Refitting the ball valve handle
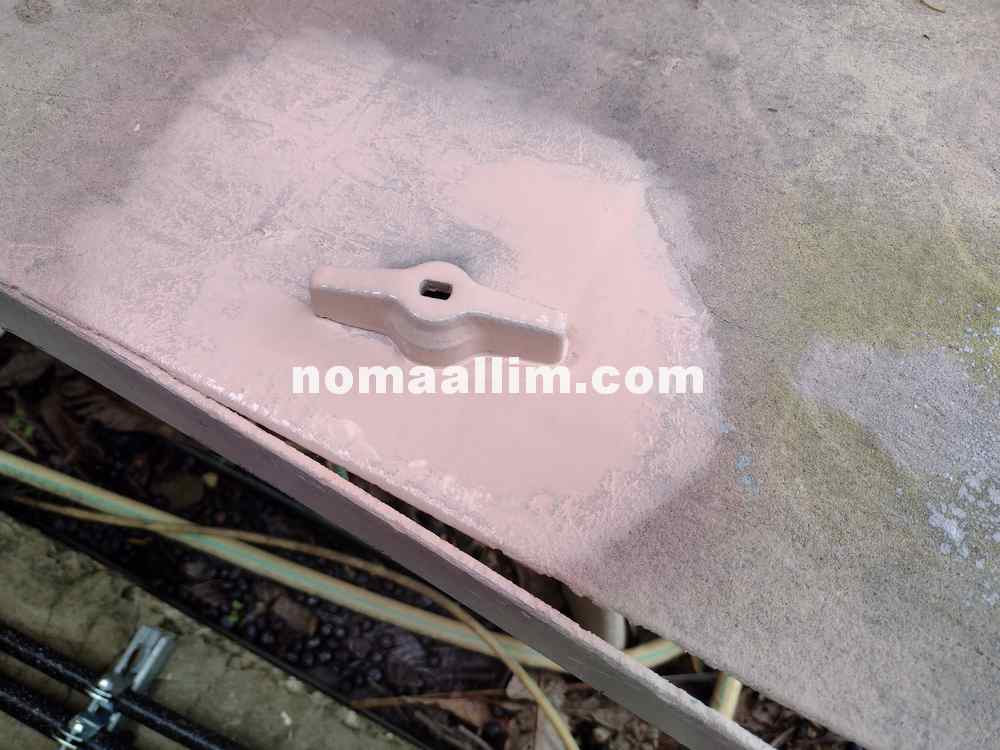
If the handle of your ball valve is corroded, it would be then worth cleaning it and painting it prior to refitting.

Brush off the ball valve hande with a wire brush and clean it with penetrating oil (WD-40 or any equivalent).
Dry the handle well with a clean cloth and apply a coat of any spray paint can you have.
Once dry, refit the handle to the ball valve, refit its washer and nut and tighten the nut.
Once dry, refit the handle to the ball valve, refit its washer and nut and tighten the nut.