COPYRIGHT WARNING:
All pictures and texts in this web page are the property of nomaallim.com. Any use of any part of those contents without the written consent of nomaallim.com shall be subject to legal procedures as per international and local laws in the concerned country. Using the name "nomaallim" or "nomaallim com" or "nomaallim.com" in the text describing the unauthorized copied content shall not constitute an exception and shall be sanctioned in accordance to the effective laws and proceedings.
All pictures and texts in this web page are the property of nomaallim.com. Any use of any part of those contents without the written consent of nomaallim.com shall be subject to legal procedures as per international and local laws in the concerned country. Using the name "nomaallim" or "nomaallim com" or "nomaallim.com" in the text describing the unauthorized copied content shall not constitute an exception and shall be sanctioned in accordance to the effective laws and proceedings.
BEFORE YOU START
|
|
DISCLAIMER:
Our pictorials are of informative nature and do illustrate works carried out by ourselves at our own premises for our own use and satisfaction.
Readers who envisage to carry out similar works inspired by the below method shall do this at their own risks and liability.
Our pictorials are of informative nature and do illustrate works carried out by ourselves at our own premises for our own use and satisfaction.
Readers who envisage to carry out similar works inspired by the below method shall do this at their own risks and liability.
Brake vacuum pump removal
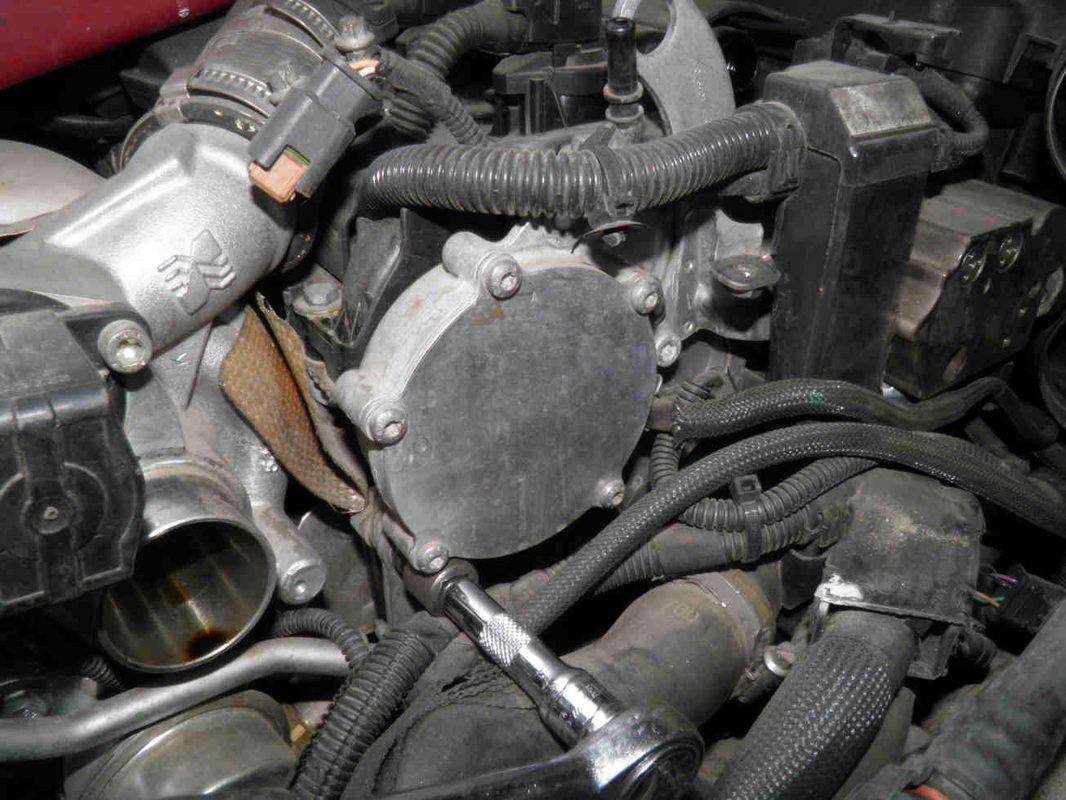
Remove whatever air hoses hiding the pump.
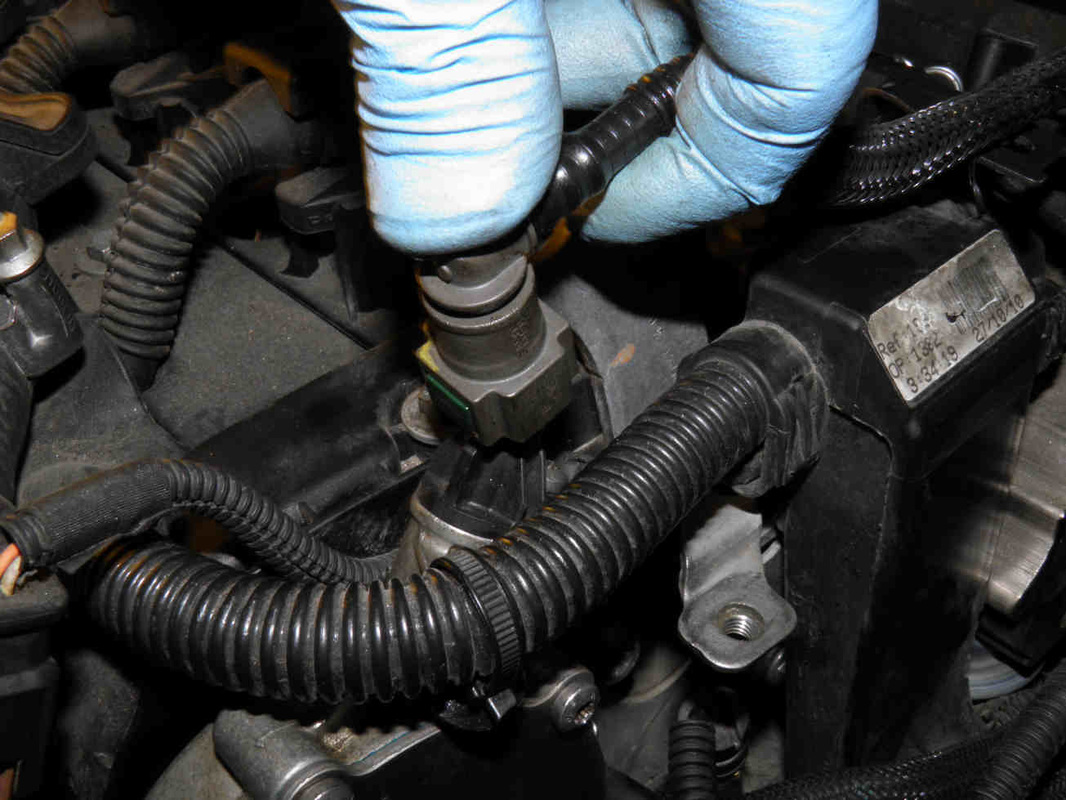
Disconnect the servo brake vacuum hose from the pump.
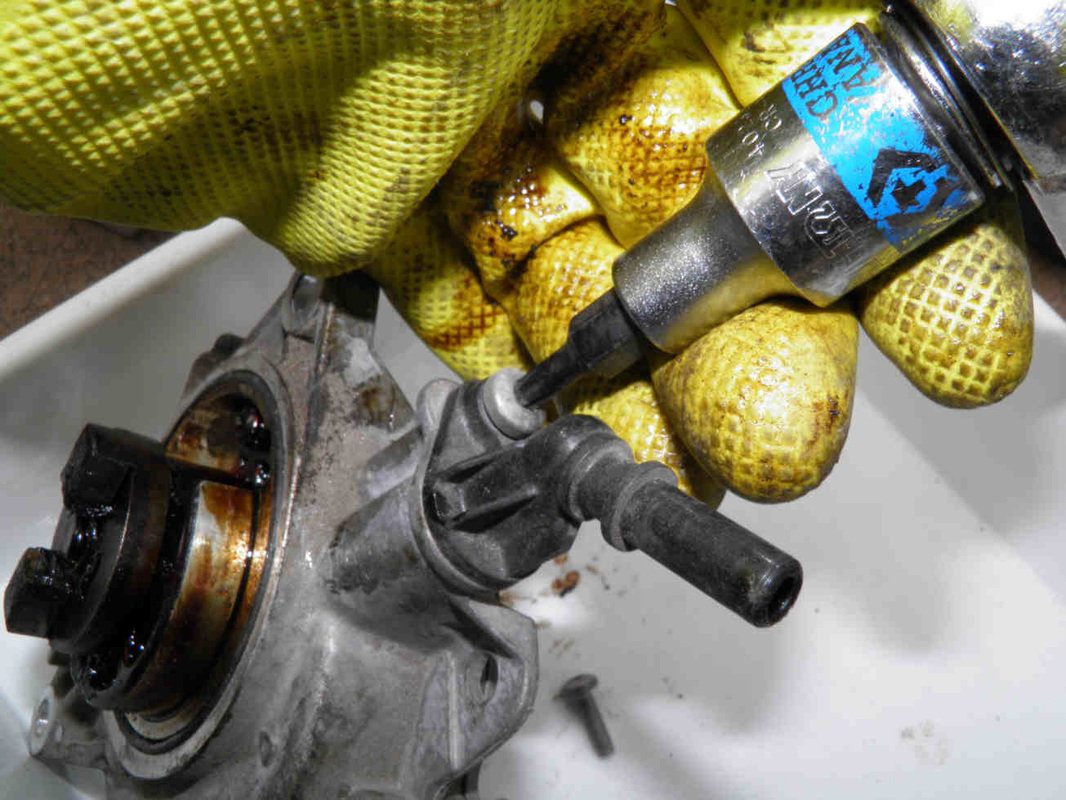
Unscrew the pump holding bolts (left and middle) and take it out. You might need to use a large slotted screwdriver as a lever (right).
Disconnect the servo brake vacuum hose from the pump.
Unscrew the pump holding bolts (left and middle) and take it out. You might need to use a large slotted screwdriver as a lever (right).


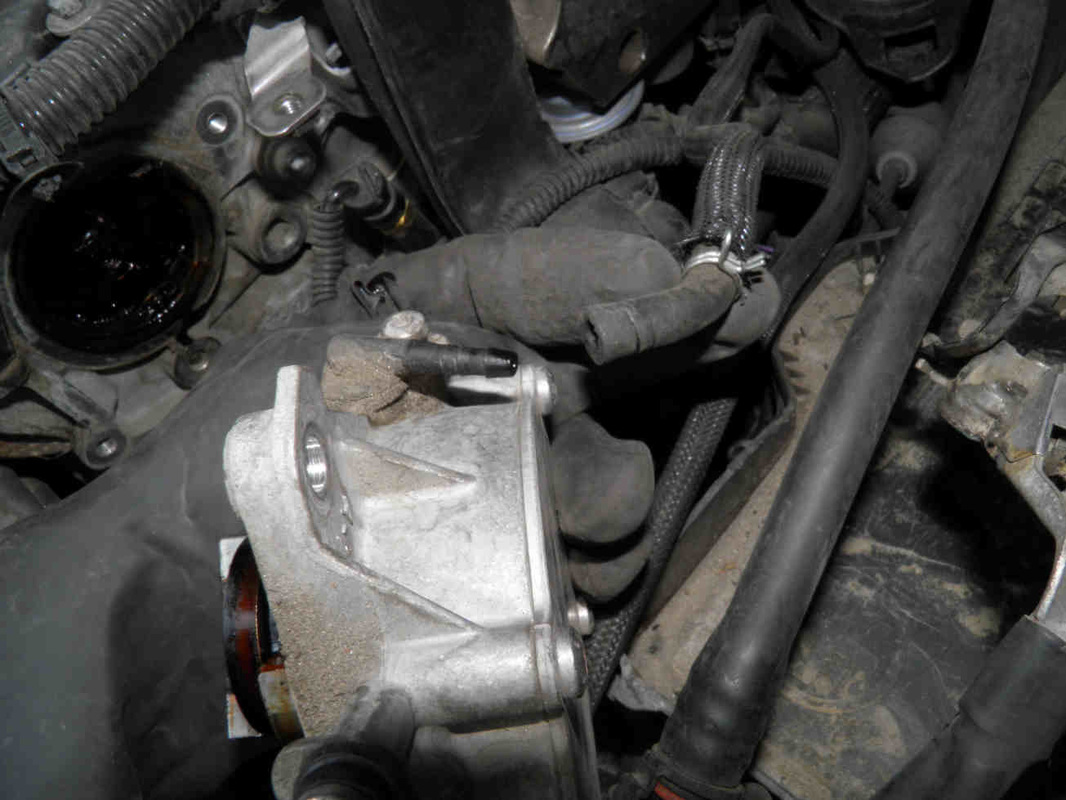
The pump is driven by the exhaust camshaft (left).
Remove the turbocharging regulation vacuum hose in case you did not do so before (right).
Remove the turbocharging regulation vacuum hose in case you did not do so before (right).

Brake vacuum pump dismantling and cleaning
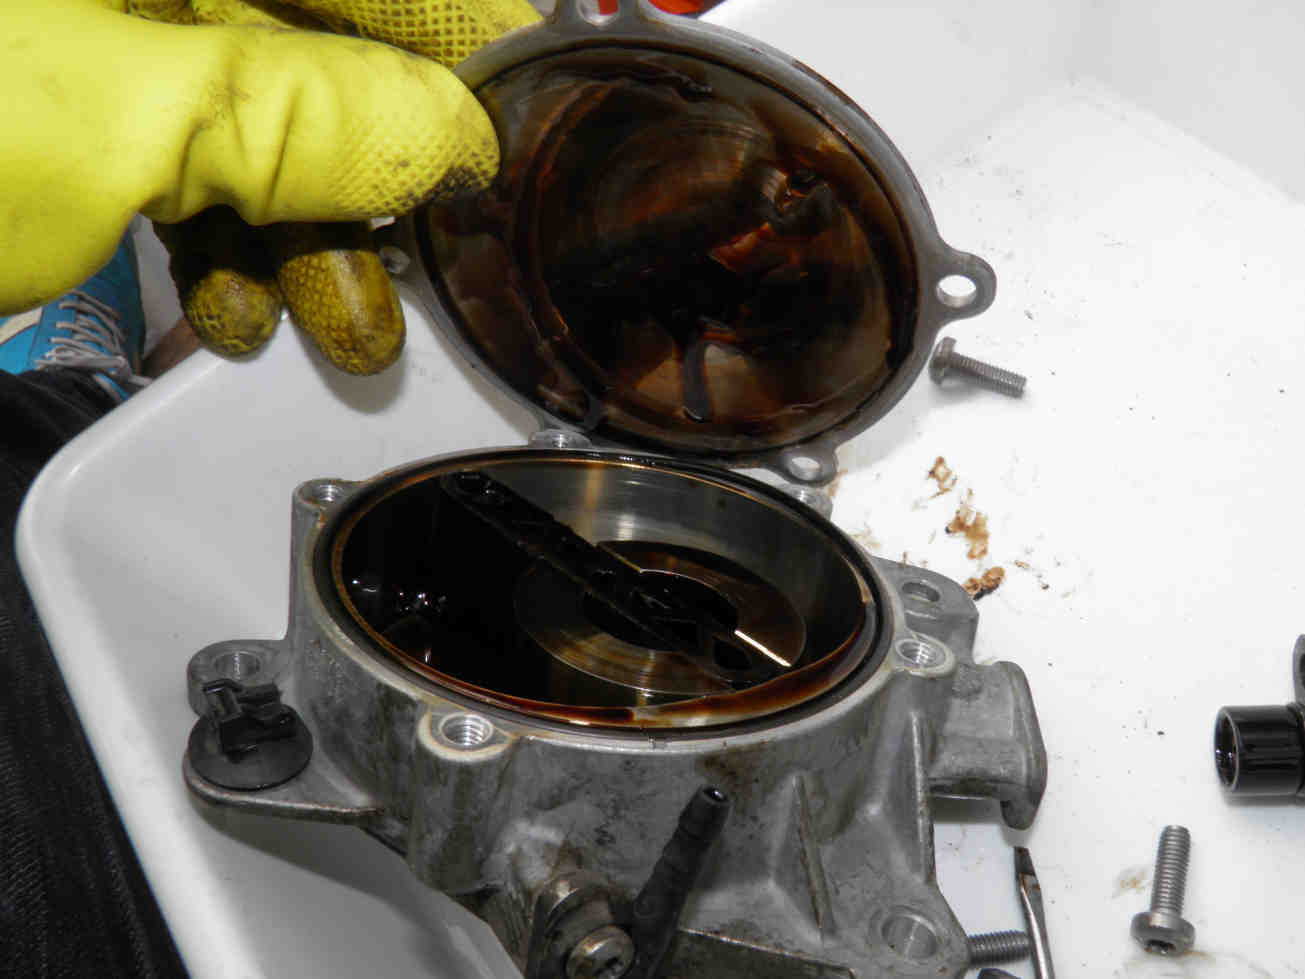
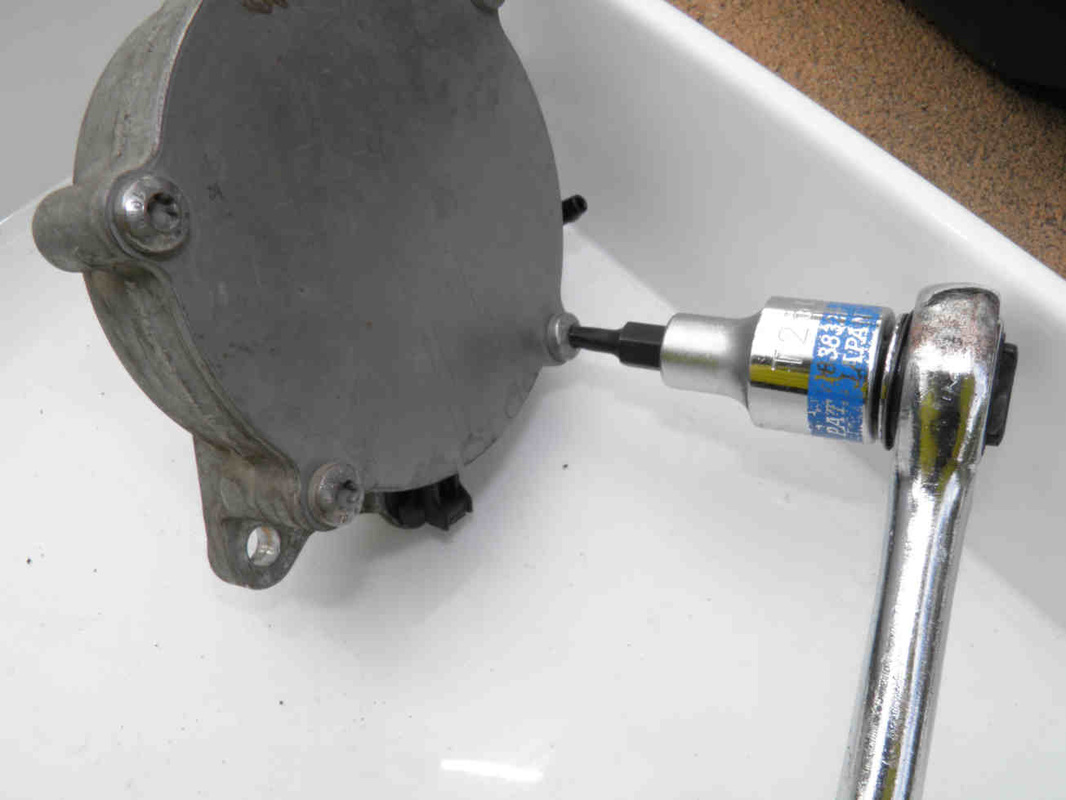
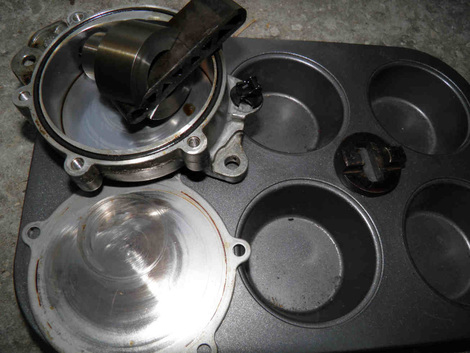
Put the pump in a clean tray and remove the cover screws (left).
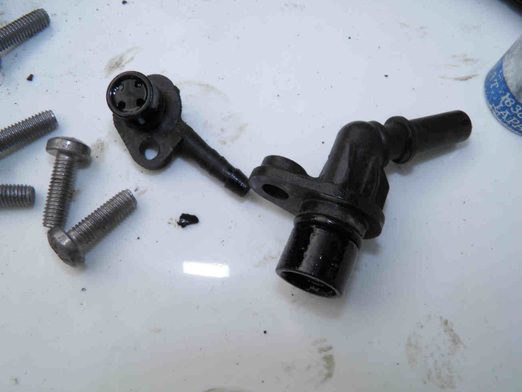
Remove the vacuum outlets (middle).
The pump is simple in construction and made of robust material and components. Its weak point however is explained further below. Note well how it is lubricated by the engine oil itself which with time becomes thick and sticky (right).
Remove the vacuum outlets (middle).
The pump is simple in construction and made of robust material and components. Its weak point however is explained further below. Note well how it is lubricated by the engine oil itself which with time becomes thick and sticky (right).

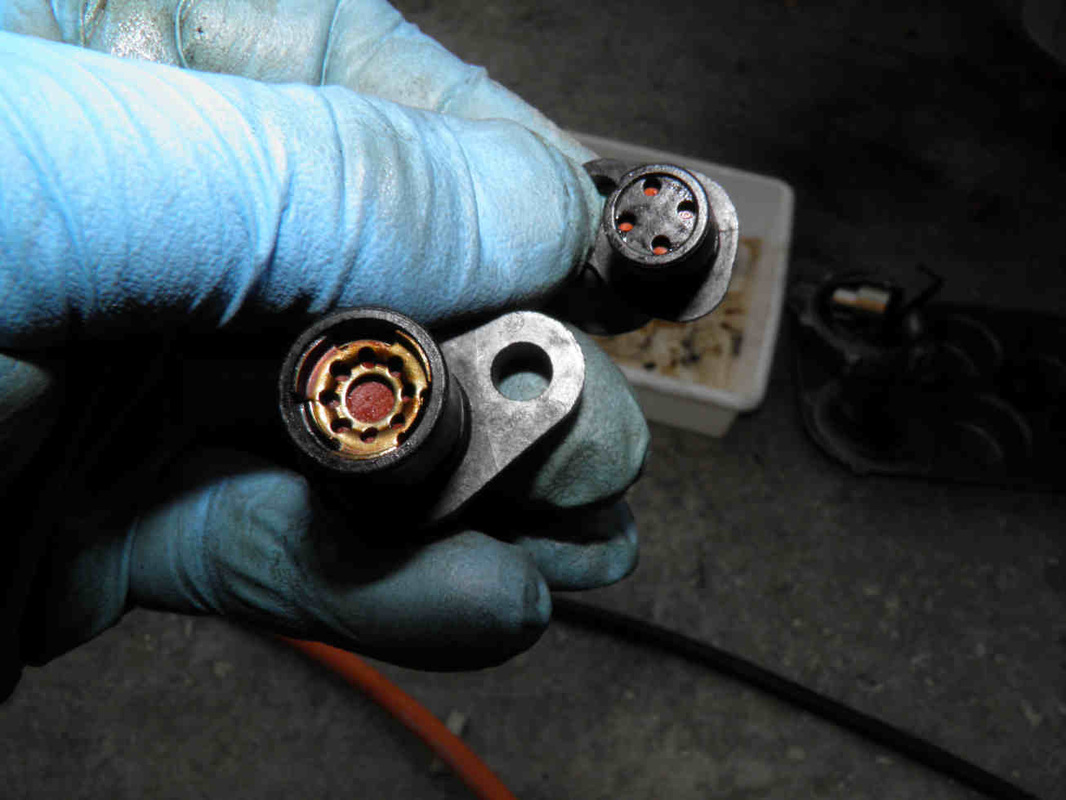
Now here comes the problem: both vacuum connections to the servo and turbo regulation circuit contain a basic check valve made of a rubber disc and a spring. The disc can stick in place or the opening can get obstructed by the thickened and aged oil.
The fix consists of freeing the check valves by cleaning them.
The fix consists of freeing the check valves by cleaning them.
|
|
|
NOTE: the vacuum pump connector is available as a spare part from our partners' store, in case you'd like to replace it:
|
 |
 |
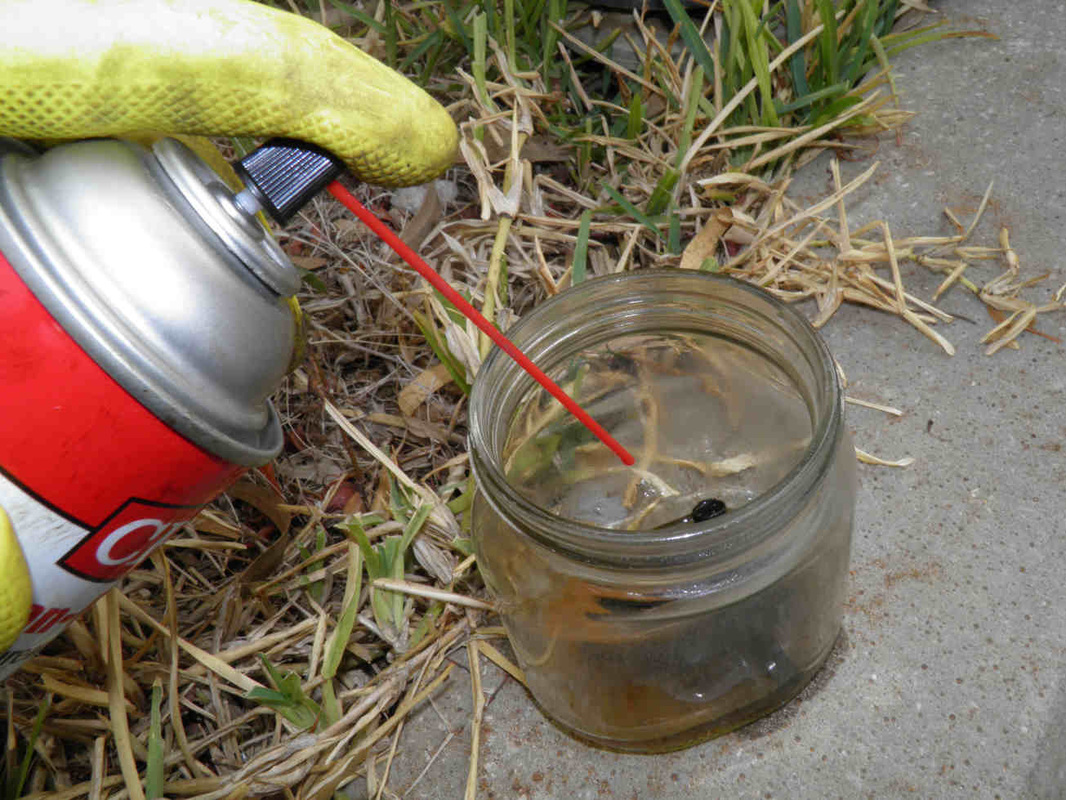
- Put the connectors in a glass jar filled with a little clean engine oil and spray them well with a carb cleaner (left).
- Leave them for not less than 30 minutes soaking into the mix of carb cleaner and oil. Do not immerse them in the carb cleaner alone.
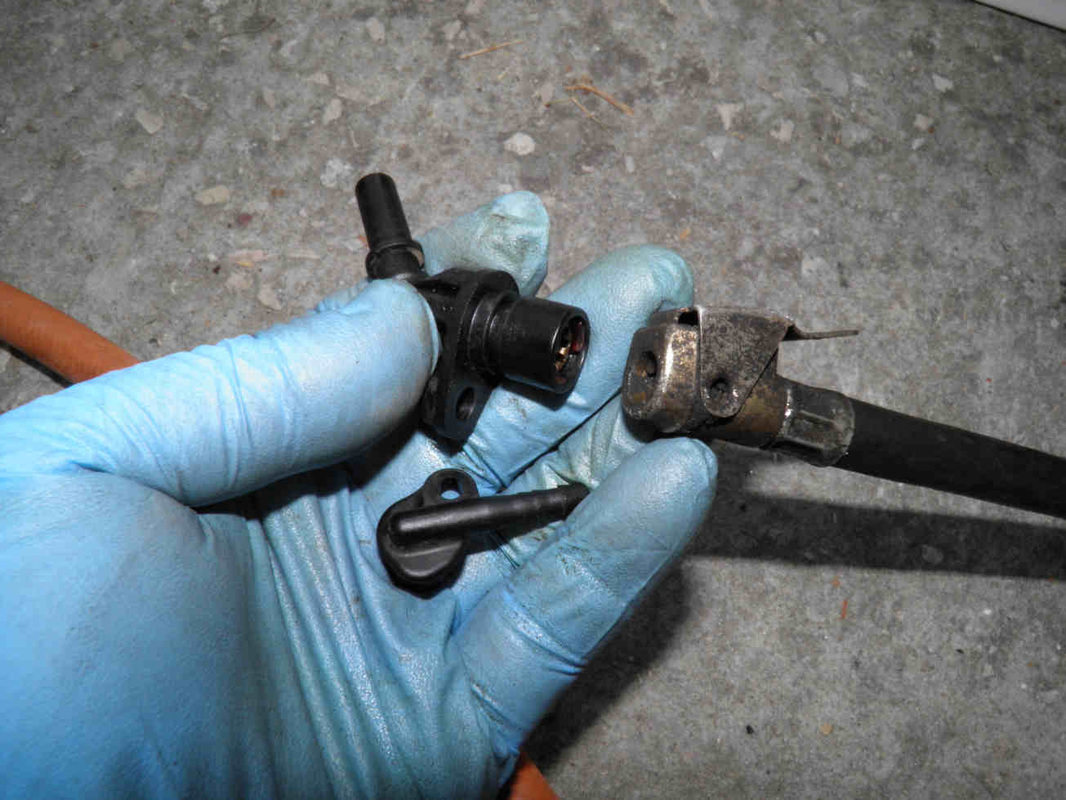
- Use compressed air to dry them up (middle).
- You should be able to see now the color of each component.
- Gently blow through them with your mouth in the same vacuum direction (outside to inside) and make sure air passes through.
Clean well all other parts to get the rid of the aged oil:
|
|
|
Refitting
- Replace the connectors' seals with new ones. You will find these at a specialized industrial rubber material shop or hardware shops.
- Use exclusively high temperature EPDM or Silicone O-ring seals for the connectors.
- Replace the pump to cylinder head seal, available as a spare.
- Pour some 50 ml of engine oil into the pump and one drop into each connector prior to closing the cover.
- Use RTV silicone gasket maker applied directly on the pump cover seal if you don't find a match for this one.
- This is the only place where the RTV gasket maker can be used.
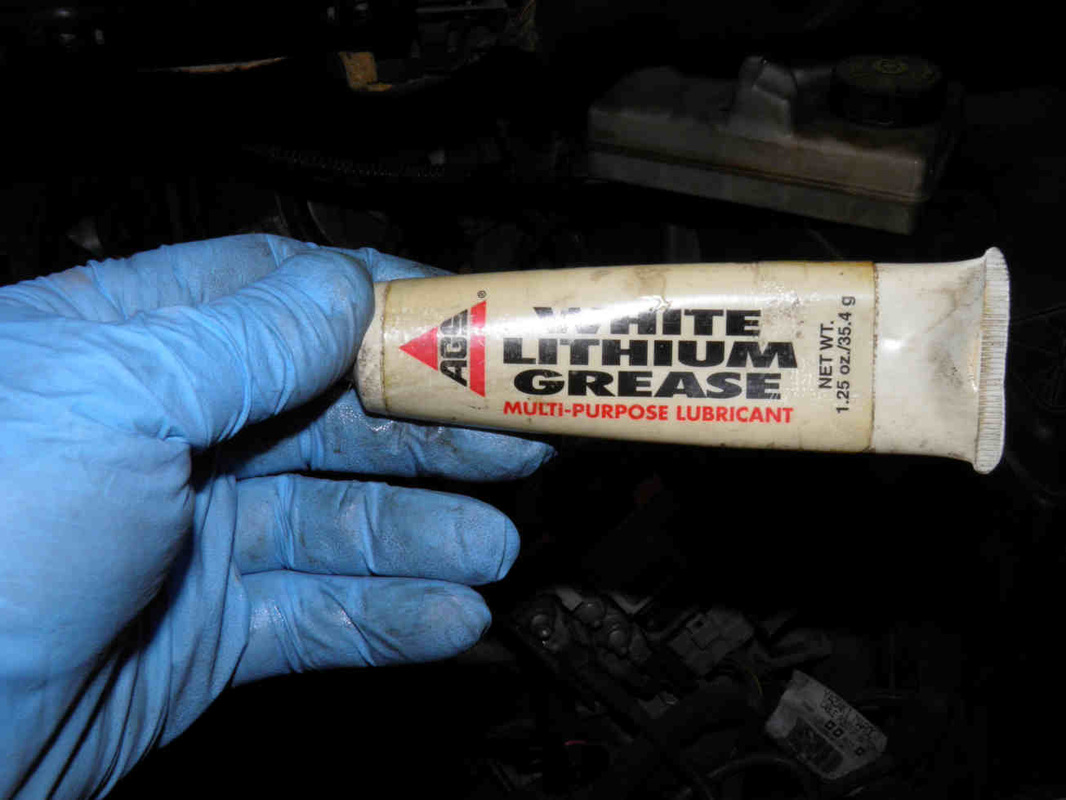
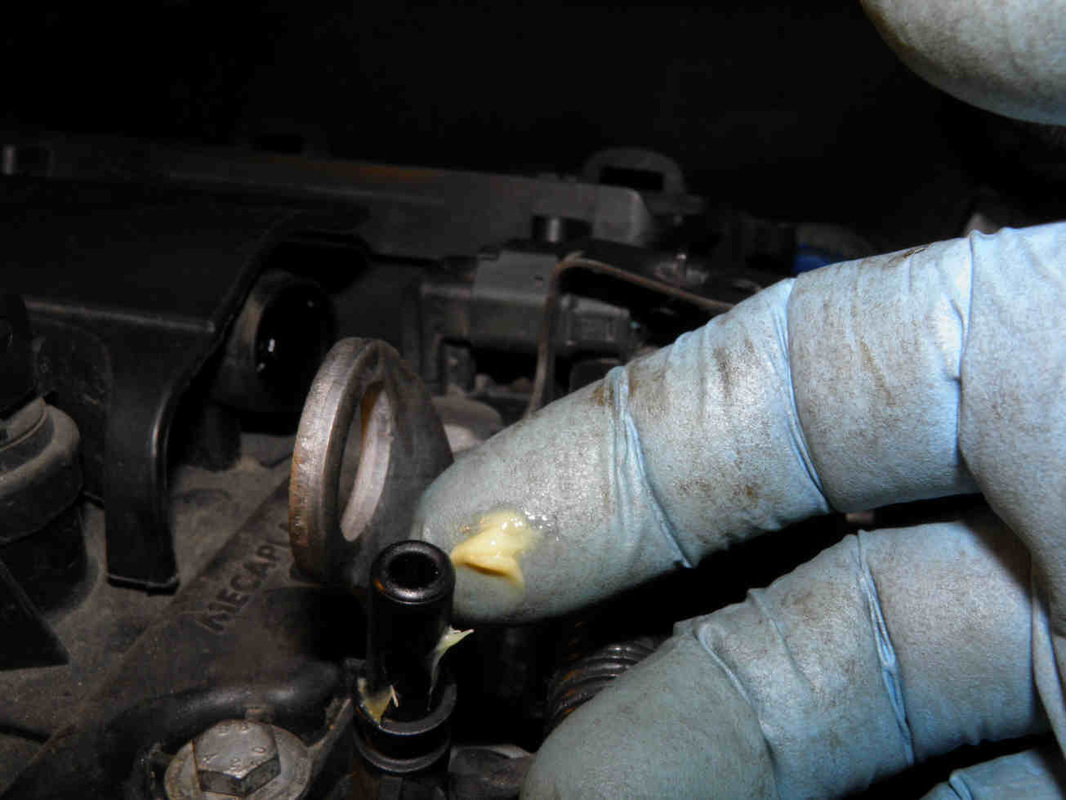
Now clean well the servo vacuum hose connector with your carb cleaner and use some grease on the pump and servo connectors prior to reinstalling it.

Test the vehicle over a period of days.
Replace the vacuum pump with a new one if this fix doesn't eliminate the above described symptom.
Note: testing the pump with a vacuum gauge won't necessarily return a clear result since such symptom is of intermittent and unexpected nature.
Replace the vacuum pump with a new one if this fix doesn't eliminate the above described symptom.
Note: testing the pump with a vacuum gauge won't necessarily return a clear result since such symptom is of intermittent and unexpected nature.


