COPYRIGHT WARNING:
All pictures and texts in this web page are the property of nomaallim.com. Any use of any part of those contents without the written consent of nomaallim.com shall be subject to legal procedures as per international and local laws in the concerned country. Using the name "nomaallim" or "nomaallim com" or "nomaallim.com" in the text describing the unauthorized copied content shall not constitute an exception and shall be sanctioned in accordance to the effective laws and proceedings.
All pictures and texts in this web page are the property of nomaallim.com. Any use of any part of those contents without the written consent of nomaallim.com shall be subject to legal procedures as per international and local laws in the concerned country. Using the name "nomaallim" or "nomaallim com" or "nomaallim.com" in the text describing the unauthorized copied content shall not constitute an exception and shall be sanctioned in accordance to the effective laws and proceedings.
BEFORE YOU START
|
|
DISCLAIMER:
Our pictorials are of informative nature and do illustrate works carried out by ourselves at our own premises for our own use and satisfaction.
Readers who envisage to carry out similar works inspired by the below method shall do this at their own risks and liability.
Our pictorials are of informative nature and do illustrate works carried out by ourselves at our own premises for our own use and satisfaction.
Readers who envisage to carry out similar works inspired by the below method shall do this at their own risks and liability.
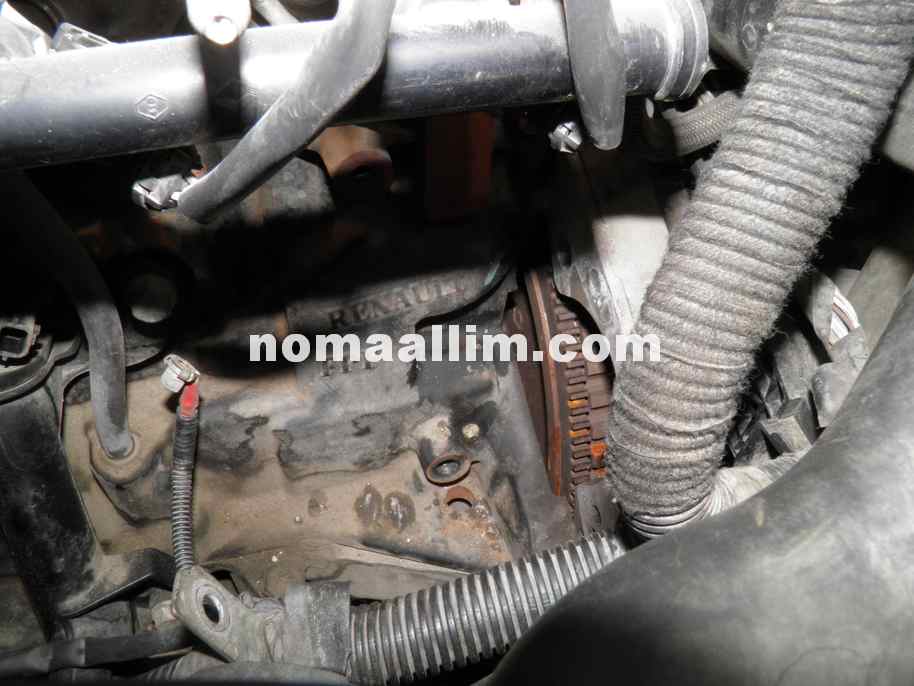
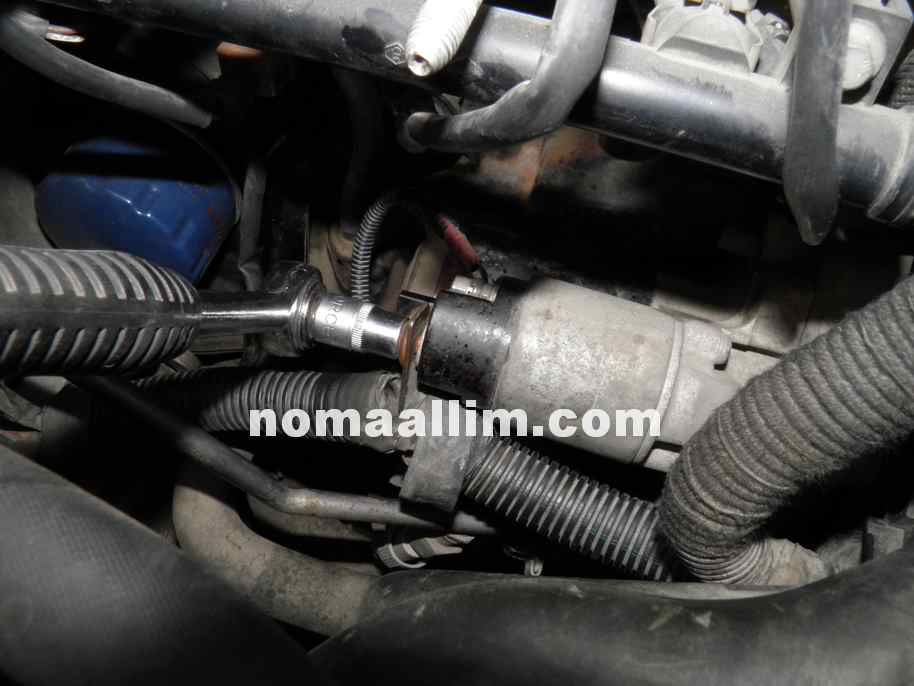
Location of the Dacia or Renault Duster starter motor
The starter motor of the Dacia and Renault Duster is located to the front side of the vehicle, beneath the injectors rail.
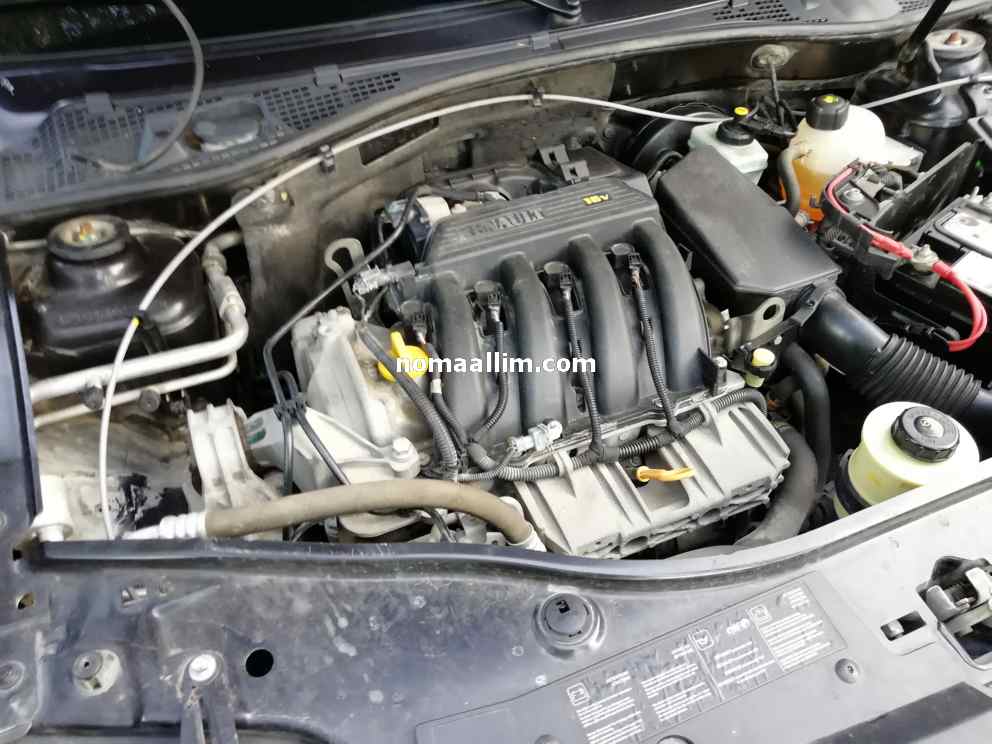
If you are wondering where the starter is located on other cars or engines, be aware that you always have to look on the right side of the engine and the left of the gearbox, but it can be mounted both front and rear of the engine. In the latter case, access is a little more difficult.
If you are wondering where the starter is located on other cars or engines, be aware that you always have to look on the right side of the engine and the left of the gearbox, but it can be mounted both front and rear of the engine. In the latter case, access is a little more difficult.
Preparatory works for the starter motor replacement on Dacia Duster
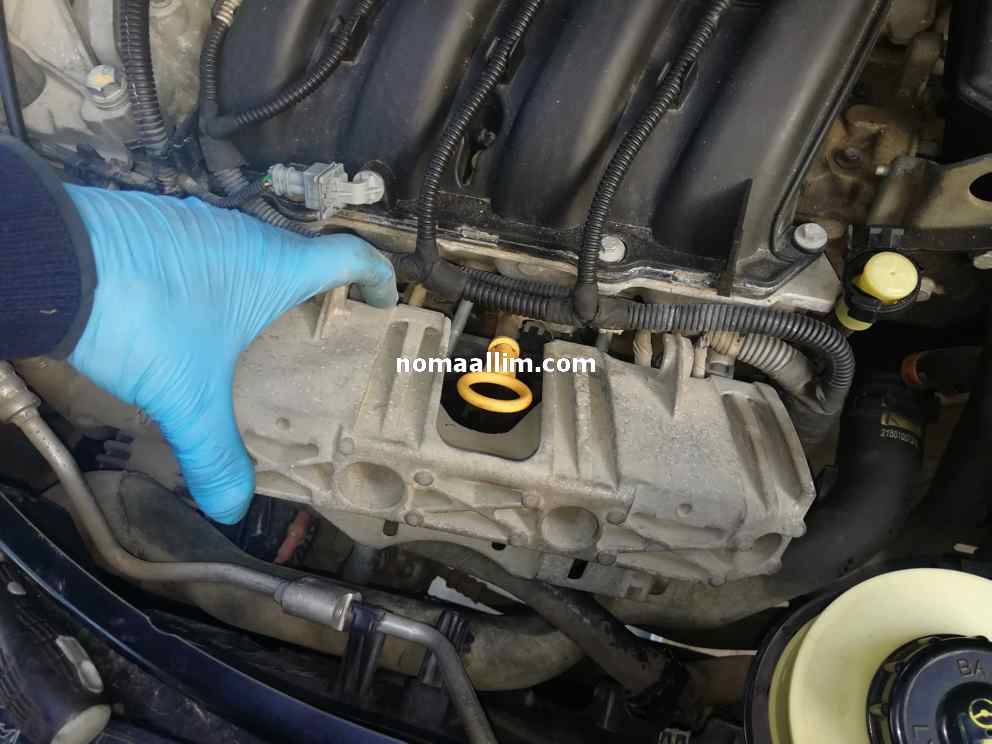
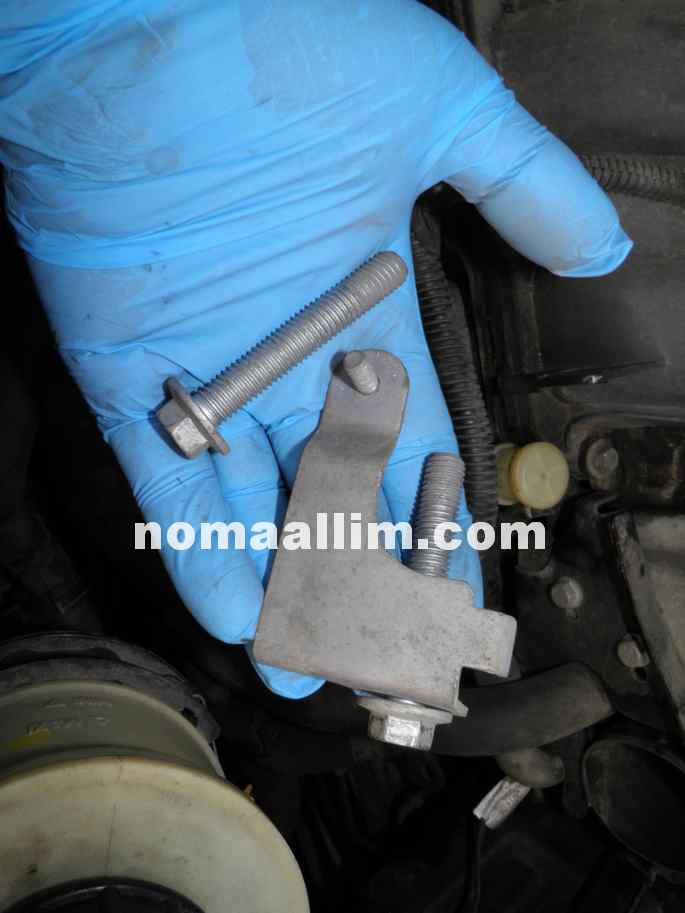
Unscrew the nuts of the injectors protector and take it out as shown in the below pictures.
Take out the air inlet hose that connects to the air filter assembly and could obstruct your work.
Take out the air inlet hose that connects to the air filter assembly and could obstruct your work.
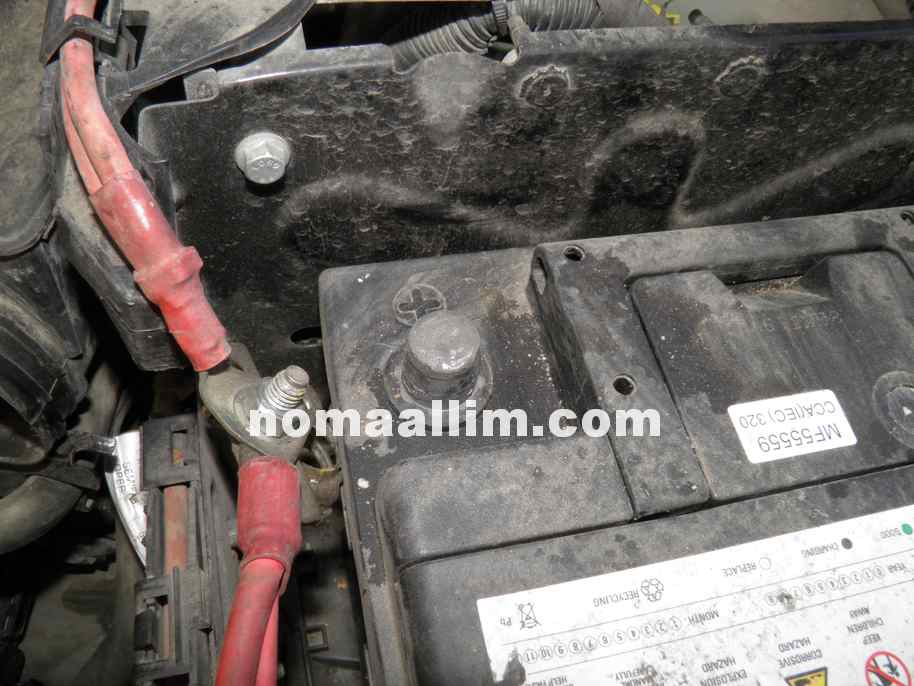
Disconnect the battery.
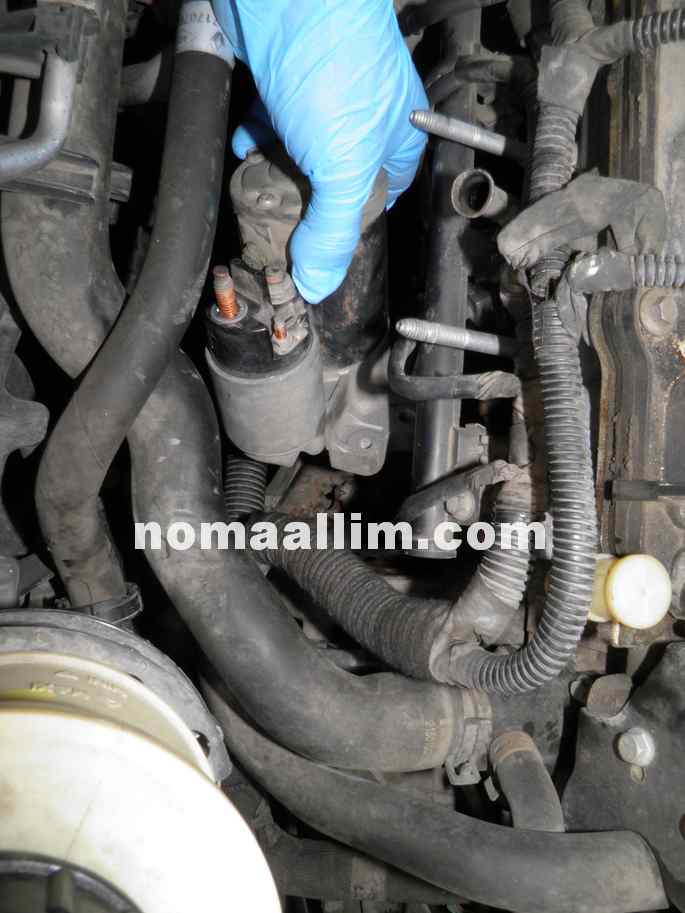
Use your racthet handle with a short socket to unscrew the nuts of the electric cables that connect to the starter and disconnect the cables.
Use your racthet handle with a short socket to unscrew the nuts of the electric cables that connect to the starter and disconnect the cables.
Starter removal from engine
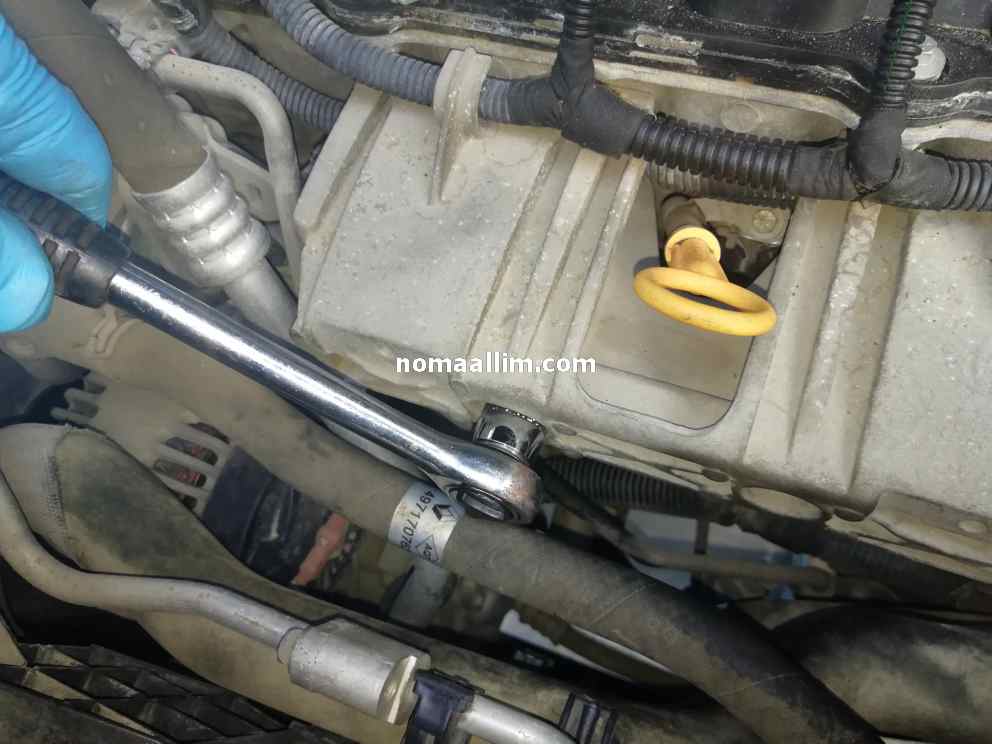
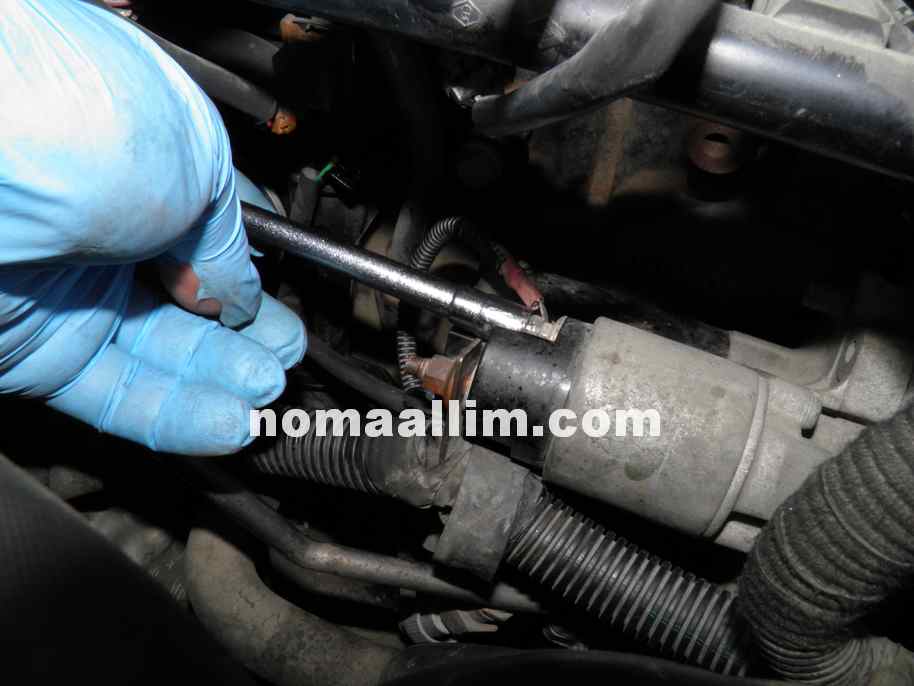
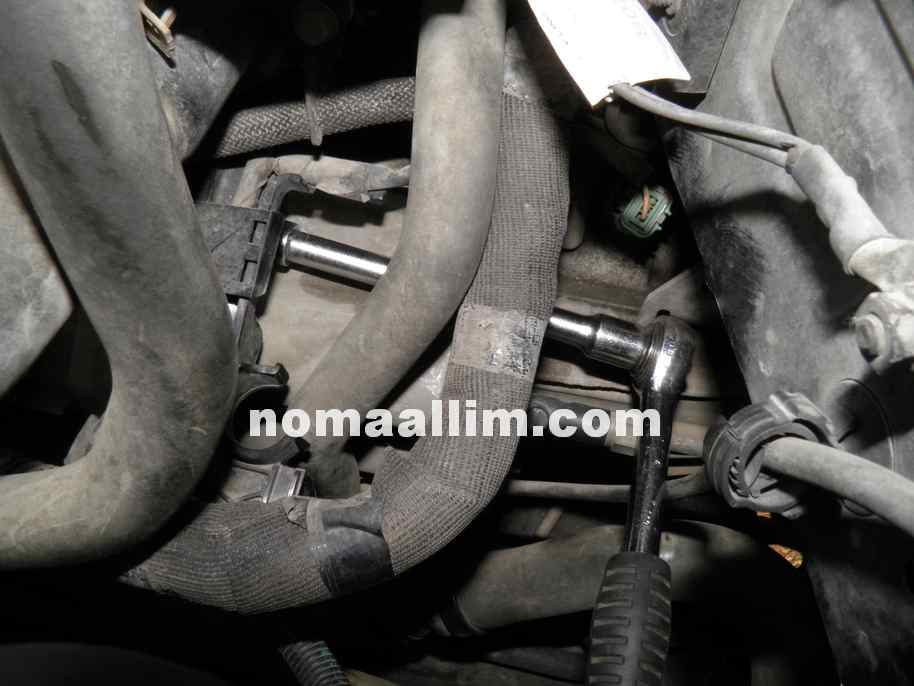
Extend your racthet handle to reach the two bolts that hold the starter motor to the engine.
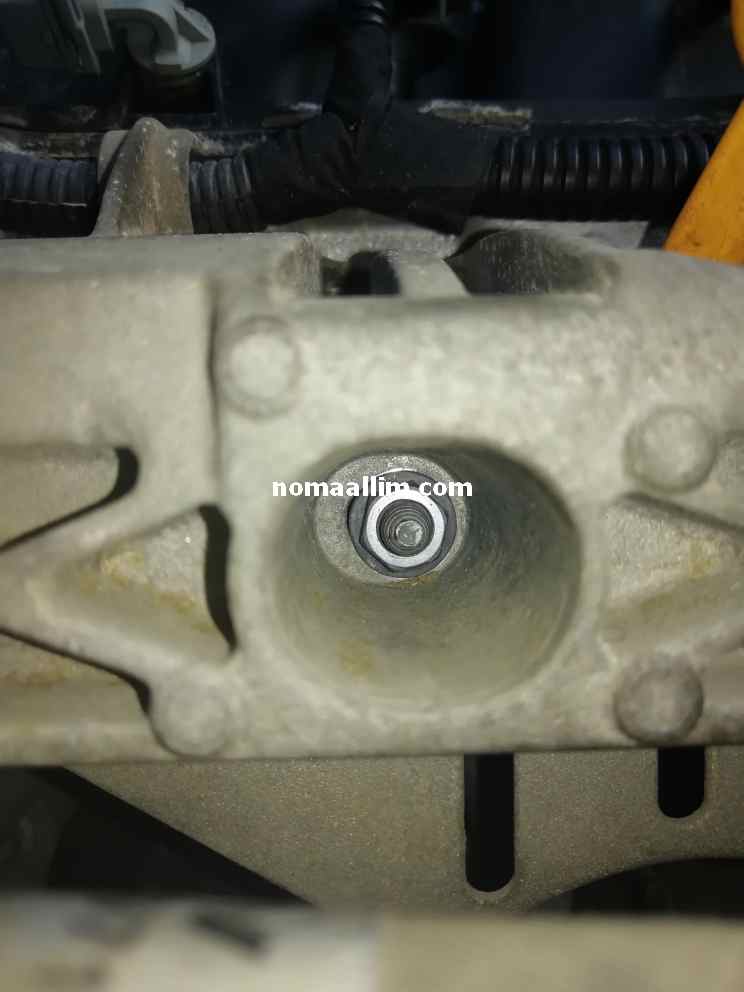
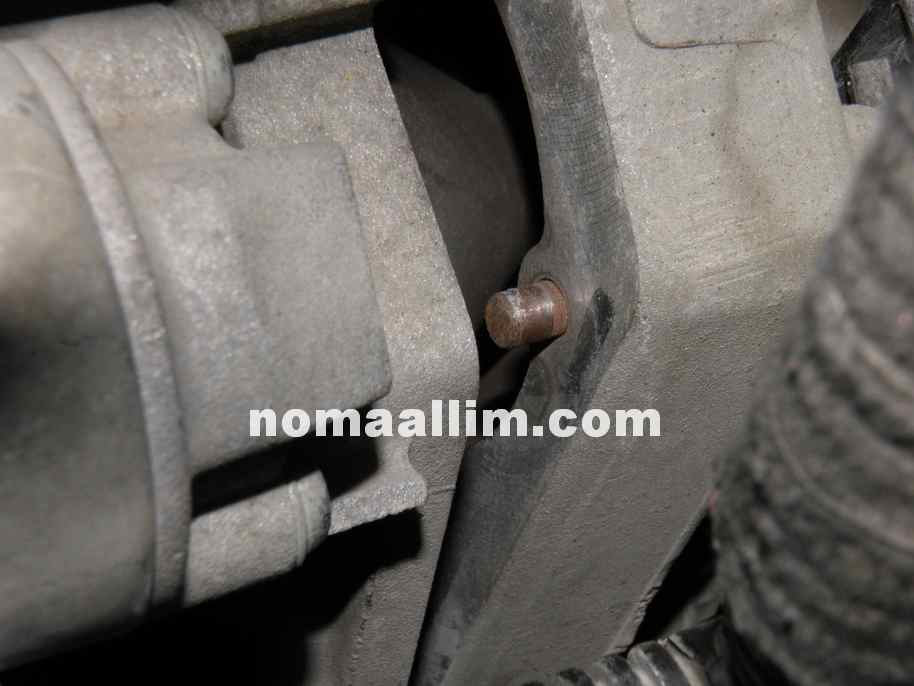
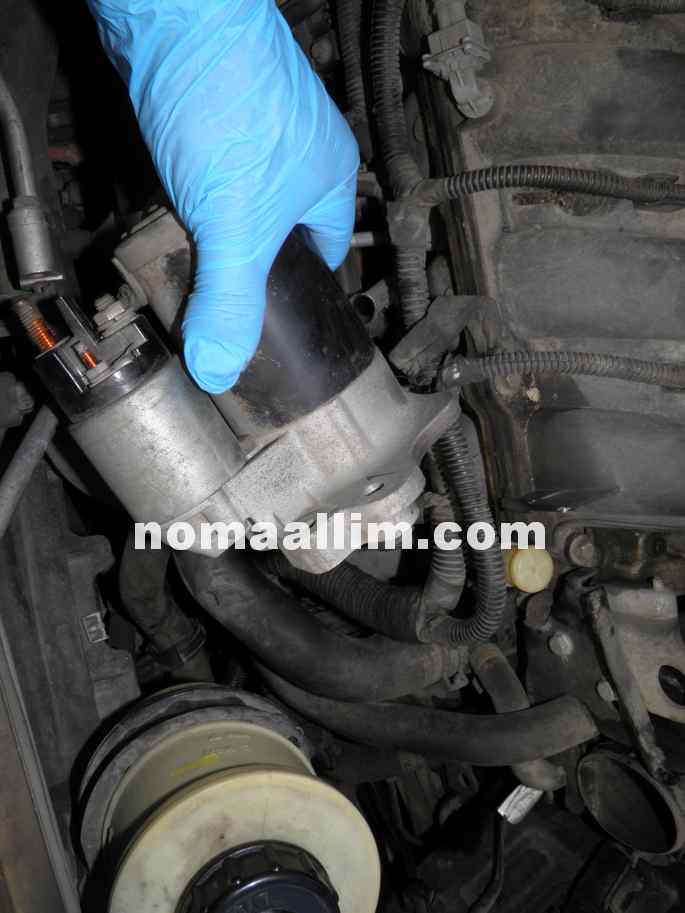
Pull out the starter, you can gently hit it with a piece of wood if needed.
You have to pull it by sliding it out 1cm so it goes out of its guiding cylinders on the gearbox case; see the picture to the right:
Pull out the starter, you can gently hit it with a piece of wood if needed.
You have to pull it by sliding it out 1cm so it goes out of its guiding cylinders on the gearbox case; see the picture to the right:
On most of the cars, the starter bolts are of the same length, or else remember which one goes where so you can easily refit them.
Tilt the starter in a manner to extract it from between the water hoses and electrical harnesses.
Tilt the starter in a manner to extract it from between the water hoses and electrical harnesses.
|
|
|
Refitting a new starter motor to the Dacia Duster
The space below the injection rail is now free and the flywheel is visible along with the toothed ring on which the starter motor pinion (sprocket drive) engages to crank the engine.
Reverse above steps for reassembling a new starter motor.
Reverse above steps for reassembling a new starter motor.