COPYRIGHT WARNING:
All pictures and texts in this web page are the property of nomaallim.com. Any use of any part of those contents without the written consent of nomaallim.com shall be subject to legal procedures as per international and local laws in the concerned country. Using the name "nomaallim" or "nomaallim com" or "nomaallim.com" in the text describing the unauthorized copied content shall not constitute an exception and shall be sanctioned in accordance to the effective laws and proceedings.
All pictures and texts in this web page are the property of nomaallim.com. Any use of any part of those contents without the written consent of nomaallim.com shall be subject to legal procedures as per international and local laws in the concerned country. Using the name "nomaallim" or "nomaallim com" or "nomaallim.com" in the text describing the unauthorized copied content shall not constitute an exception and shall be sanctioned in accordance to the effective laws and proceedings.
BEFORE YOU START
|
DISCLAIMER:
Our pictorials are of informative nature and do illustrate works carried out by ourselves at our own premises for our own use and satisfaction. Readers who envisage to carry out similar works inspired by the below method shall do this at their own risks and liability. |
1- Understanding the principle and list of vehicles to which it applies
A timing belt lets the camshaft or camshafts if your engine has 2 rotate in a synchronized manner with the crankshaft.
The camshafts are the ones actuating the valves opening and closing while the crankshaft moves the pistons.
The below pictorial illustrates the method advised by the manufacturer including the use of specific tools with some slight modifications to make things easier and avoid mishaps.
The camshafts are the ones actuating the valves opening and closing while the crankshaft moves the pistons.
The below pictorial illustrates the method advised by the manufacturer including the use of specific tools with some slight modifications to make things easier and avoid mishaps.
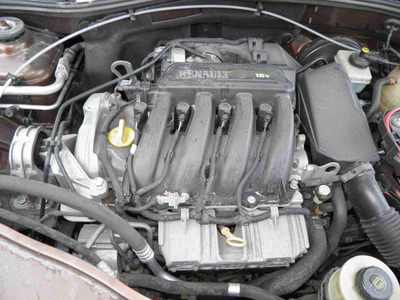
This pictorial applies to the Renault K4M 1.6 16v engine found on:
- Dacia or Renault Sandero 1.6 16V,
- Dacia or Renault Logan & Logan pick-up 1.6 16V
- Nissan NP200 1.6 16V
- Renault Symbol 1.6 16V
- Dacia or Renault Duster 1.6 16V
- Renault Kangoo 1.6 16V
- Dacia Dokker 1.6 16V
- Nissan Kubistar 1.6 16V
- Renault Clio 2 1.6 16V
- Renault Megane 2 and Megane 3 1.6 16V
- Renault Scenic 2 1.6 16V
- Renault Laguna 1 and Laguna 2 1.6 16V
- Lada Largus 1.6 16V
2- Preparatory works
|
BEFORE THE START OF THE WORKS:
|
|
|
BEFORE LIFTING THE VEHICLE:
|
|
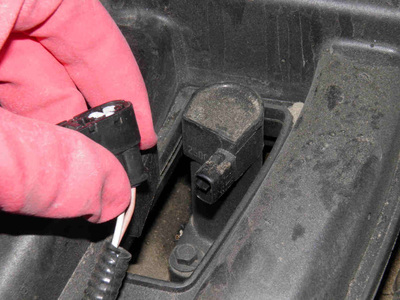
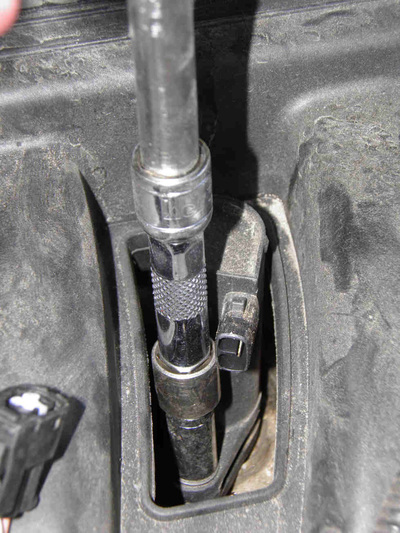
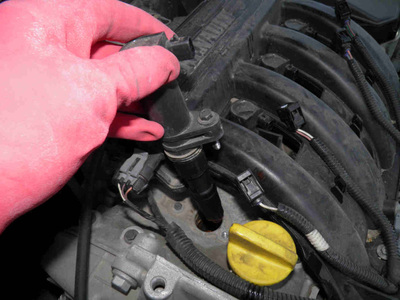
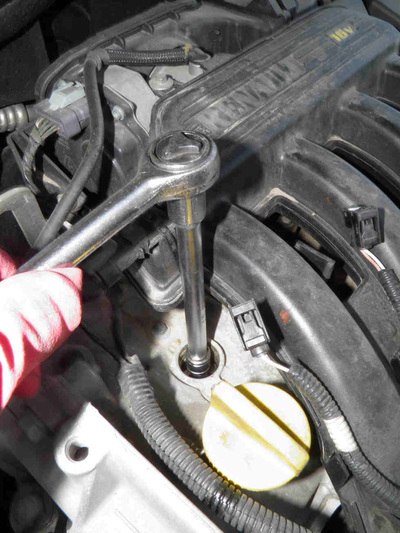
Remove all 4 COP's and loosen the spark plugs (left to right) to later facilitate the engine rotation by hand
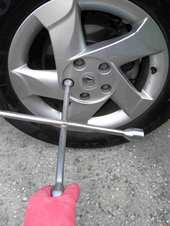
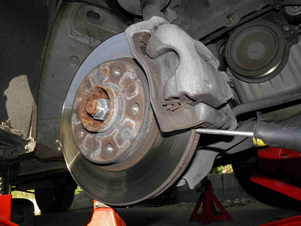
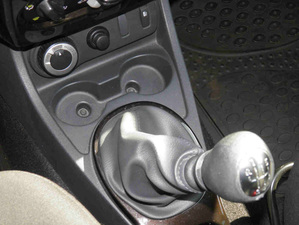
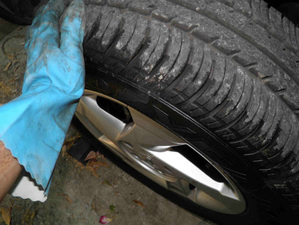
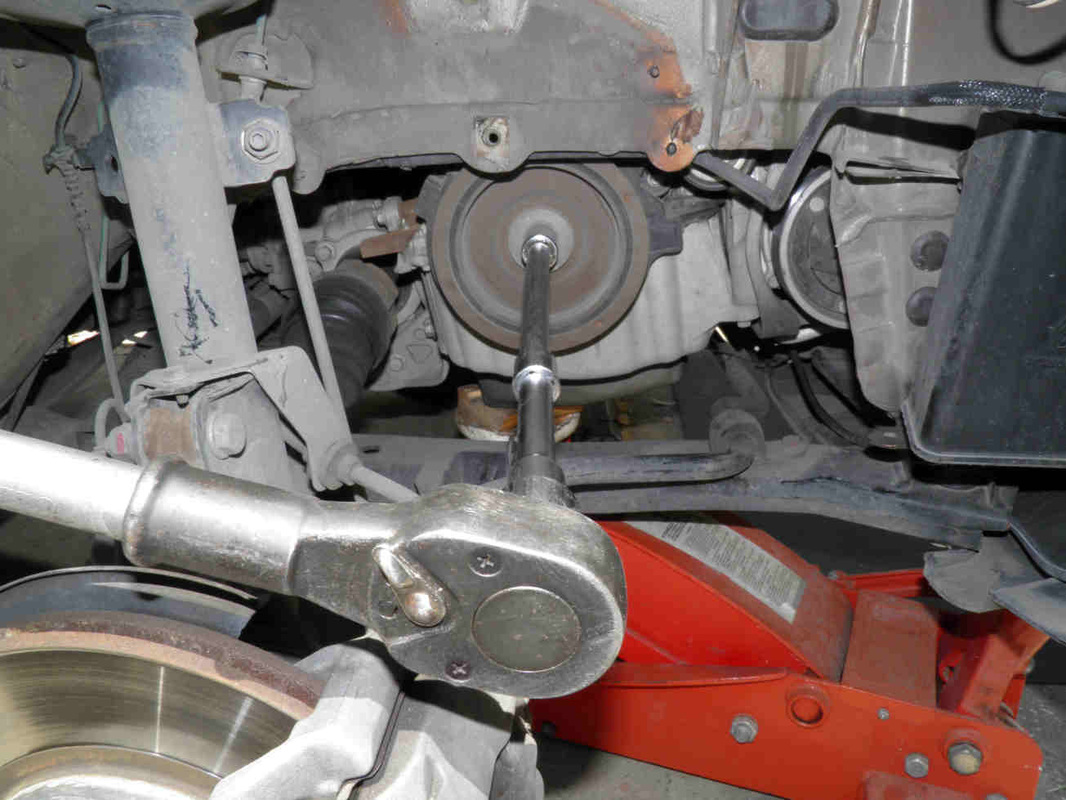
Now put the 1st or rear gear and slacken the bolt of the crankshaft pulley. You can also do this later but it is much easier while all wheels are still on the ground. Also loosen the right wheel bolts after slightly lifting the vehicle with the hydraulic jack, just enough to relieve the wheel from some weight.
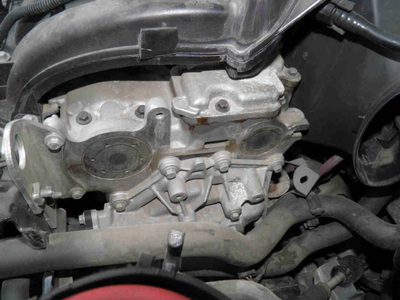
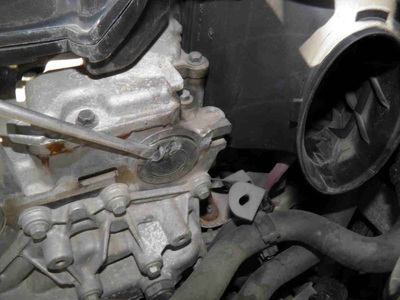
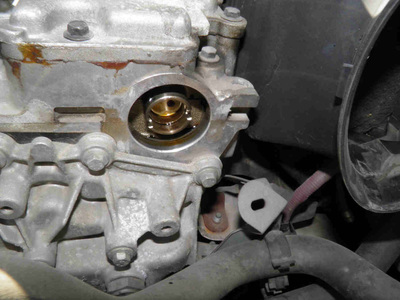
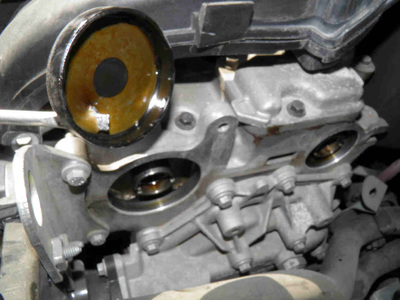
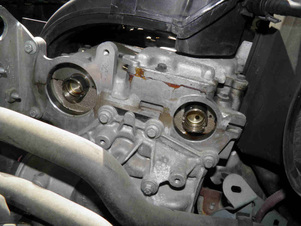
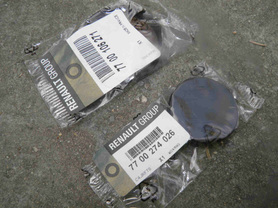
Take out the plugs of the camshafts ends on the cylinder head. Use a slotted screwdriver and a plastic hammer:
|
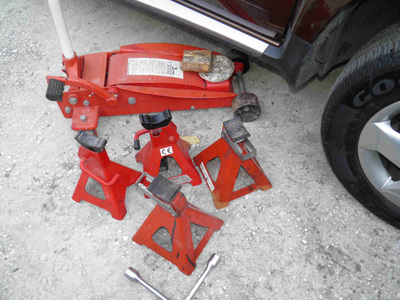
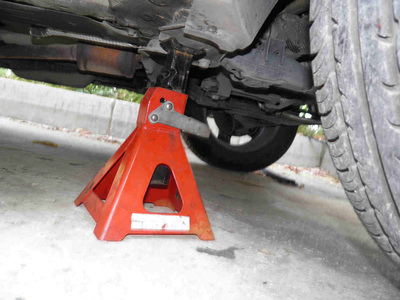
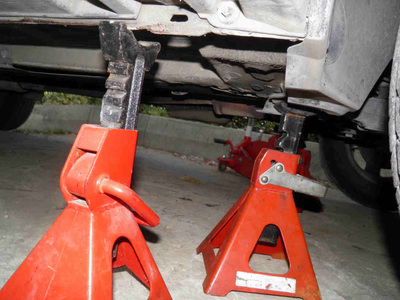
LIFT THE VEHICLE
|
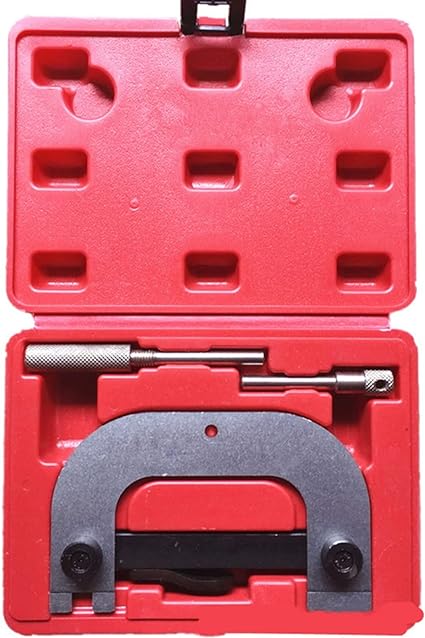
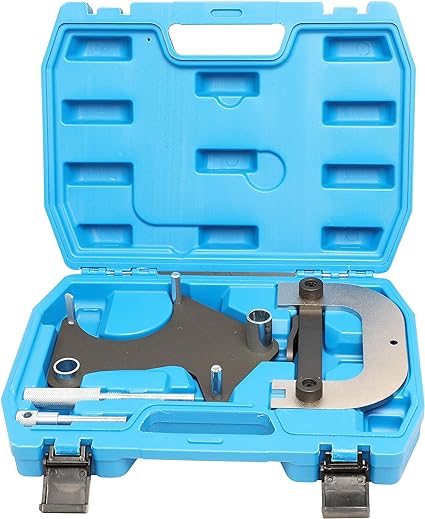
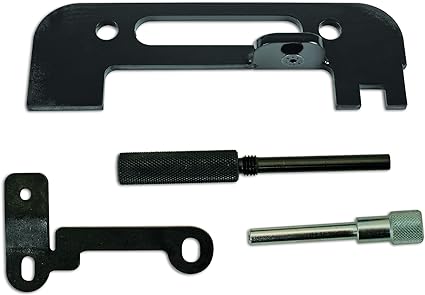
You may buy your K4m engine tools from our partners' stores, pls make sure of vehicle compatibility:
|
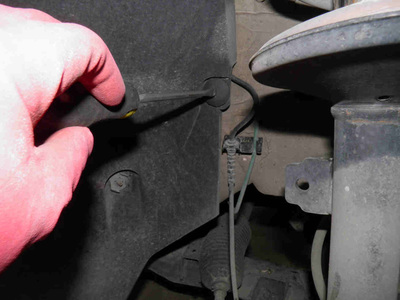
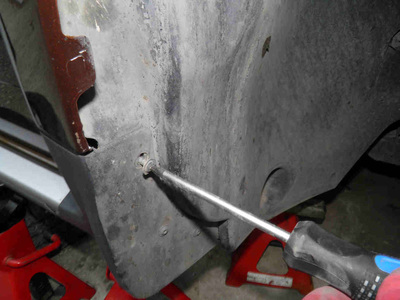
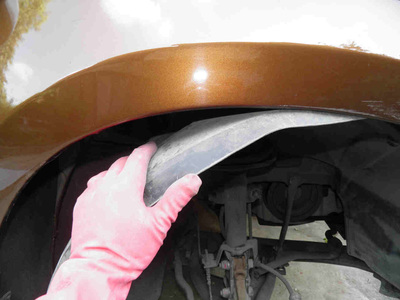
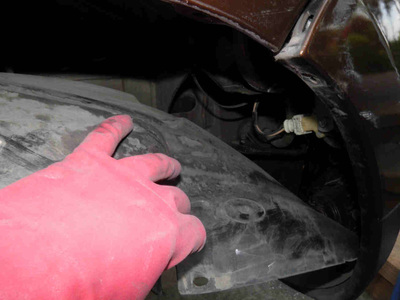
Carefully remove the inner fender mudguard. Be patient when tearing off the plastic clips that hold it. You might need to replace them with new ones.
Now:
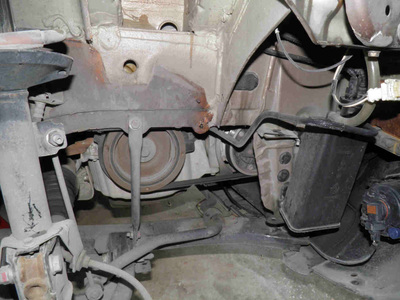
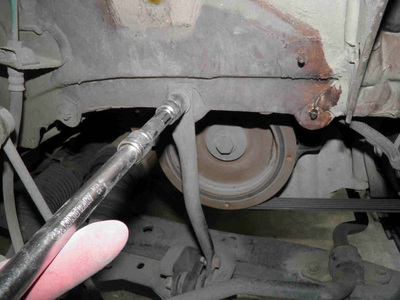
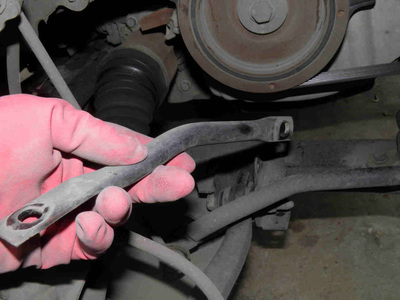
- Remove the tie-bar
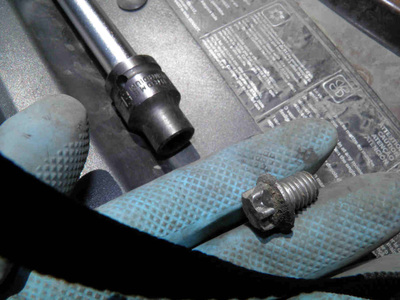
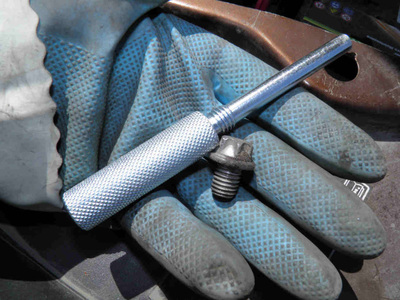
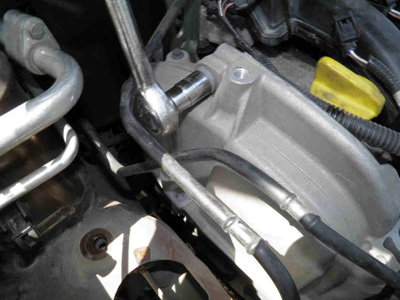
- Find and remove the plug screw where you will later fit the TDC pin.
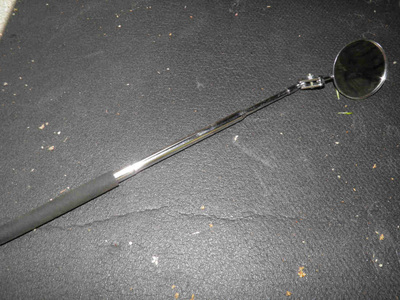
- You would need a mirror tool to find this plug. It is located to the bottom of the engine block and nearby the gearbox i.e. where the flywheel is.
- Compare it to the pin you purchased to make sure the latter will fit in its threaded hole
3- Timing belt removal
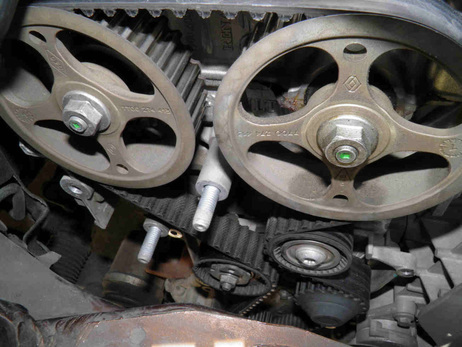
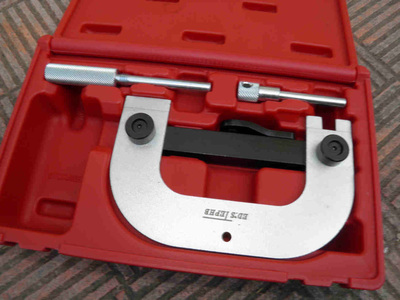
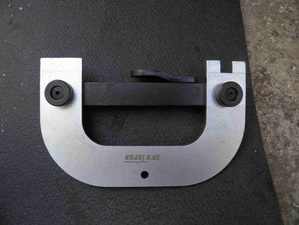
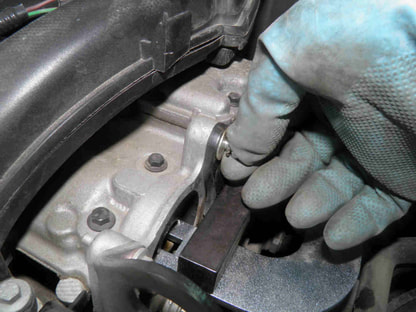
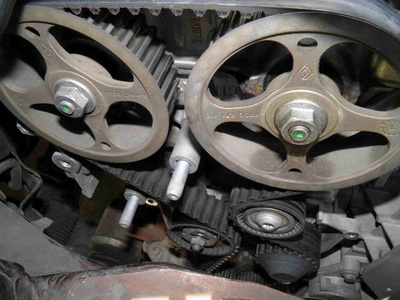
Before removing the belt, you need to tie the camshafts ends together using the specific tool.
|
4- Keep turning until they are aligned horizontally with the grooves lower than the cylinder head cover line.
|
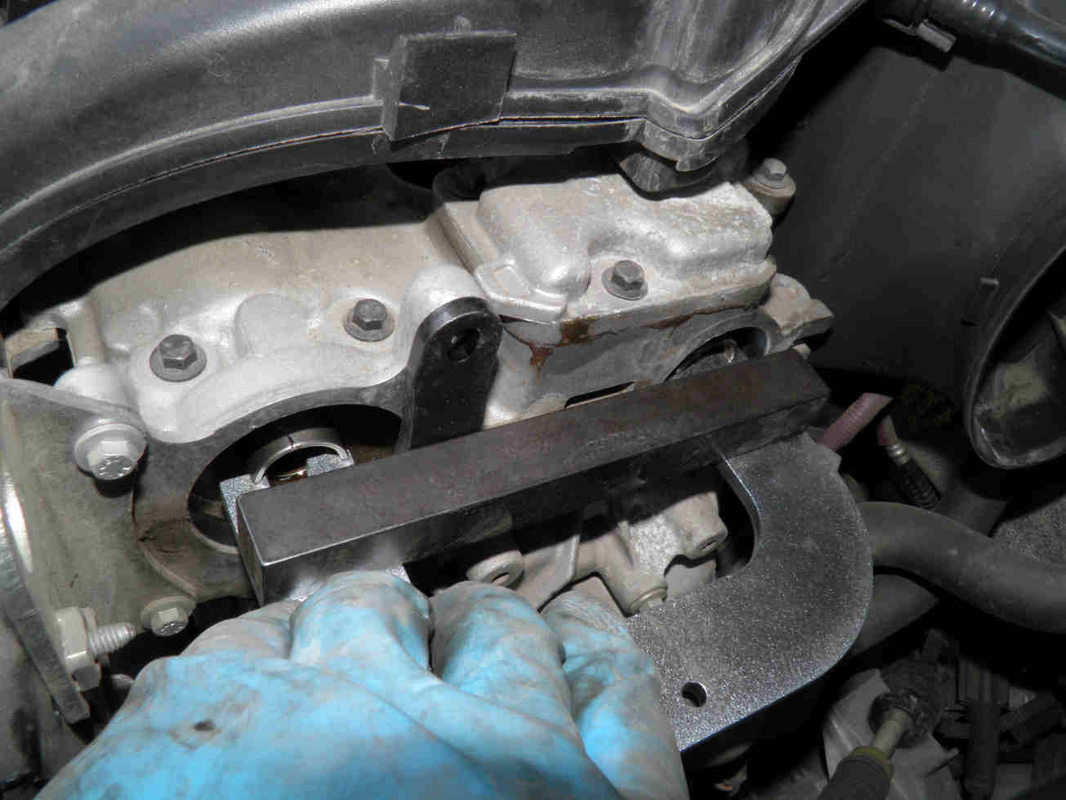
5- You will now need the blocking tool.
|
6- Gently try inserting it into the grooves. Do not force, do not hit it with any tool. It should go by a simple bare hand push. If not rotate just a little the engine by succinct movements until it goes in.
|
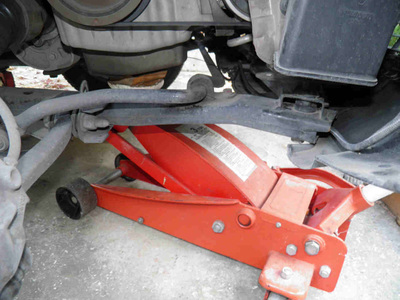
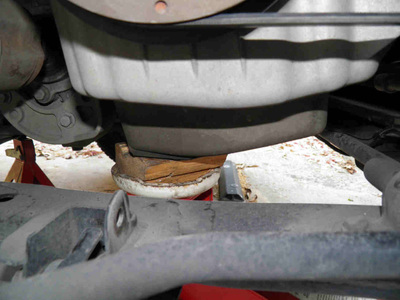
Use the hydraulic jack to support the engine and make sure to have a piece of wood between its plate and the oil pan.
DO NOT USE a fixed support or the manufacturer's tool because you will need to raise and lower the engine for an easier access to the various bolts when removing and refitting the belt.
DO NOT USE a fixed support or the manufacturer's tool because you will need to raise and lower the engine for an easier access to the various bolts when removing and refitting the belt.
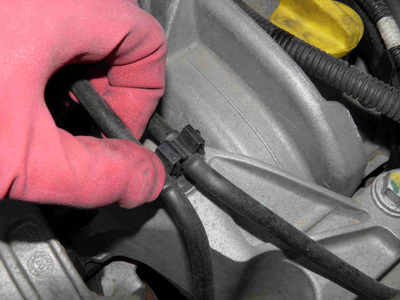
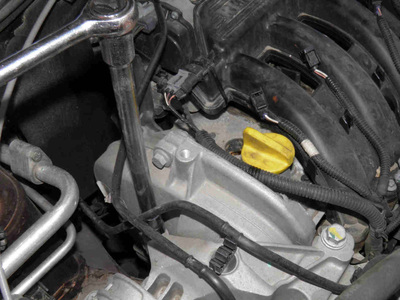
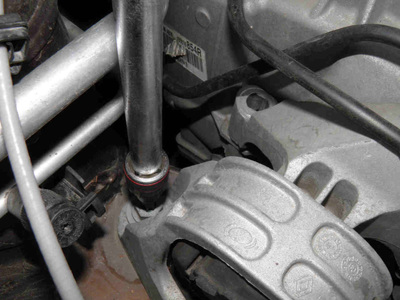
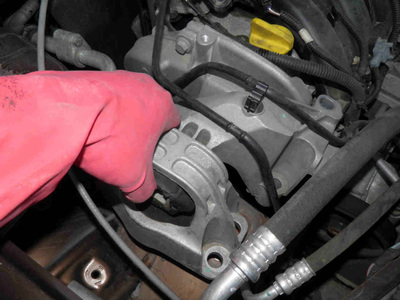
Remove the right power-train support:
- Un-clip the fuel lines
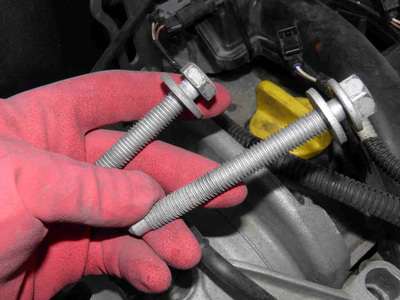
- Loosen the screws of the support on the engine
- Note well that they are not of equal length
- Loosen the ones of the support on the vehicle and take it out
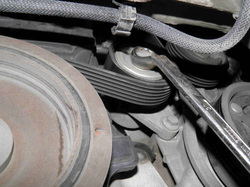
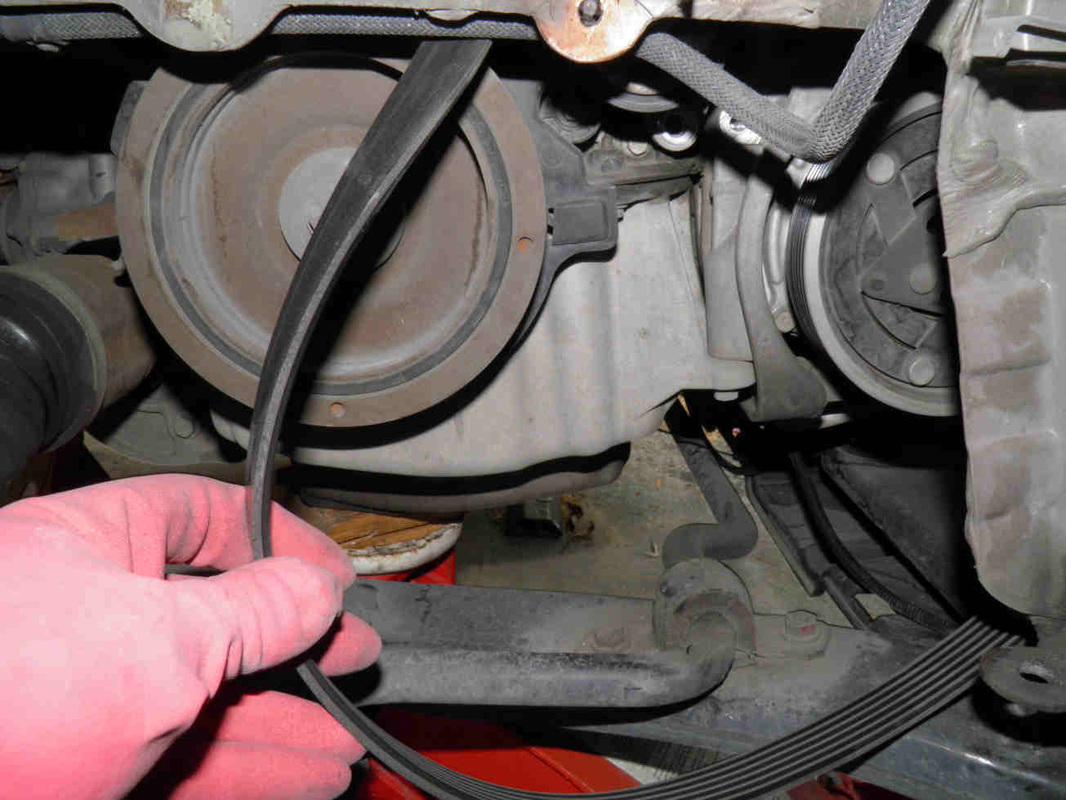
Now the accessory belt and its crankshaft mounted pulley:
|
1- Rotate the accessory belt tensioner clockwise with one hand...
|
2- ...While removing the belt with the other.
|
3- if you did not loosen the crankshaft pulley before lifting the vehicle, insert a flat screwdriver in any opening from where you can see the flywheel to block the crankshaft.
|
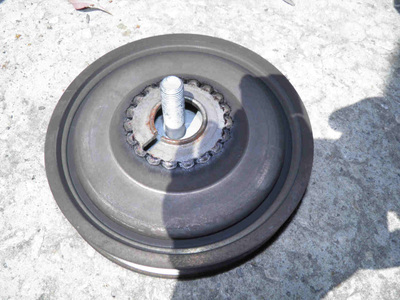
4- Slacken the crankshaft pulley bolt and take both out.
|
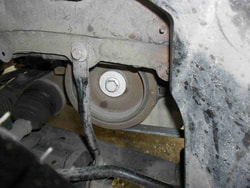
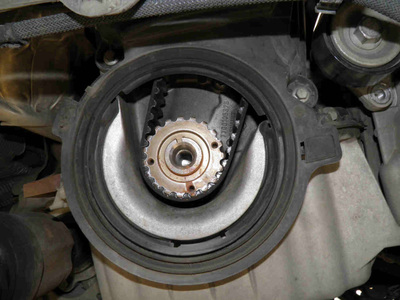
The crankshaft sprocket is now visible. Its groove points at 12 o'clock (compared to engine axis. the engine is usually back inclined so it looks like 11 o'clock compared to the horizontal line). This will be the only timing mark of the Renault 1.6 16V engine used for replacing the timing belt since we're not dismantling and rebuilding the engine here, just replacing the timing belt and setting the timing.
|
|
|
Time now to remove both lower and upper timing belt covers:
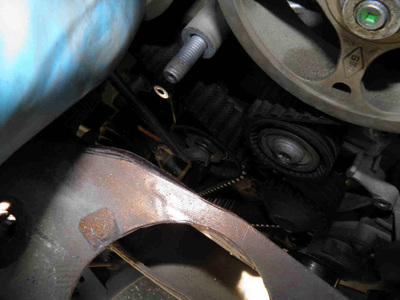
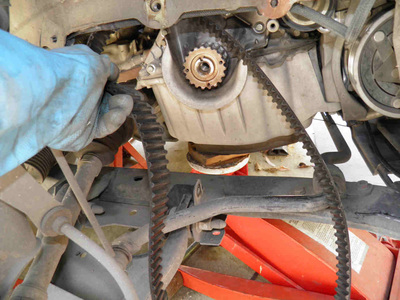
Loosen the tensioner nut, this will release the tension from the belt, take it out, along with the belt and the belt wheel opposite the tensioner:
4- Refitting
Make sure to replace the below components:
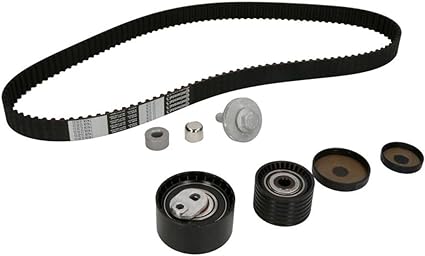
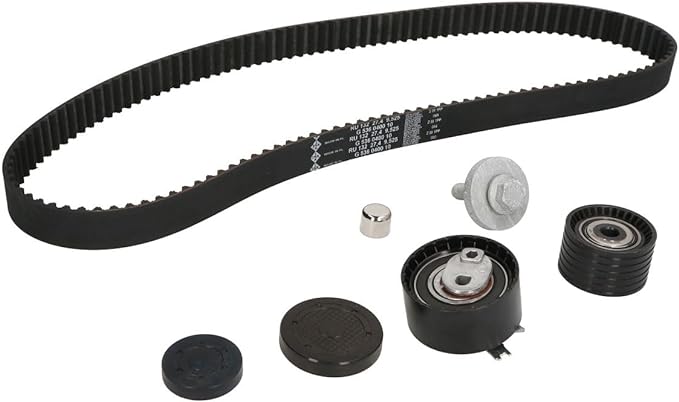
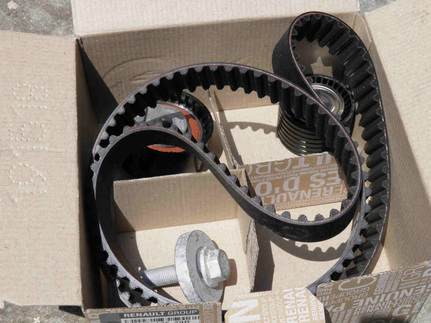
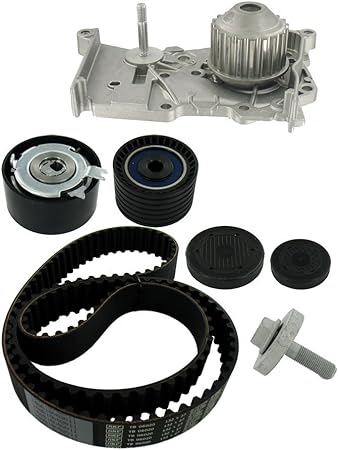
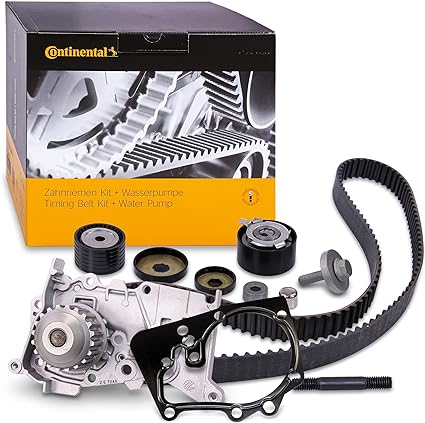
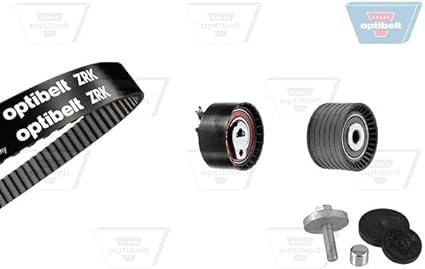
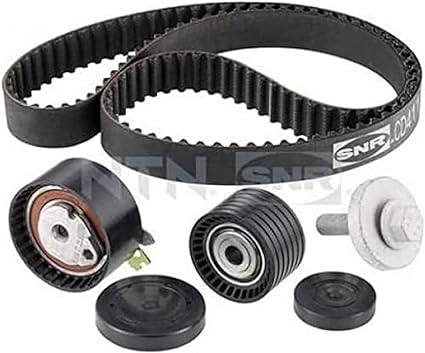
- Belt tensioning kit usually comprising the belt, the tensioner, the opposite wheel, and a new crankshaft pulley bolt. If you're in a country where the belt changing interval is of 60,000 Km and you are replacing it at this mileage, do not replace the water pump. You will fit a new water pump upon the 120,000 Km replacement.
- Accessory belt
- Cylinder head plugs at camshaft ends
You need first to make sure the crankshaft is at its synchronized position.
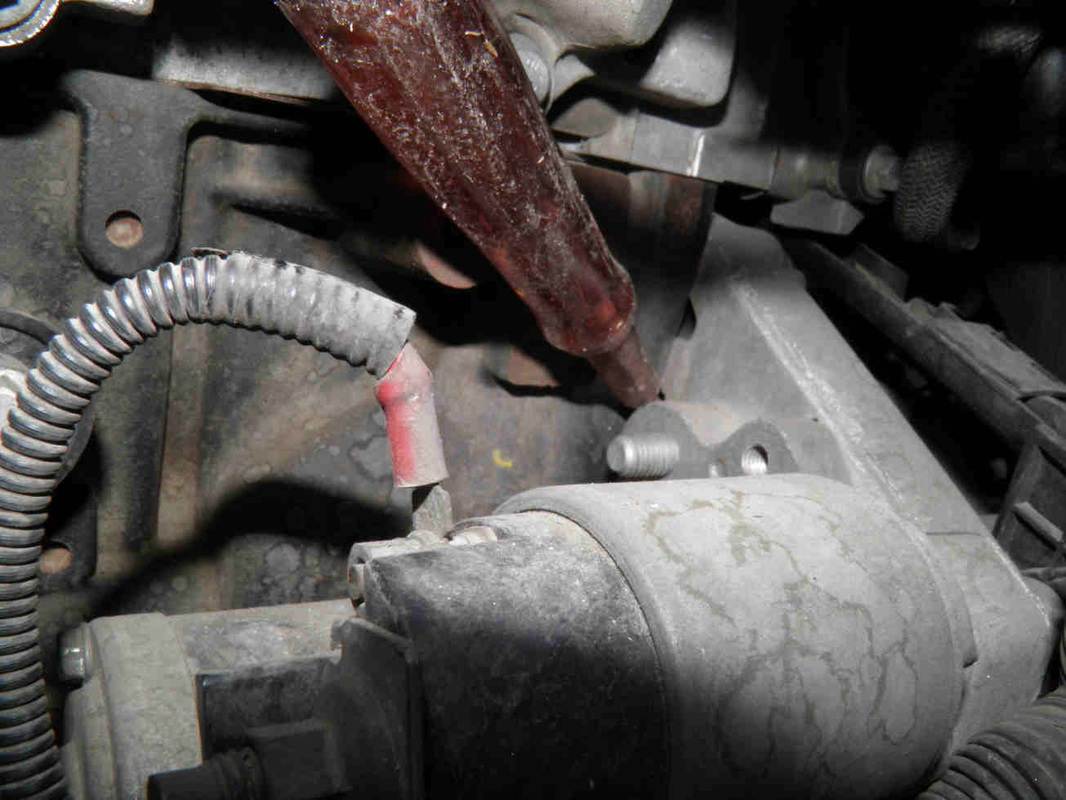
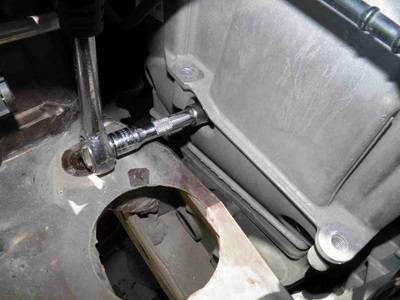
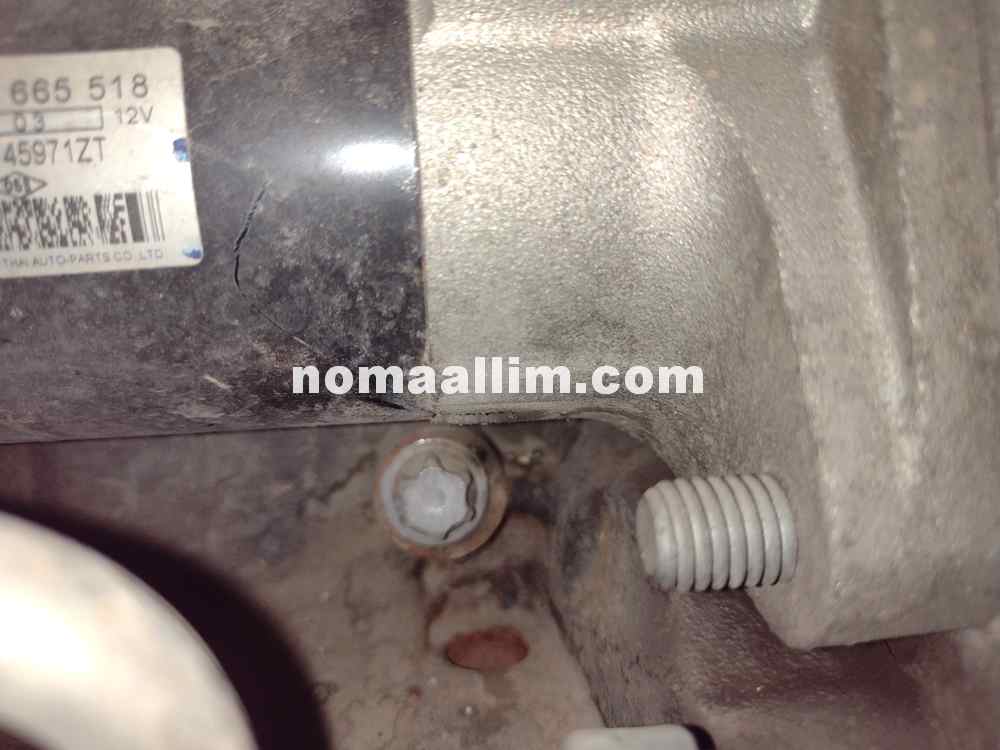
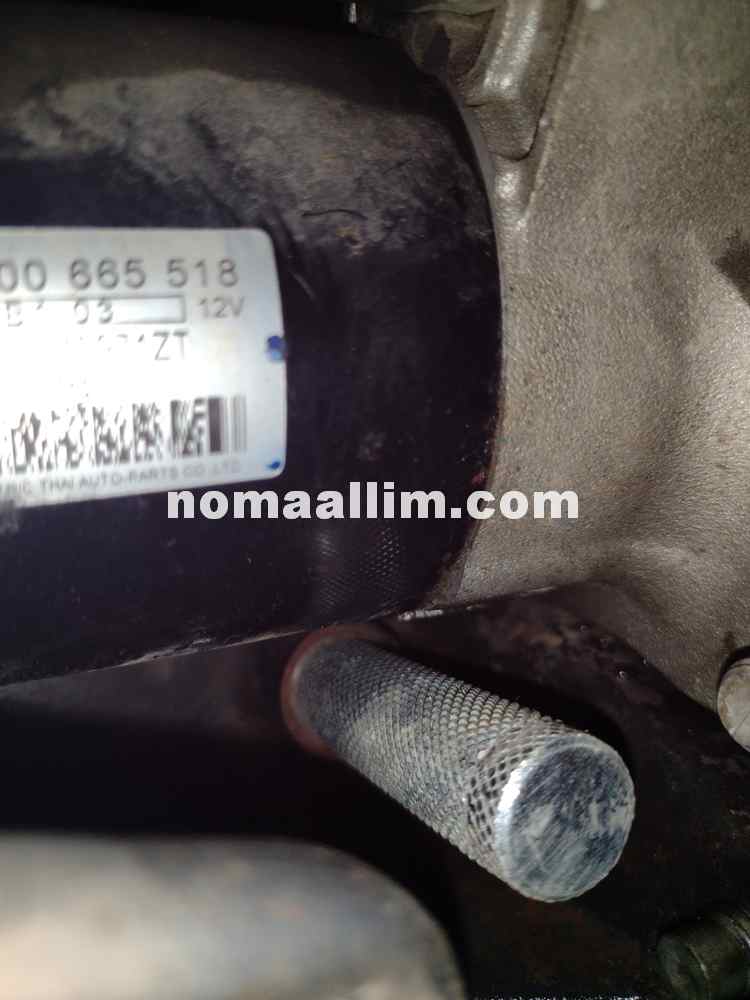
- Remove the bolt beneath the engine starter as shown in the left picture and fit the TDC pin in its hole and turn it by hand until it touches the engine block. Do not tighten it with a tool.
- Then gently rotate the engine using the left wheel until it stops. You will hear a metallic noise generated by the crankshaft touching the pin.
Take out the crankshaft sprocket and clean it with a degreaser. Do the same for the inner side of the pulley.
Refit the sprocket and the timing belt and proceed with the tensioning procedure.
When inserting the new tensioner, make sure its small leg on the back goes into its intended groove on engine block.
Do not tighten the tensioner nut with a tool, just by hand and leave it a bit loose.
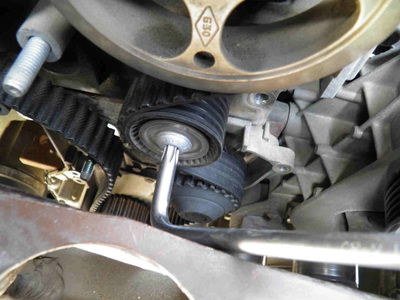
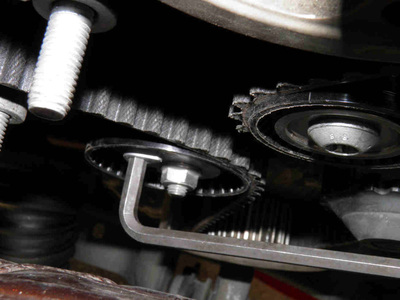
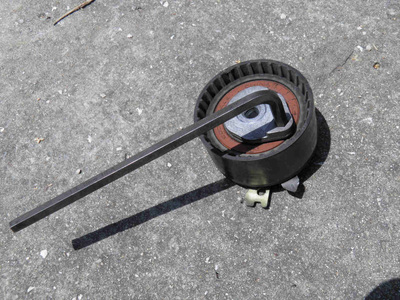
Use the allen key as shown below to tension the belt bringing the arrow within the U and immediately tighten the tensioner nut.
|
|
|
Now proceed as follows:
- Remove the TDC pin.
- Remove the camshafts immobilizing tool.
- Rotate the engine by hand 2 complete turns
- Check the tensioner setting did not change.
- Align the camshafts sprocket grooves again and try to fit the blocking tool. It should go in easily without forcing. If not, repeat all refitting steps from beginning.
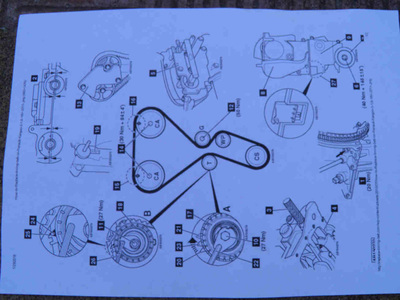
- Reverse all dismantling steps and tighten all to the recommended torques mentioned in the procedure you had downloaded
- Fit new cylinder head plugs
5- Final checklist
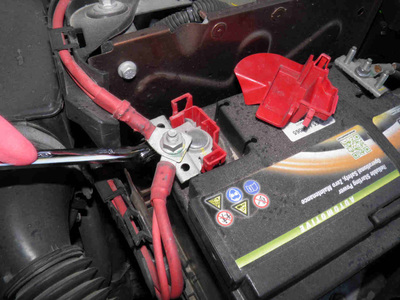
- Connect the battery and wait a couple of minutes
- Turn on the engine and immediately check there is no abnormal noise
- Let it idle for 2 minutes at least
- Turn it off and check the accessory belt tension
- Start it again, bring it progressively to 4000rpm and turn it off.
- Refit the right wheel and lower the vehicle
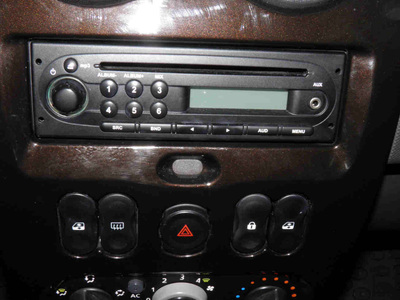
- Enter your radio code (1,2,3,4 used repeatedly to reach the number of each respective digit, 6 to confirm and enter the code)

