COPYRIGHT WARNING:
All pictures and texts in this web page are the property of nomaallim.com. Any use of any part of those contents without the written consent of nomaallim.com shall be subject to legal procedures as per international and local laws in the concerned country. Using the name "nomaallim" or "nomaallim com" or "nomaallim.com" in the text describing the unauthorized copied content shall not constitute an exception and shall be sanctioned in accordance to the effective laws and proceedings.
All pictures and texts in this web page are the property of nomaallim.com. Any use of any part of those contents without the written consent of nomaallim.com shall be subject to legal procedures as per international and local laws in the concerned country. Using the name "nomaallim" or "nomaallim com" or "nomaallim.com" in the text describing the unauthorized copied content shall not constitute an exception and shall be sanctioned in accordance to the effective laws and proceedings.
BEFORE YOU START
|
|
DISCLAIMER:
Our pictorials are of informative nature and do illustrate works carried out by ourselves at our own premises for our own use and satisfaction.
Readers who envisage to carry out similar works inspired by the below method shall do this at their own risks and liability.
Our pictorials are of informative nature and do illustrate works carried out by ourselves at our own premises for our own use and satisfaction.
Readers who envisage to carry out similar works inspired by the below method shall do this at their own risks and liability.
Replacing the distributor cap
|
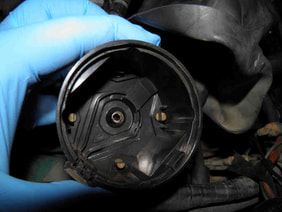
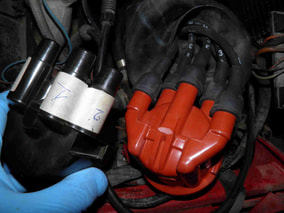
1- Unclip the cap and look inside. A central carbon cylinder is missing in this one but this is unusual. In most cases the 4 contacts are worn and corroded which require the cap replacement.
|
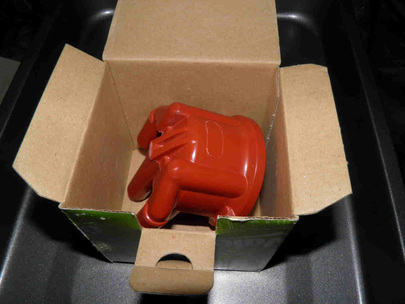
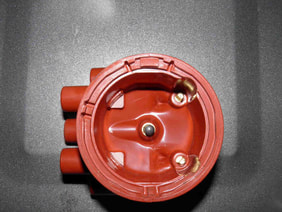
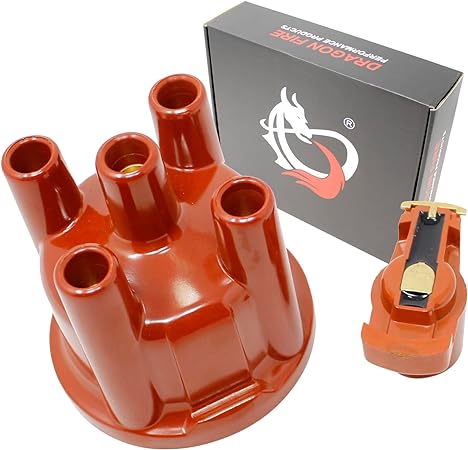
2- Get a new cap that matches yours. You can see in this one the central carbon contact that went missing.
|
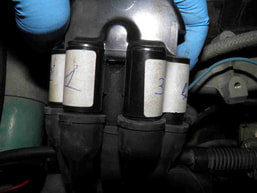
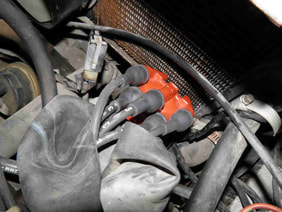
3- Mark the engine cylinder numbers on each terminal prior to removing the wires. Cylinder No1 is the one to the gearbox side. Do so by following the wires and seeing to which cylinder they connect.
|
|
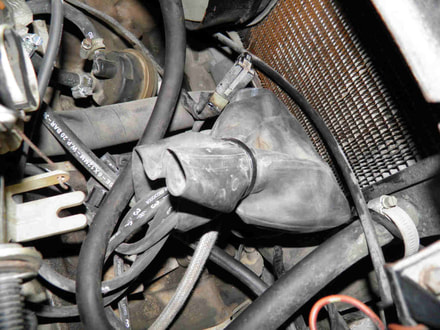
4- Transpose them one by one to the new cap. Make sure to insert them well and fit the rubber protector.
|
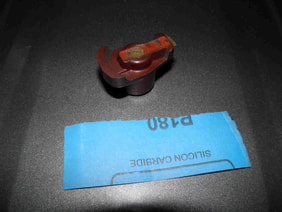
5- Use a grit 150 or more sand paper on the rotor or replace it if its edge contact is worn, re-assemble the cap and proceed to the timing tuning.
|
|
Distributor complete replacement
|
|
|
See also...
|
|
|

