COPYRIGHT WARNING:
All pictures and texts in this web page are the property of nomaallim.com. Any use of any part of those contents without the written consent of nomaallim.com shall be subject to legal procedures as per international and local laws in the concerned country. Using the name "nomaallim" or "nomaallim com" or "nomaallim.com" in the text describing the unauthorized copied content shall not constitute an exception and shall be sanctioned in accordance to the effective laws and proceedings.
All pictures and texts in this web page are the property of nomaallim.com. Any use of any part of those contents without the written consent of nomaallim.com shall be subject to legal procedures as per international and local laws in the concerned country. Using the name "nomaallim" or "nomaallim com" or "nomaallim.com" in the text describing the unauthorized copied content shall not constitute an exception and shall be sanctioned in accordance to the effective laws and proceedings.
BEFORE YOU START
DISCLAIMER:
Our pictorials are of informative nature and do illustrate works carried out by ourselves at our own premises for our own use and satisfaction. Readers who envisage to carry out similar works inspired by the below method shall do this at their own risks and liability. |
|
Removing the defective radiator
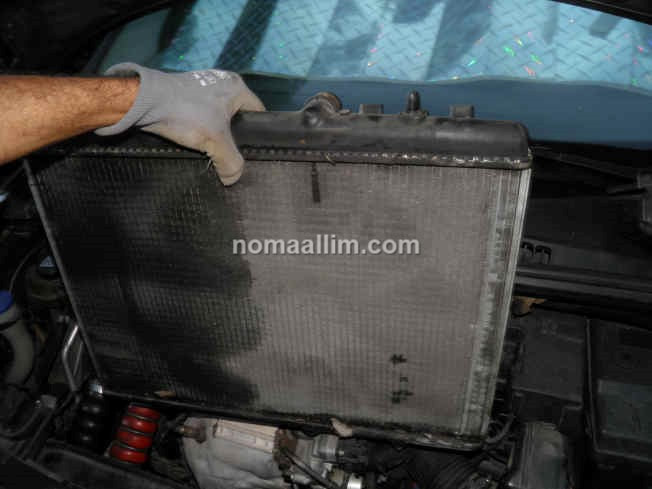
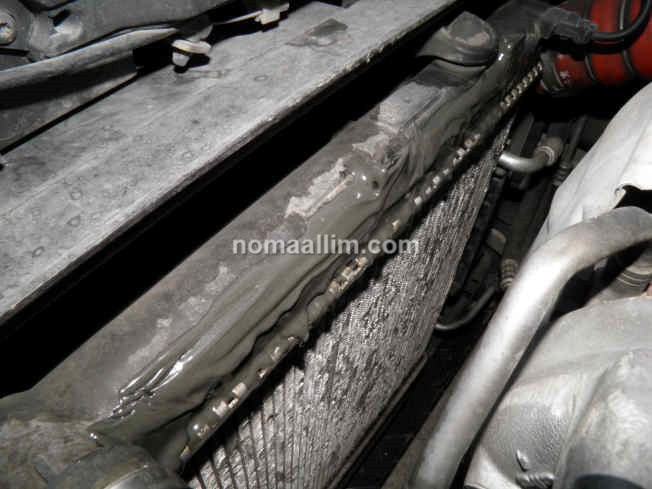
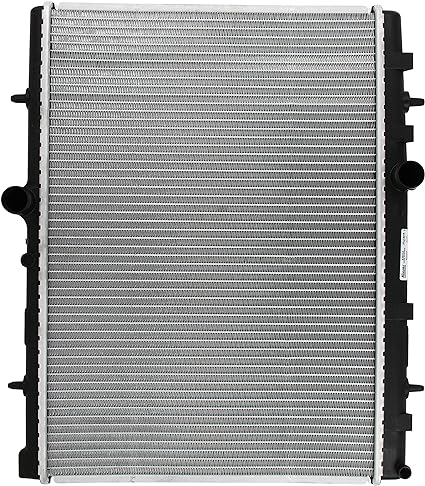
This radiator had been temporarily fixed due to ageing plastics that ended up showing a wide crack leaking coolant and coolant vapors.
Replacing the radiator remains the cheapest solution since a new radiator of a reputed make costs a maximum of 100$.
It is also a quite fast intervention for experienced DIYers who can finish the job in less than an hour (and up to 2 hours if you have no experience).
The radiator replacement requires refilling and bleeding the coolant circuit.
See our below pictorial for details.
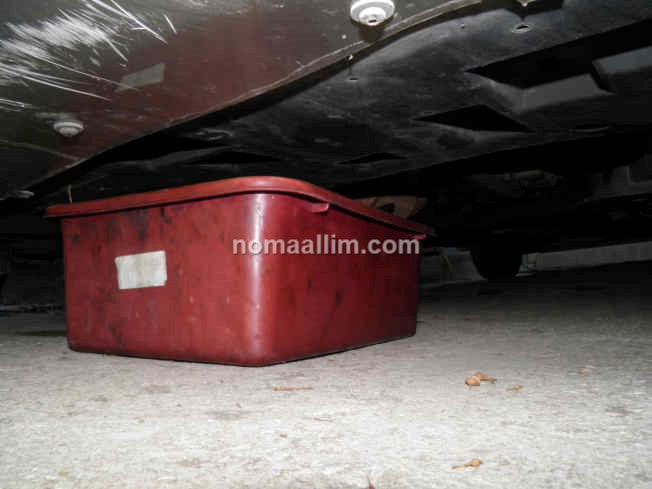
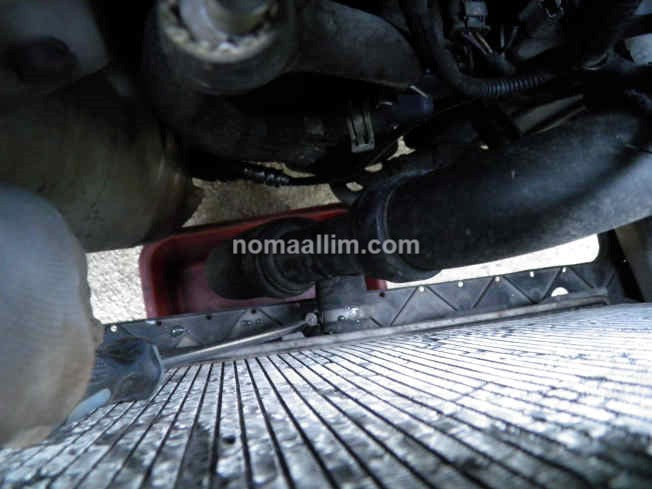
Place an empty bucket below the lower radiator hose, loosen and take out the hose in order to let the coolant drain.
Open the expansion tank cap so coolant drains properly.
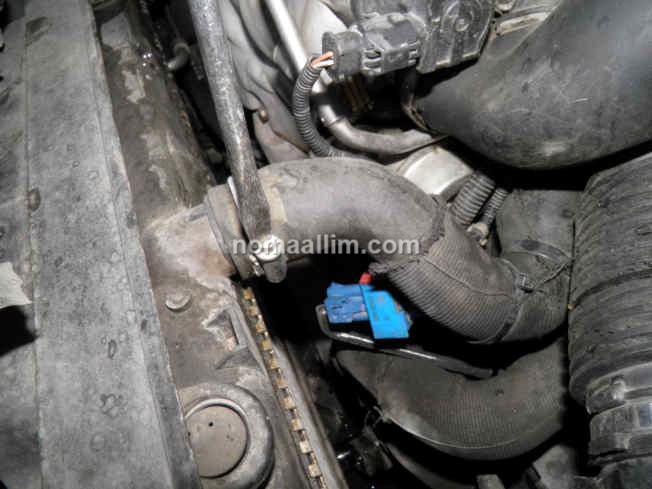
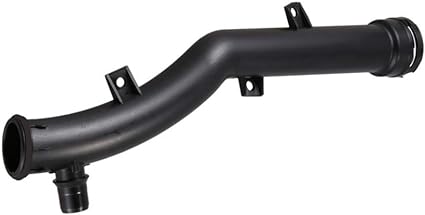
Loosen the upper radiator hose fixing clamp and pull that hose out of the radiator connecting outlet.
Open the expansion tank cap so coolant drains properly.
Loosen the upper radiator hose fixing clamp and pull that hose out of the radiator connecting outlet.
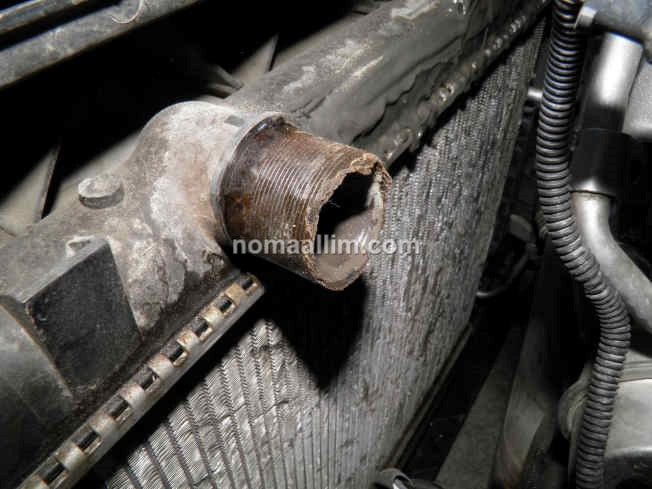
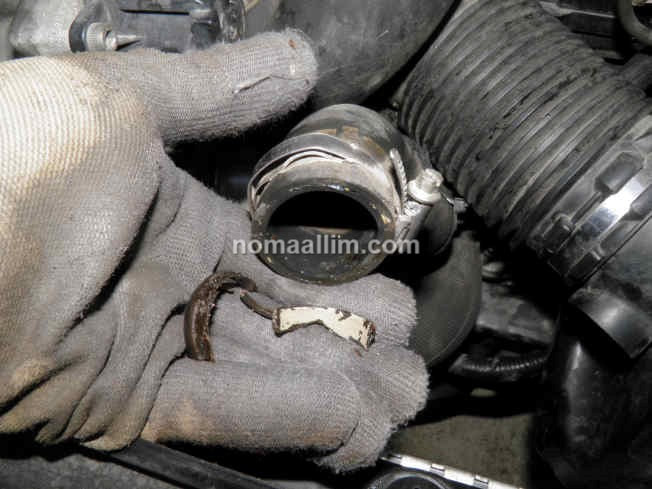
If the upper radiator outlet is broken as shown in the left picture, make sure to collect all debris from the hose (right).
Pull out the expansion tank hose.
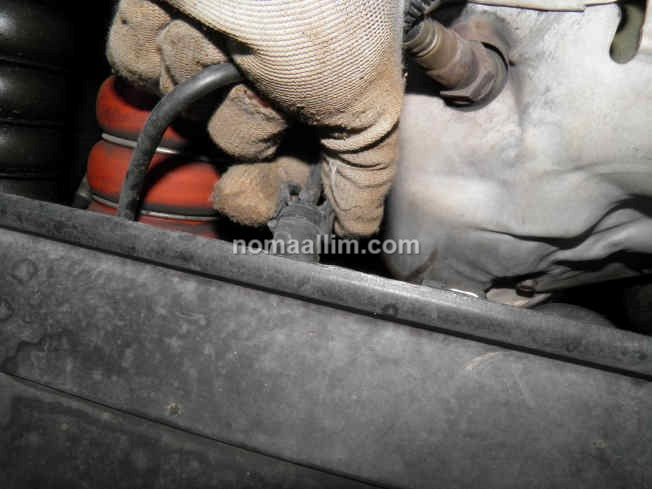
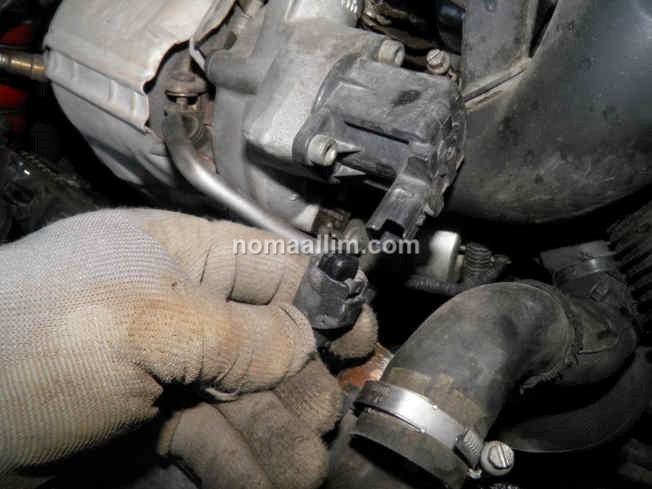
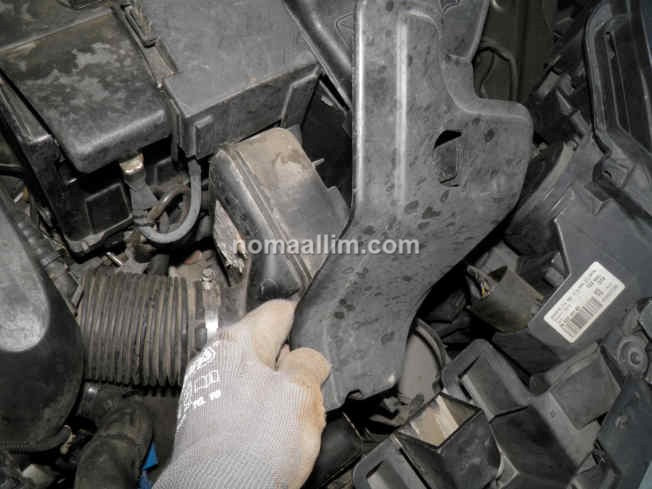
In the case of this Peugeot 5008, it is also recommended to remove the turbo solenoid valve connector and the resonator box deflector to later facilitate the extraction pf the radiator. Do the same on your vehicle by removing whatever could later obstruct the removal of the radiator.
In the case of this Peugeot 5008, it is also recommended to remove the turbo solenoid valve connector and the resonator box deflector to later facilitate the extraction pf the radiator. Do the same on your vehicle by removing whatever could later obstruct the removal of the radiator.
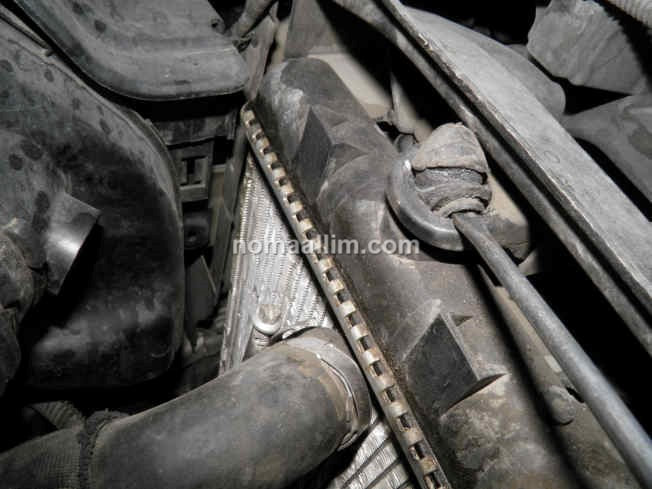
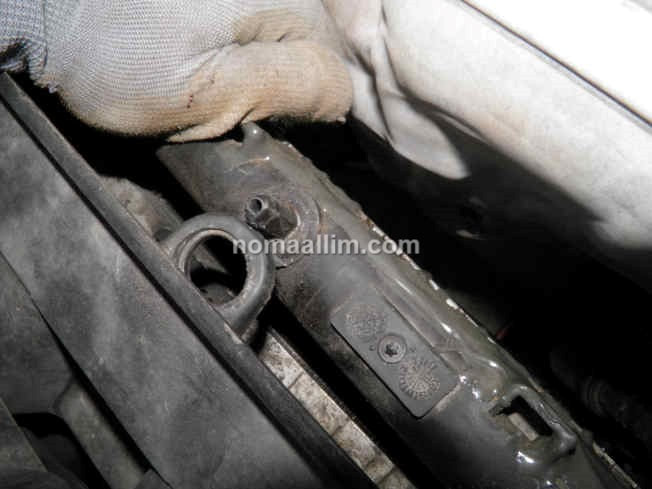
Radiators are not held by any screw or bolt.
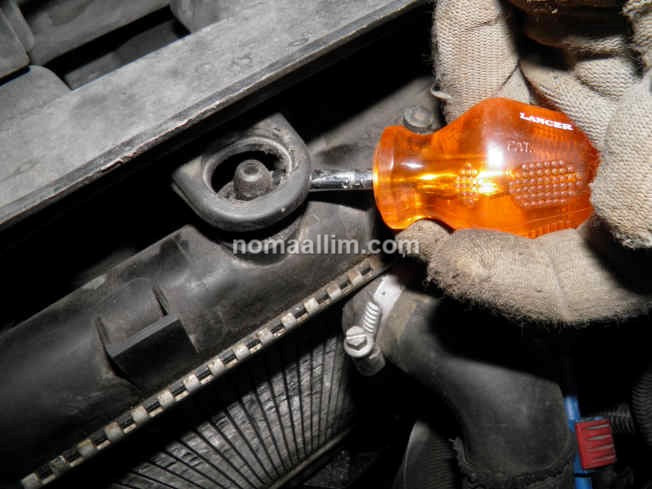
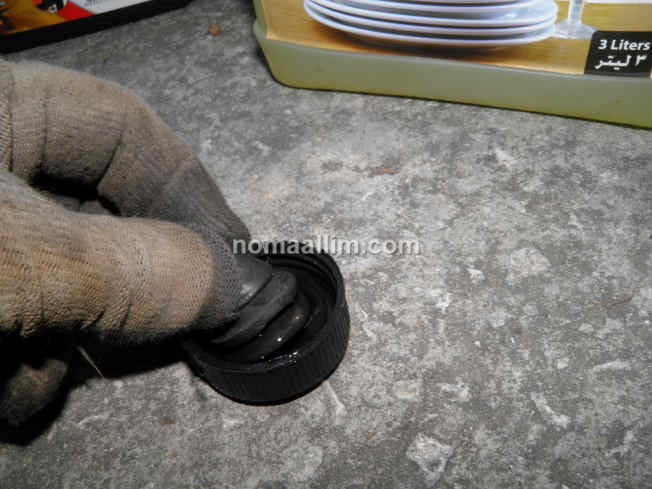
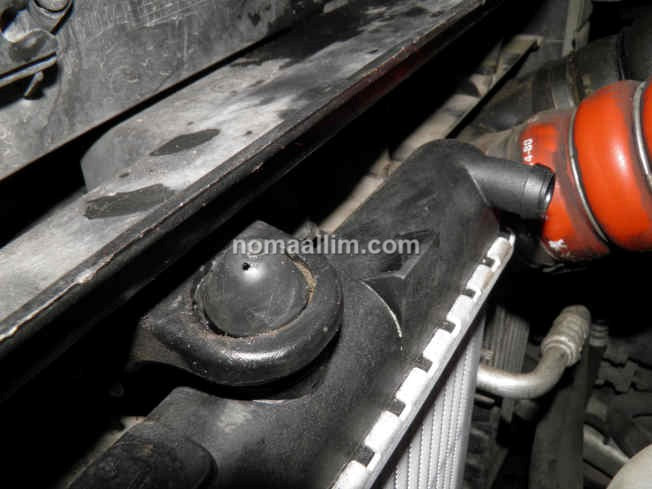
Use a flat screw driver to take out the rubber bushes that hold the radiator pins within the radiator fixing rings (left).
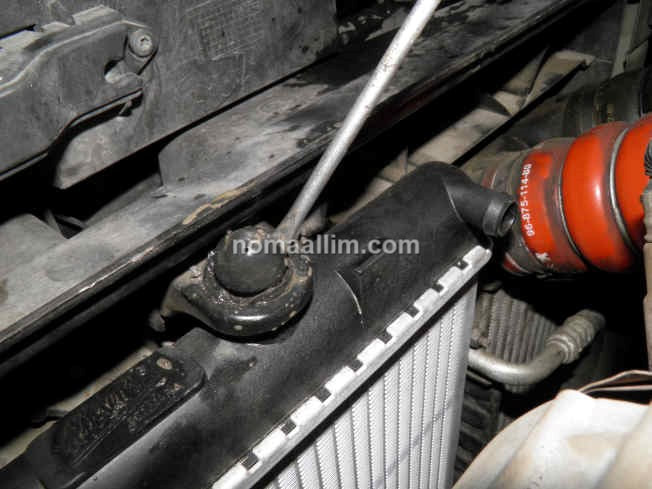
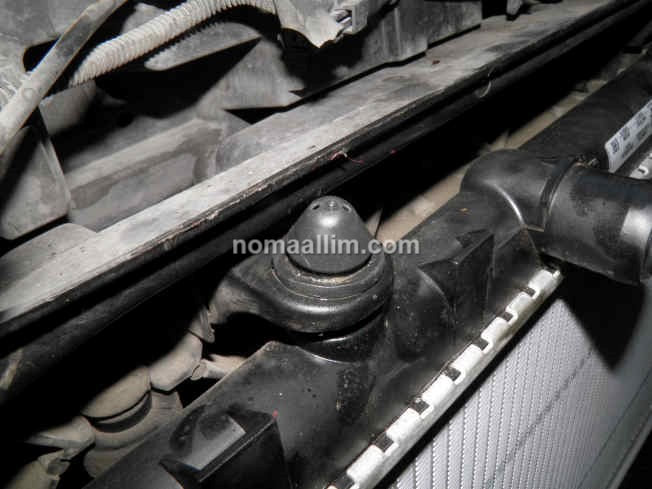
Then at the same time: use a screwdriver as a lever to pull the radiator pin out of the ring (middle) while pressing the radiator downwards at full force with your other hand until the pin gets out of the ring (right).
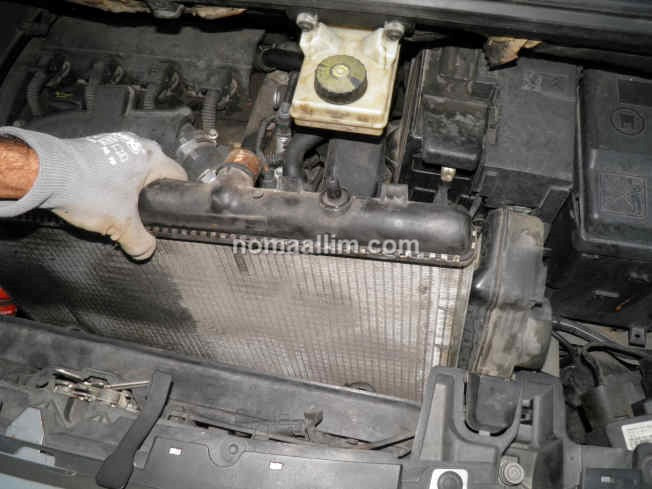
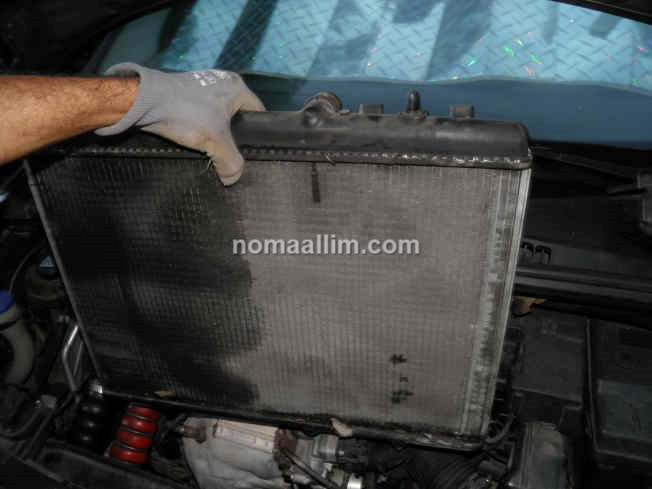
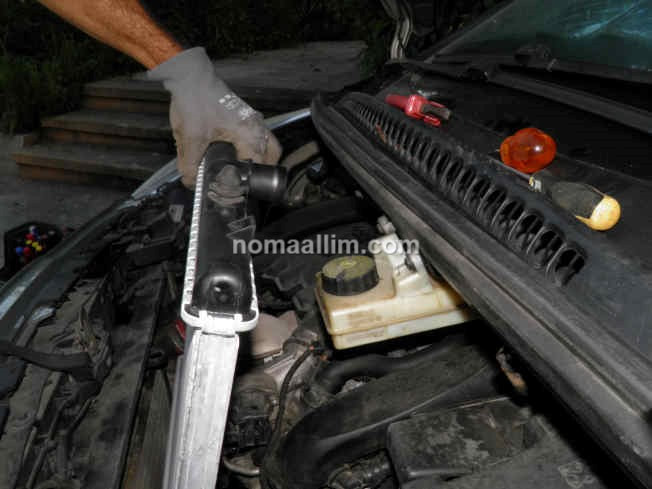
Take out the radiator by slightly inclining it towards the engine then extracting it upwards.
|
|
|
Refitting a new radiator
Insert the new radiator into its bottom fixing rings.
Use dish-washing liquid to lubricate the radiator pins bushes so they can be inserted in the pins.
Use dish-washing liquid to lubricate the radiator pins bushes so they can be inserted in the pins.
Apply enough pressure on the radiator so its upper pins get inside the fixing rings then use again the screwdriver to refit the rubber bushes. This is why the dish-washing liquid is required, it lets the rubber bushings slip into the rings.
Make sure the bushing's groove fits well in the ring, see further below.
Refill and bleed the coolant.Visit our specific page.
Make sure the bushing's groove fits well in the ring, see further below.
Refill and bleed the coolant.Visit our specific page.
|
|
|

