COPYRIGHT WARNING:
All pictures and texts in this web page are the property of nomaallim.com. Any use of any part of those contents without the written consent of nomaallim.com shall be subject to legal procedures as per international and local laws in the concerned country. Using the name "nomaallim" or "nomaallim com" or "nomaallim.com" in the text describing the unauthorized copied content shall not constitute an exception and shall be sanctioned in accordance to the effective laws and proceedings.
All pictures and texts in this web page are the property of nomaallim.com. Any use of any part of those contents without the written consent of nomaallim.com shall be subject to legal procedures as per international and local laws in the concerned country. Using the name "nomaallim" or "nomaallim com" or "nomaallim.com" in the text describing the unauthorized copied content shall not constitute an exception and shall be sanctioned in accordance to the effective laws and proceedings.
|
|
|
BEFORE YOU START
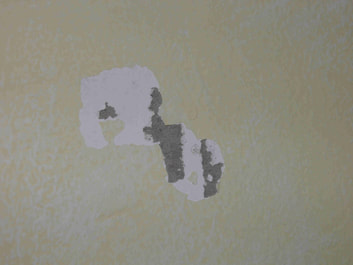
This is a quick fix giving immediate results for wall holes in concrete plastering of a maximum depth of 5-6 mm. Failed attempts to hang pictures using nails or nail hooks do create such holes. This method is very simple and "minute made" giving satisfactory results especially on rough surfaces . It is not valid for a perfect finish on very smooth paints. |
DISCLAIMER:
Our pictorials are of informative nature and do illustrate works carried out by ourselves at our own premises for our own use and satisfaction. Readers who envisage to carry out similar works inspired by the below method shall do this at their own risks and liability. |
Preparing the wall plaster filler mix
|
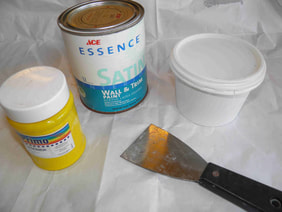
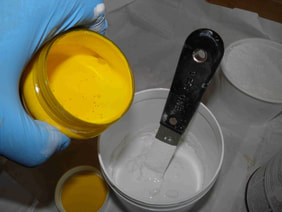
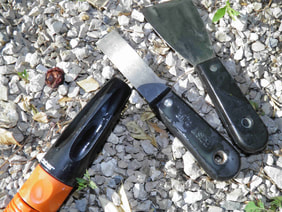
1- Buy 1/2 Kg of wall acrylic white paint, 1/2 Kg of wall filler in powder, a small liquid pigment of closest color to your wall (darker), one 1" spatula and another of 2". You will also need a sponge and an empty plastic can.
|
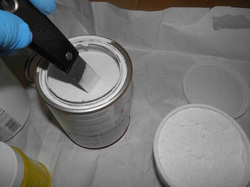
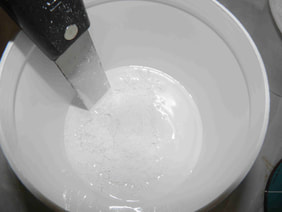
2- Open the paint can and mix well.
|
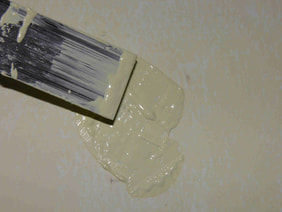
3- Pour some paint into the plastic can, add a little filler and mix. It should not be too liquid and not too hard. Add the powder little by little until the mixture holds on the spatula for one second before falling.
|
|
4- Now add a drop of pigment.
|
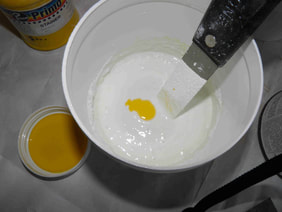
5- Do not pour excess pigment, one drop to start, then add it drop by drop and mix well each time.
|
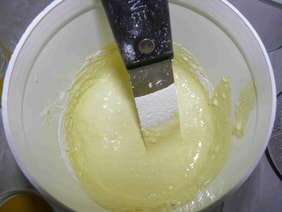
6- The mix should be lighter than your wall and matched while adding pigment.
|
|
|
|
Applying the wall filler to the damaged plaster and paint
|
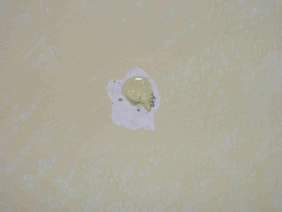
7- Using the small spatula, try a little putty on the wall for color matching.
|
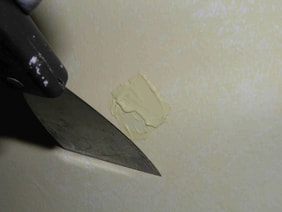
8- Now fill the hole with putty.
|
9- Use the large spatula with an angle for smoothing.
|
|
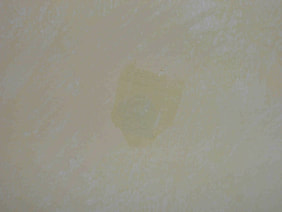
10- The result till now is as shown.
|
11- Rinse well all tools with running water.
|
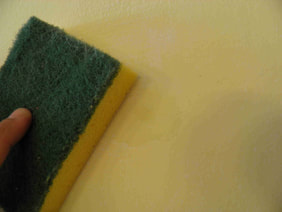
12- After 30 minutes, rub the patch with a sponge. The path still shows being still wet and will vanish in the wall once completely dry.
|