COPYRIGHT WARNING:
All pictures and texts in this web page are the property of nomaallim.com. Any use of any part of those contents without the written consent of nomaallim.com shall be subject to legal procedures as per international and local laws in the concerned country. Using the name "nomaallim" or "nomaallim com" or "nomaallim.com" in the text describing the unauthorized copied content shall not constitute an exception and shall be sanctioned in accordance to the effective laws and proceedings.
All pictures and texts in this web page are the property of nomaallim.com. Any use of any part of those contents without the written consent of nomaallim.com shall be subject to legal procedures as per international and local laws in the concerned country. Using the name "nomaallim" or "nomaallim com" or "nomaallim.com" in the text describing the unauthorized copied content shall not constitute an exception and shall be sanctioned in accordance to the effective laws and proceedings.
|
|
|
BEFORE YOU START
This task requires a special tool as explained below. The tool can be fabricated at a small welder or lathe shop. |
DISCLAIMER:
Our pictorials are of informative nature and do illustrate works carried out by ourselves at our own premises for our own use and satisfaction. Readers who envisage to carry out similar works inspired by the below method shall do this at their own risks and liability. |
How to remove the radiator from wall
- Find the heating collector that feeds the radiator and close both supply and return taps
- Close the radiator main valve (tap)
- Disconnect the bottom pipe of the radiator
- Place a bowl under the radiator and open the main valve to let the water drain in the bowl
- Disconnect the upper radiator pipe
- Hold the radiator with both hands and pull it out of its wall brackets. The radiator just sits on its wall supports, it is not fixed by any screws or clamps.
Resizing a radiator: how radiator sections are held together
Aluminum radiators are made of several heating sections fixed together to constitute the whole radiator.
In case of a conflict with nearby furniture, you can remove on or two of these sections.
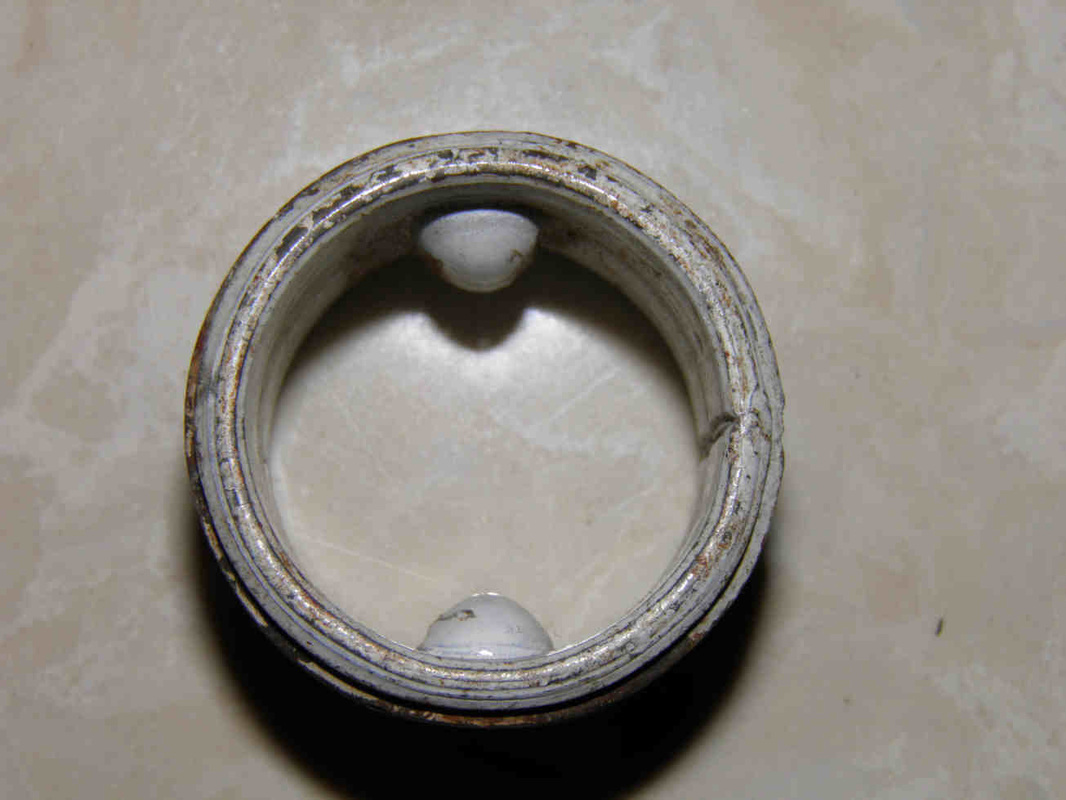
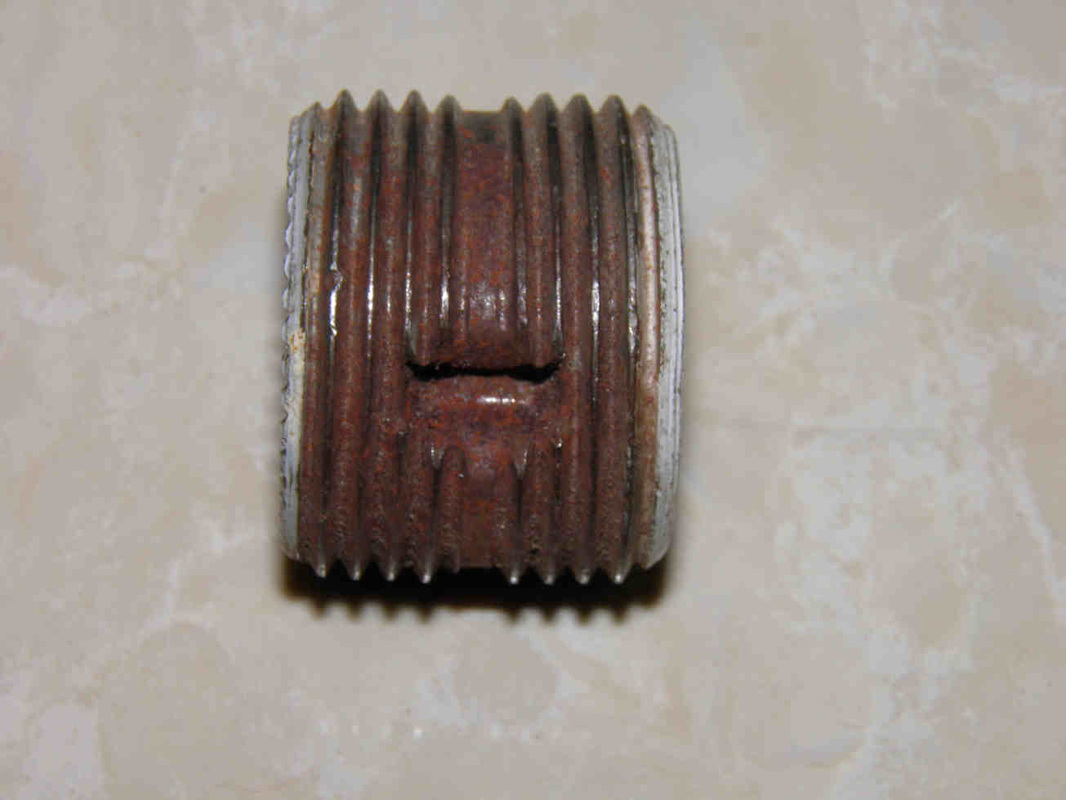
A specific union with double thread joins each two elements.
Its threads converge to its center, i.e. it pulls out two sections when unscrewing it and gets them in tight contact when tightening it clockwise.
In case of a conflict with nearby furniture, you can remove on or two of these sections.
A specific union with double thread joins each two elements.
Its threads converge to its center, i.e. it pulls out two sections when unscrewing it and gets them in tight contact when tightening it clockwise.
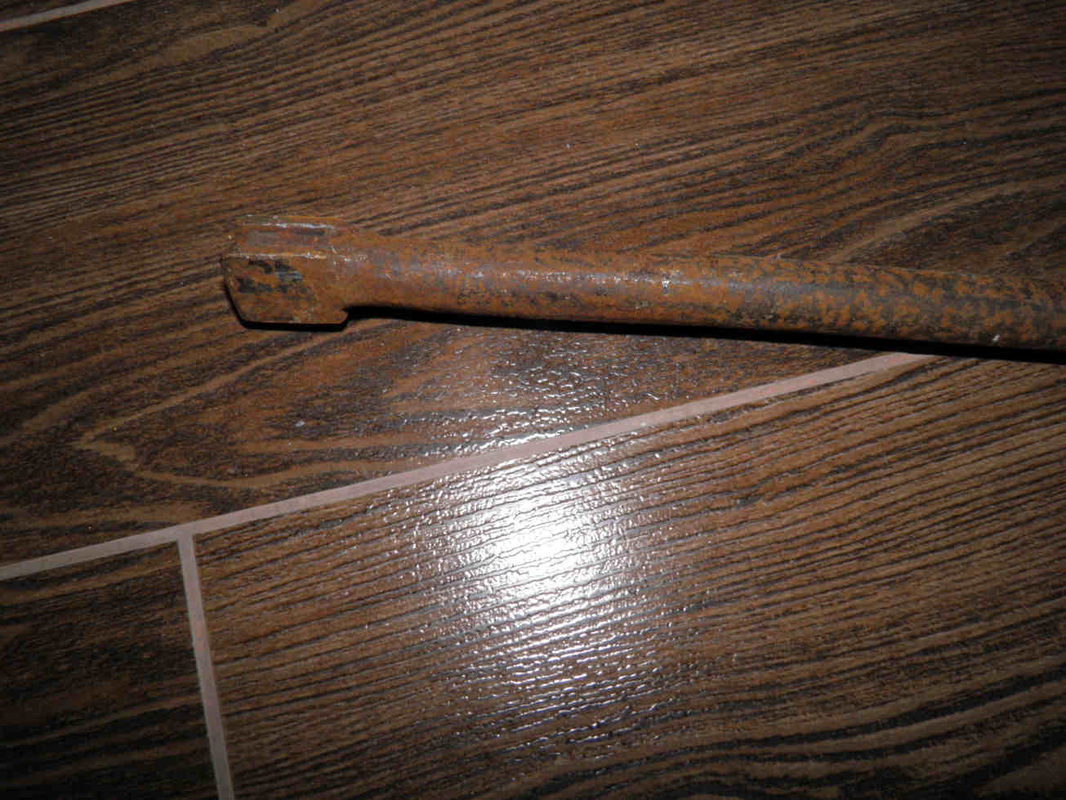
The below pictures show the specific tool in this case fabricated at a welder's shop.
On one end, the tool has 2 flat plates that will hold and rotate the union and a welded ratchet socket at the other end for the use of a ratchet handle.
On one end, the tool has 2 flat plates that will hold and rotate the union and a welded ratchet socket at the other end for the use of a ratchet handle.

|
|
|
Central heating radiator dismantling pictorial
|
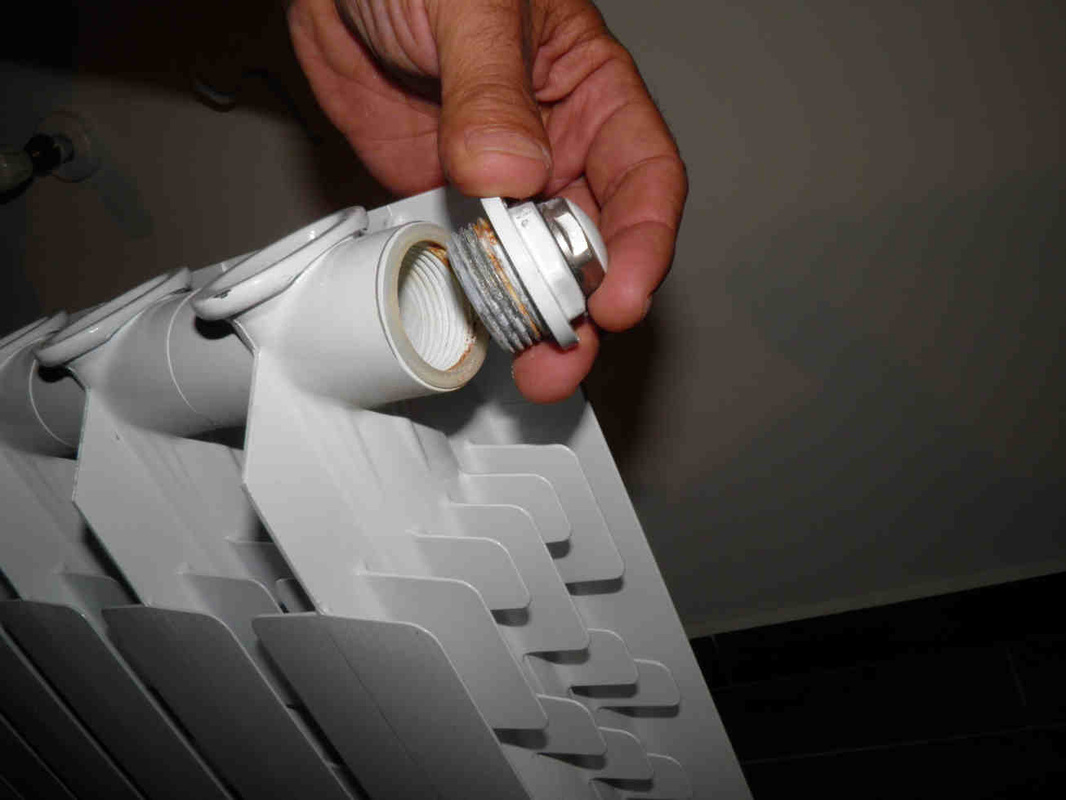
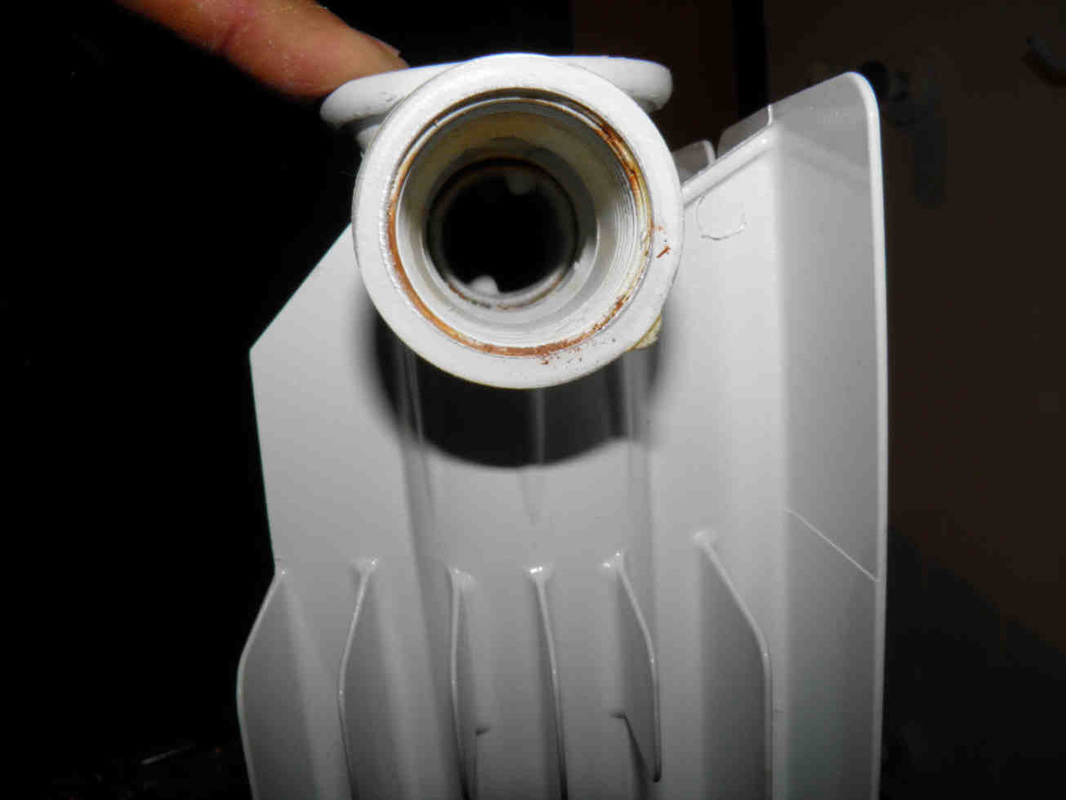
1- Start by unscrewing the purge valve and the cap. If you use pliers, make sure to insert a piece of carton board to avoid damaging the paint.
|
2- Both fittings (purge valve mounted to the top and cap at the bottom) could have silicone or paper seal. Replace the seal when refitting if made of paper.
|
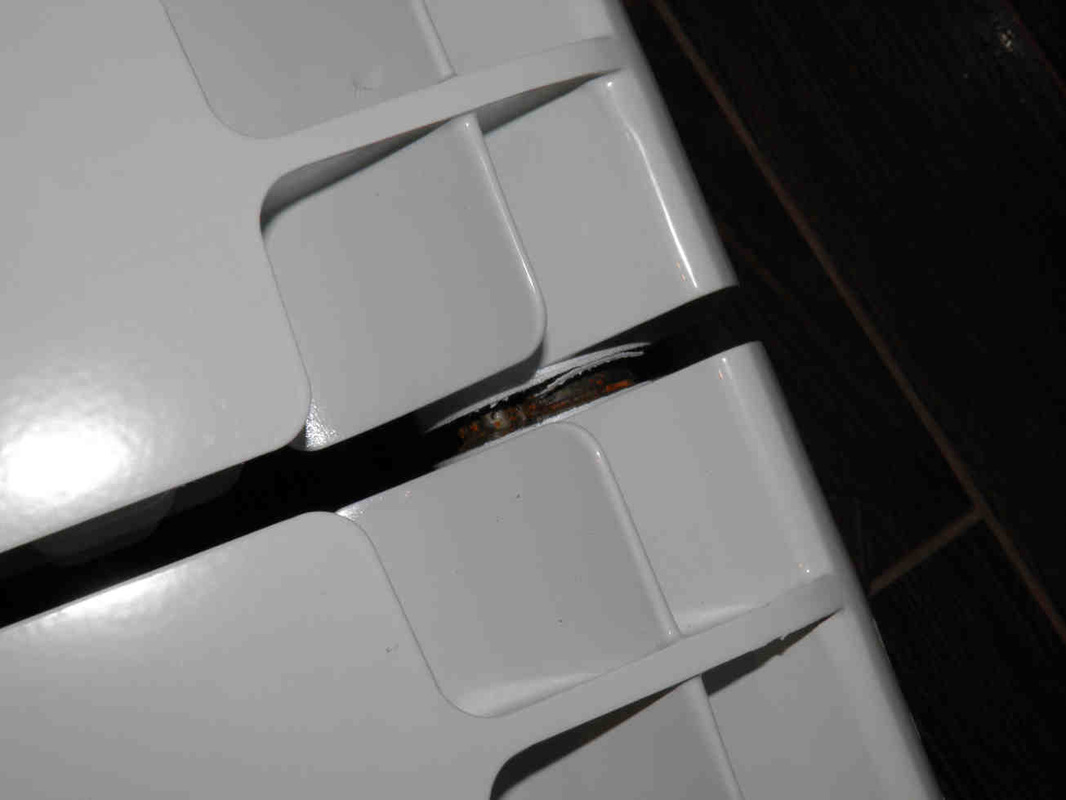
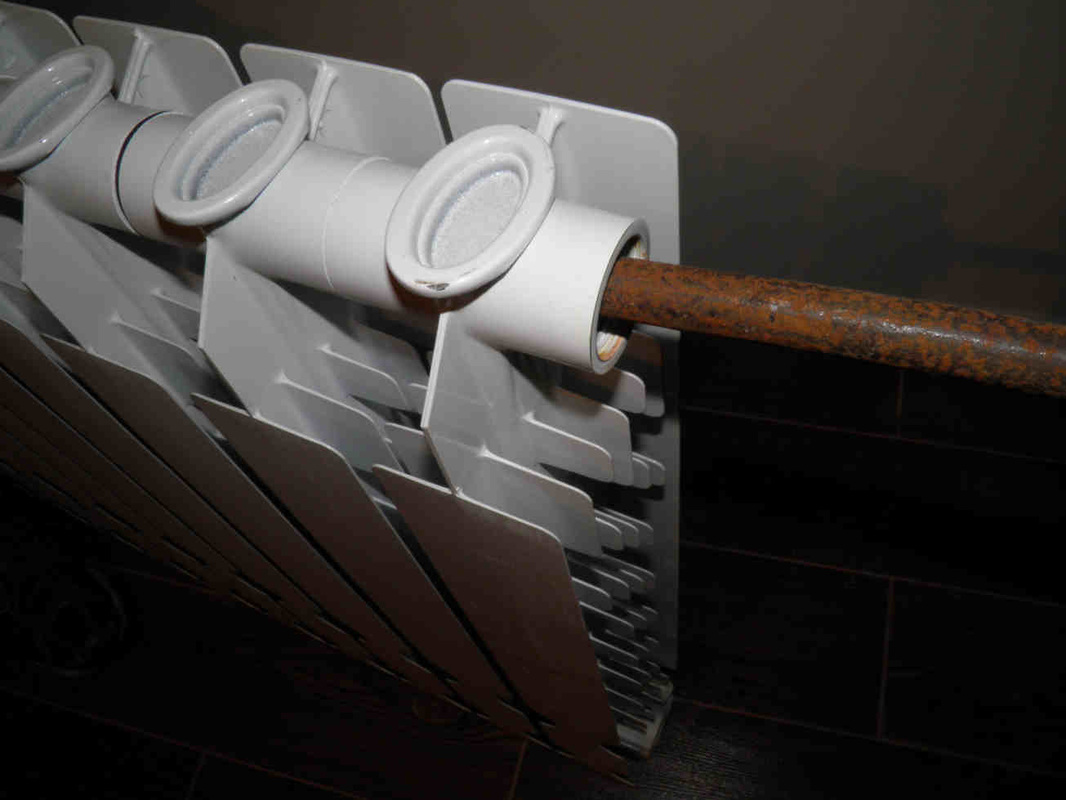
3- The unions can now be seen. Each section is fixed to the other by the means of two unions one to the top and one at the bottom.
|
|
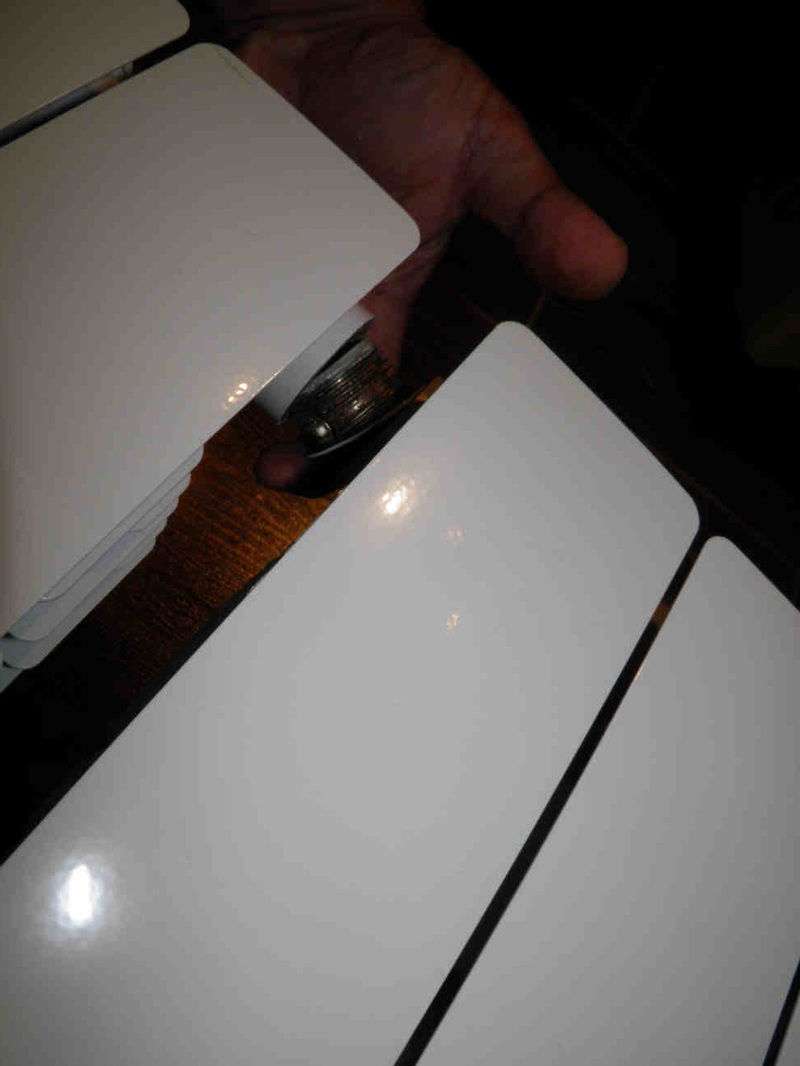
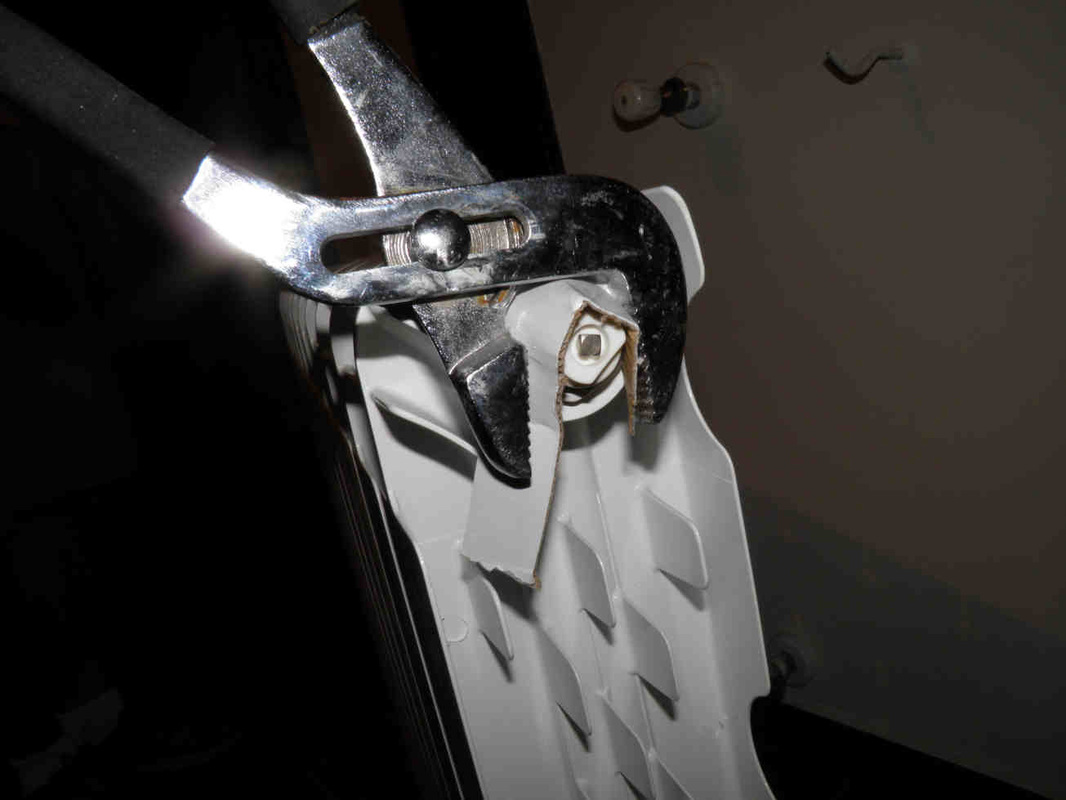
4- Introduce the tool while tilting it right and left until it passes the unions you don't want to unscrew and reaches the concerned one.
|
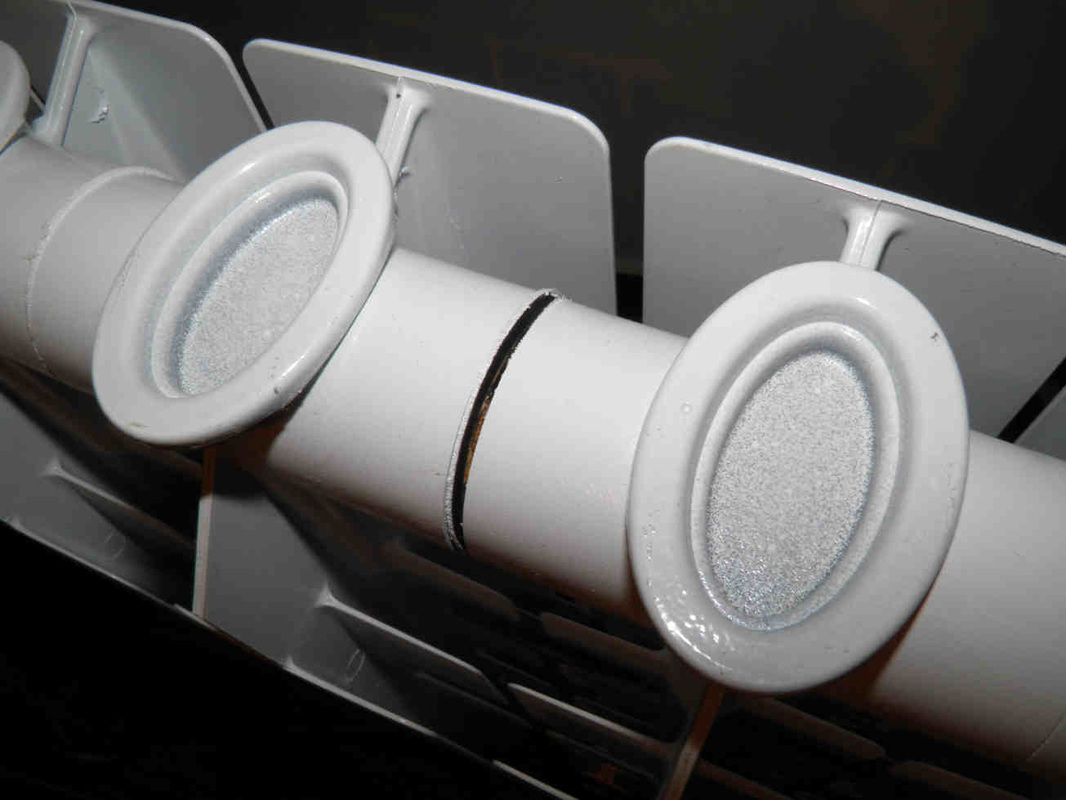
5- Unscrew it with your ratchet handle. It is well tight, make sure to apply enough force until you see a small gap (1mm or less) forming between the sections.
|
6- Do not continue but rather slacken the other union and place the radiator horizontally. Now unscrew each of the unions in turn and equally until the gap gets bigger and bigger on each side. MAKE SURE TO WORK ALTERNATELY ON EACH UNION.
|
|
Continue until the unions are lose and the unwanted sections freed.
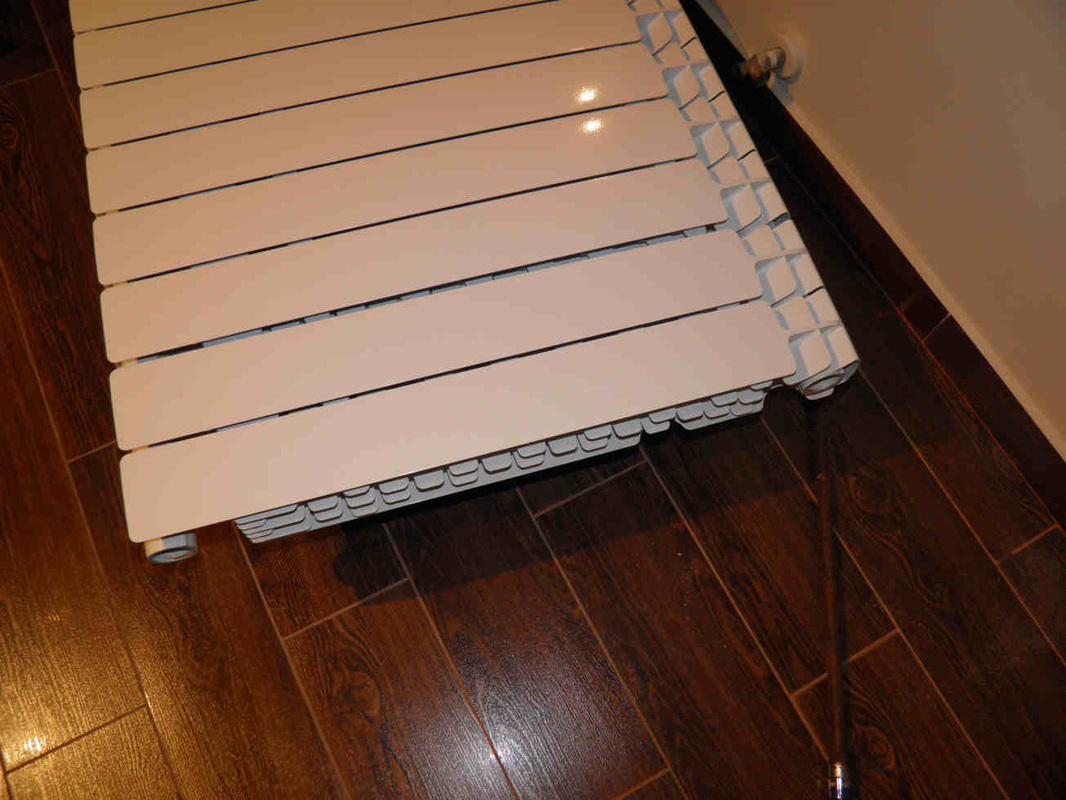
Fit back the purge valve and cap and hang again your radiator. You might need to move one of its wall supports. |
|