COPYRIGHT WARNING:
All pictures and texts in this web page are the property of nomaallim.com. Any use of any part of those contents without the written consent of nomaallim.com shall be subject to legal procedures as per international and local laws in the concerned country. Using the name "nomaallim" or "nomaallim com" or "nomaallim.com" in the text describing the unauthorized copied content shall not constitute an exception and shall be sanctioned in accordance to the effective laws and proceedings.
All pictures and texts in this web page are the property of nomaallim.com. Any use of any part of those contents without the written consent of nomaallim.com shall be subject to legal procedures as per international and local laws in the concerned country. Using the name "nomaallim" or "nomaallim com" or "nomaallim.com" in the text describing the unauthorized copied content shall not constitute an exception and shall be sanctioned in accordance to the effective laws and proceedings.
BEFORE YOU START
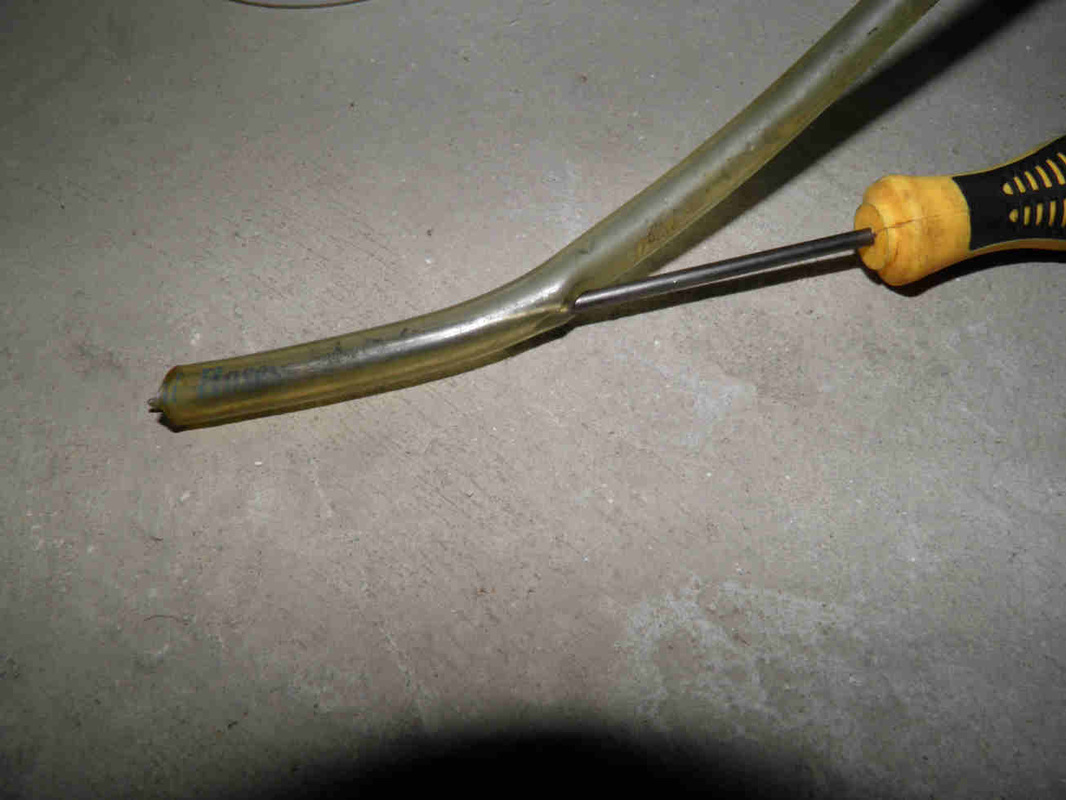
Always work on cold engines to avoid burns. This intervention concerns high pressure circuits where fuel pressure can reach 150 bars. That's no joke! A minimum of experience in DIY mechanics is required. The fuel circuit would need to be bled as explained in the pictorial. |
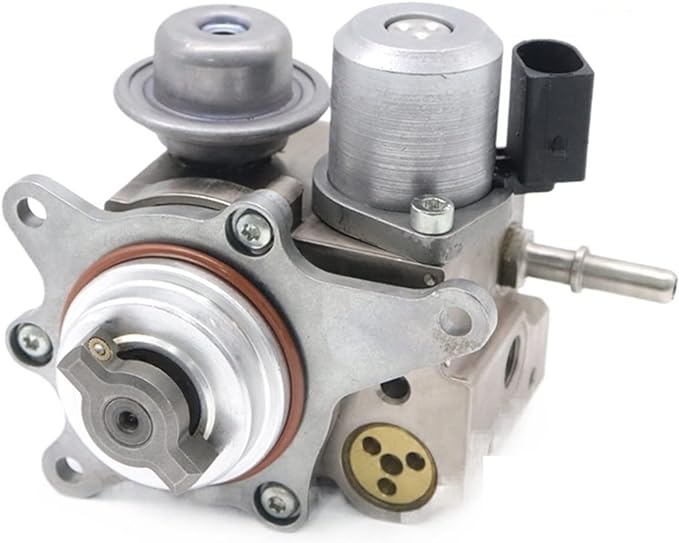
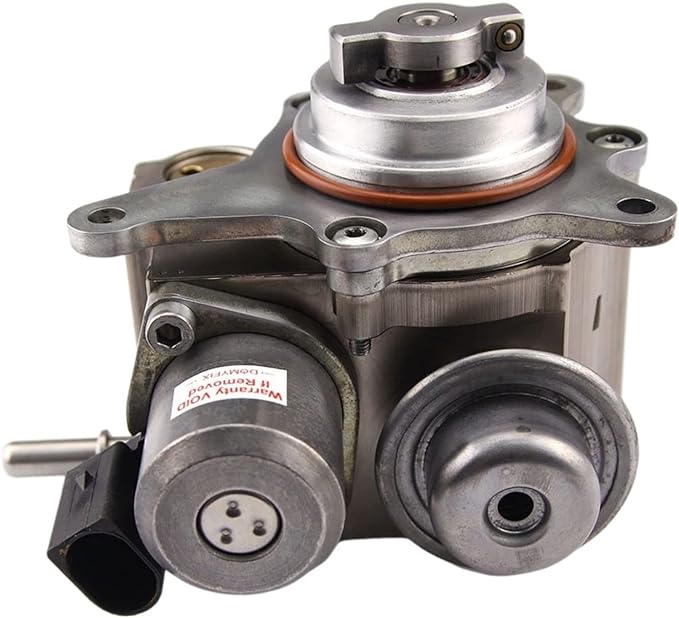
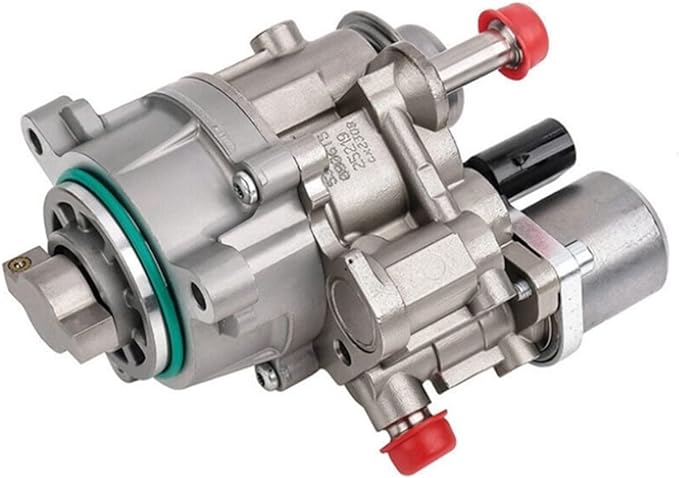
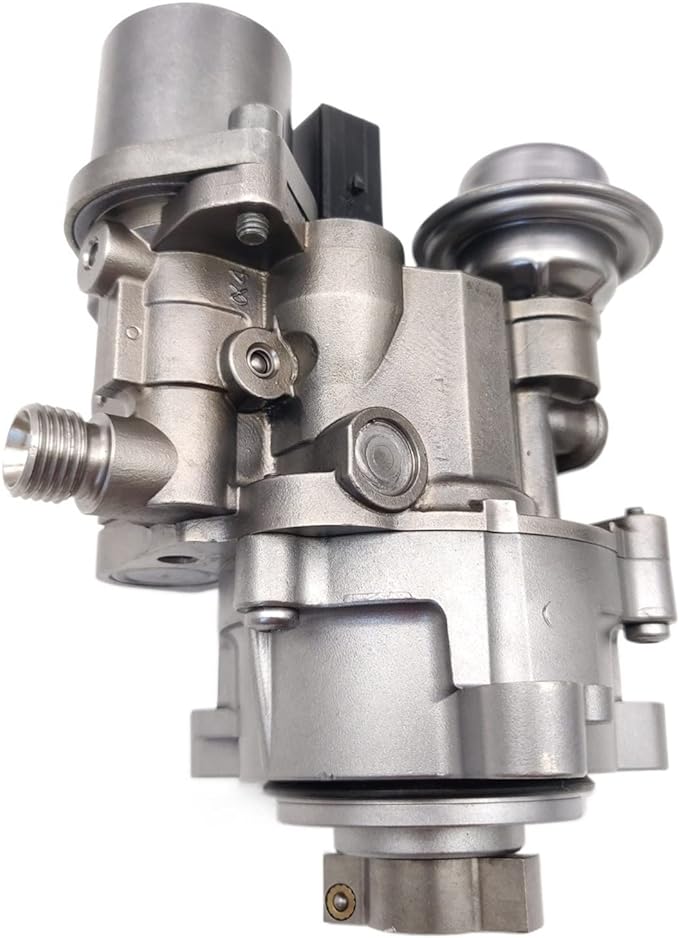
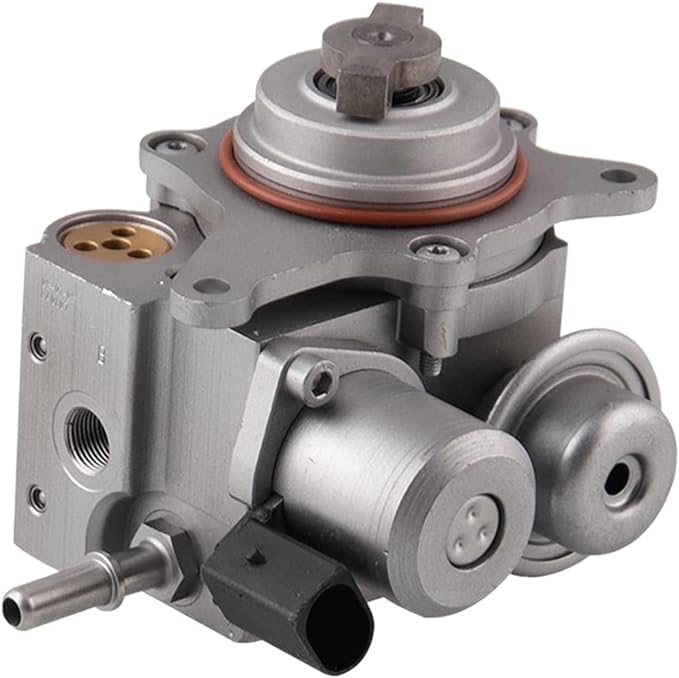
Replace this HPFP of a Direct Injection Petrol Engine.
The below works occurred on a Peugeot 5008 equipped with an EP6 direct injection and turbocharged engine (1.6 THP). HPFP removal on other engines is pretty similar to this case, specially the atmospheric version of the same engine EP6 1.6 VTi, found on popular Peugeot, Citroën, Opel and Vauxhall models.
|
DISCLAIMER:
Our pictorials are of informative nature and do illustrate works carried out by ourselves at our own premises for our own use and satisfaction.
Readers who envisage to carry out similar works inspired by the below method shall do this at their own risks and liability.
Our pictorials are of informative nature and do illustrate works carried out by ourselves at our own premises for our own use and satisfaction.
Readers who envisage to carry out similar works inspired by the below method shall do this at their own risks and liability.
Symptoms & Diagnosis of an HPFP failure
|
HPFP failure symptoms
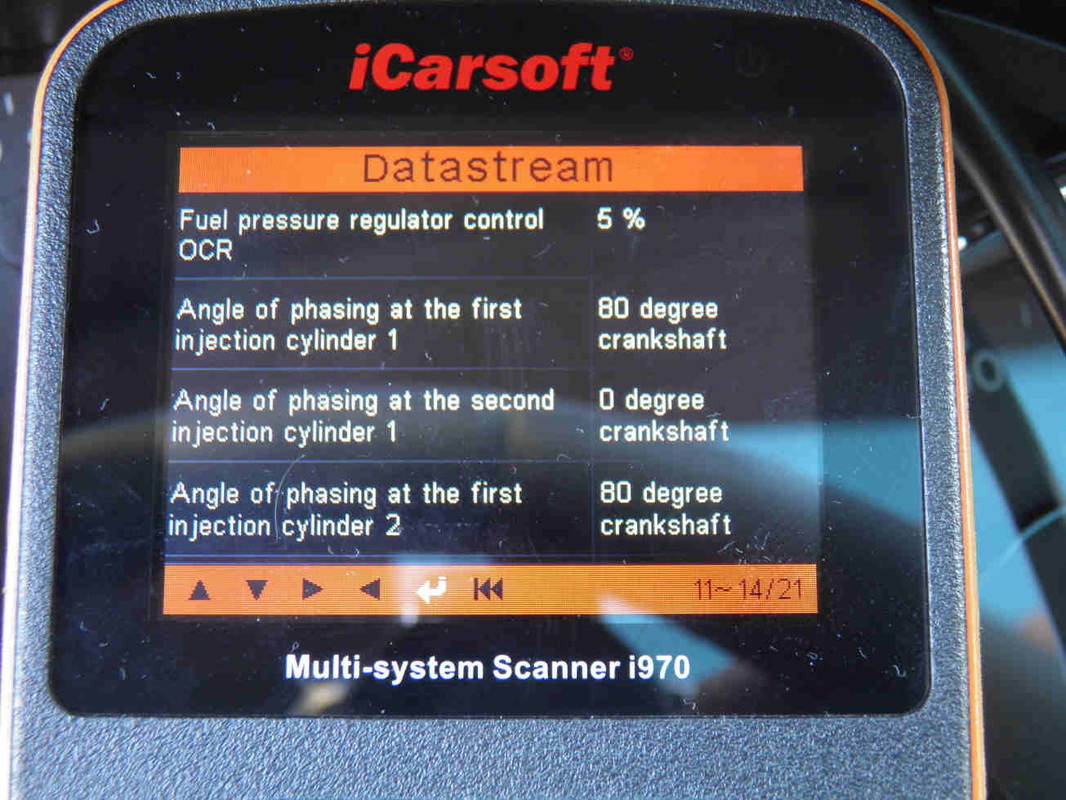
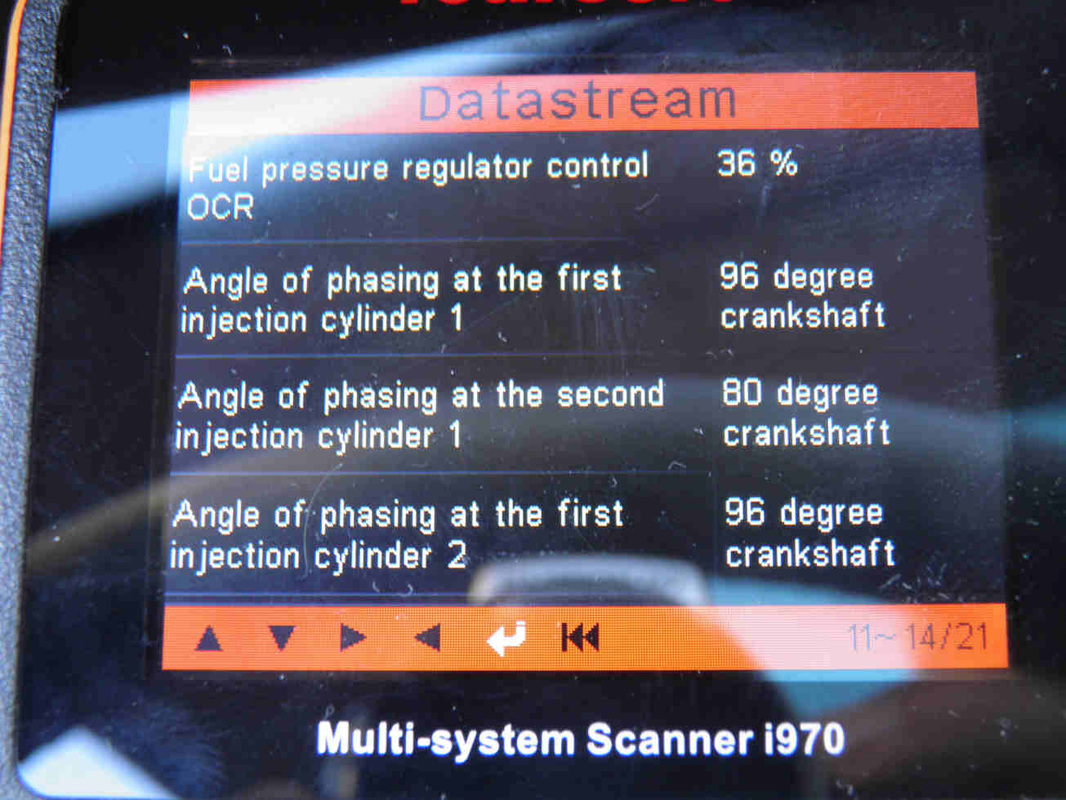
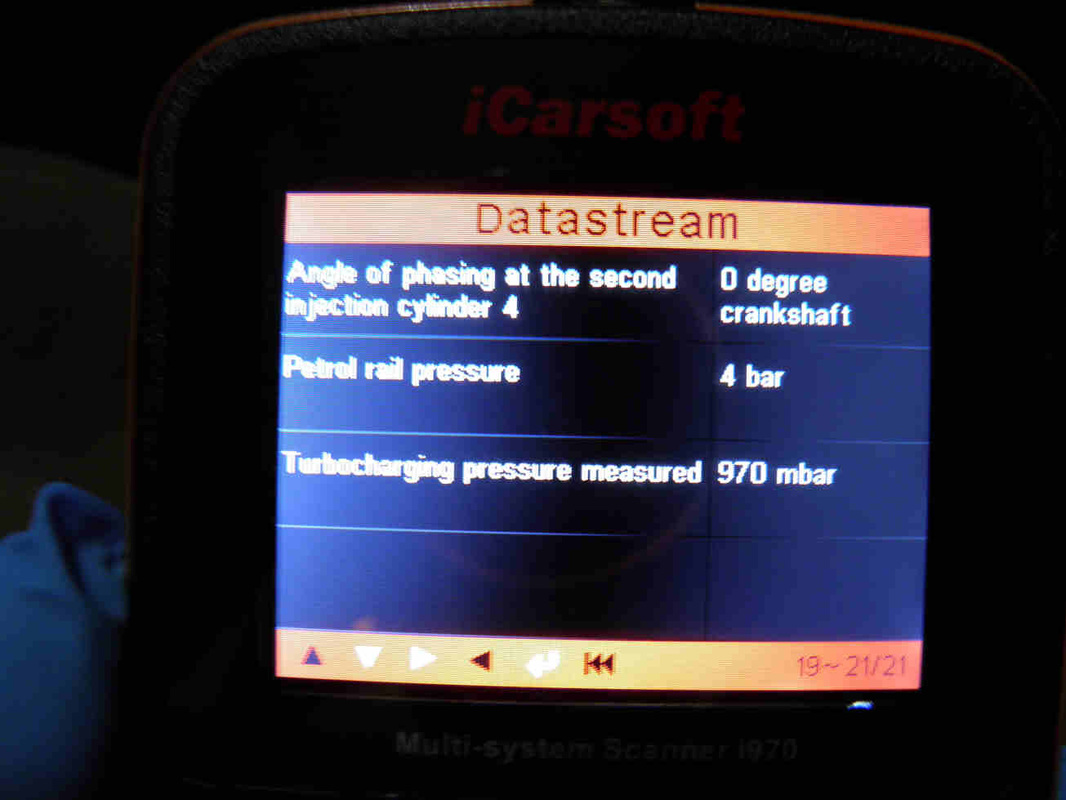
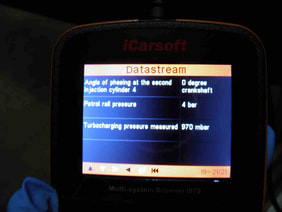
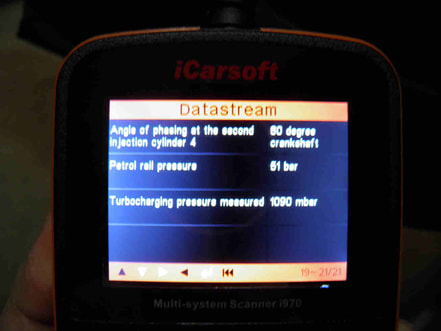
-Rough idle at cold start i.e. the first one in the morning. -"Check engine" light goes on during this phase. -Difficult driving during warm-up, engine could stall. -Many codes are generated signalling a measured common rail pressure lower than the setting plus misfiring, and rich mixtures. -Engine runs well after being restarted hot like if nothing happened. -Excessive fuel consumption, average increased by 1.5l/100km. HPFP failure diagnostics ON COLD ENGINE -Plug your scanner in, turn on your ignition key without starting the engine. -Go to the page that shows the fuel pressure regulator OCR. -It will be close to 0%, e.g. reads 5% (picture to the left). -Start the engine and observe the OCR. In normal conditions it surges to more than 50% within the second that follows the engine start and drops back to a lower value, 36% as pictured here below (middle). -In case of trouble, the OCR will remain above 50% in a attempt to raise the common rail pressure -Now go to the page showing the measured common rail pressure. It remains low at 4 to 5 bars, i.e. the pressure generated by the fuel pump in your fuel tank (picture to the right). It could fluctuate up to 7 bars and drop back to 4 or 5. The HPFP did not obey the instruction which denotes a failure. ON HOT ENGINE -Plug your scanner and go straight away to the measured common rail pressure. -The pressure builds up to some 50 bars in a matter of 3 to 4 seconds. This normally takes less than a second. |
|
|
|
|
The below works concerned a Peugeot 5008 equipped with a turbo-charged EP6 engine.
Same or similar engines can be found on Peugeot 207, 208, 308, 508, 3008, 5008 and Citroen C4, C4 Sedan, DS3, DS4, DS5 also the Mini Cooper S.
Same or similar engines can be found on Peugeot 207, 208, 308, 508, 3008, 5008 and Citroen C4, C4 Sedan, DS3, DS4, DS5 also the Mini Cooper S.
|
|
|
HPFP removal pictorial
|
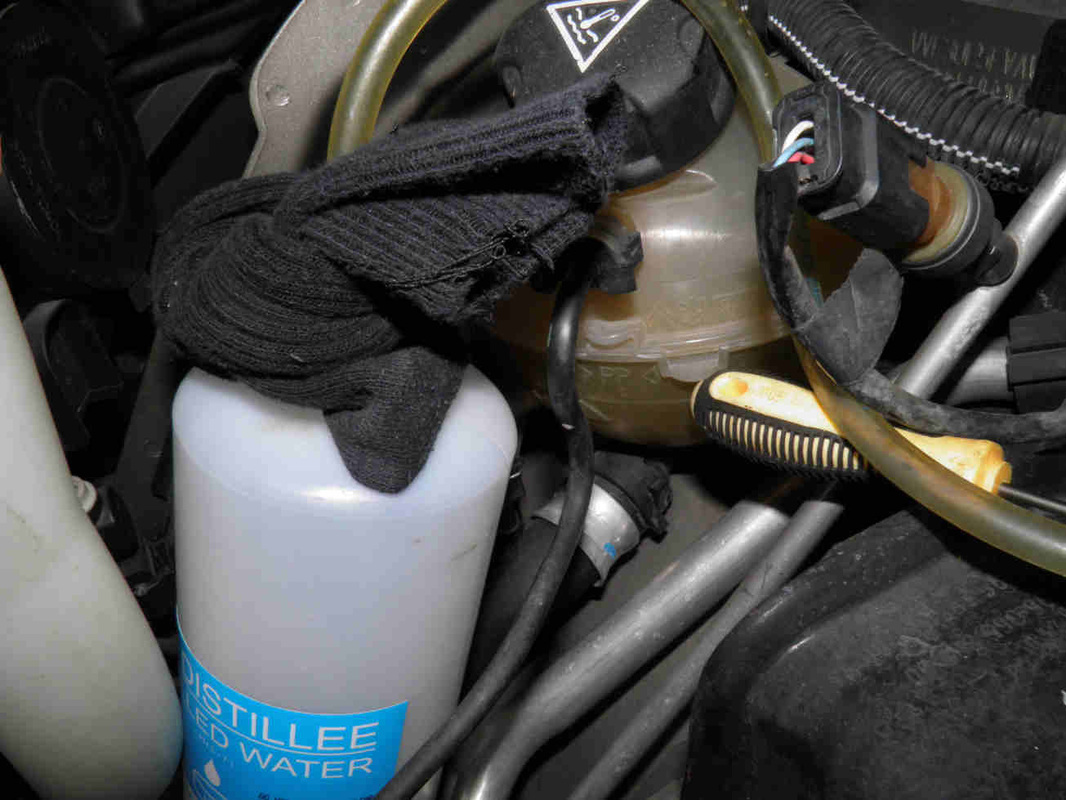
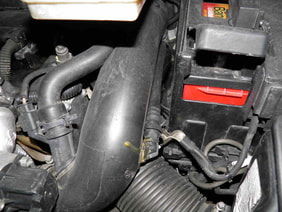
1- Remove all air hoses and the battery if needed.
|
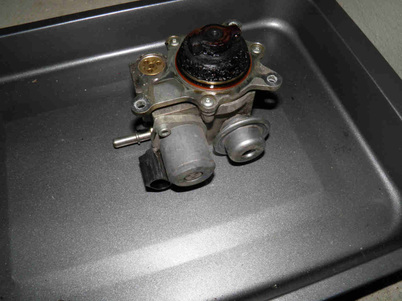
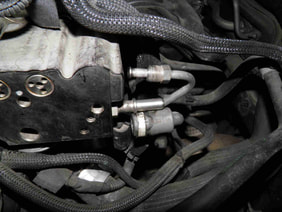
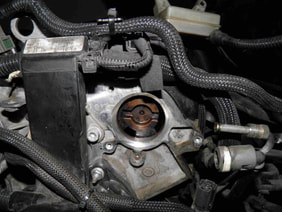
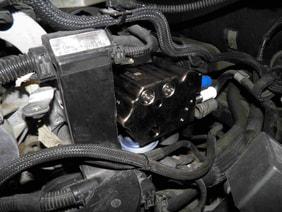
2- The HPFP appears here in the middle of the picture.
|
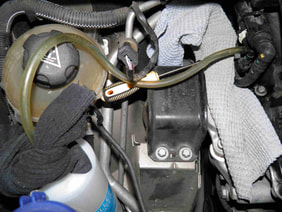
3- Do not disconnect any fuel pipe unless you bleed the circuit first. See further below for the tool fabrication.
|
|
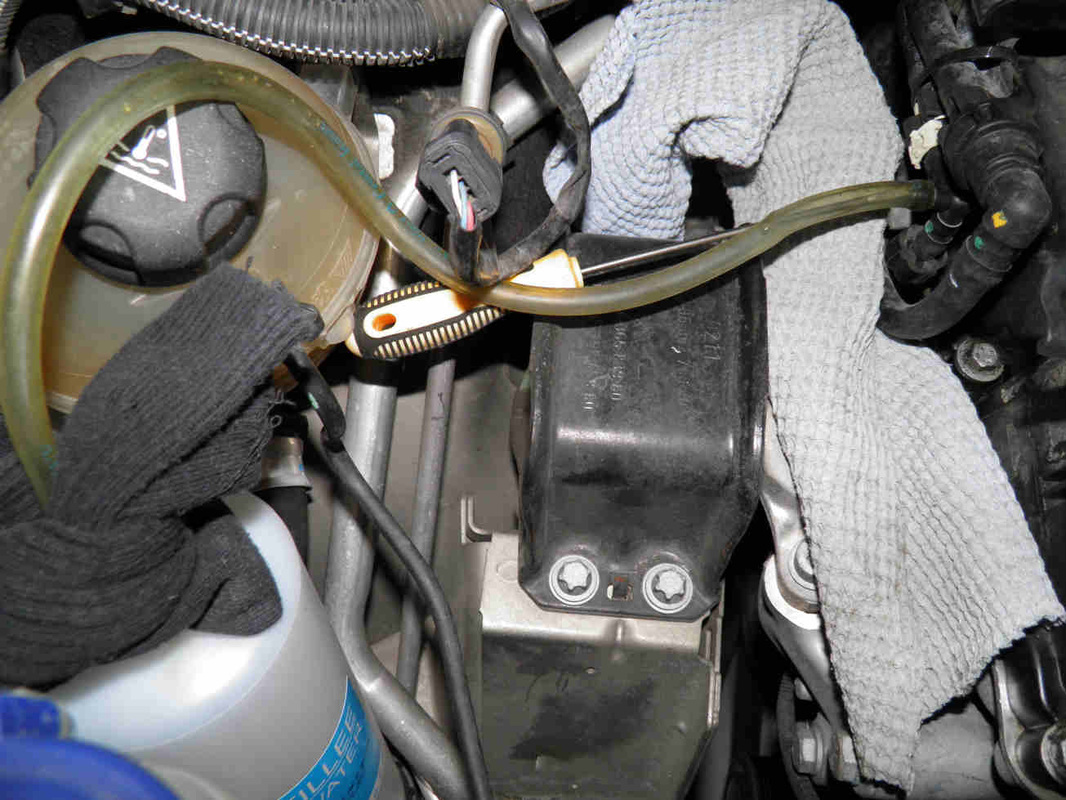
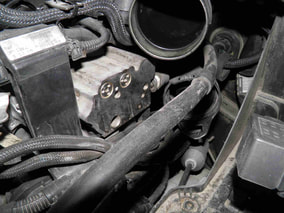
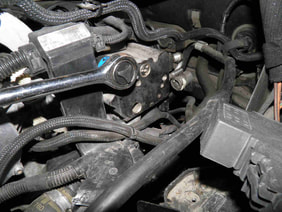
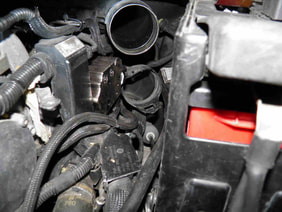
4- Disconnect the electrical connector and the low pressure fuel tube.
|
5- Unscrew and remove the high pressure fuel tube.
|
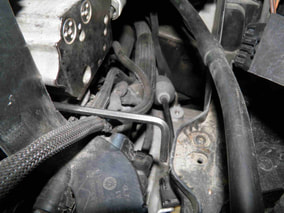
6- Remove the HPFP bolts that hold it to the cylinder cover.
|
|
|
|
|
7- You would need more than one tool. An Allen key will go where a ratchet cannot.
|
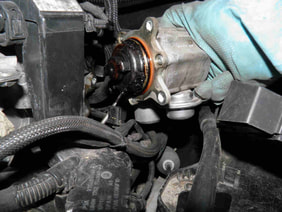
8- Take out the HPFP.
|
9- Clean well the HPFP drive at camshaft end.
|
|
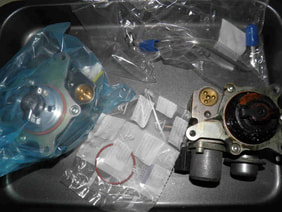
10- Make sure you purchased an identical unit.
|
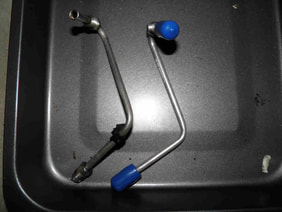
11- You also need to replace the high pressure fuel tube.
|
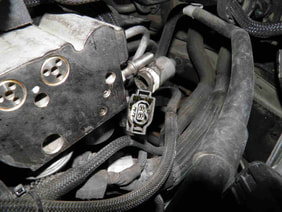
12- Connect the new high pressure fuel pipe to the common rail without tightening it.
|
|
|
|
|
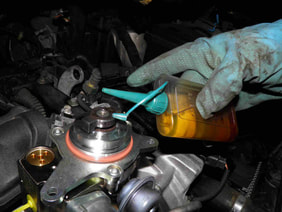
13- Put some oil on the HPFP seal.
|
14- Push the HPFP in its place while aligning it with the camshaft drive.
|
15- Connect and tighten the high pressure tube and reconnect the low pressure tube and the electrical connector. Reinstall the battery but not the air hoses.
|
|
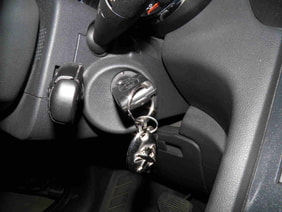
16- Wait a couple of minutes and insert the ignition key. You will hear the fuel tank pump turning on to pressurize the system. It will take longer than usual to reach the 4-5 bars of pressure.
|
17- Plug the scanner and read the common rail pressure. Inspect your vehicle for leaks and keep checking the scanner for a few minutes to make sure the pressure does not drop i.e. there are no leaks.
|
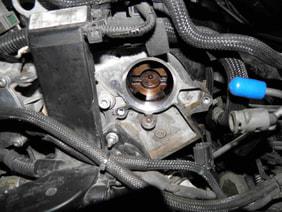
18- Now reassemble everything.

|
|
19- Start your engine and enjoy an immediate fuel pressure build-up. Problem solved!
|
|