COPYRIGHT WARNING:
All pictures and texts in this web page are the property of nomaallim.com. Any use of any part of those contents without the written consent of nomaallim.com shall be subject to legal procedures as per international and local laws in the concerned country. Using the name "nomaallim" or "nomaallim com" or "nomaallim.com" in the text describing the unauthorized copied content shall not constitute an exception and shall be sanctioned in accordance to the effective laws and proceedings.
All pictures and texts in this web page are the property of nomaallim.com. Any use of any part of those contents without the written consent of nomaallim.com shall be subject to legal procedures as per international and local laws in the concerned country. Using the name "nomaallim" or "nomaallim com" or "nomaallim.com" in the text describing the unauthorized copied content shall not constitute an exception and shall be sanctioned in accordance to the effective laws and proceedings.
BEFORE YOU START
|

|
DISCLAIMER:
Our pictorials are of informative nature and do illustrate works carried out by ourselves at our own premises for our own use and satisfaction.
Readers who envisage to carry out similar works inspired by the below method shall do this at their own risks and liability.
Our pictorials are of informative nature and do illustrate works carried out by ourselves at our own premises for our own use and satisfaction.
Readers who envisage to carry out similar works inspired by the below method shall do this at their own risks and liability.
Vacuum servo connector kit (check valve) replacement pictorial
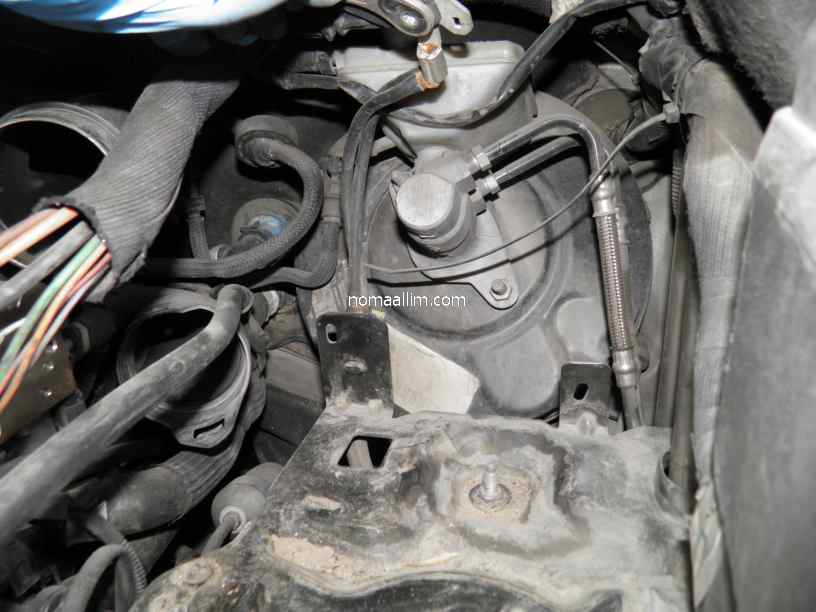
Make sure you removed whatever needs to be removed for accessing the brake booster.
In the case of this vehicle (Peugeot 5008), the air inlet hoses, battery cover, battery and battery tray are to be dismantled.
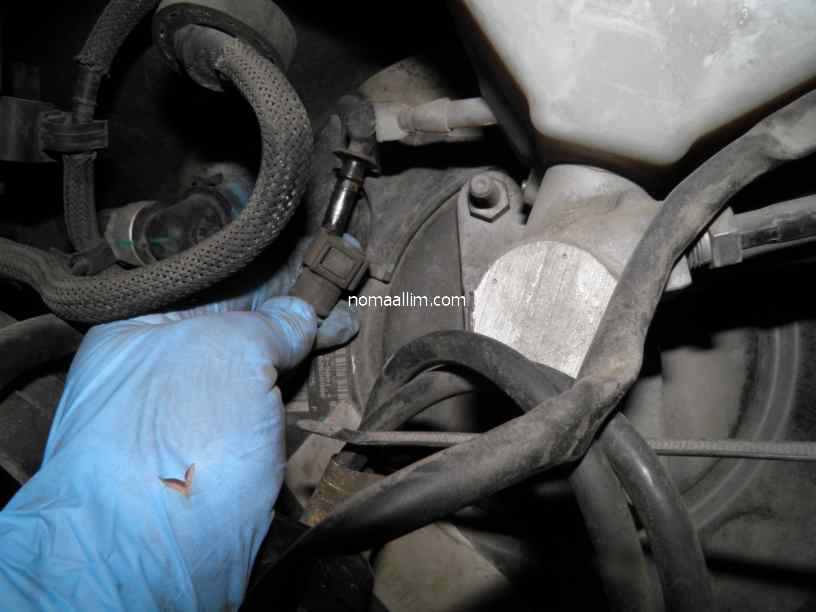
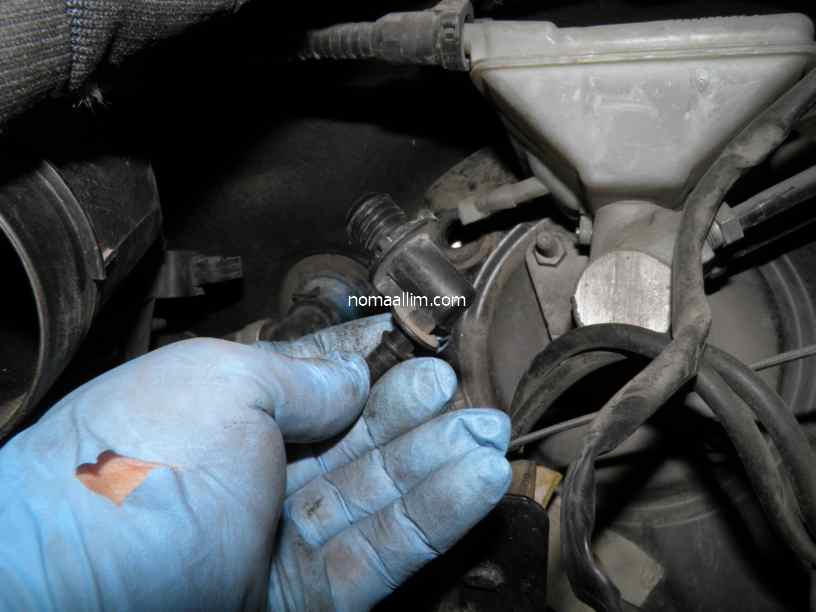
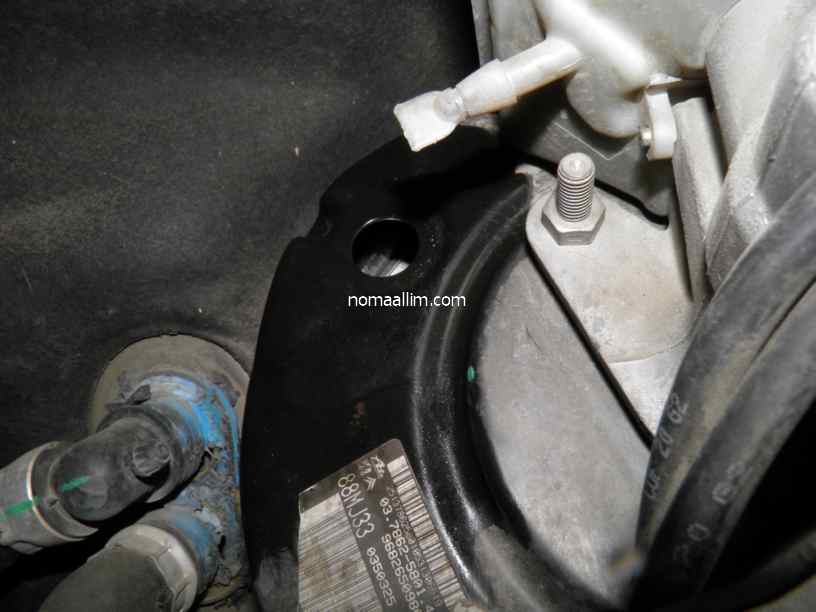
Disconnect the vacuum hose and pull out the connector with your fingers while twisting it.
Remove the vacuum servo connector seal with your fingers or a flat screwdriver.
In the case of this vehicle (Peugeot 5008), the air inlet hoses, battery cover, battery and battery tray are to be dismantled.
Disconnect the vacuum hose and pull out the connector with your fingers while twisting it.
Remove the vacuum servo connector seal with your fingers or a flat screwdriver.
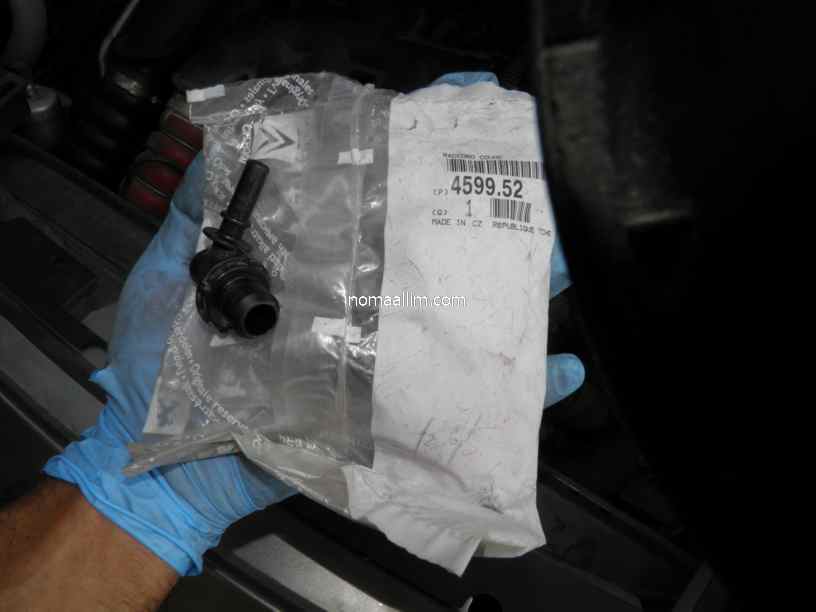
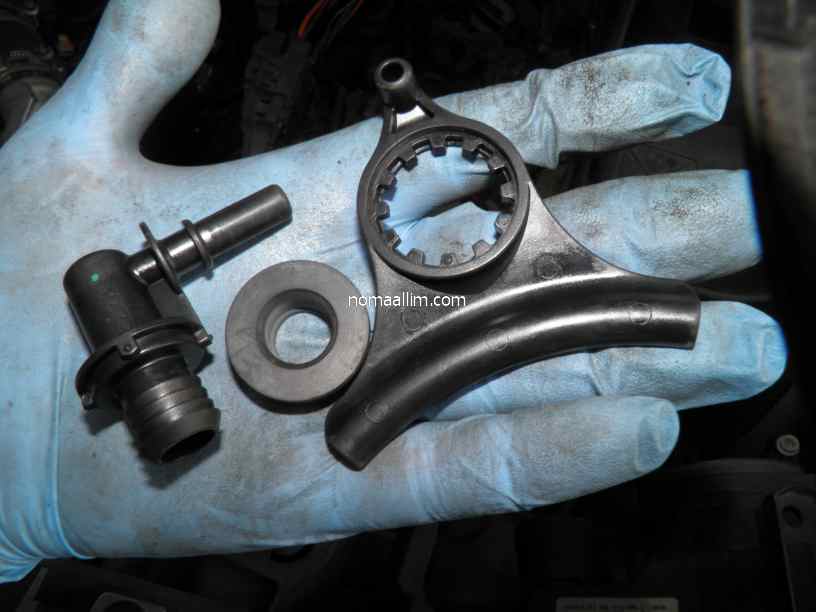
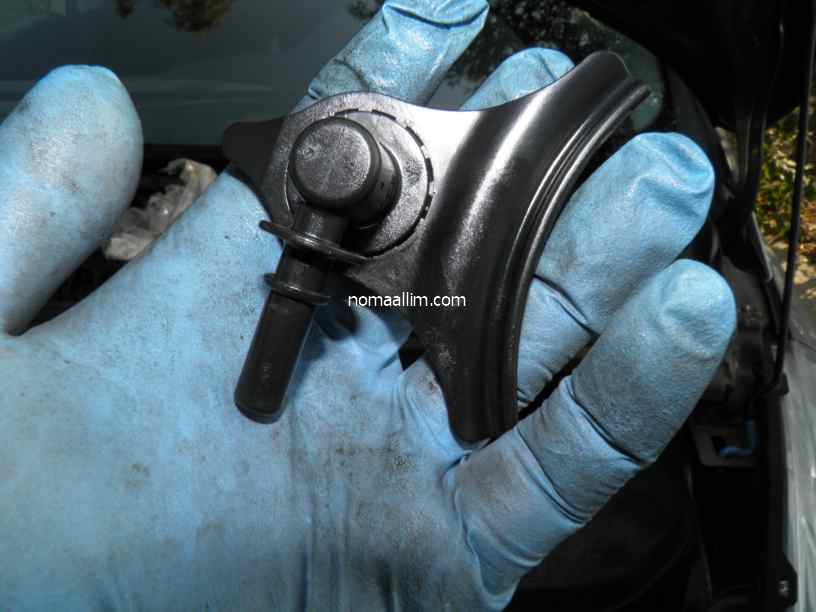
The new brake booster connector is supplied as a set consisting of the connector and its seal,
In some cases an additional holding support is also supplied.
In some cases an additional holding support is also supplied.
|
|
|
Clean well the vacuum servo around the hole intended for the seal.
Put some lithium or silicone grease on the new seal.
Fix the brake booster to its holder if applicable.
Put some lithium or silicone grease on the new seal.
Fix the brake booster to its holder if applicable.

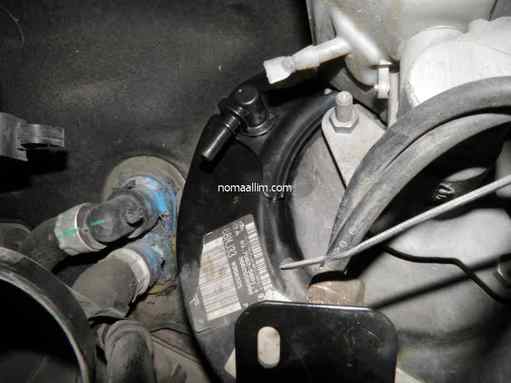
Push with force the check valve into the seal. Do not use any tool, do not use a hammer.
You should be able to do do with your hand only.
Reconnect the brake vacuum hose and test the vehicle.
You should be able to do do with your hand only.
Reconnect the brake vacuum hose and test the vehicle.
|
|


