BEFORE YOU START
|
DISCLAIMER:
Our pictorials are of informative nature and do illustrate works carried out by ourselves at our own premises for our own use and satisfaction. Readers who envisage to carry out similar works inspired by the below method shall do this at their own risks and liability. |
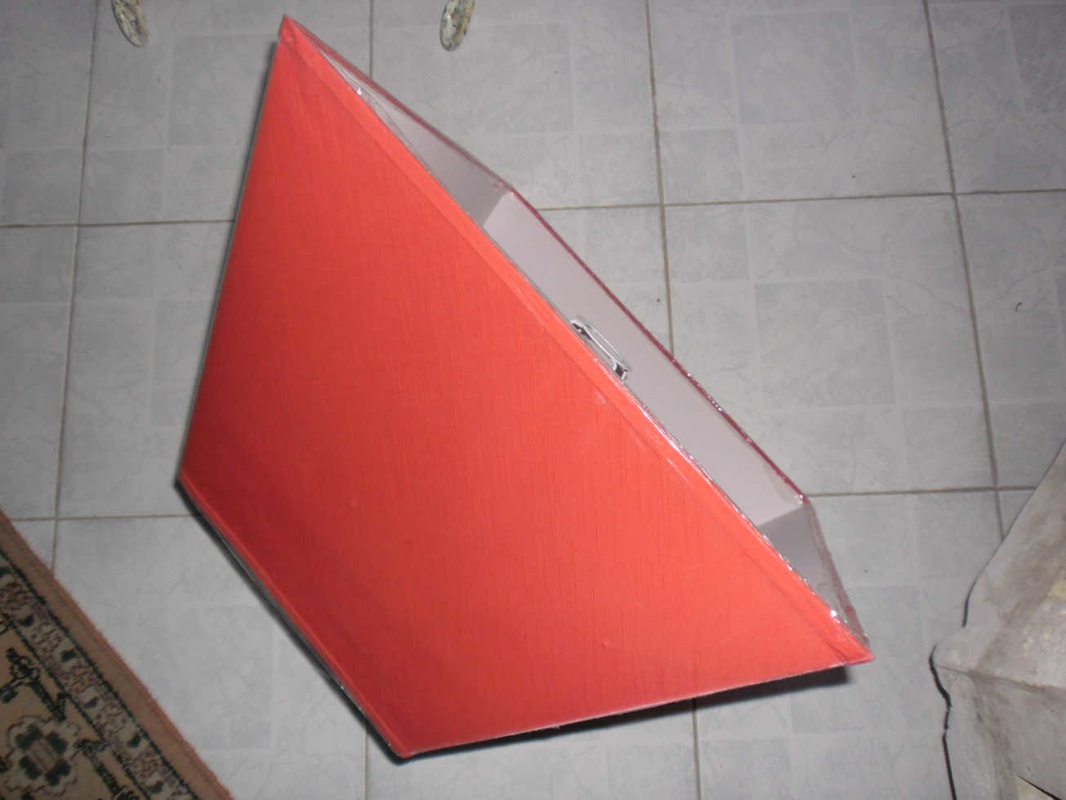
The material you need for your classic lampshade replacement
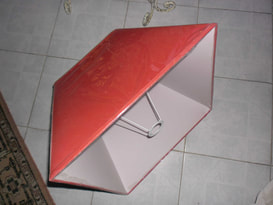
You need first to purchase a shade of the right size. You can change its shape from round to trapezoidal but the overall dimensions are to be similar for maintaining the right aspect.
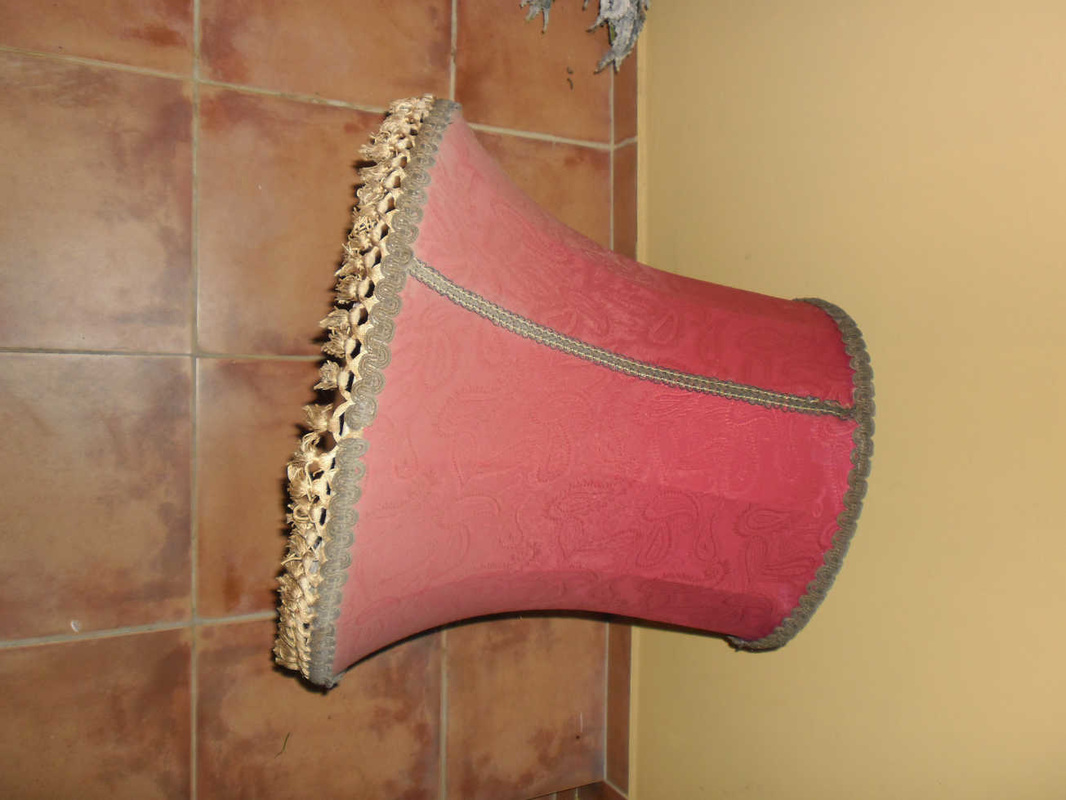
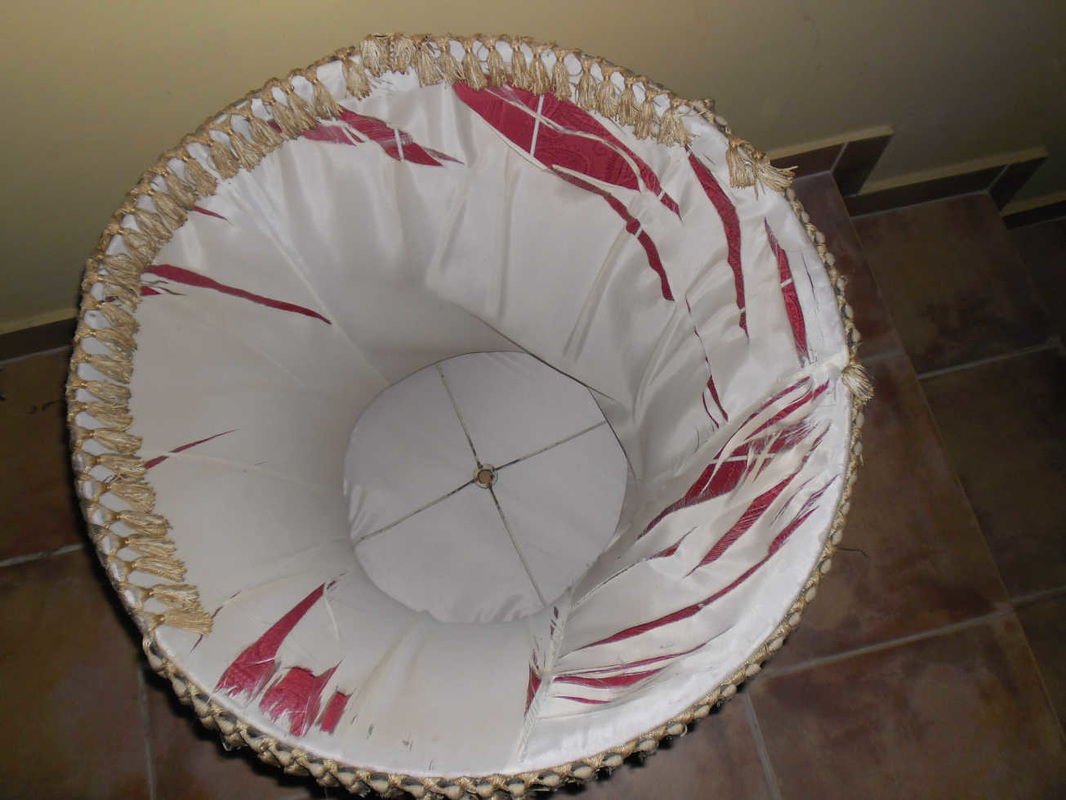
The new lampshade (lamp shade) shown on the left is to replace the existing bell-shaped (spider) one with a faded fabric and torn lining.
The new lampshade (lamp shade) shown on the left is to replace the existing bell-shaped (spider) one with a faded fabric and torn lining.
Floor lamp modification and adaptation for the new lamp shade
|
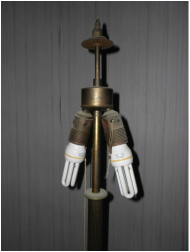
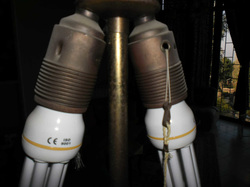
1- This classic bronze lamp is equipped with tassel operated lamp bases for turning on and off the light.
|
2- The purpose is to keep them and find a way to hide them with the new shade. The shade holder is now at its bottom unlike the bell shade which is held from top.
|
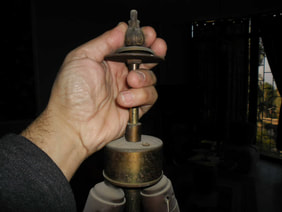
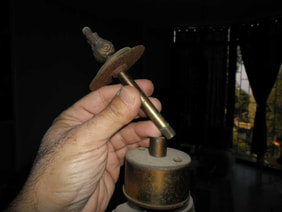
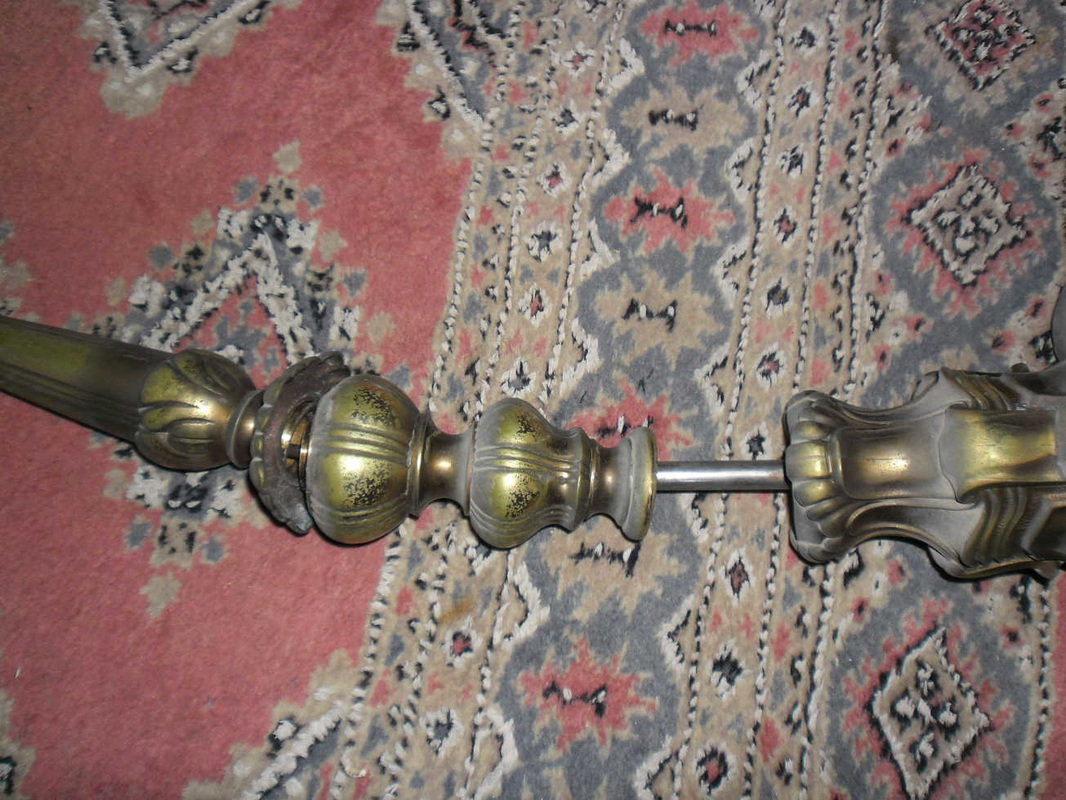
3- Unscrew the decorative bronze nut which used to hold the existing shade and the rod beneath it as well.
|
|
4- Remove them. We will later see how to fit back the decorative tip.
|
5- Remove the screws that hold the electric box. It is obviously assumed that you're working on an unplugged lamp.
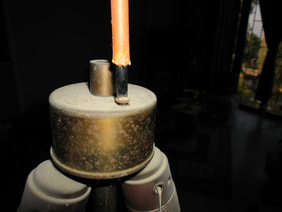
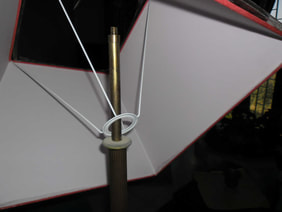
|
6- Use flat pliers to unscrew the flat nut that holds the electric junction box to the lamp's body.

|
|
|
|
|
7- Take out the lamp bases assembly. this is to be able to fit the new shade into the tube and try it.
|
8- Pull out the electric cable completely. You have now a lamp pole with no electrical fittings or cables attached to it.
|
9- This lamp shade is intended for a normal fit on a plastic lamp base.
|
|
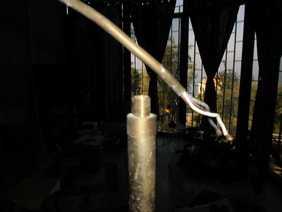
10- It has now to hold on this bronze disc on top of the lamp main pole.
|
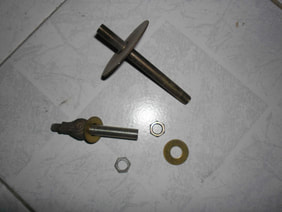
11- Unscrew the nut that holds the brass tube.
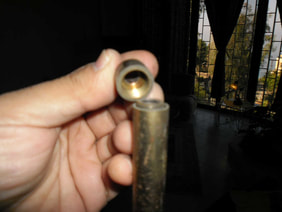
|
12- Remove the brass tube. You can now see the threaded tube and the disc.
|
|
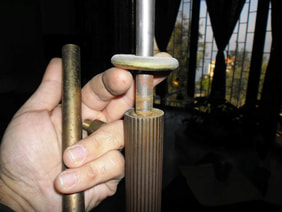
13- The threaded assembly tube will be loosened and the new shade holder simply squeezed between the existing disc and another one to be found.
|
14- Unless you buy a brass washer, you can use anything you find like this chrome plated cover used for bathroom fixtures.
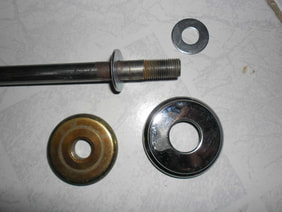
|
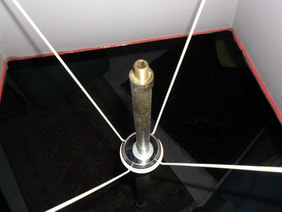
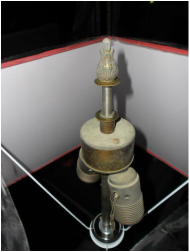
15- Try to mount the shade and check it is solid enough and elegant. It is actually held stronger than on a lamp holder.
|
|
|
|
|
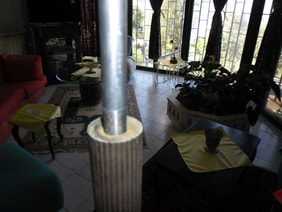
16- Now because the electric wire won't pass through the various elements, unscrew the main pole and dismantle your floor lamp.
|
17- Work on a carpet not to damage the bronze or the tiles.
|
18- Introduce the cable into every part of the pole starting from top to bottom. Use an electric wire to catch the cable and pull it out when stuck.

|
|
19- Do not assemble any part of the pole to the other unless the cable shows on both sides. Re-assemble your lamp by rotating the main pole.
|
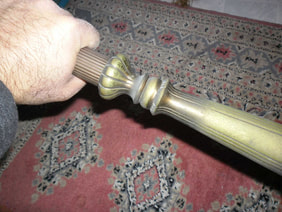
20- The decorative tip is transposed to a shorter rod and mounted on top of the new shade.
|
21- Adjust the tip in a manner to level its base with the top of the lamp shade.
|
|
|
|
Lamp tassel renewal
|
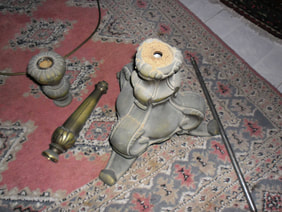
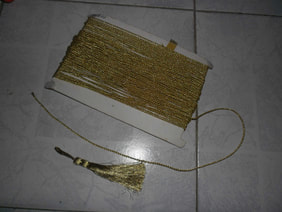
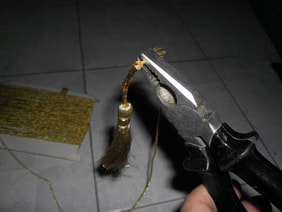
22- You may need to replace a missing tassel. A new tassel and a thick thread of adequate color are to be purchased.
|
23- Also some gold plated or shiny brass crimping connectors to be used on the thread.
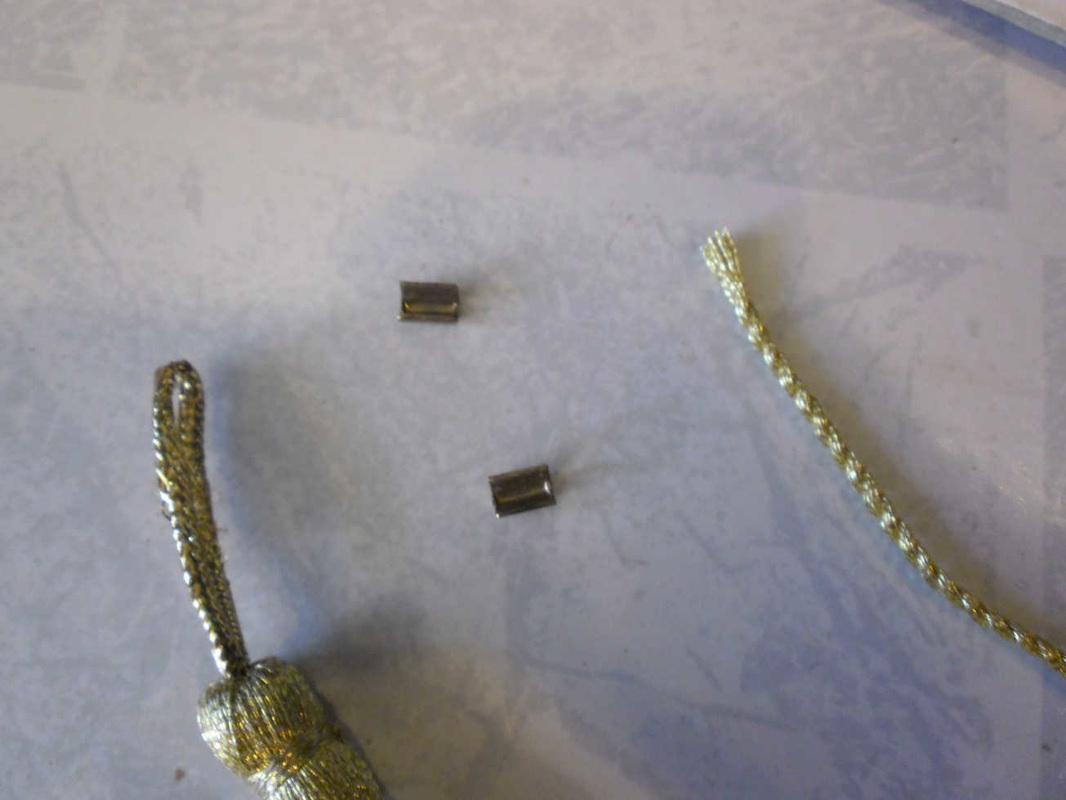
|
24- Loop the thread back and gently crimp the brass connector taking care not to damage it or damage the thread.
|
|
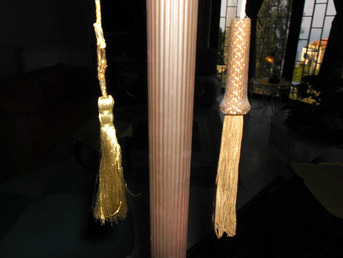
It is very difficult to find exactly matching tassels.
Replace both if you want them identical. |
|
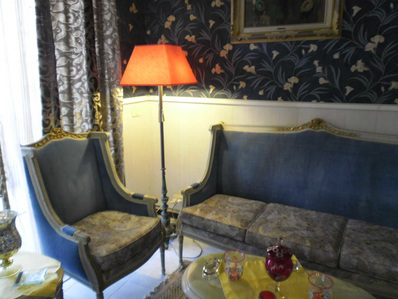
New lamp shade (lampshade) in its environment
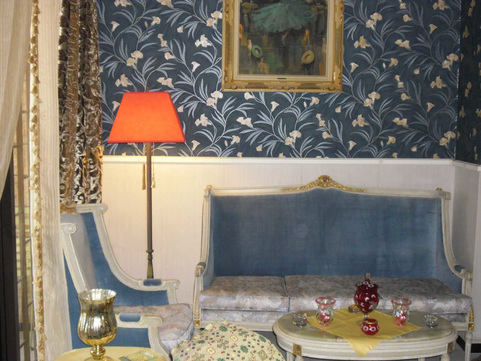
And here is the final result.
Place the floor lamp in its intended location and check the overall integration, proportions, colors, etc.
Place the floor lamp in its intended location and check the overall integration, proportions, colors, etc.
See also...
 |
 |
 |
 |
 |
|
|
|