COPYRIGHT WARNING:
All pictures and texts in this web page are the property of nomaallim.com. Any use of any part of those contents without the written consent of nomaallim.com shall be subject to legal procedures as per international and local laws in the concerned country. Using the name "nomaallim" or "nomaallim com" or "nomaallim.com" in the text describing the unauthorized copied content shall not constitute an exception and shall be sanctioned in accordance to the effective laws and proceedings.
All pictures and texts in this web page are the property of nomaallim.com. Any use of any part of those contents without the written consent of nomaallim.com shall be subject to legal procedures as per international and local laws in the concerned country. Using the name "nomaallim" or "nomaallim com" or "nomaallim.com" in the text describing the unauthorized copied content shall not constitute an exception and shall be sanctioned in accordance to the effective laws and proceedings.
BEFORE YOU START
|
NOTE: the below concerns a Mazda ZY 1.5L engine but works are identical or similar on other Mazda petrol engine versions.
|
DISCLAIMER:
Our pictorials are of informative nature and do illustrate works carried out by ourselves at our own premises for our own use and satisfaction.
Readers who envisage to carry out similar works inspired by the below method shall do this at their own risks and liability.
Our pictorials are of informative nature and do illustrate works carried out by ourselves at our own premises for our own use and satisfaction.
Readers who envisage to carry out similar works inspired by the below method shall do this at their own risks and liability.
Mazda 2 serpentine belt size, location and replacement pictorial
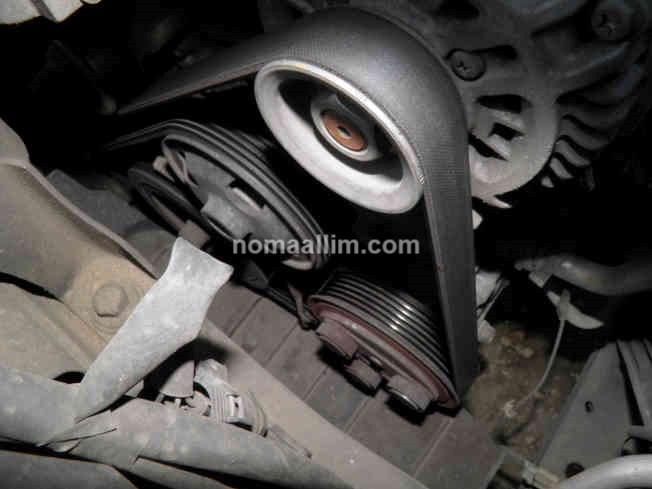
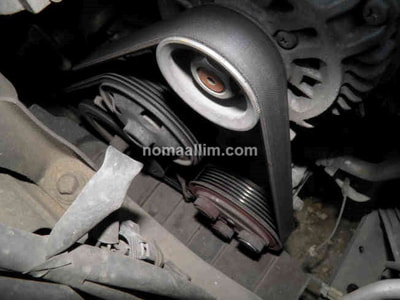
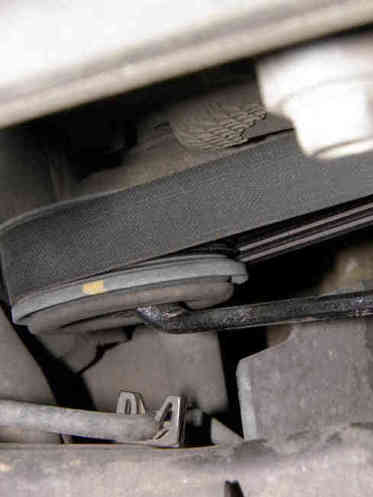
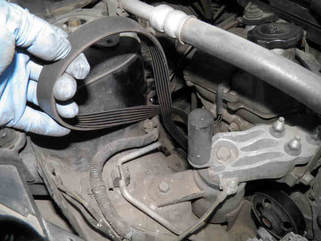
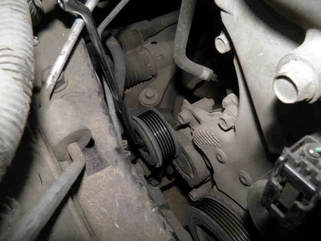
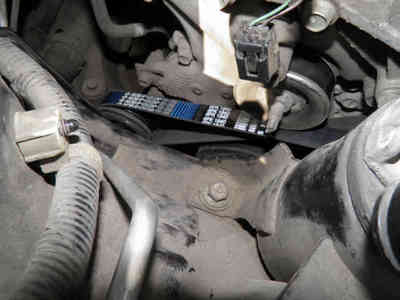
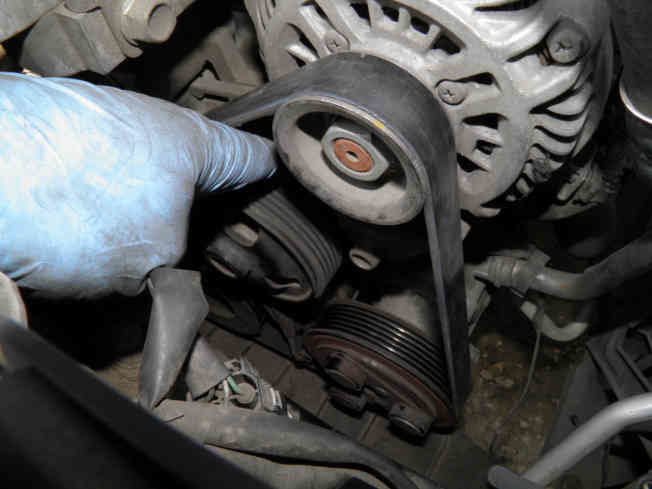
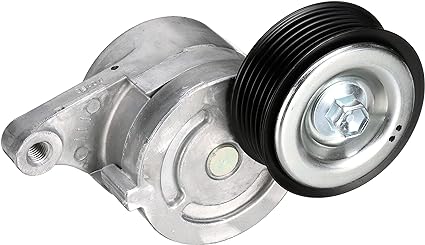
The serpentine belt of a Mazda 2 / Mazda Demio extends from the belt tensioner (left) to the alternator (right) and drives also the A/C compressor. You may call it any of serpentine belt (shape), drive belt (function), alternator belt or A/C belt (driven ancillaries)!
Some still call it "fan belt", although it's been a long time since car radiator fans became electric and require no belt to be driven anymore.
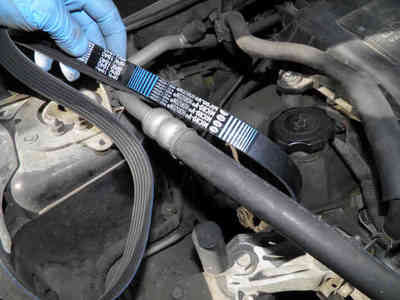
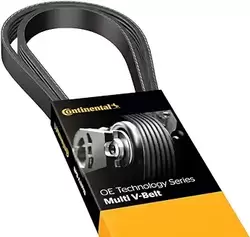
The size of the Mazda 2 belt is 1840 mm, which means it has a length of 1.84m.
Its belt tensioner is automatic, meaning it applies its force onto the belt by the means of a spring.
The drive belt should be replaced every 100,000 Km or whenever showing many cracks on its grooves' edges.
Both dry and cold or hot and humid climates reduce the lifetime of the ancillaries belt.
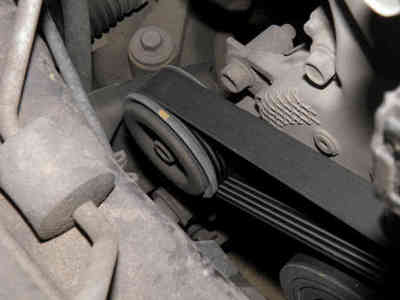
Use a size 14 combination wrench on the belt tensioner bolt and pull firmly clockwise to make the latter tilt which releases the tension on the belt and allows you to take it out.
The action on the tensioner requires some force, do not hesitate to extend the wrench handle with any tube.
After removing the belt from the pulleys, release the spring slowly in a manner not to let your tool hit something with force.
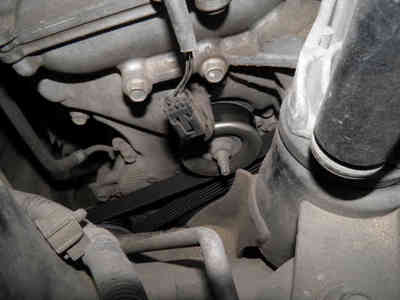
Gently let the tool lean on the A/C hose (lower right picture).
The action on the tensioner requires some force, do not hesitate to extend the wrench handle with any tube.
After removing the belt from the pulleys, release the spring slowly in a manner not to let your tool hit something with force.
Gently let the tool lean on the A/C hose (lower right picture).
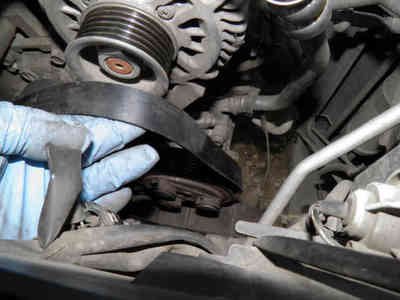
Introduce the new auxiliary belt and fit it first on the belt tensioner then all over its intended route and leave it unfitted to the alternator's pulley.
Again, apply a force on the tensioner with your left hand while fitting the belt to the alternator with your right hand.
Again, apply a force on the tensioner with your left hand while fitting the belt to the alternator with your right hand.
Check and make sure the belt fits well to all pulleys.
With your finger or a screwdriver, center it to the non-grooved wheels if necessary.
Turn on the engine and visually inspect it rotates perfectly.
With your finger or a screwdriver, center it to the non-grooved wheels if necessary.
Turn on the engine and visually inspect it rotates perfectly.

