COPYRIGHT WARNING:
All pictures and texts in this web page are the property of nomaallim.com. Any use of any part of those contents without the written consent of nomaallim.com shall be subject to legal procedures as per international and local laws in the concerned country. Using the name "nomaallim" or "nomaallim com" or "nomaallim.com" in the text describing the unauthorized copied content shall not constitute an exception and shall be sanctioned in accordance to the effective laws and proceedings.
All pictures and texts in this web page are the property of nomaallim.com. Any use of any part of those contents without the written consent of nomaallim.com shall be subject to legal procedures as per international and local laws in the concerned country. Using the name "nomaallim" or "nomaallim com" or "nomaallim.com" in the text describing the unauthorized copied content shall not constitute an exception and shall be sanctioned in accordance to the effective laws and proceedings.
BEFORE YOU START
|
DISCLAIMER:
Our pictorials are of informative nature and do illustrate works carried out by ourselves at our own premises for our own use and satisfaction.
Readers who envisage to carry out similar works inspired by the below method shall do this at their own risks and liability.
Our pictorials are of informative nature and do illustrate works carried out by ourselves at our own premises for our own use and satisfaction.
Readers who envisage to carry out similar works inspired by the below method shall do this at their own risks and liability.
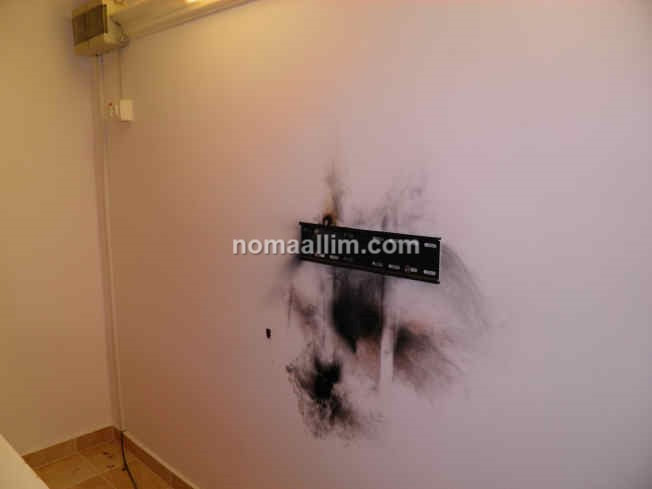
Context of a burnt paint: example of a lightning strike on TV set
|
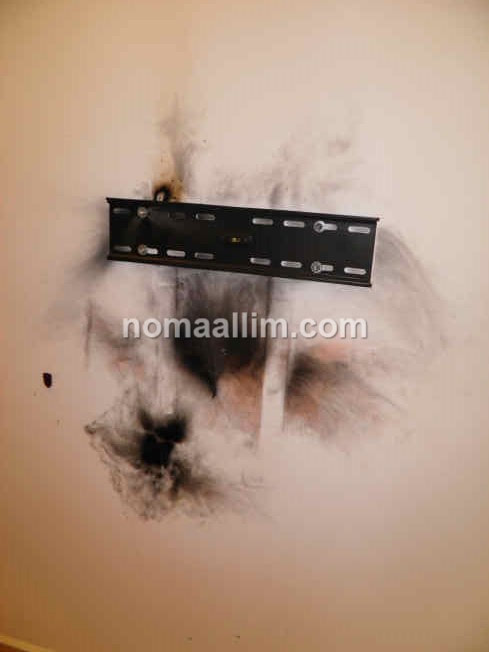
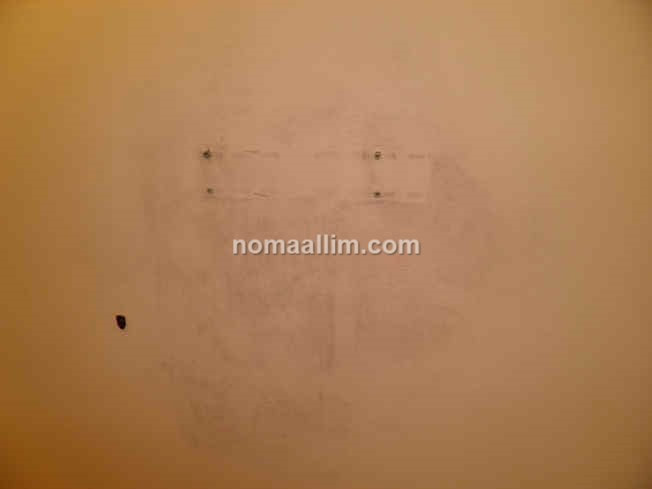
A lightning stroke this wall-hanged TV set generating multiple brief flames that are however strong enough to permanently damage the wall paint behind the TV.
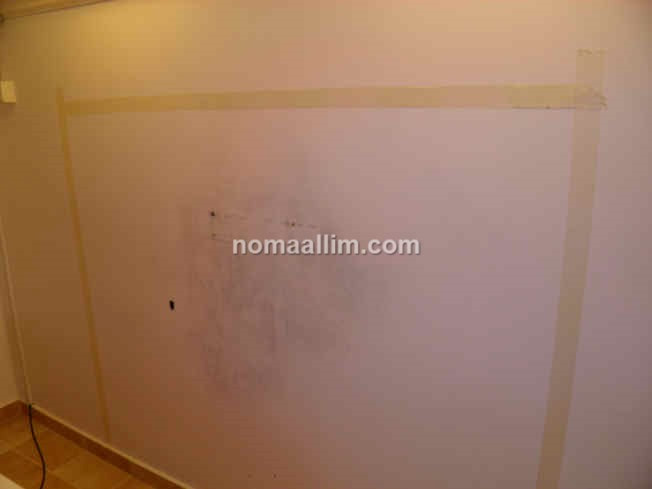
This picture shows how the paint was burned behind each of the SAT receiver, RG6 cable connector, TV power supply, HDMI cable connector, etc. It is not possible to wash the wall as this could even make things worse and painting on top of the burnt paint will require a significant number of coats to be applied. This pictorial shows how to paint the wall with less possible efforts and using little paint. |
|
|
|
Preparing the burnt wall before applying paint
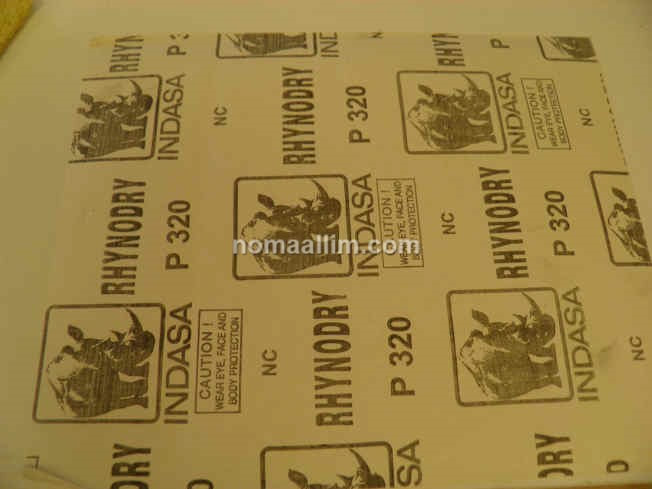
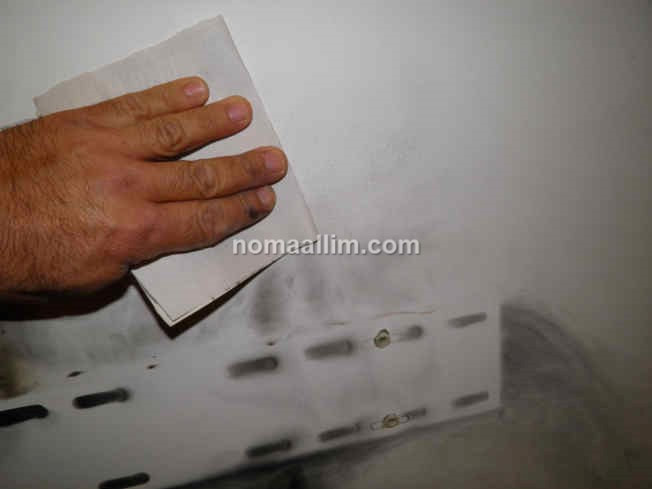
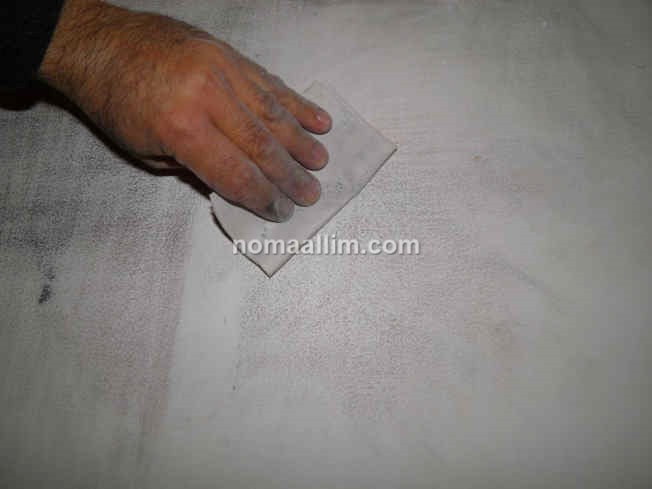
Use fine sandpaper (grade 220 / 320) to take out as much as possible the burnt paint.
Make sure to wear a good dust mask during this operation.
Alternate vertical, horizontal, oblique and then circular movements for efficiently reducing the black color which is so difficult to cover with white paint.
The more you make sure to bring back your wall to a near white color and the more you can repaint it easily and efficiently.
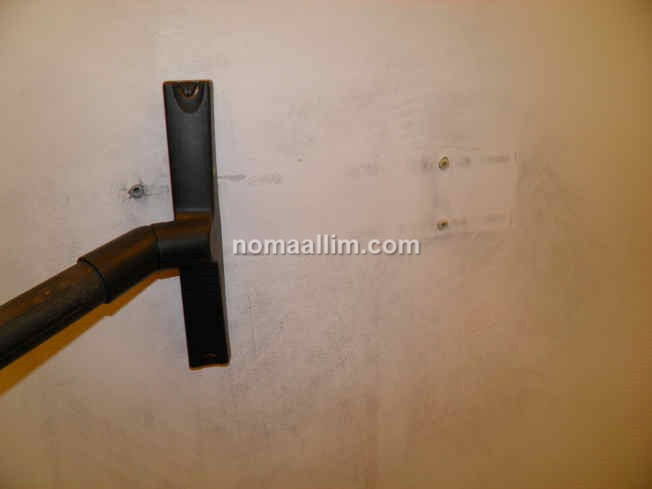
Remove dust from the wall and floor with a vacuum cleaner once you are done.
|
|
|
Applying water based paint to the wall
This will be done in two stages:
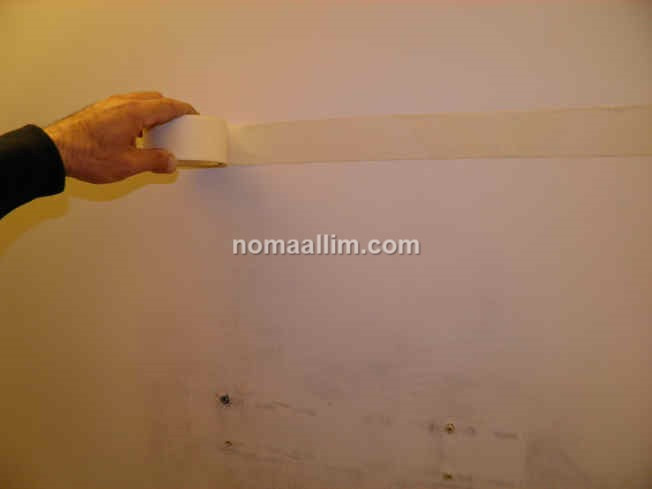
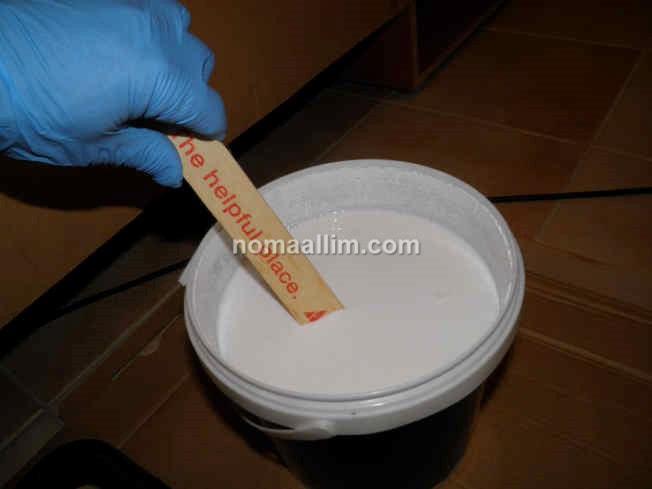
Start by putting some painter tape around the damaged area of the wall and mix well the paint in the paint bucket.
- Applying 2 coats on the damaged part of the wall
- Applying 2 other coats to the entire wall
Start by putting some painter tape around the damaged area of the wall and mix well the paint in the paint bucket.
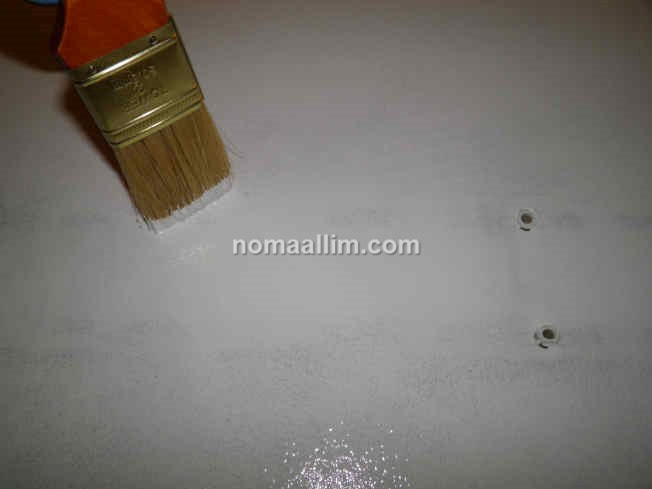
Apply a first coat with a paint brush directly to the damaged paint and let it dry for one hour at least.
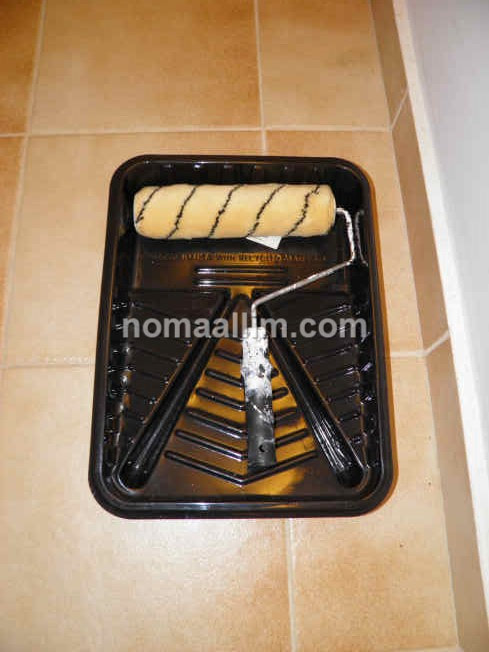
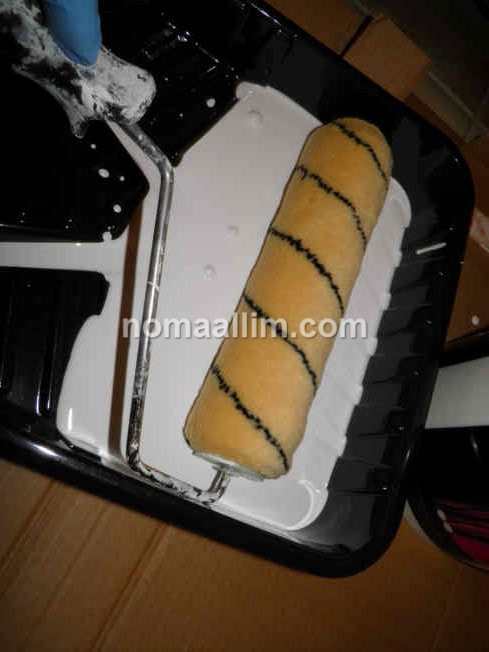
Use the brush with an angle (almost perpendicular to the wall) when applying the paint to make sure it goes all over the damaged paint grains. Prepare the paint roller for the next coats.
Use the brush with an angle (almost perpendicular to the wall) when applying the paint to make sure it goes all over the damaged paint grains. Prepare the paint roller for the next coats.
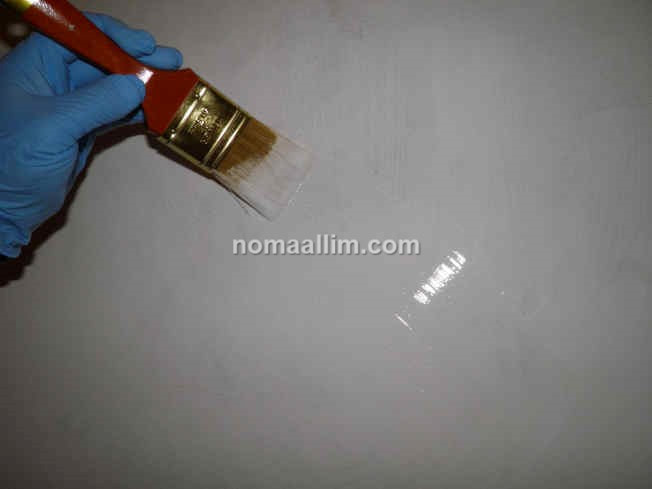
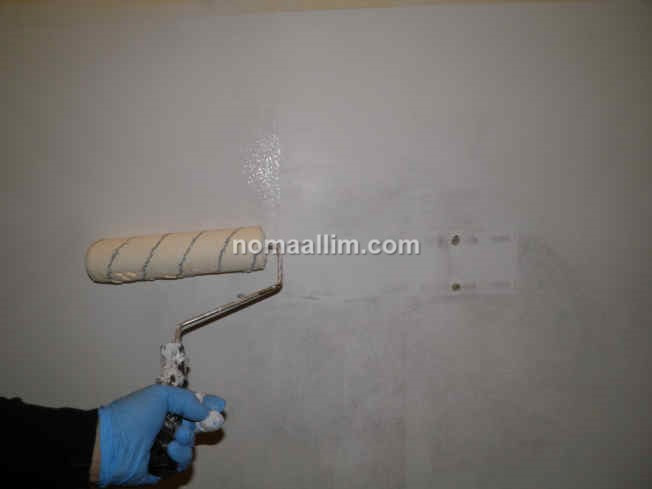
Apply one coat of paint with the roller to the damaged area marked with tape and wait for 2 hours at least.
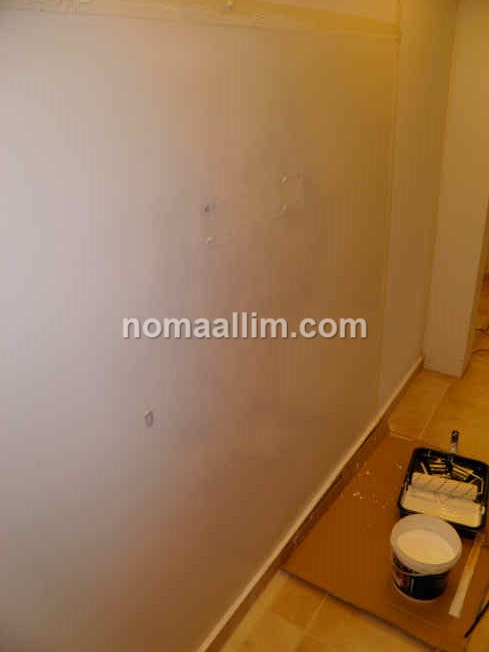
Remove the tape and paint the entire wall with 2 additional coats allowing them to dry in between (i.e. not less than 2 hours)
Remove the tape and paint the entire wall with 2 additional coats allowing them to dry in between (i.e. not less than 2 hours)
That's it. The wall has been renewed and the damaged electronic equipment as well...

