COPYRIGHT WARNING:
All pictures and texts in this web page are the property of nomaallim.com. Any use of any part of those contents without the written consent of nomaallim.com shall be subject to legal procedures as per international and local laws in the concerned country. Using the name "nomaallim" or "nomaallim com" or "nomaallim.com" in the text describing the unauthorized copied content shall not constitute an exception and shall be sanctioned in accordance to the effective laws and proceedings.
All pictures and texts in this web page are the property of nomaallim.com. Any use of any part of those contents without the written consent of nomaallim.com shall be subject to legal procedures as per international and local laws in the concerned country. Using the name "nomaallim" or "nomaallim com" or "nomaallim.com" in the text describing the unauthorized copied content shall not constitute an exception and shall be sanctioned in accordance to the effective laws and proceedings.
BEFORE YOU START
|
|
DISCLAIMER:
Our pictorials are of informative nature and do illustrate works carried out by ourselves at our own premises for our own use and satisfaction.
Readers who envisage to carry out similar works inspired by the below method shall do this at their own risks and liability.
Our pictorials are of informative nature and do illustrate works carried out by ourselves at our own premises for our own use and satisfaction.
Readers who envisage to carry out similar works inspired by the below method shall do this at their own risks and liability.
Note:The below works were carried out on a Peugeot 208 but the EB2 1.2 VTi PureTech engine can also be found on Peugeot 2008, 301 and Citroën C3, C3 aircross, Elysée, etc.
1- Timing belt lifetime and replacement frequency
|
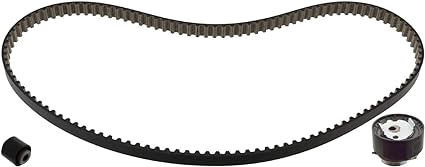
Peugeot manuals declare a 180,000 Km lifetime for this timing belt whatever the driving conditions.
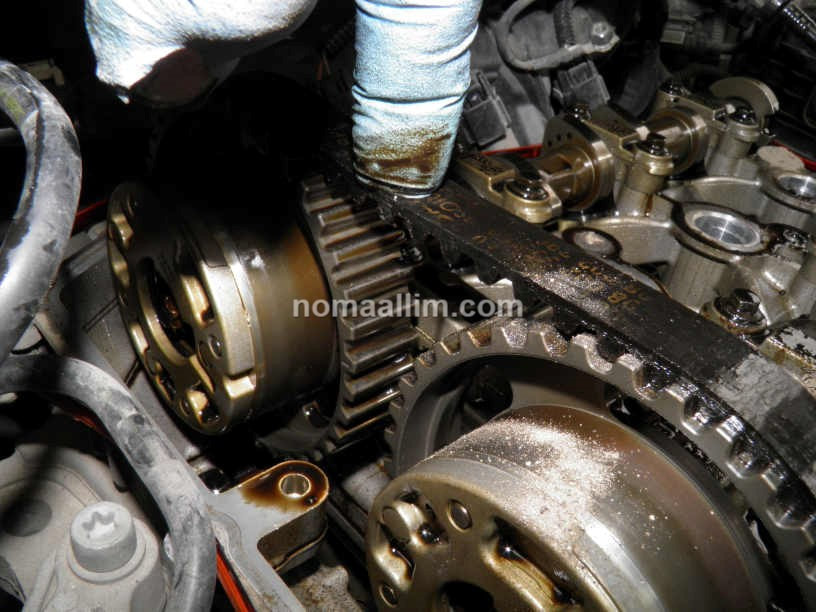
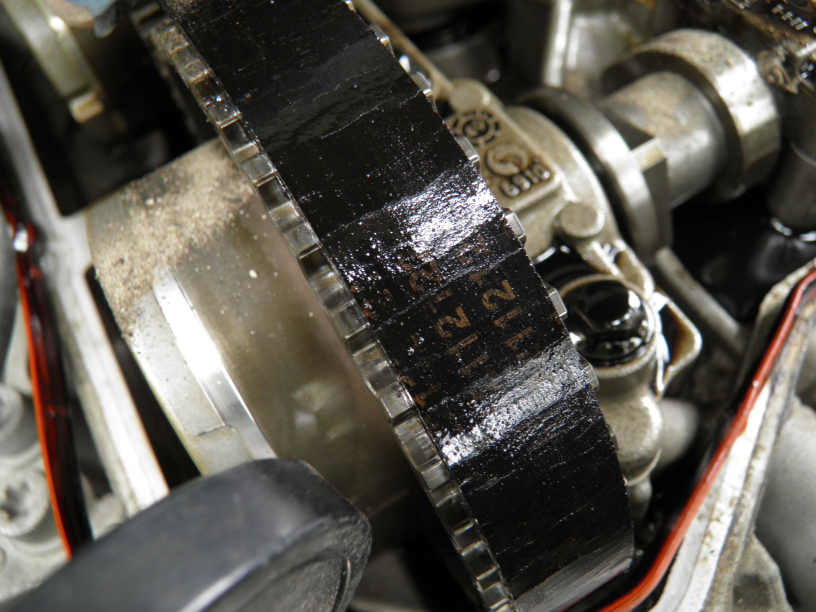
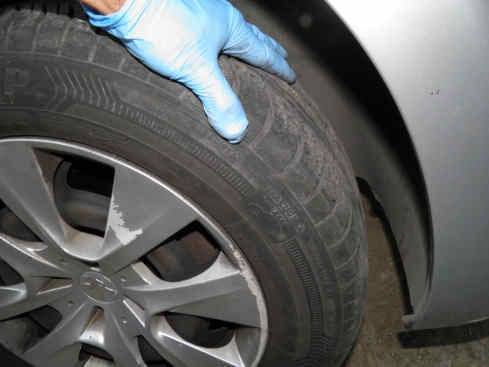
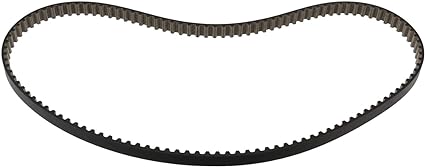
The extended lifetime compared to a usual 100,000 Km is due to its installation in the same location as a timing chain, i.e. where the engine oil and/or oil vapors are present. The real world is different however. See the cracks on this timing belt that ran for 130,000 Km. The belt is no more properly tensioned. It is recommended to proceed with the timing belt replacement between 75,000 and 100,000 Km especially the intervention on this 3-cylinder engine is relatively easy. |
2- Preparatory works
Start by:
- Identifying your engine (left)
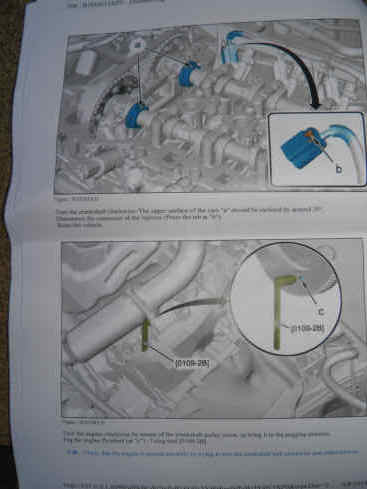
- Making sure you have downloaded the procedure for your vehicle (middle). We always recommend obtaining the manufacturer's procedure to enable you compare to our method which is made simpler on purpose.
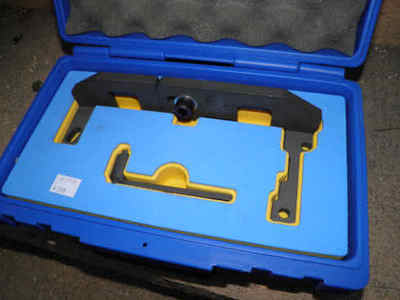
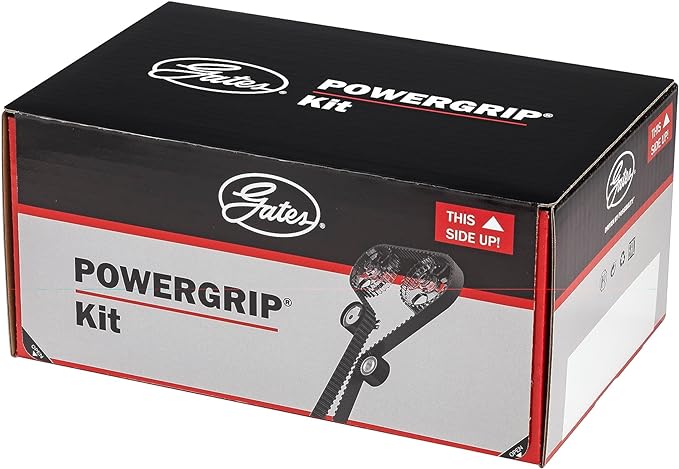
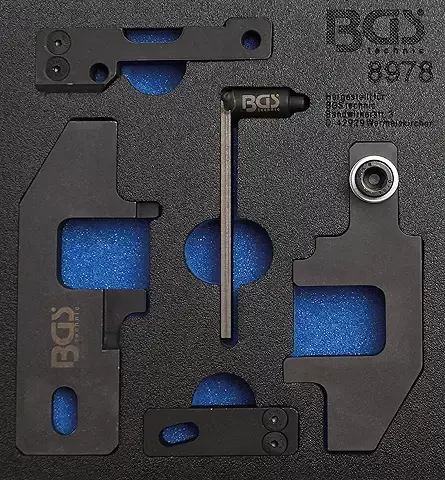
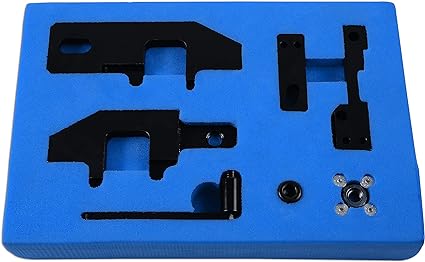
- Buying the specific timing tool (right)
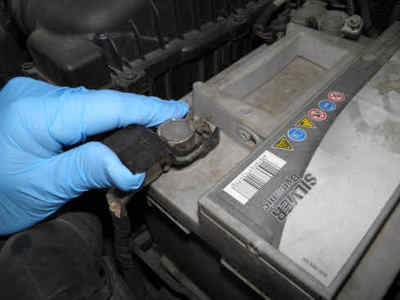
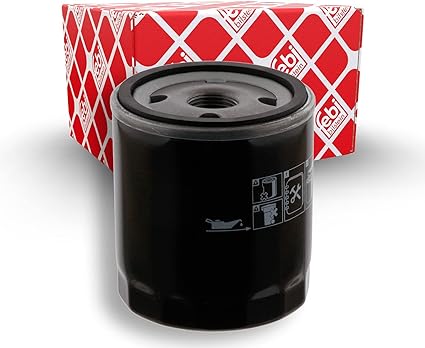
Disconnect the battery then remove the air box and air filter housing.
Drain the coolant (middle left) as this is needed for disconnecting a coolant hose for the intake manifold removal.
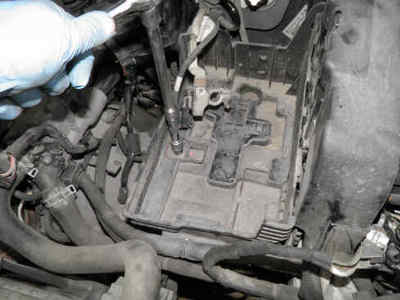
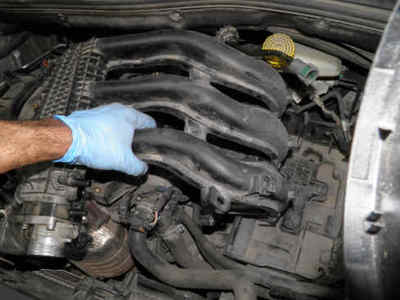
Loosen the battery tray (middle right) and take out the intake manifold (right). See our specific page for intake manifold removal.
Remove the coils and spark plugs. This is because you will have to turn the engine by hand, so eliminating the compression is a must.
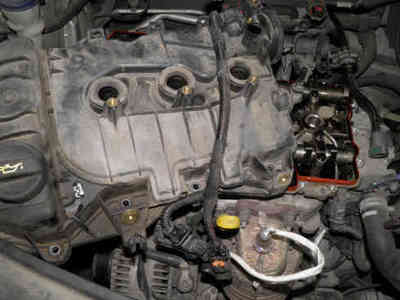
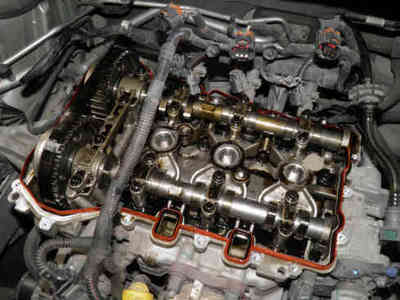
Remove all cylinder head cover bolts and disconnect all harnesses and hoses that are fixed to it.
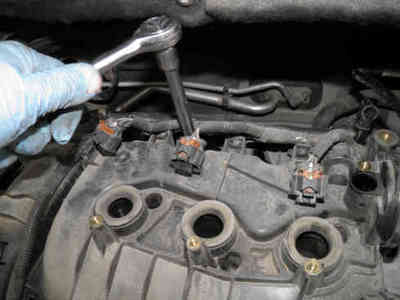
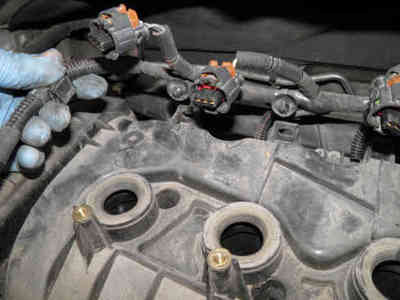
Disconnect 2 injectors at least to provide some movement freedom for the electrical harness that crosses on top of the cylinder head cover.
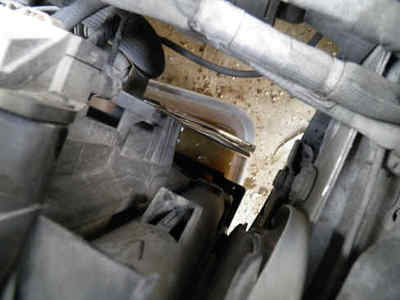
Slide it left below the electrical harness (middle right) and take it out.
Disconnect 2 injectors at least to provide some movement freedom for the electrical harness that crosses on top of the cylinder head cover.
Slide it left below the electrical harness (middle right) and take it out.
|
|
|
3- EB2 1.2 VTi PureTech timing tool fitting
You need first to immobilize the EB2 engine camshafts and flywheel.
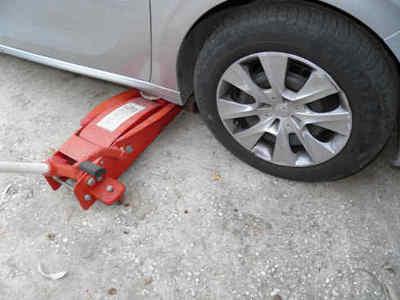
Raise the vehicle on the right side just enough to let the wheel rotate.
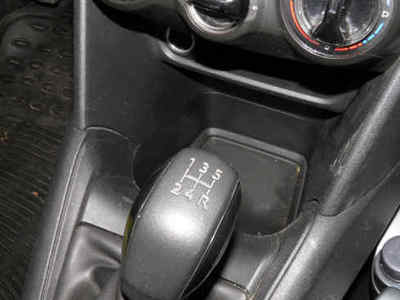
Engage the 5th or 6th gear.
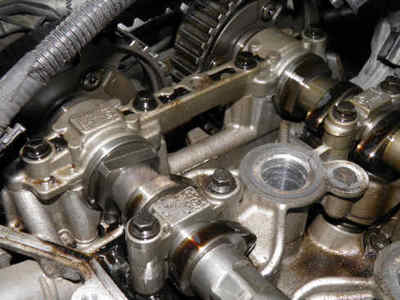
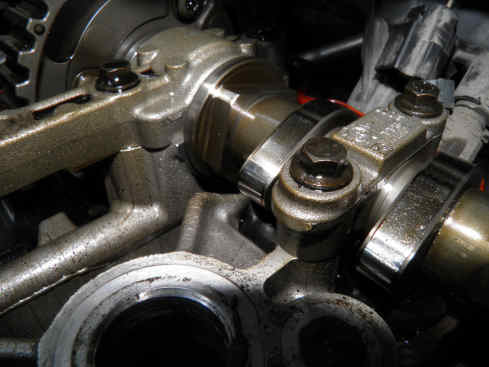
Locate the place where the camshaft locking tool will be fitted, that is on the specific square shaped tool seats on the camshaft, just next to the first set of bearings to the left (picture to the right).
The squares have one curved side which should be pointing downwards for inserting the tool.
See further below to understand how exactly it mounts.
|
The EB2 camshaft squares will have their round side facing downwards twice upon a full engine cycle.
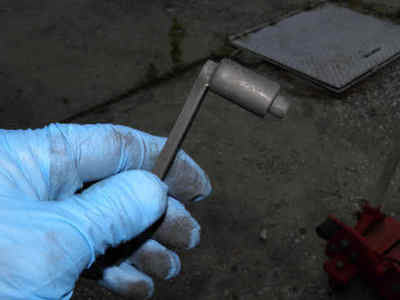
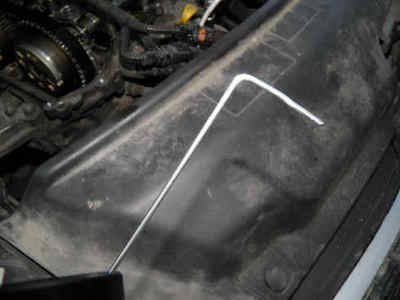
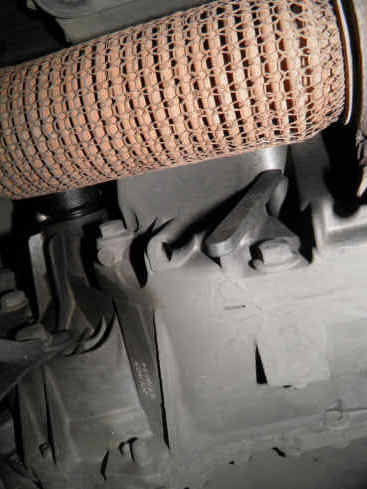
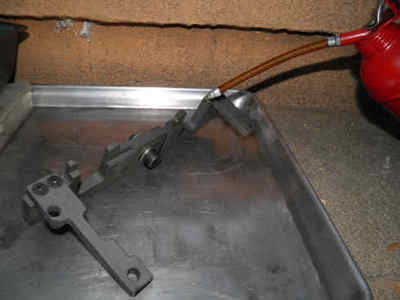
They will be synchronized with the flywheel locking tool (left picture) only once. For this reason, you need to rotate the engine clockwise using the right wheel until they face downwards, then try to introduce an elbow pin that you cut from any steel wire cloth hanger (middle). If the steel wire pin goes into a hole in the flywheel, this means you are on the right half-cycle and you can now attempt to lock the flywheel. If not, rotate the engine one more turn and try again. Put one drop of oil on the crankshaft locking tool and keep trying to introduce it in the flywheel while rotating the engine clockwise very little between one attempt and the other. Repeat until the locking tool goes in (right picture). If you pass the hole on the flywheel, do not rotate the engine counter-clockwise, rather 2 full turns (so one cycle) and try again. |
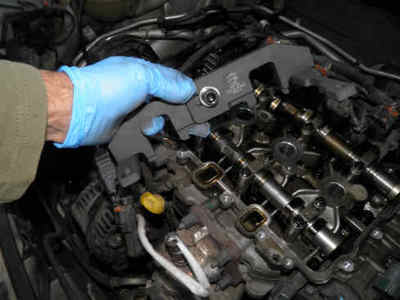
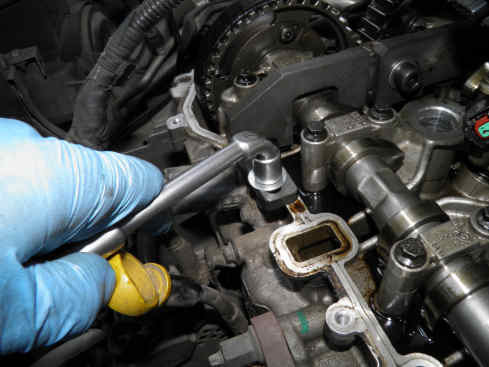
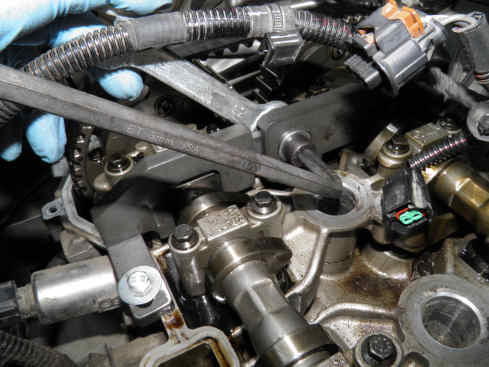
Put some motor oil on the EB2 engine timing setting tool and slightly loosen its bolt, the one that assembles its two parts.
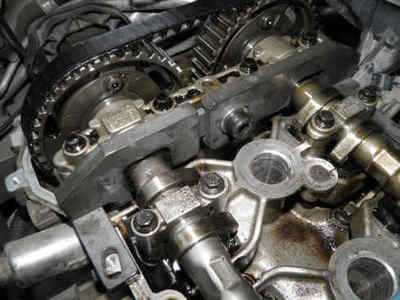
Insert it gently onto the camshaft squares as shown in the right picture.
Fix it with bolts and tighten its central bolt.
Insert it gently onto the camshaft squares as shown in the right picture.
Fix it with bolts and tighten its central bolt.

