COPYRIGHT WARNING:
All pictures and texts in this web page are the property of nomaallim.com. Any use of any part of those contents without the written consent of nomaallim.com shall be subject to legal procedures as per international and local laws in the concerned country. Using the name "nomaallim" or "nomaallim com" or "nomaallim.com" in the text describing the unauthorized copied content shall not constitute an exception and shall be sanctioned in accordance to the effective laws and proceedings.
All pictures and texts in this web page are the property of nomaallim.com. Any use of any part of those contents without the written consent of nomaallim.com shall be subject to legal procedures as per international and local laws in the concerned country. Using the name "nomaallim" or "nomaallim com" or "nomaallim.com" in the text describing the unauthorized copied content shall not constitute an exception and shall be sanctioned in accordance to the effective laws and proceedings.
BEFORE YOU START
|
|
The below works concerned a Peugeot 5008 equipped with a turbo-charged EP6 engine (156 HP version).
Same or similar engine can be found on Peugeot 207, 208, 308, 508, 3008, 5008 and Citroen C4, C4 Sedan, DS3, DS4, DS5 also the Mini Cooper S.
Same or similar engine can be found on Peugeot 207, 208, 308, 508, 3008, 5008 and Citroen C4, C4 Sedan, DS3, DS4, DS5 also the Mini Cooper S.
DISCLAIMER:
Our pictorials are of informative nature and do illustrate works carried out by ourselves at our own premises for our own use and satisfaction.
Readers who envisage to carry out similar works inspired by the below method shall do this at their own risks and liability.
Our pictorials are of informative nature and do illustrate works carried out by ourselves at our own premises for our own use and satisfaction.
Readers who envisage to carry out similar works inspired by the below method shall do this at their own risks and liability.
Controlling the cylinder head flatness
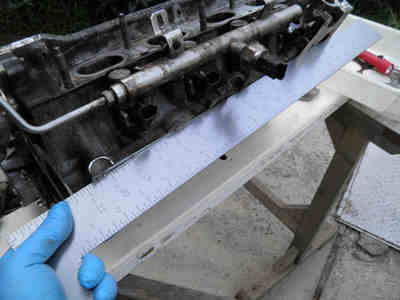
Use a thick metal ruler to make sure the cylinder head is not excessively distorted.
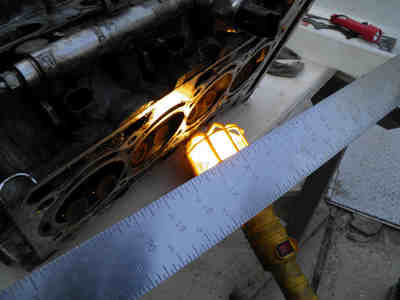
Try it while the cylinder head is vertical and horizontal having light behind the ruler.
If needed, use an inspection lamp behind the ruler.
You should make sure that:
Try it while the cylinder head is vertical and horizontal having light behind the ruler.
If needed, use an inspection lamp behind the ruler.
You should make sure that:
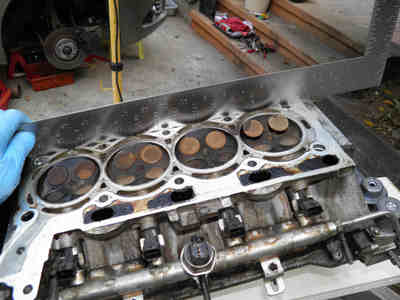
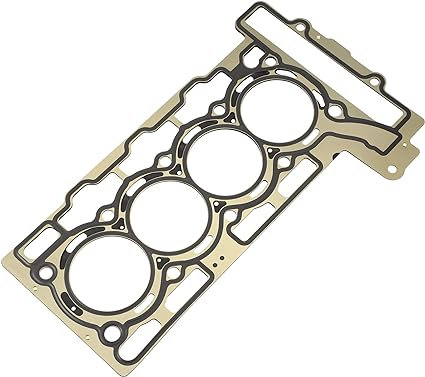
- Any distortion found at the middle cylinders No 2 and 3 is far less than the thickness of the used head gasket you removed
- There are no cracks in the cylinder head around valves
- Injectors tips are clean and along with the valves, they all have the same appearance in all cylinders.
Minimum cleaning of the cylinder head
If you do not intend to dismantle the camshafts, valves, injectors, etc to thoroughly clean the cylinder head, then you should observe a minimal cleaning consisting of:
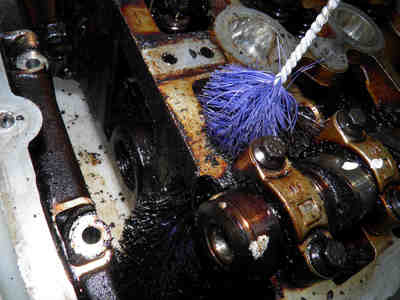
- Brushing with a rigid plastic brush the camshafts, hydraulic lifters, etc. to remove partially carbonized engine oil. See our page for cylinder head sludge removal for more details.
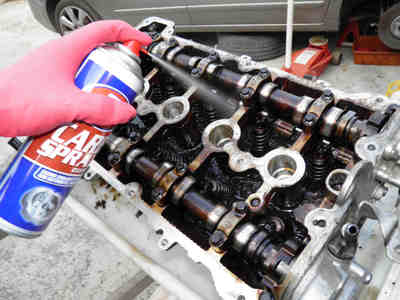
- Cleaning the hydraulic valve lifters with carb spray. Later, and after refitting the cylinder head, new engine oil will be poured over the lifters.
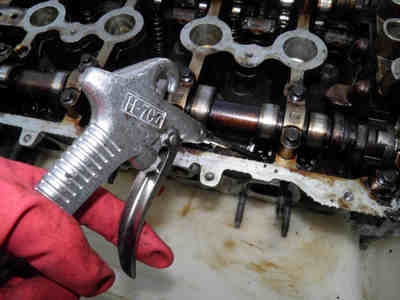
- Blow with compressed air whatever particles that are left after the cleaning operation.
Cylinder head bolts cleaning and greasing
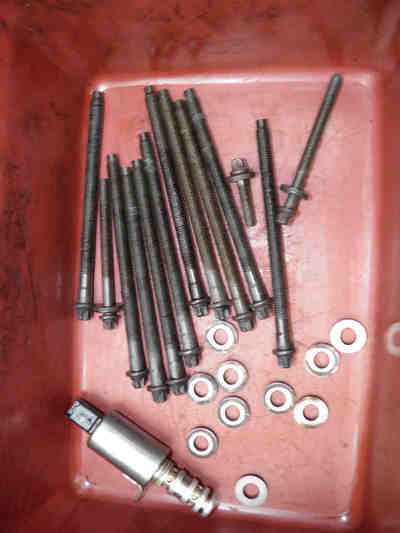
You should replace your cylinder head bolts.
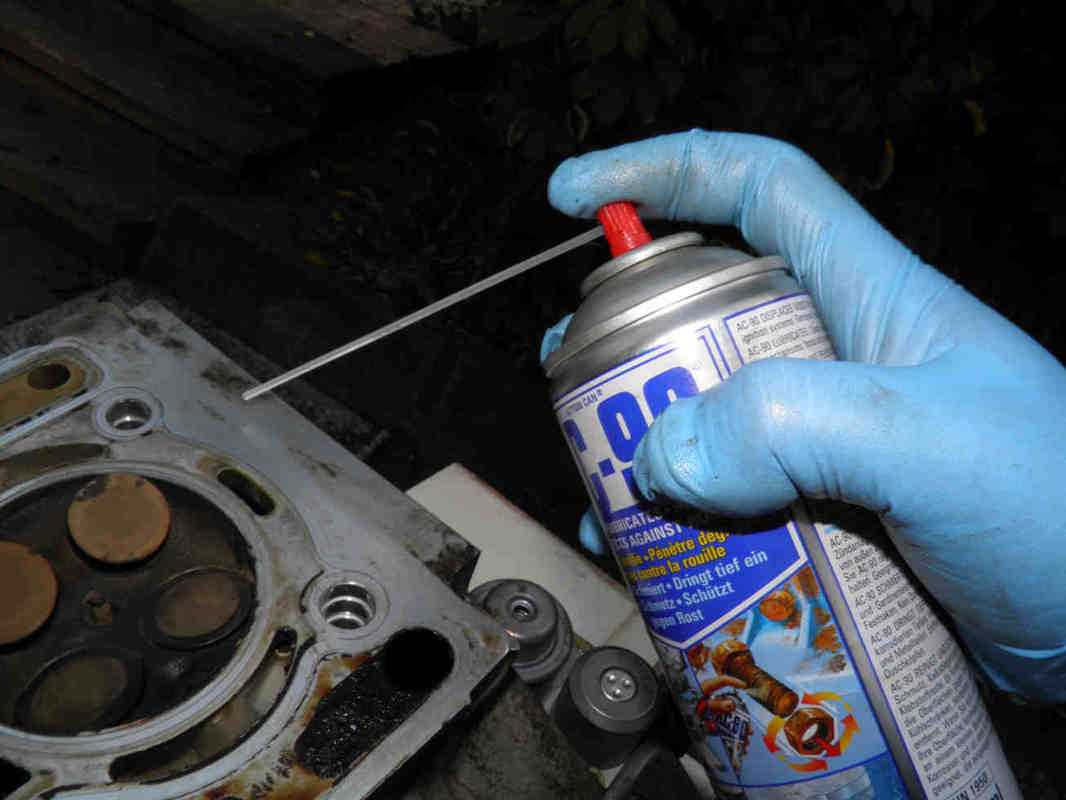
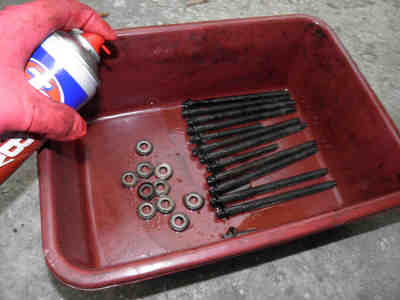
If you do not find new bolts, thoroughly clean with carb spray the bolts, washers and nuts and apply a thick coat of high temperature grease to the whole the threaded part of the bolt.
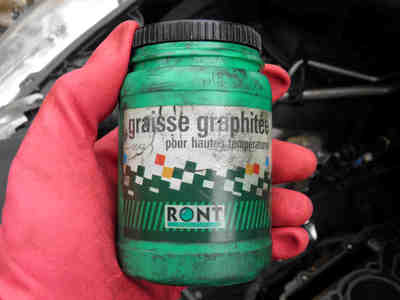
Grease with graphite contents are well suited for the job and widely available.
If you do not find new bolts, thoroughly clean with carb spray the bolts, washers and nuts and apply a thick coat of high temperature grease to the whole the threaded part of the bolt.
Grease with graphite contents are well suited for the job and widely available.
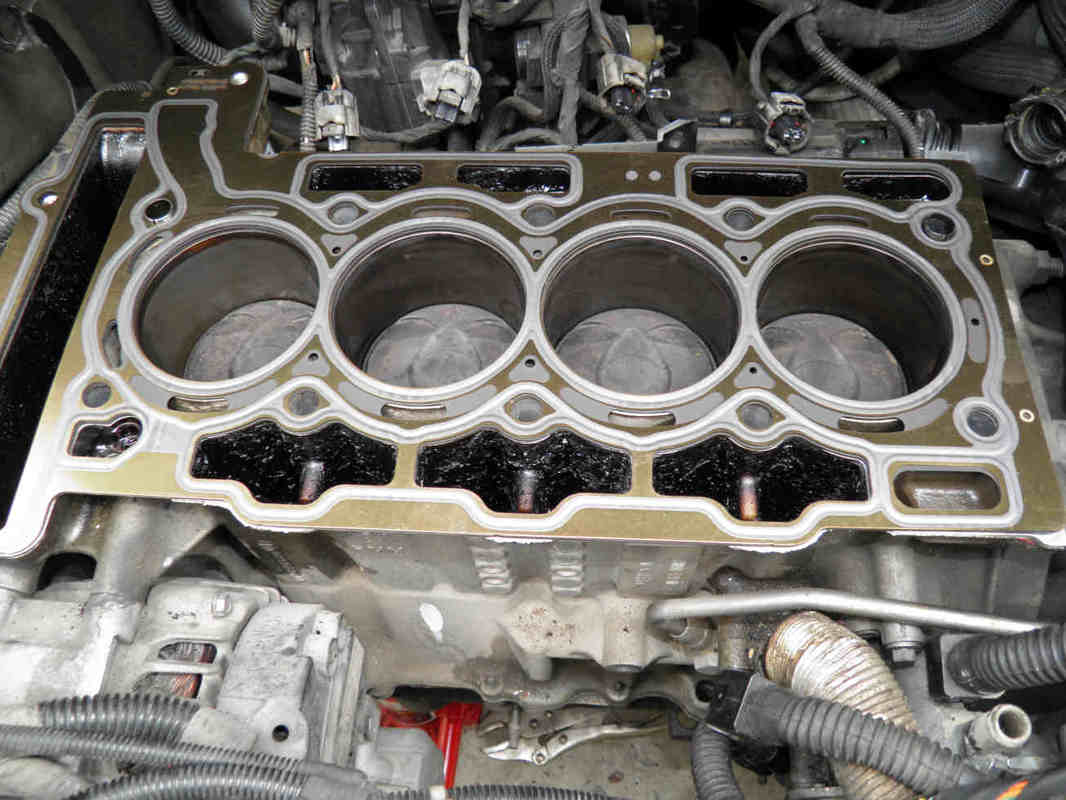
Engine block top surface cleaning
|
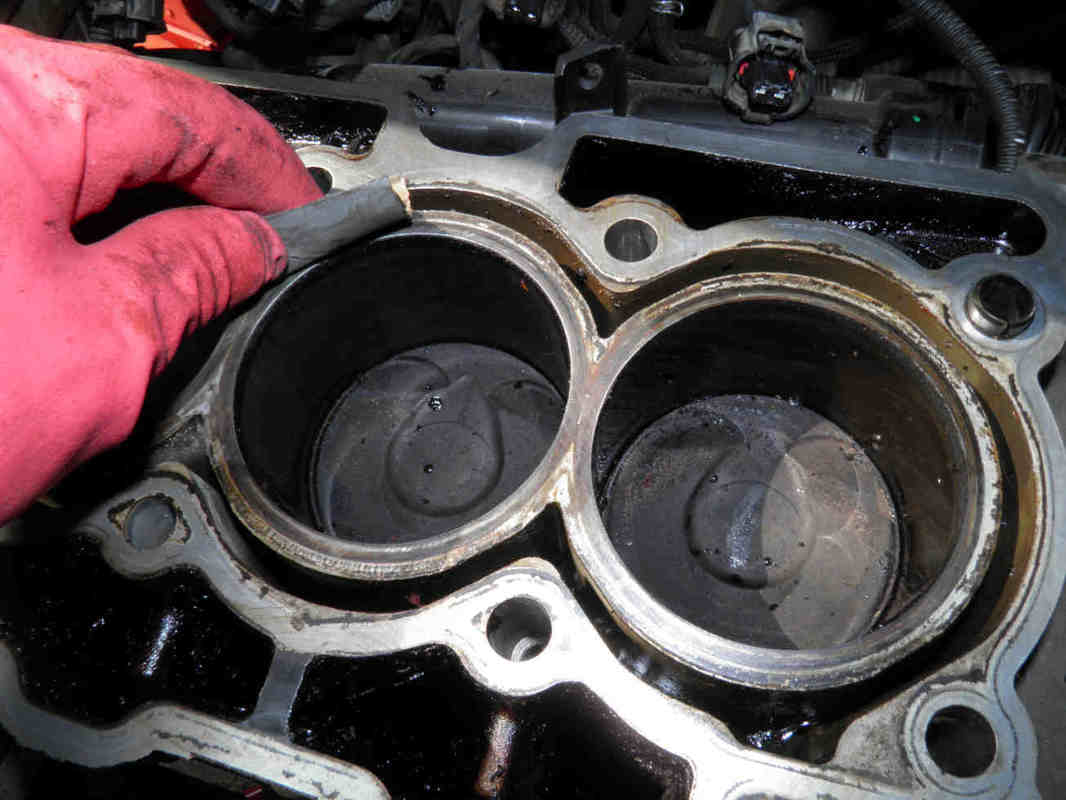
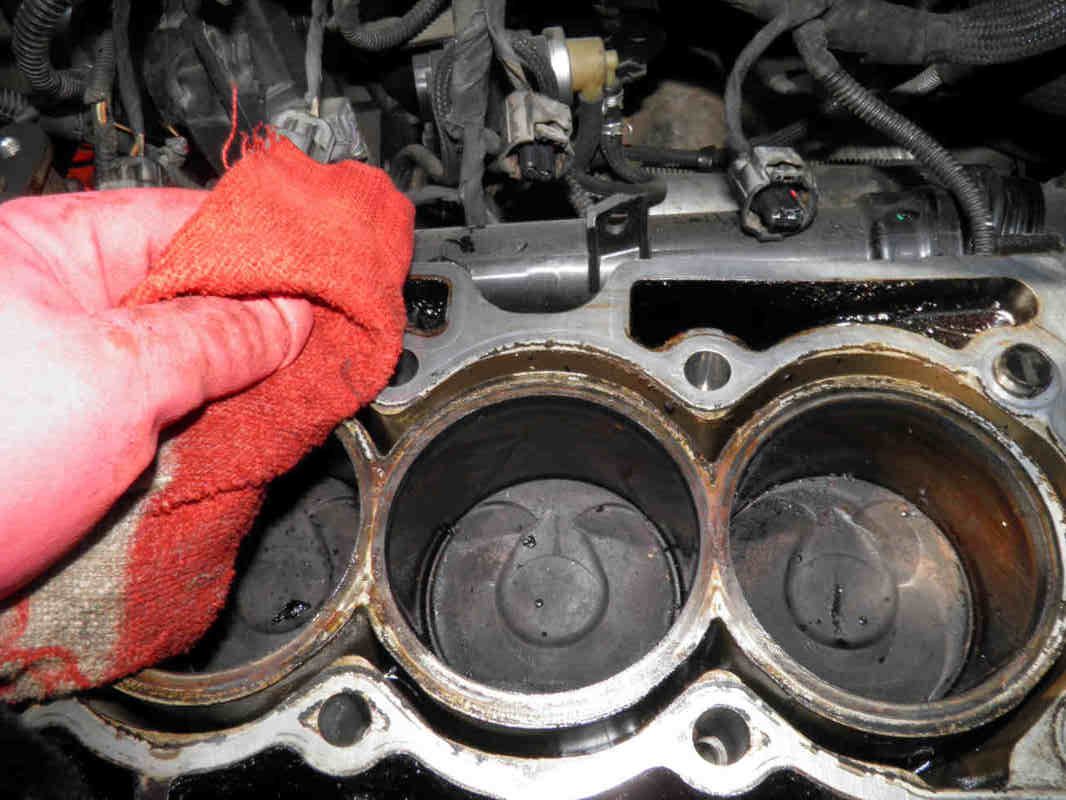
Use a P1000 sand paper to clean the engine cylinder block top surface. Make sure to:
|
Pegging the EP6 engine
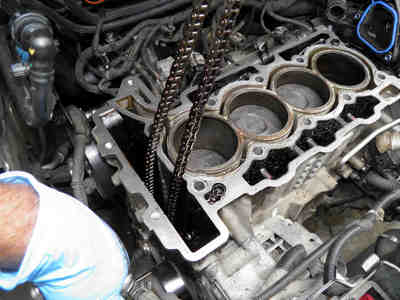
Turn the engine by hand clockwise using a combination spanner on the crank pulley bolt (left) and while making sure the timing belt is attached to the hood.
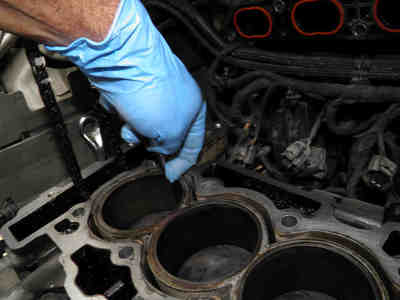
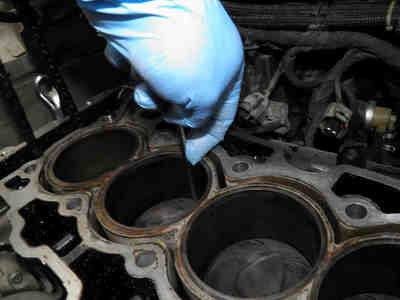
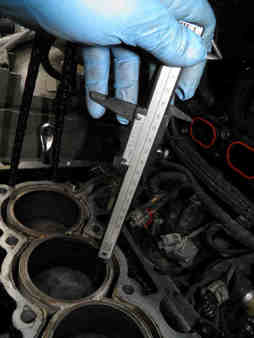
With any stick like an Allen key make sure to bring your pistons to mid-travel by measuring the height to surface of 2 adjacent cylinders like 4 and 3 as shown here. Mid-travel occurs twice at every engine turn, you should do so with pistons 1 and 4 moving up.
Never turn the engine anti-clockwise during this operation. Turn it gain clockwise by a complete turn if you pass the mid-travel position.
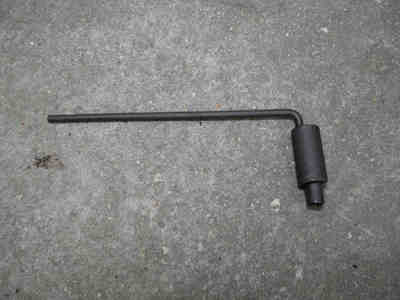
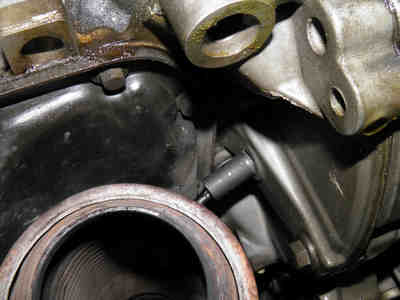
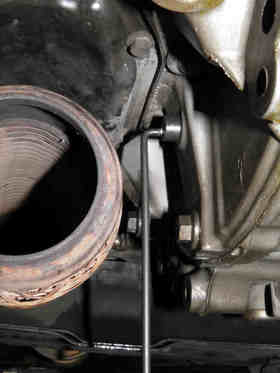
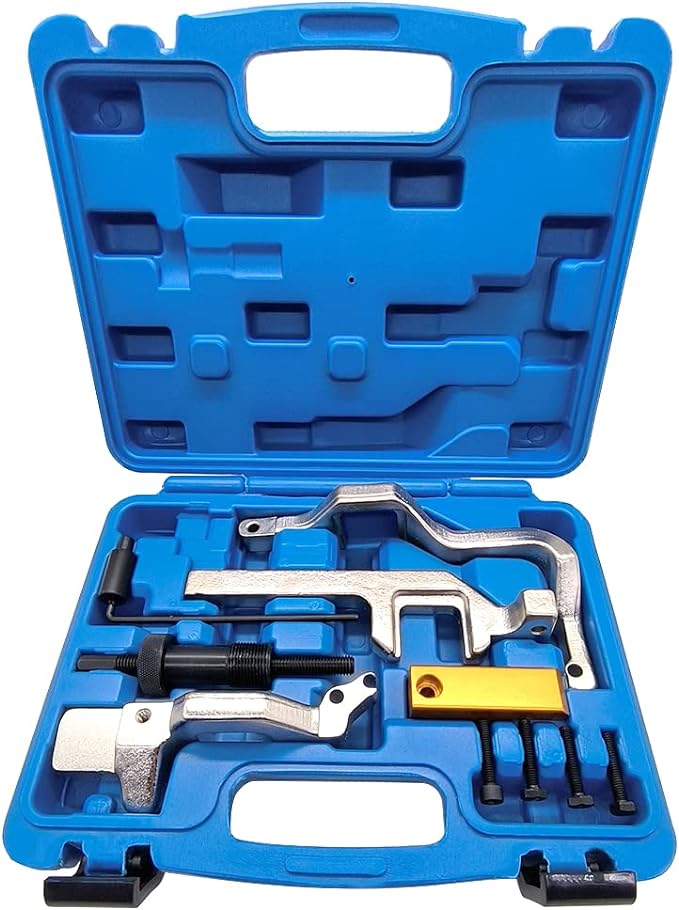
Now fit the EP6 engine peg (left) into its place located between the exhaust and flywheel.

