COPYRIGHT WARNING:
All pictures and texts in this web page are the property of nomaallim.com. Any use of any part of those contents without the written consent of nomaallim.com shall be subject to legal procedures as per international and local laws in the concerned country. Using the name "nomaallim" or "nomaallim com" or "nomaallim.com" in the text describing the unauthorized copied content shall not constitute an exception and shall be sanctioned in accordance to the effective laws and proceedings.
All pictures and texts in this web page are the property of nomaallim.com. Any use of any part of those contents without the written consent of nomaallim.com shall be subject to legal procedures as per international and local laws in the concerned country. Using the name "nomaallim" or "nomaallim com" or "nomaallim.com" in the text describing the unauthorized copied content shall not constitute an exception and shall be sanctioned in accordance to the effective laws and proceedings.
DISCLAIMER:
Our pictorials are of informative nature and do illustrate works carried out by ourselves at our own premises for our own use and satisfaction.
Readers who envisage to carry out similar works inspired by the below method shall do this at their own risks and liability.
Our pictorials are of informative nature and do illustrate works carried out by ourselves at our own premises for our own use and satisfaction.
Readers who envisage to carry out similar works inspired by the below method shall do this at their own risks and liability.
Problems encountered as a result of a defective hard disk SATA cable
Click on the below button to know the type of faults that a defective hard drive cable can generate, in particular the "No bootable device" message. the below pictorial only shows how to replace a hard disk cable.
|
|
|
Replacing a defective SATA drive cable (even on brand new laptop)
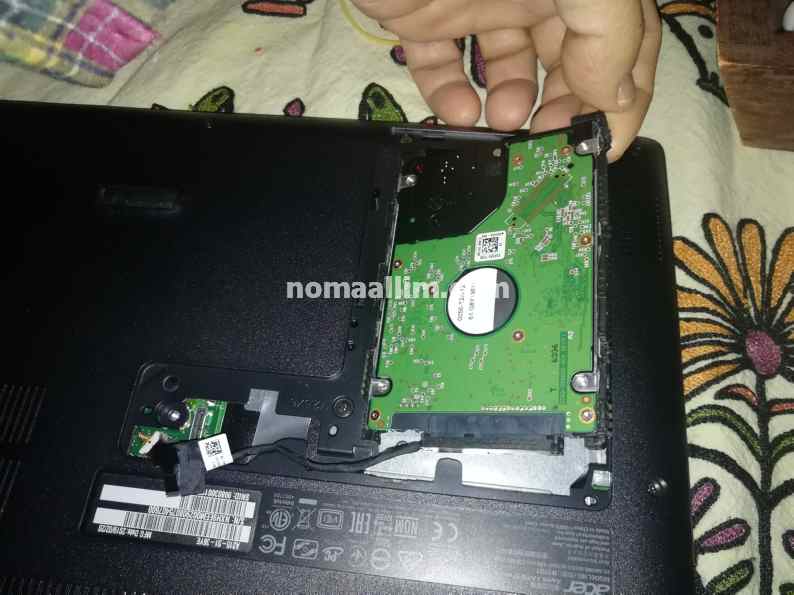
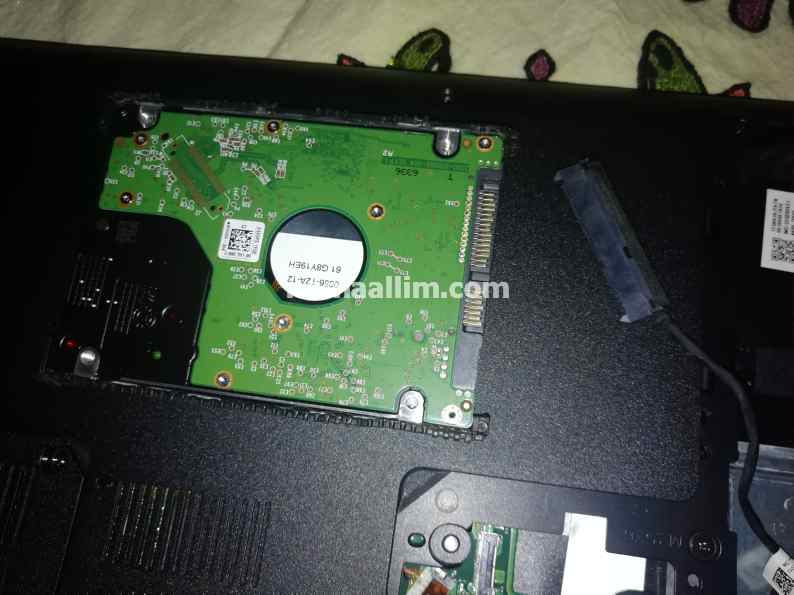
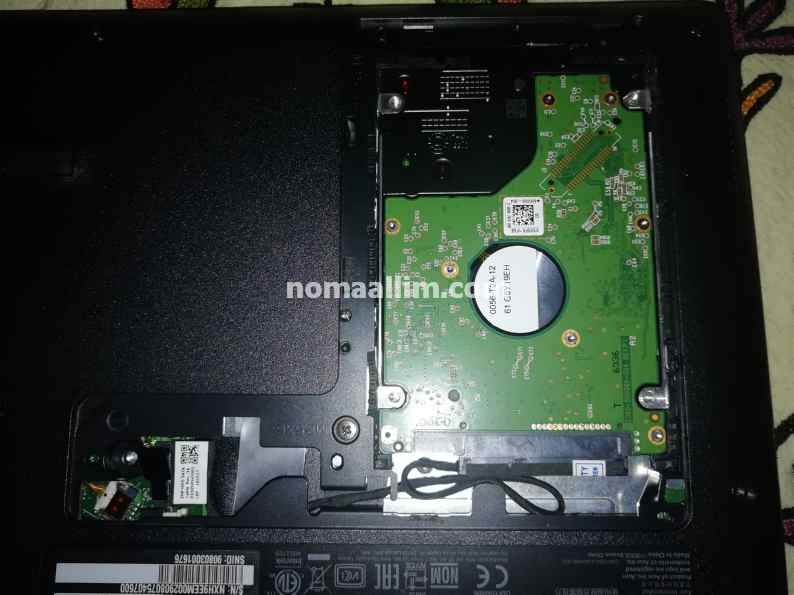
- Open the hard disk compartment and pull out the hard drive SATA cable on the motherboard side first.
- A small flexible handle is provided for that purpose, hold it firmly and pull the SATA connector straight up making sure not to tilt it
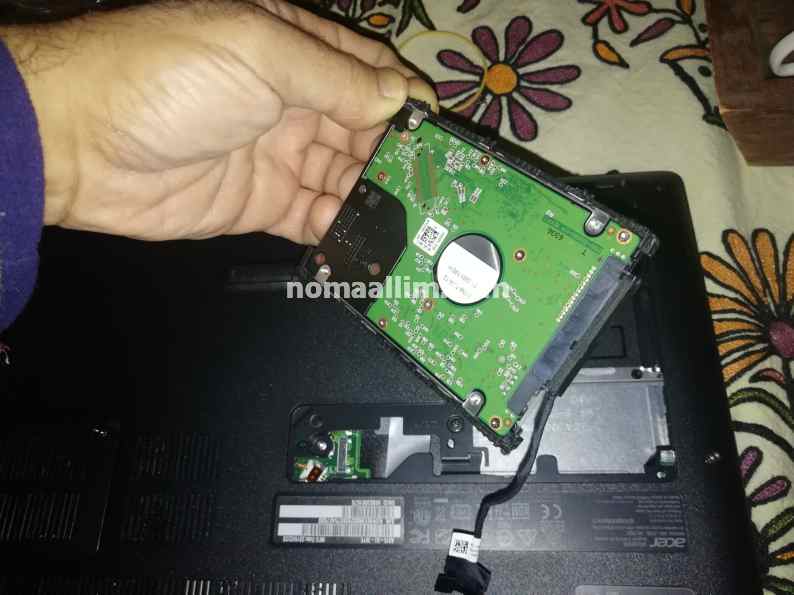
- Remove the hard drive from its compartment
Disconnect the large SATA connector on the hard drive
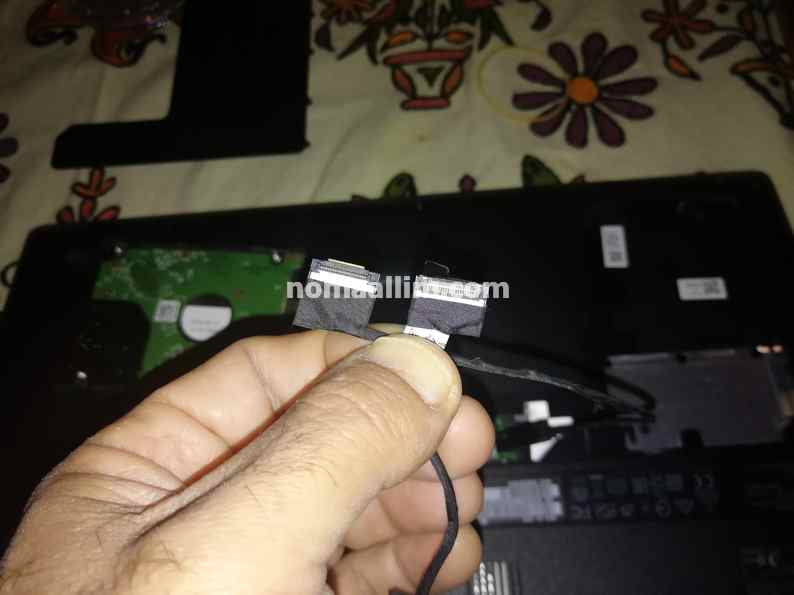
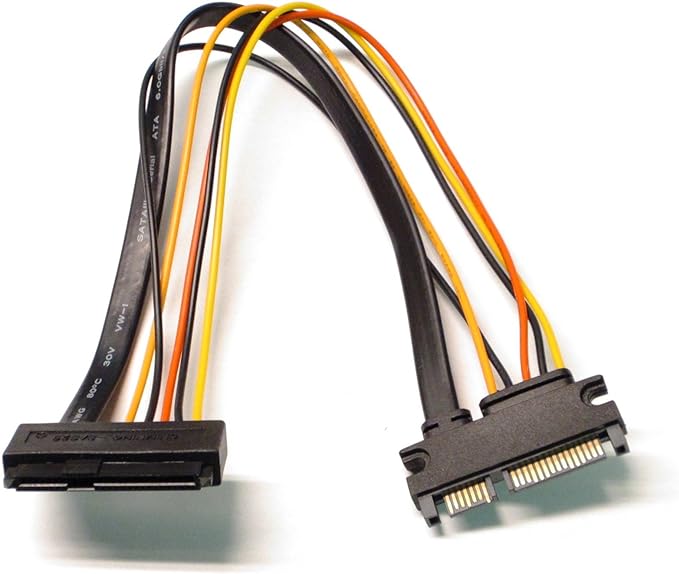
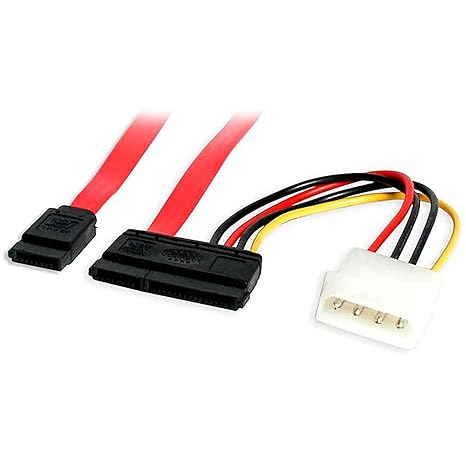
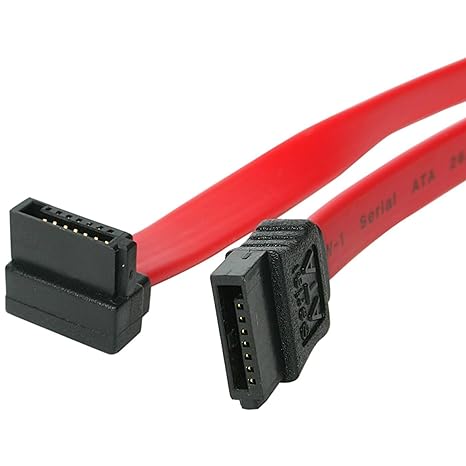
Compare well the motherboard SATA connector of the new hard drive cable you purchased and make sure it is the same.
- Plug the new SATA cable in the hard disk first and insert the drive in its place
- If the cable you purchased is longer, make it pass within the intended cable holders giving it a serpentine shape so it doesn't block the hard drive compartment cover.
- Close the hard disk compartment and refit the fixing screw.
|
|
|


