Context of tentative PVs installation behind glass
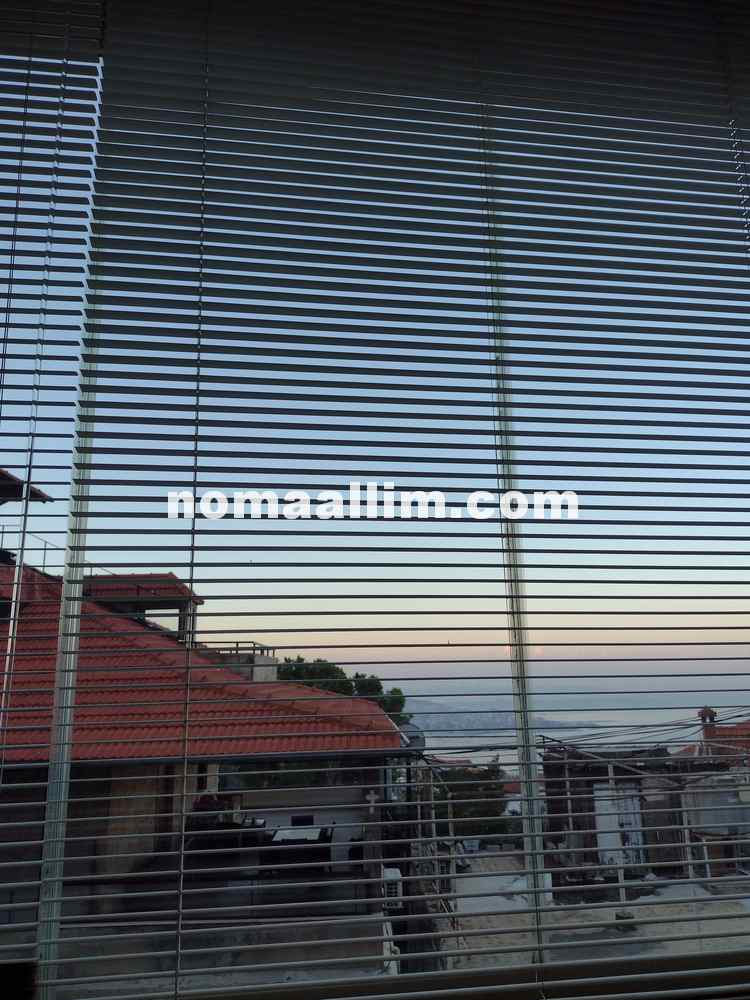
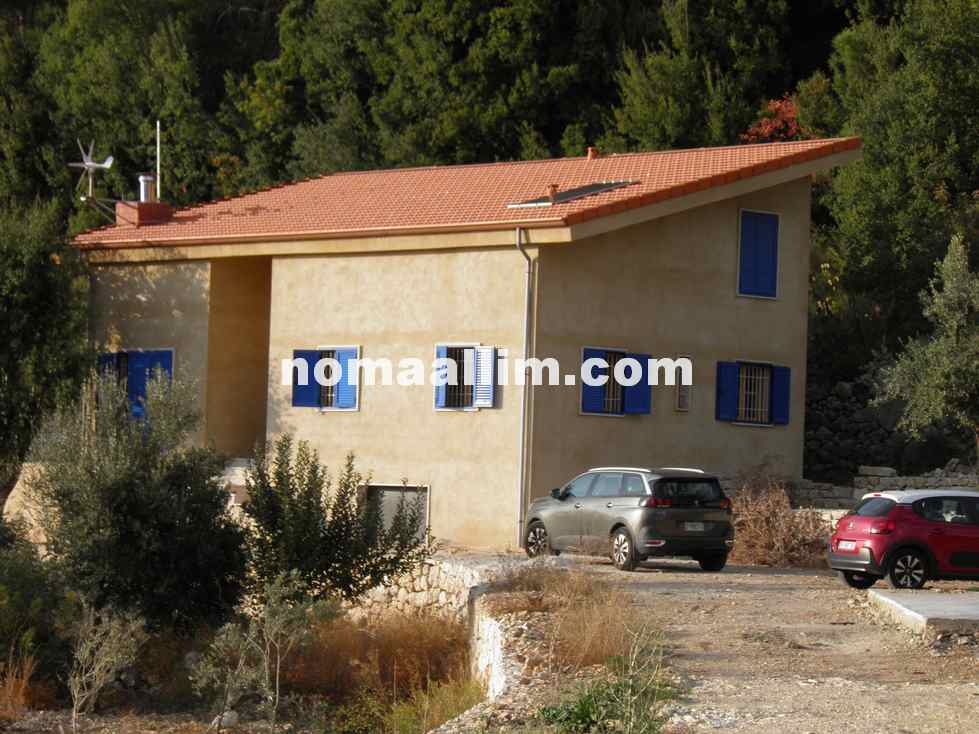
I deciced to turn my apartment's balcony into a source of electricity, especially it is ideally oriented towards the South-West, on a hill facing the Mediterranean sea. 180W solar panels were found to fit in the available space, as per the below picture. I temporarly wired two panels in series underneath the railing and behind the glass.
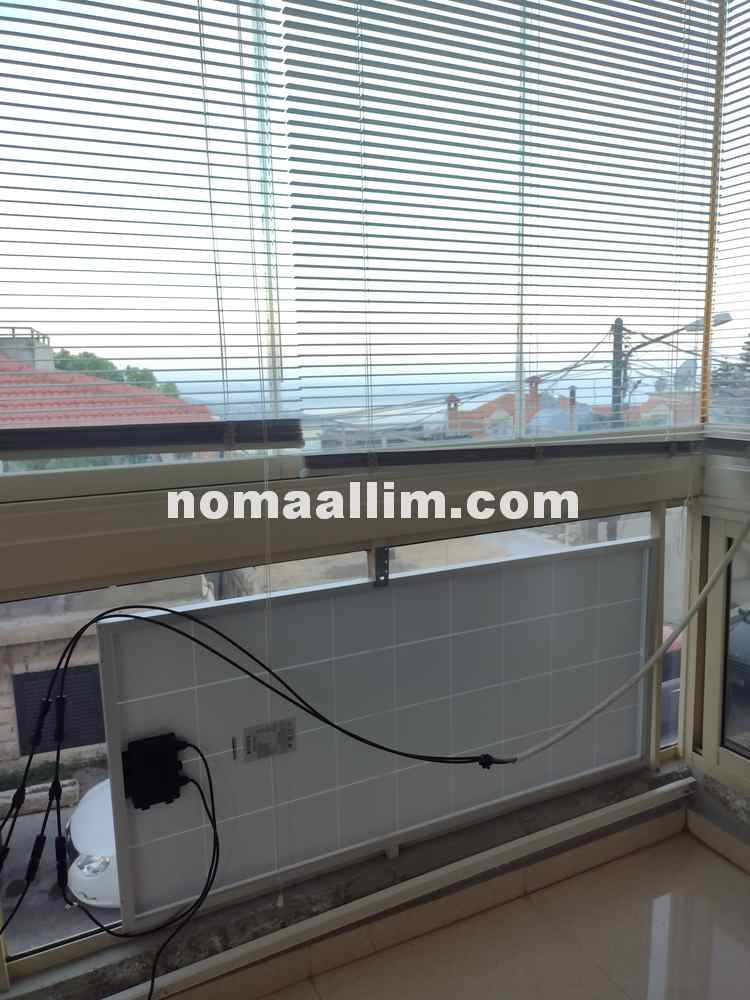
On a very sunny day and against a maximum theoretical current of 9.52A (Imp), the measurements I conducted simply proved that there's no use to install PVs behind glass.
The below figures do show the Amps readings at the same moment of the day, with the solar panels installed behind the glass (left) and outside the glass (right), and indeed in the exact same place and orientation:
The conclusion leads to no confusion, taking into account the below factors:
The solar panel generated a maximum of 6A instead of 9.52A, that is a loss of -37% compared to Imp.
When installed behind glass, the solar panel's output peaked at 3.4A, that is a further -43% reduction or -64% from the rated maximum current.
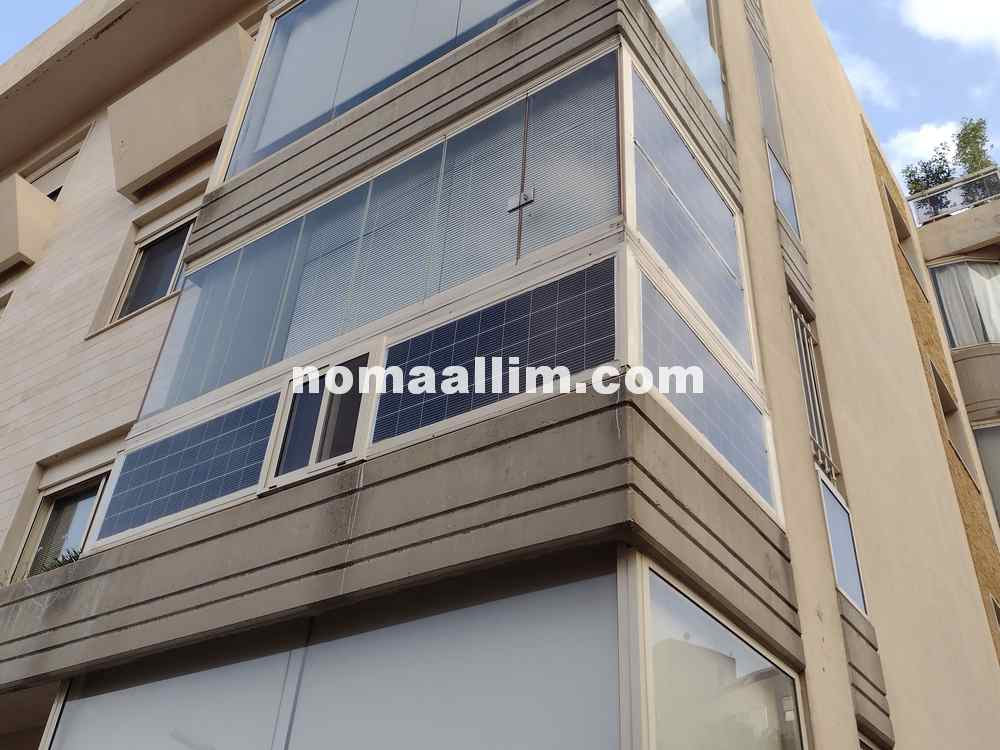
Installing solar PVs on a balcony
Taking the above into account, I had then to modify the glazed aluminum frames in order to replace parts of the glass with PVs...until transparent PVs are made availble in the market and can be used for windows!
0 Comments
The wonderful sunlight of the Lebanese mountains
I've recently completed the construction of my vacation home in the middle of one of the numerous picturesque villages of the Lebanese mountains, at some 1200m of altitude, and at the bottom of a mountain cliff populated with a wide variety of pine and oak trees.
The surrounding forest is home to several species of birds and wild animals: crows, falcons, eagles, partridges, jackals, foxes, weasels, voles, and many more... In such a context, one can hardly imagine turning on a diesel genertor to power-up his/her home, or worse (?), fitting 6 to 8 solar panels on the roof, which destroys the beauty of the roof tiles and produces a harmful mirroring effect pointing towards the piercing gaze of the flying raptors. 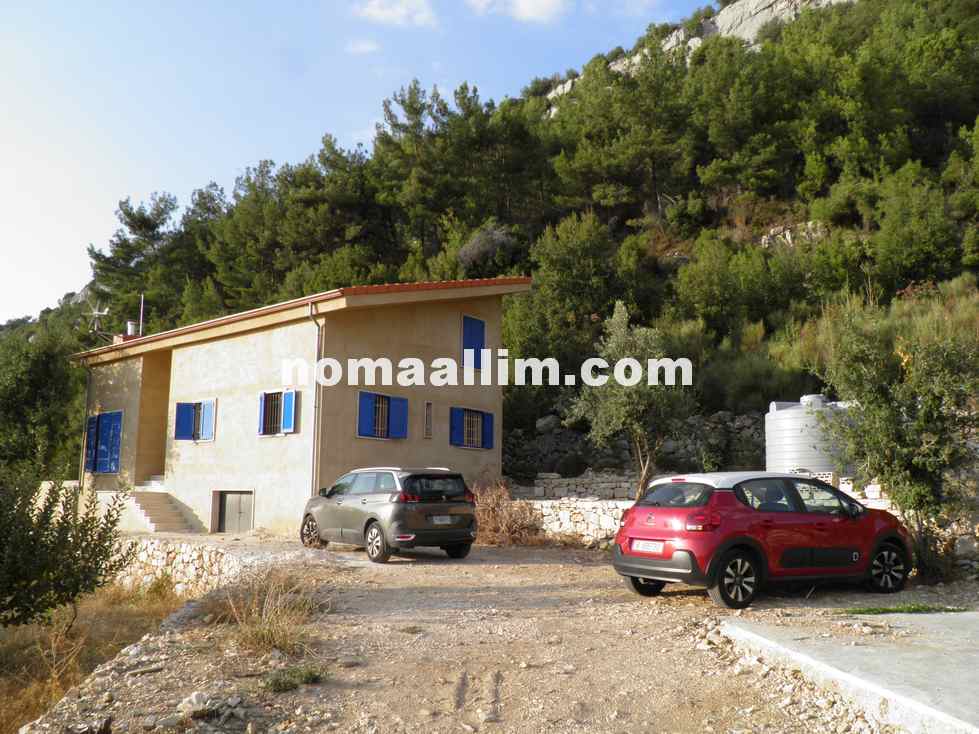
How solar power can be made sustainable
The decision was taken and sustainability was considered in all its aspects:
How to power-up a home with a single PV!
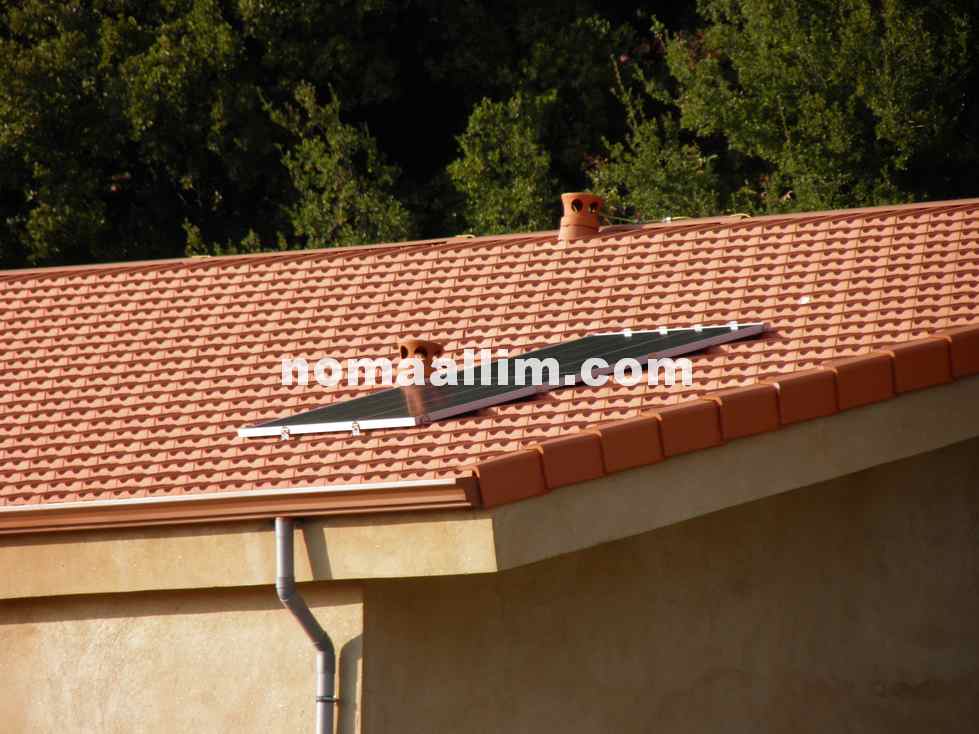
The single 545W solar panel was installed directly on the roof tiles while an 800W wind turbine provides some additional energy during winter and storms.
The details of the renewable energy off-grid and autonomous system are as follows:
The total cost of the above solar - wind system is around 1500USD not including installation, the latter having been carried by me; this results in a payback period of approximately one year and up to a maximum of 14 months, compared to equivalent utility energy bills.
Here's why one solar panel is enough...1- Location where the PV is used
This solar panel is installed at 1200m altitude facing the Eastern Mediterranean see. The climatic conditions are much favorable since:

The sunset as seen from my terrace on a day of November
2- Simple automation and life habits associated with the solar panel installation
To make it work with one and only solar panel, I have fitted very simple automation devices to the system in order to:
Other daily life habits are observed by my family in order to adopt a "solar lifestyle":
That's it! An entire home is powered-up by the Sun, using a single PV!
The electricity occasionally generated by the wind turbine, is a bonus. I do have indeed a 5KVA diesel generator installed as a backup for weekends with no Sun or Wind, also during storms with low and frequent lightning strikes. Project overview, choice of the materials
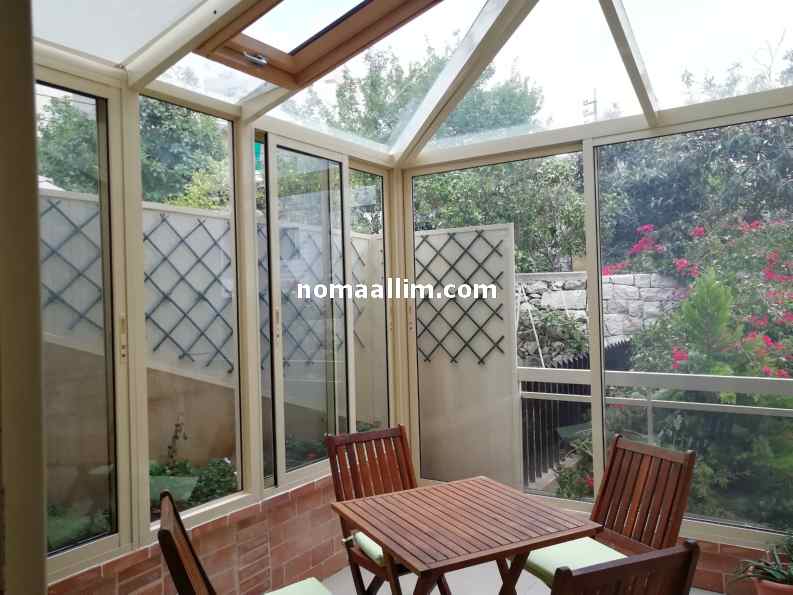
The below terrace is located in between two blocs of a multi-apartment building which is affecting its privacy. It was decided to transform it into a glass room. The owner, an interior designer, decided to glaze most of the area while leaving a little space all around as planters.
A low maintenance material is used for the frame (powder coated aluminum profile) and a triple layer tempered glass ensures the tightness of the roof while allowing the sunlight to pass through. The glass room walls are made of a central fixed glass panel that provides the necessary rigidity and strength to the whole room with sliding glass doors all around equipped with mosquito nets. A ready-made tiled-roof window has been purchased and integrated into the glass roof in order to evacuate the hot air that accumulates in there in hot weather and to provide a natural ventilation even when all sliding doors are closed (the window is still vented when closed). The glass walls have been elevated on a brick wall for safety purpose i.e. not to let the glass reach the ground on one hand and for using the brick wall as a planter on the other hand. 
Glass room material schedule
The fixed glass in the middle of the left picture strengthens the whole glass window assembly.
Two sliding doors on each side of the fixed glass panel provide wide openings for ventilation and for taking care of the plants. The brick wall planter is visible in both pictures. The aluminum frame is simply sitting on it, then sealed with a beige silicone compound.
Glass roof details
Measurements were taken with a normal measuring tape, then Autocad was used to draw the frame and the roof panels. The CAD drawing was printed on paper in order to cut the roof supporting aluminum frames. and provided on a USB stick to the glass manufacturer who loaded the drawing directly in the glass cutting machine.
A wooden pitched roof window was integrated to the central frame above the fixed glass panel which also increases the overall rigidity of the glass window. The window is held to the aluminum frame by the means of four screws on each side. The accessory usually used all around this window to allow its installation in a tiled roof has been skipped. The glass panels are bonded to the aluminum frames with crystal clear silicone, then 3mm thick flat aluminum blades were used to cover the silicone so it cannot be seen when an observer looks at the glass window from top. 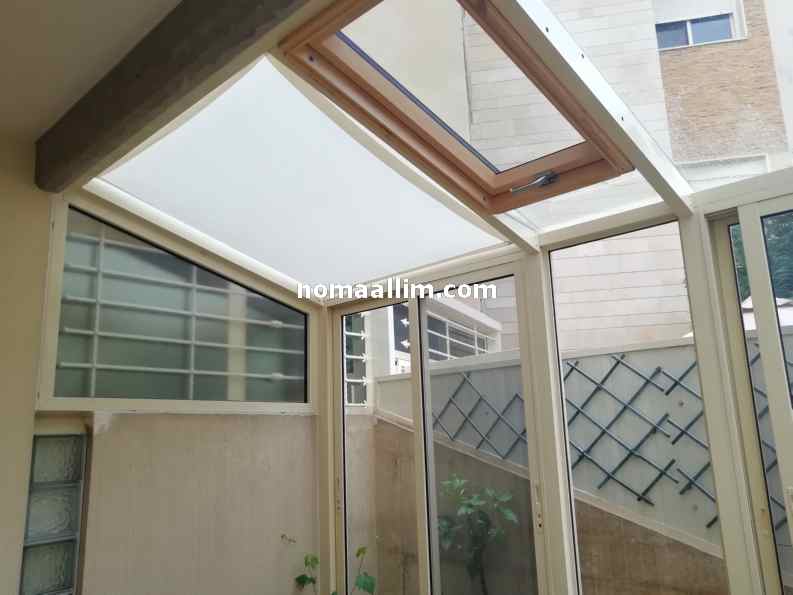
A poly cotton curtain was fitted to the largest glass panel, the one that faces the neighbors and for obvious privacy purpose.
The curtain is a simple thick white fabric sewed all around though strengthening its edges and fixing rings integrated on all 4 corners. The rings are held to the aluminum frame with hooks to keep it well stretched. It can be easily removed and refitted for washing. 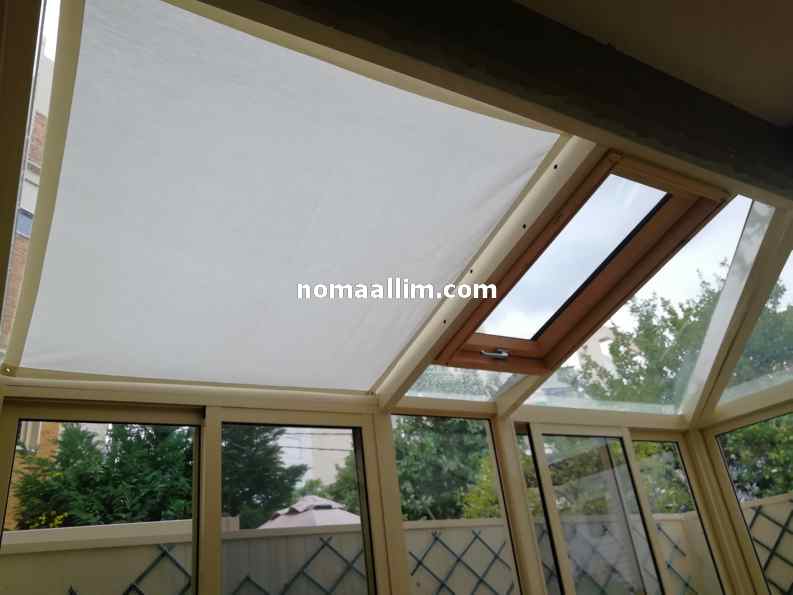
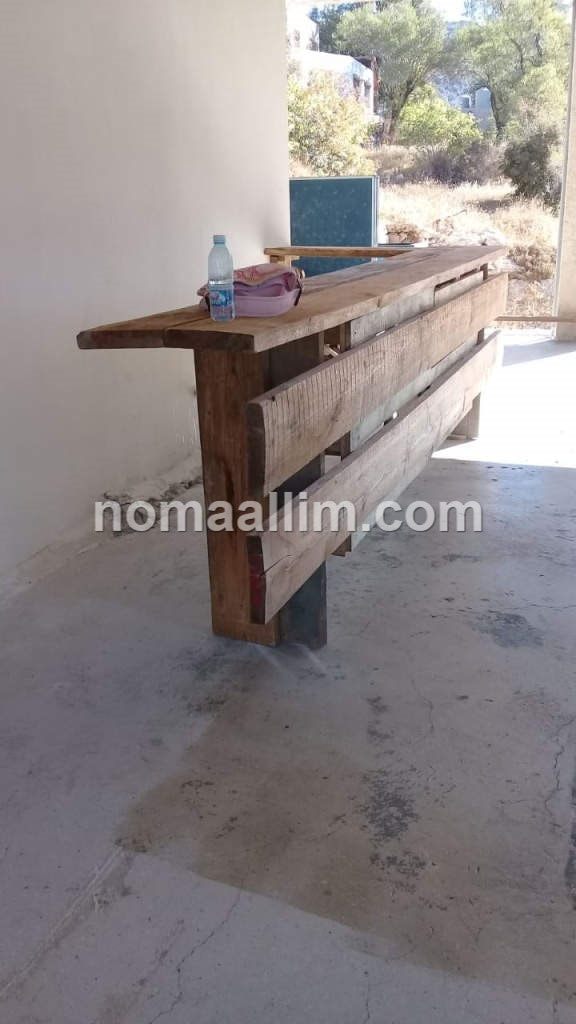
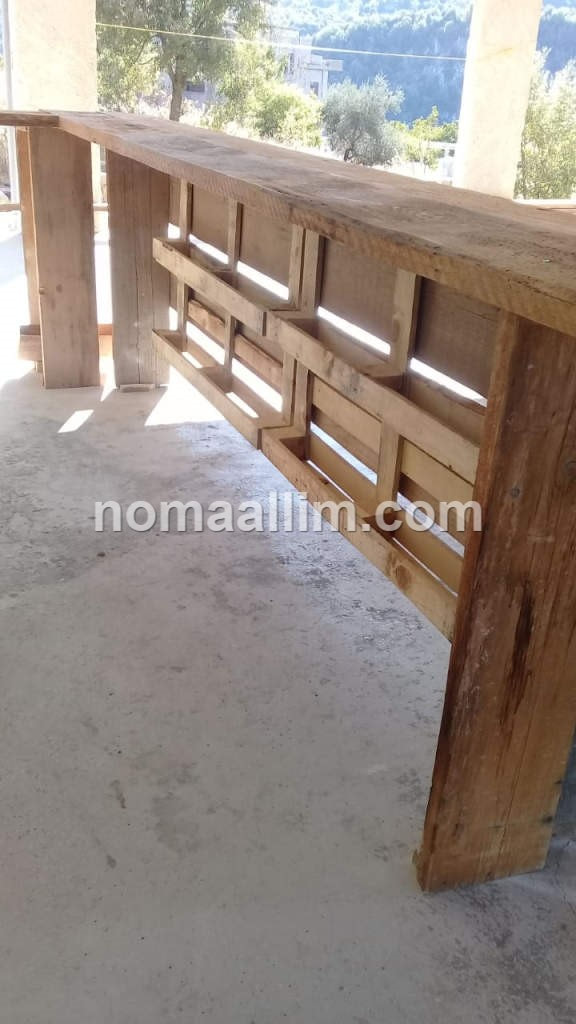
The terrace barIt's an emergency! The family gathering was decided at M's unfinished home within a short notice! M had to create in no time and out of nothing a minimum of furniture and infrastructure; the terrace was to be converted in a seating and serving area in a matter of 72 hours. M managed to collect a few wood planks and unused pallets. This is how the terrace bar was born: the raw unfinished wood planks were used to create the bar sides, top and front. It took M only a few nails and a good hammer to build it. The terrace bar was big enough to accommodate the necessary bottles and cups and to seat a few family members. At first attempt, the pallets were converted into bottle shelves and fixed inside the bar, but then, the result was a bit bulky and after all, it's a shame to hide the beautiful wine bottles...
Aaaah!...that's better. The wood pallets are now fixed to the wall with a touch of color, a kind of improvised and last-minute wall ornaments. M had now moved to the next level: taking a break, looking at his creation from a distance, and adding the art-deco touch that was missing! That's exactly what DIY is about. The bar front is now perfect and stylish. Other wood pallets have been piled up to create tables and the remaining wood planks placed over masonry stone blocks as seating benches. One can already imagine the family gathering in this DIY-out-of-nowhere bar-restaurant, the talks, the laughs, the cheers, the hubbub... 
The terrace sinkNow there was another problem to be solved: no wash basin or sink for the invitees to wash their hands and for washing the dishes. It was time to use another natural material: the stone. No time for building this outdoor sink to a final finish and to fit a basin mixer tap. Leftovers of natural stone panels and cladding were built in a manner to create an free-standing terrace sink. Silicone compound ensured the water tightness and held all parts together. A drilled hole in the wall allowed to connect the water inlet and another tube served as a drainage pipe straight to the garden. 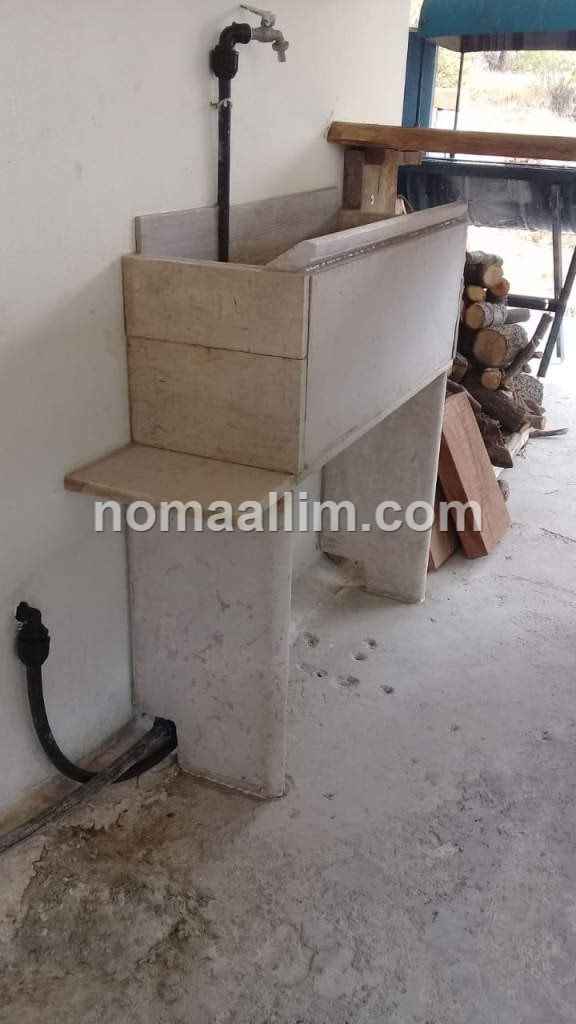 The sink design is quite simple: an oblique mounted stone panel sends the water down to the drainage while the wall behind is waterproofed with another stone panel used as a one-piece cladding. That's it! M did the job within the given deadline and with N (M's wife), they were able to organize the family gathering and enjoy their summer house despite being still under construction. Thanks for reading, DIY ideas never dry up and are worth giving them a try. @ M&N, keep up the good work and thanks for sharing your photos. 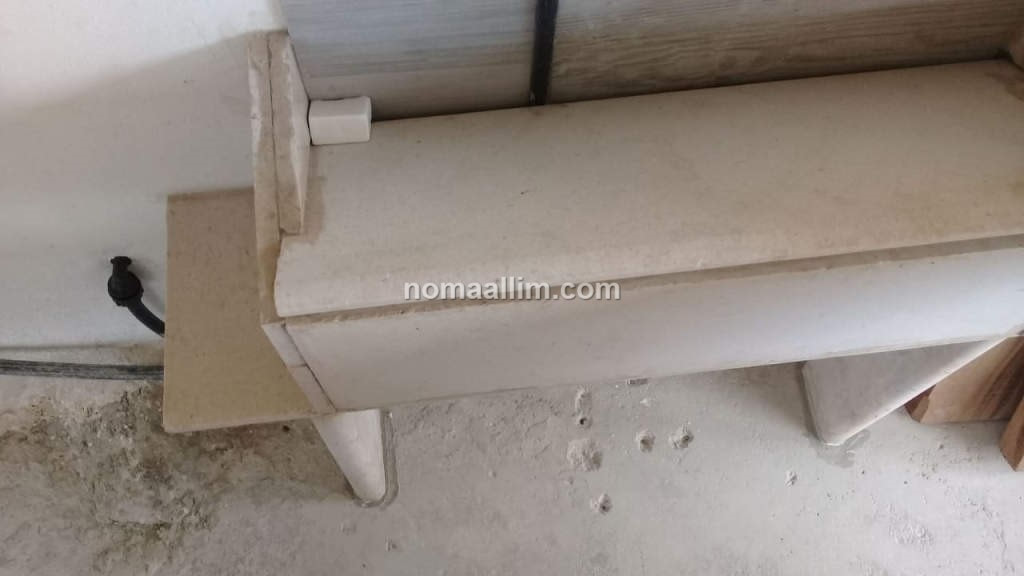
|