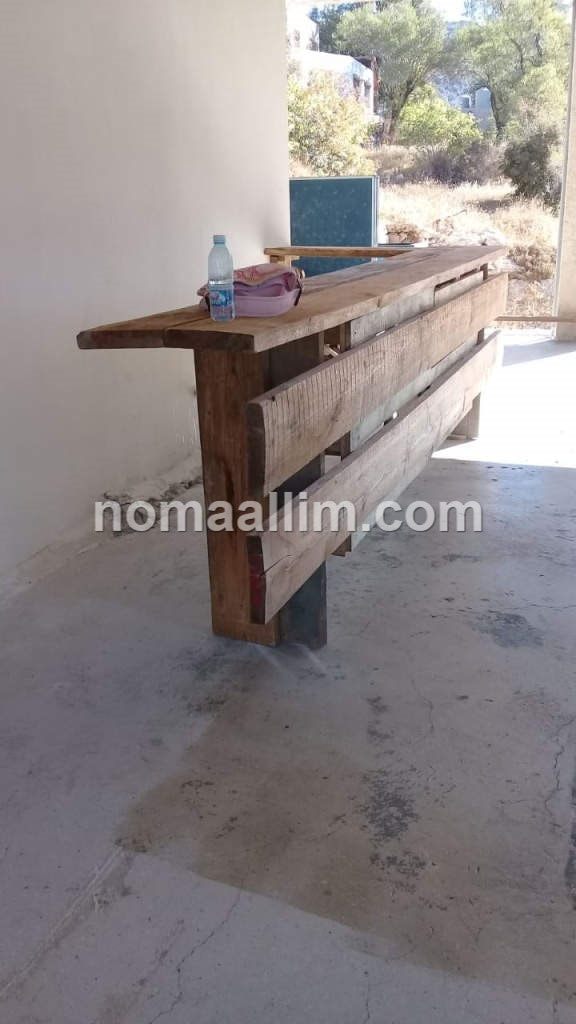
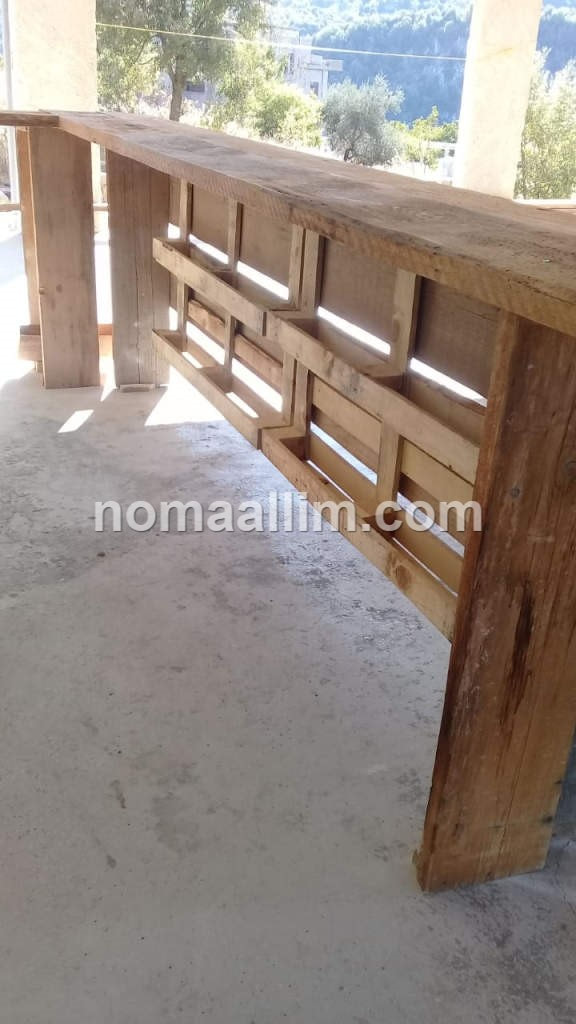
The terrace barIt's an emergency! The family gathering was decided at M's unfinished home within a short notice! M had to create in no time and out of nothing a minimum of furniture and infrastructure; the terrace was to be converted in a seating and serving area in a matter of 72 hours. M managed to collect a few wood planks and unused pallets. This is how the terrace bar was born: the raw unfinished wood planks were used to create the bar sides, top and front. It took M only a few nails and a good hammer to build it. The terrace bar was big enough to accommodate the necessary bottles and cups and to seat a few family members. At first attempt, the pallets were converted into bottle shelves and fixed inside the bar, but then, the result was a bit bulky and after all, it's a shame to hide the beautiful wine bottles...
Aaaah!...that's better. The wood pallets are now fixed to the wall with a touch of color, a kind of improvised and last-minute wall ornaments. M had now moved to the next level: taking a break, looking at his creation from a distance, and adding the art-deco touch that was missing! That's exactly what DIY is about. The bar front is now perfect and stylish. Other wood pallets have been piled up to create tables and the remaining wood planks placed over masonry stone blocks as seating benches. One can already imagine the family gathering in this DIY-out-of-nowhere bar-restaurant, the talks, the laughs, the cheers, the hubbub... 
The terrace sinkNow there was another problem to be solved: no wash basin or sink for the invitees to wash their hands and for washing the dishes. It was time to use another natural material: the stone. No time for building this outdoor sink to a final finish and to fit a basin mixer tap. Leftovers of natural stone panels and cladding were built in a manner to create an free-standing terrace sink. Silicone compound ensured the water tightness and held all parts together. A drilled hole in the wall allowed to connect the water inlet and another tube served as a drainage pipe straight to the garden. 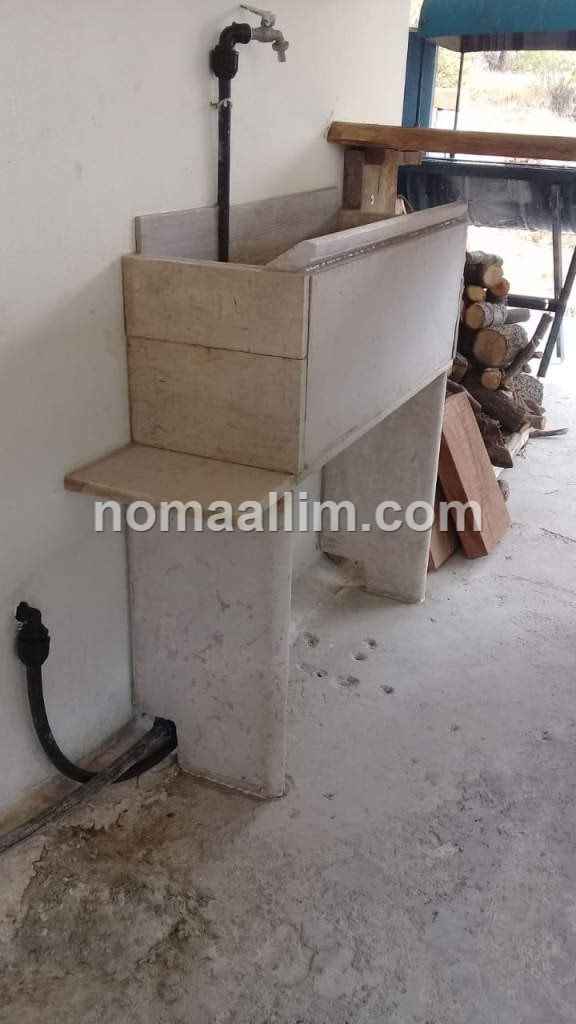 The sink design is quite simple: an oblique mounted stone panel sends the water down to the drainage while the wall behind is waterproofed with another stone panel used as a one-piece cladding. That's it! M did the job within the given deadline and with N (M's wife), they were able to organize the family gathering and enjoy their summer house despite being still under construction. Thanks for reading, DIY ideas never dry up and are worth giving them a try. @ M&N, keep up the good work and thanks for sharing your photos. 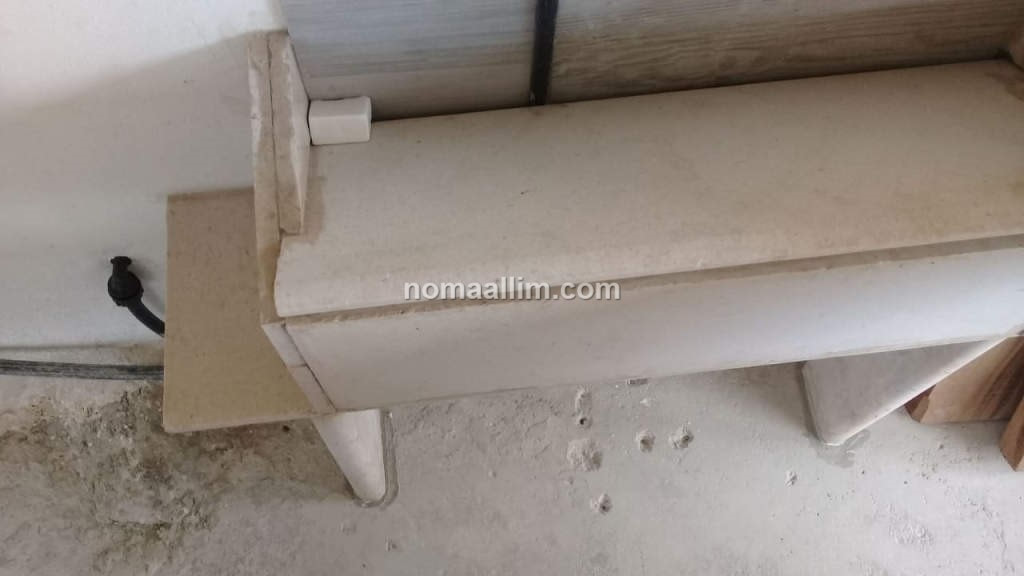
0 Comments
Leave a Reply. |