COPYRIGHT WARNING:
All pictures and texts in this web page are the property of nomaallim.com. Any use of any part of those contents without the written consent of nomaallim.com shall be subject to legal procedures as per international and local laws in the concerned country. Using the name "nomaallim" or "nomaallim com" or "nomaallim.com" in the text describing the unauthorized copied content shall not constitute an exception and shall be sanctioned in accordance to the effective laws and proceedings.
All pictures and texts in this web page are the property of nomaallim.com. Any use of any part of those contents without the written consent of nomaallim.com shall be subject to legal procedures as per international and local laws in the concerned country. Using the name "nomaallim" or "nomaallim com" or "nomaallim.com" in the text describing the unauthorized copied content shall not constitute an exception and shall be sanctioned in accordance to the effective laws and proceedings.
DISCLAIMER:
Our pictorials are of informative nature and do illustrate works carried out by ourselves at our own premises for our own use and satisfaction.
Readers who envisage to carry out similar works inspired by the below method shall do this at their own risks and liability.
Our pictorials are of informative nature and do illustrate works carried out by ourselves at our own premises for our own use and satisfaction.
Readers who envisage to carry out similar works inspired by the below method shall do this at their own risks and liability.
5- Timing belt refitting on EB2 engine
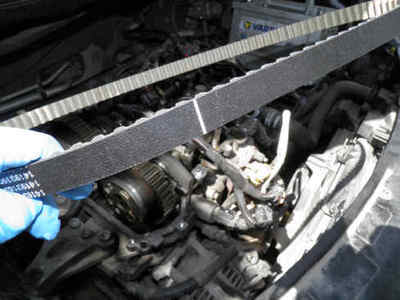
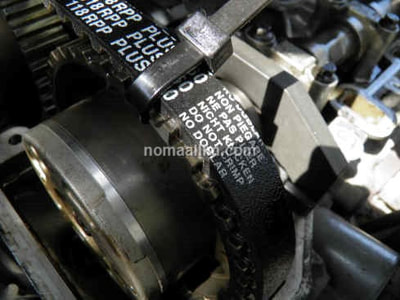
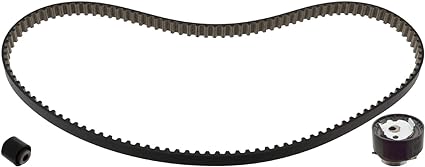
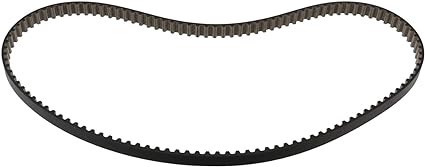
Note well the markings on the new timing belt: 2 of them are there.
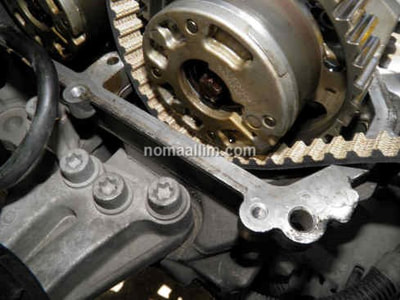
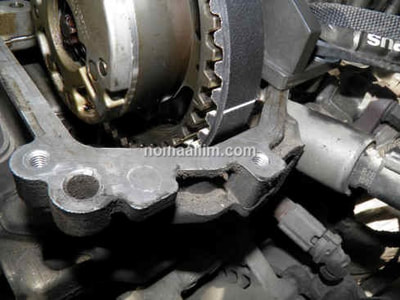
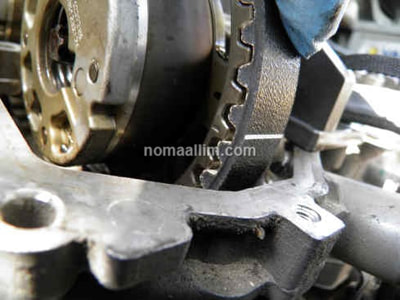
Insert the EB2 engine timing belt between the camshaft sprocket and the cylinder head with the markings on the upper half.
Insert the EB2 engine timing belt between the camshaft sprocket and the cylinder head with the markings on the upper half.
|
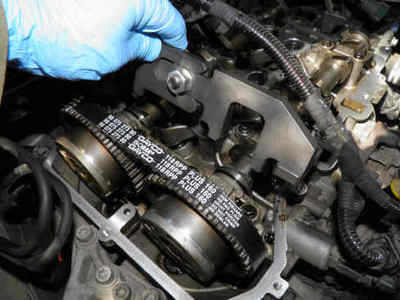
Make sure the marks on the timing belt do align with the marks on the camshaft sprockets (left).
This is just a confirmation that your sprockets are well oriented. The marks are irrelevant in this case because the camshaft sprockets were not dismantled. Attach your timing belt to the camshaft sprockets with cable ties as shown in the right picture. Do not over tighten the cable ties, just enough to avoid the belt slips on the sprocket teeth. Now therefore:
The belt has still to be fitted to the crankshaft sprocket and tightened. |
|
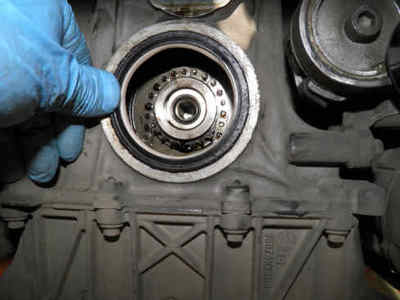
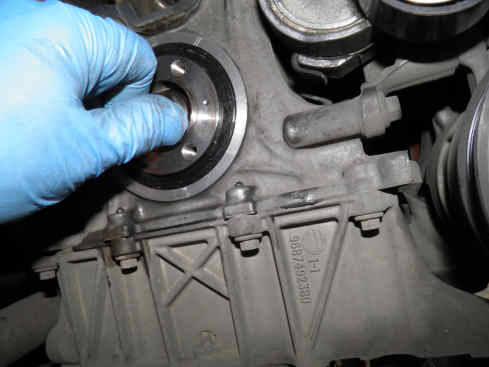
Fit a new crankshaft hub seal.
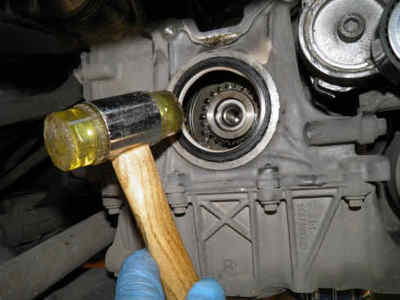
Push it first with your hands, then gently hit on its circumference with a plastic or rubber hammer.
Make sure however you hit on both the seal and the contour of its seat at the same time. NEVER HIT ON THE SEAL ALONE.
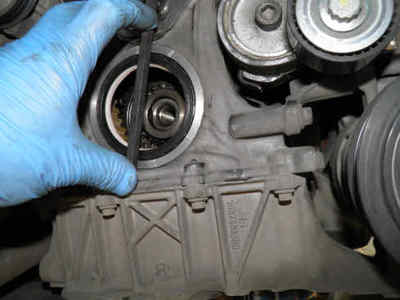
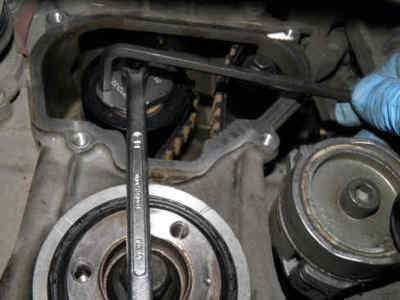
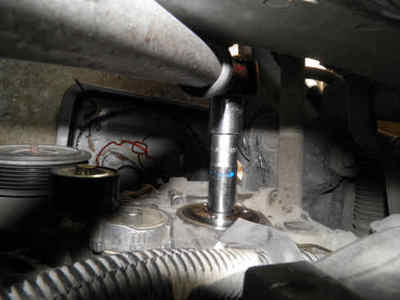
Then use an Allen key as shown in the right picture to make sure the seal is well adjusted to its seat.
Rotate the Allen key and try several times with different angles.
|
|
|
6- Timing setting on PSA EB2 1.2 VTi engine
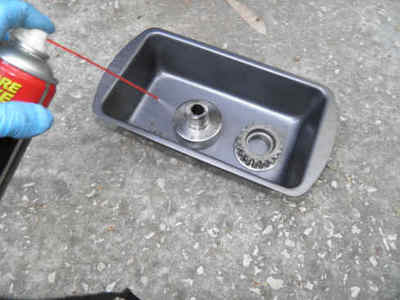
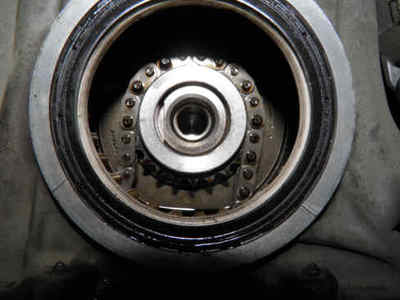
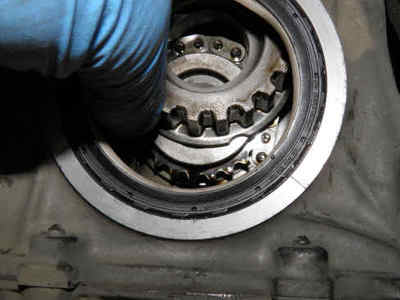
Although the manufacturer's procedure does not ask for the crankshaft sprocket to be degreased, I prefer doing so myself including degreasing the crankshaft face on which the crankshaft sprocket will be in contact (right).
Any degreasing spray like carb spray is fine.
To note however that a drop of oil after degreasing is necessary on the hub cylinder to let the sprocket move freely and rotate on it.
Make sure not to put oil on the contact faces of the hub / sprocket which you just degreased.
Any degreasing spray like carb spray is fine.
To note however that a drop of oil after degreasing is necessary on the hub cylinder to let the sprocket move freely and rotate on it.
Make sure not to put oil on the contact faces of the hub / sprocket which you just degreased.
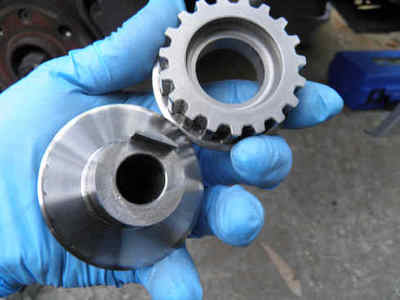
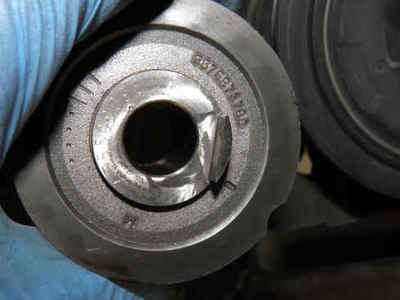
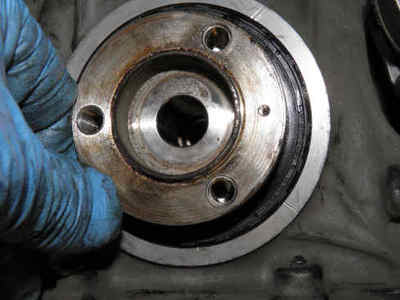
The crankshaft hub has a "leg" (left picture) that has a matching seat on the crankshaft end.
It should be oriented to the left i.e. the dot marking on the external face should be horizontal with the crankshaft axis (right picture).
Insert the crankshaft sprocket from top as shown in the middle picture to avoid pushing it through the seal and damaging the seal, then pull it out and insert the hub, push the latter with the dot marking as shown in the right picture until it goes all the way through.
Refit now the new timing belt tensioner and timing belt roller wheel.
Tighten the roller wheel bolt and leave the one of the tensioner loose.
Use at the same time an Allen key on the tensioner plate and a spanner on the bolt.
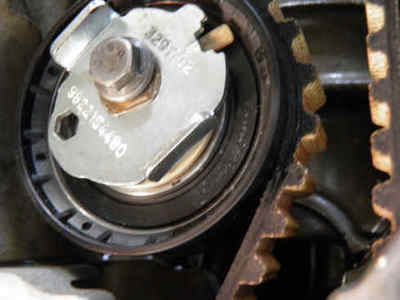
Rotate the plate with the Allen key until the indicator is positioned as shown in the right picture.
Tighten the tensioner bolt to 2 mKg.
Tighten the roller wheel bolt and leave the one of the tensioner loose.
Use at the same time an Allen key on the tensioner plate and a spanner on the bolt.
Rotate the plate with the Allen key until the indicator is positioned as shown in the right picture.
Tighten the tensioner bolt to 2 mKg.
Now proceed as follows:
If the tool cannot be inserted, the timing setting has to be repeated.
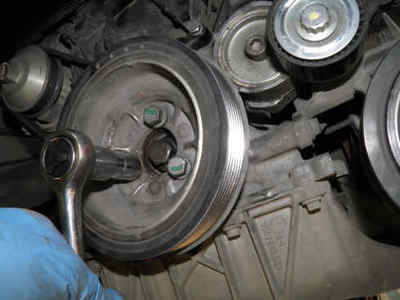
- Tighten the crankshaft bolt to 3.5 mKg then by 100 degrees which is approximately equivalent to all the force you can deploy with your body on the ratchet handle.
- Remove the flywheel locking pin
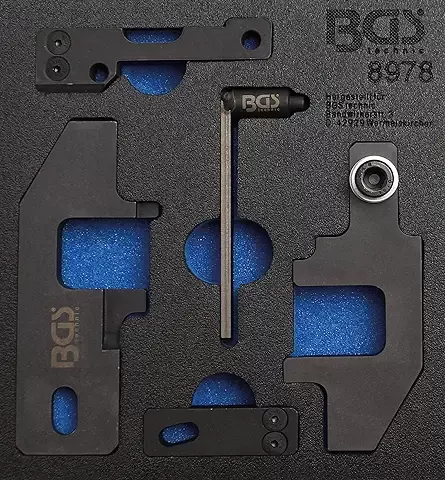
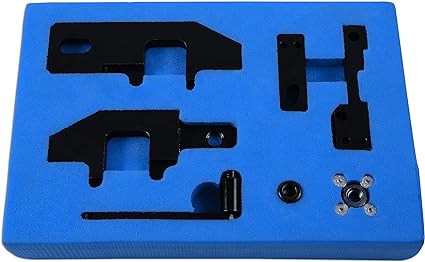
- Remove the camshafts locking tool
- Using a ratchet handle and a socket on the crankshaft bolt, rotate the engine clockwise by hand 2 to 3 complete cycles.
- Re-insert the flywheel locking pin and make sure you can no more rotate the engine.
- Try now fitting the camshafts locking tool which should go in its intended place smoothly.
If the tool cannot be inserted, the timing setting has to be repeated.
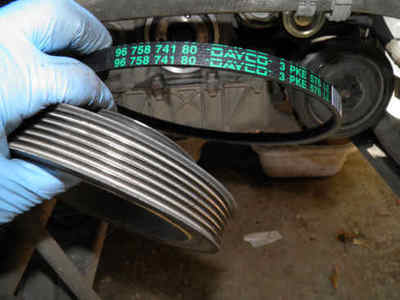
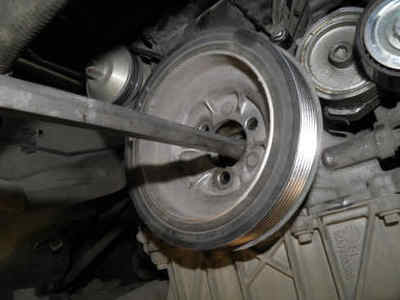
Complete your intervention by refitting the drive belt pulley, water pump belt and drive belt.
Re-assemble all the parts.
Start the engine and let it idle for a couple of minutes then bring it progressively to 3,000 rpm for a few seconds.
Make sure no abnormal noise metallic noise is there.
That's it !
Re-assemble all the parts.
Start the engine and let it idle for a couple of minutes then bring it progressively to 3,000 rpm for a few seconds.
Make sure no abnormal noise metallic noise is there.
That's it !

