COPYRIGHT WARNING:
All pictures and texts in this web page are the property of nomaallim.com. Any use of any part of those contents without the written consent of nomaallim.com shall be subject to legal procedures as per international and local laws in the concerned country. Using the name "nomaallim" or "nomaallim com" or "nomaallim.com" in the text describing the unauthorized copied content shall not constitute an exception and shall be sanctioned in accordance to the effective laws and proceedings.
All pictures and texts in this web page are the property of nomaallim.com. Any use of any part of those contents without the written consent of nomaallim.com shall be subject to legal procedures as per international and local laws in the concerned country. Using the name "nomaallim" or "nomaallim com" or "nomaallim.com" in the text describing the unauthorized copied content shall not constitute an exception and shall be sanctioned in accordance to the effective laws and proceedings.
|
OVERALL DIFFICULTY INDEX: 3/10
BEFORE YOU START
Click here for the new Peugeot 3008 / 5008 models (> 2017):
|
|
DISCLAIMER:
Our pictorials are of informative nature and do illustrate works carried out by ourselves at our own premises for our own use and satisfaction.
Readers who envisage to carry out similar works inspired by the below method shall do this at their own risks and liability.
Our pictorials are of informative nature and do illustrate works carried out by ourselves at our own premises for our own use and satisfaction.
Readers who envisage to carry out similar works inspired by the below method shall do this at their own risks and liability.
Symptoms of a clogged car A/C cabin filter
- Car A/C is overall less efficient, yet the pulsed air from the A/C grilles on the dashboard is cold
- Excessive A/C fan noise inside the car
- Air getting out of the A/C diffusers is too cold
- Air flow is reduced, put your hand facing an A/C diffuser and pull it out slowly, you will notice the pulsed air reaches a shorter distance
- Uncomfortable ambience inside the car at night, with the A/C being too cold
- Uncomfortable ambience inside the car under the sun, with the A/C lacking efficiency
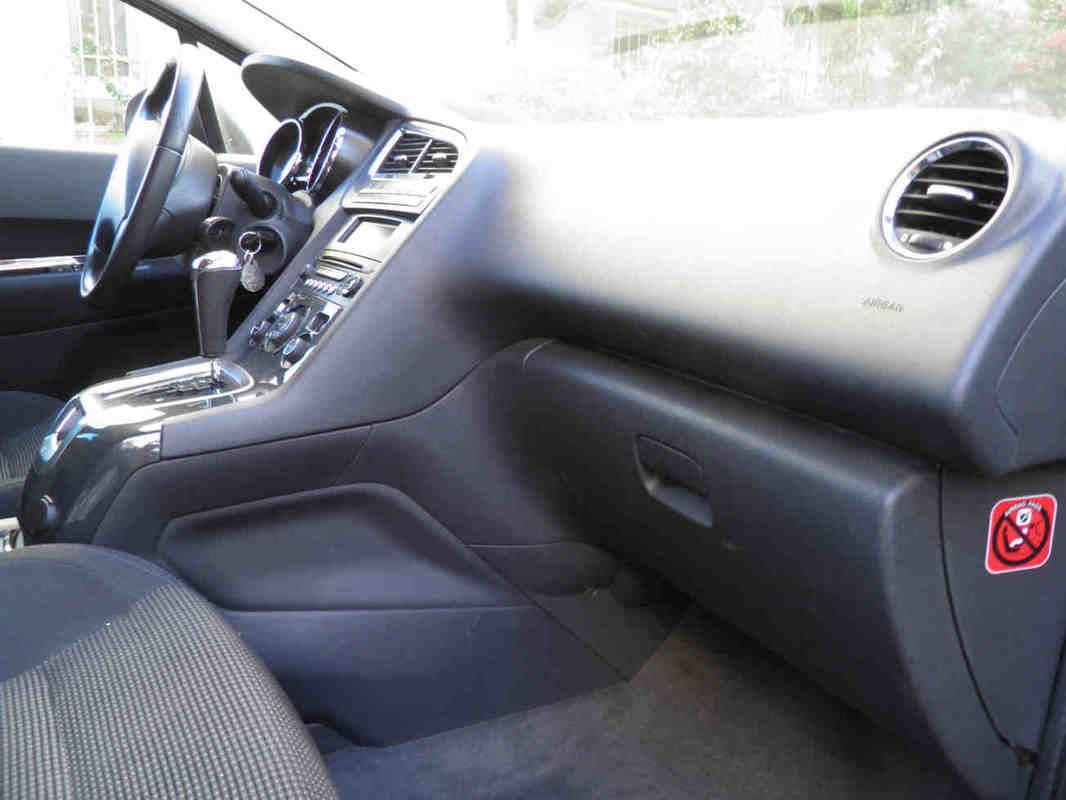
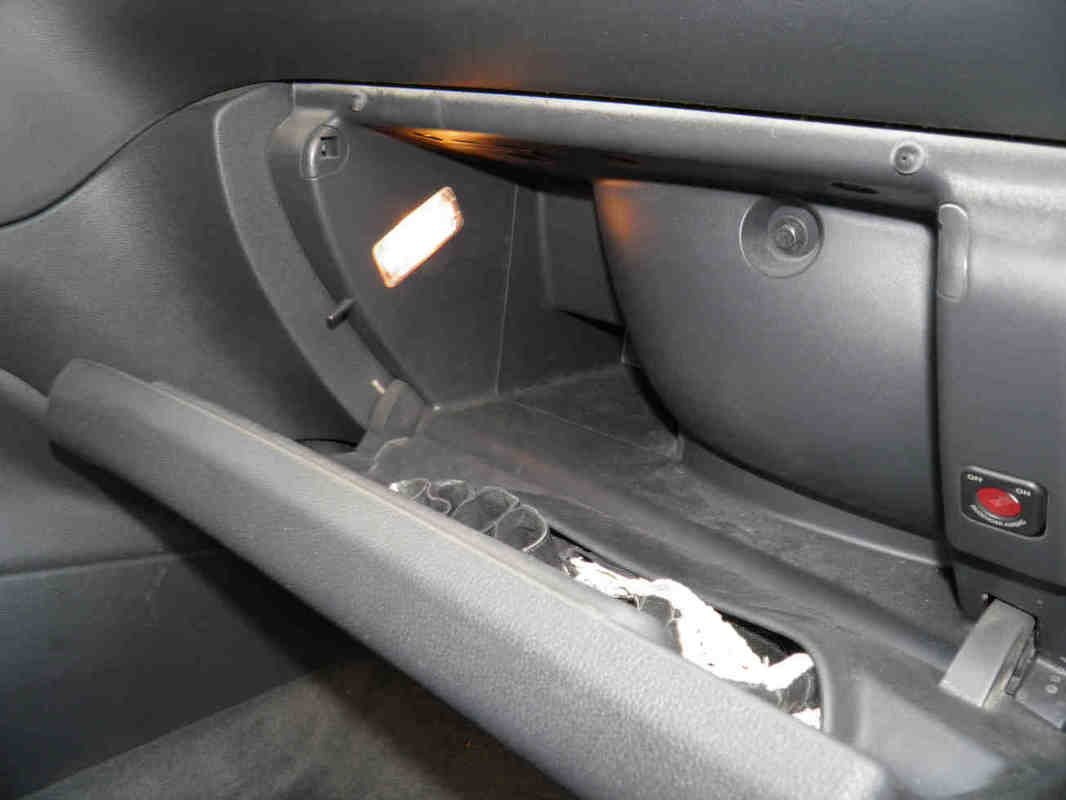
Location of the Peugeot 3008 and 5008 Phase 1 cabin (pollen) filter
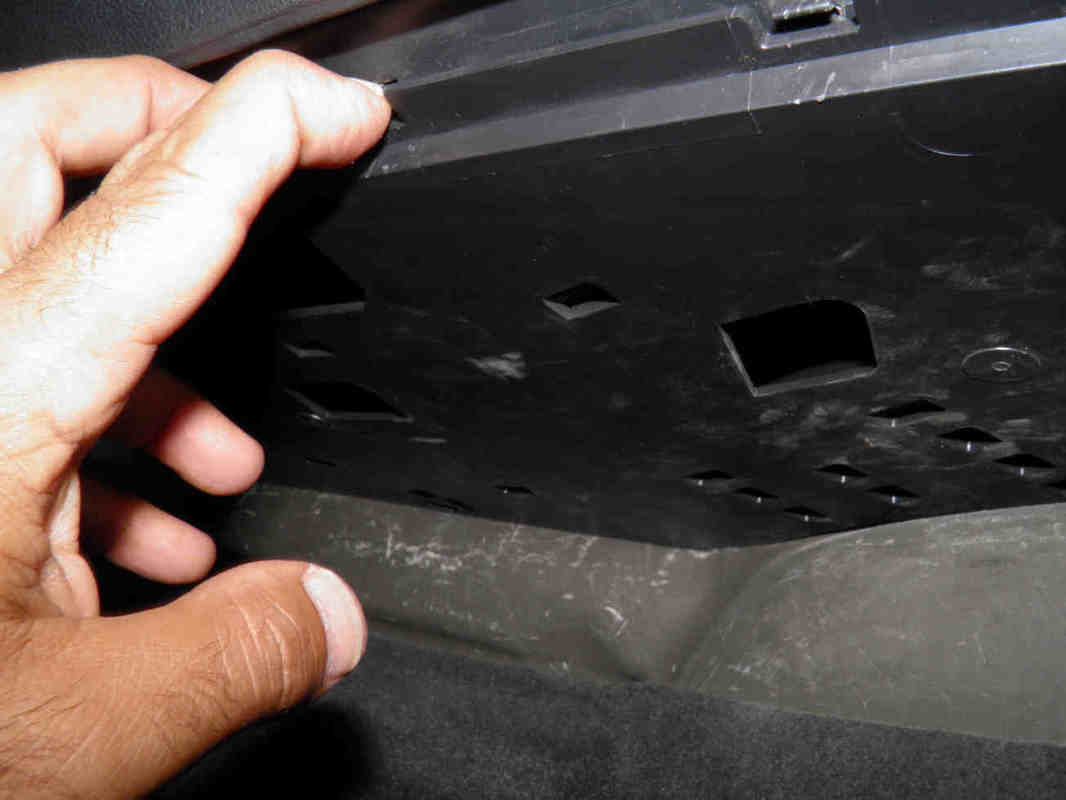
The cabin filter of the Peugeot 3008 and 5008 of the first generation is located within the dashboard central console, and is accessible from the right side of the vehicle.
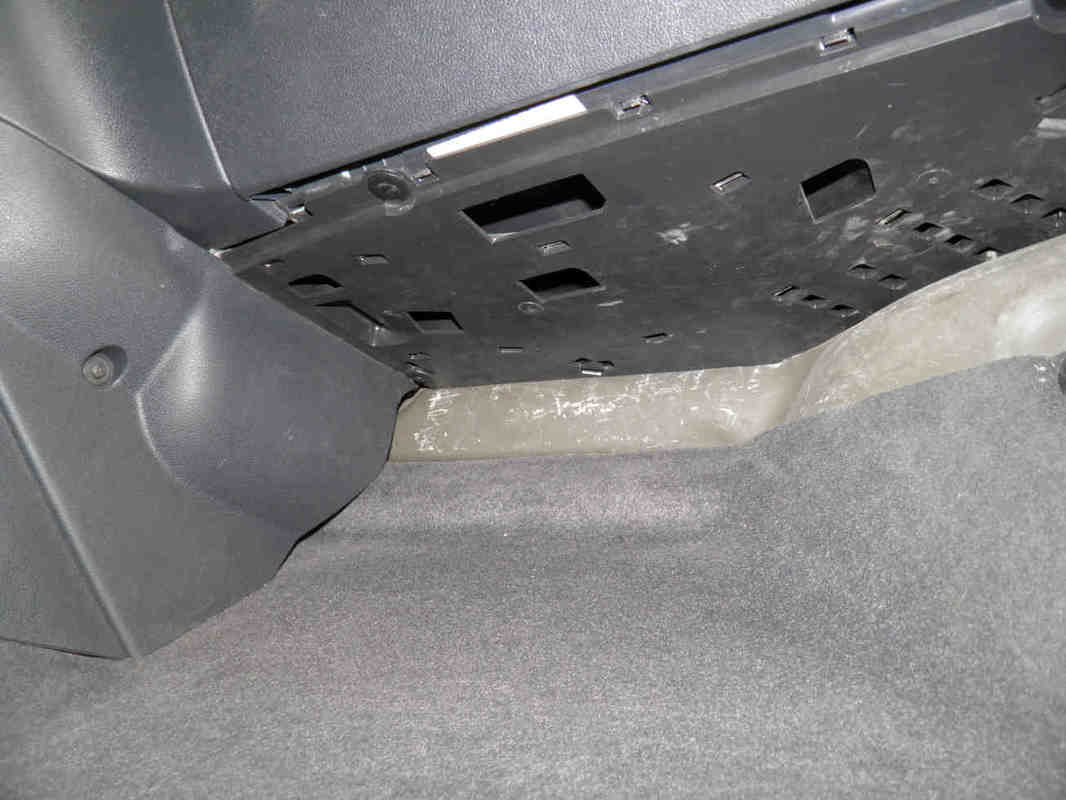
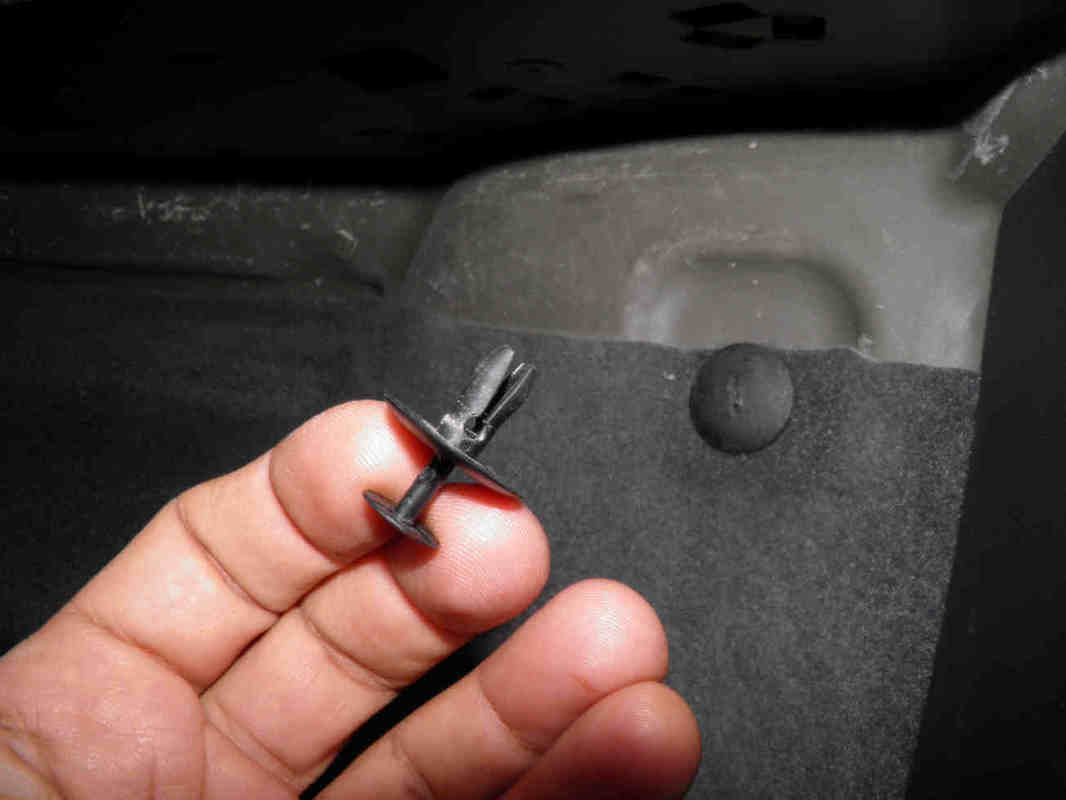
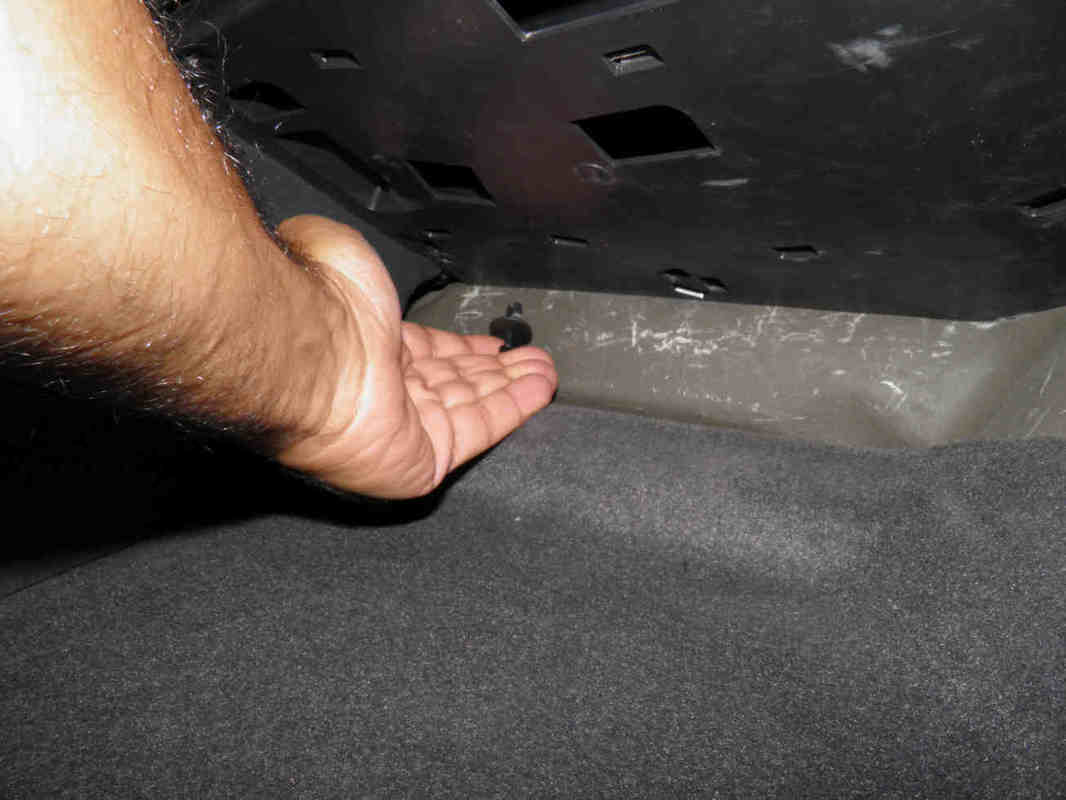
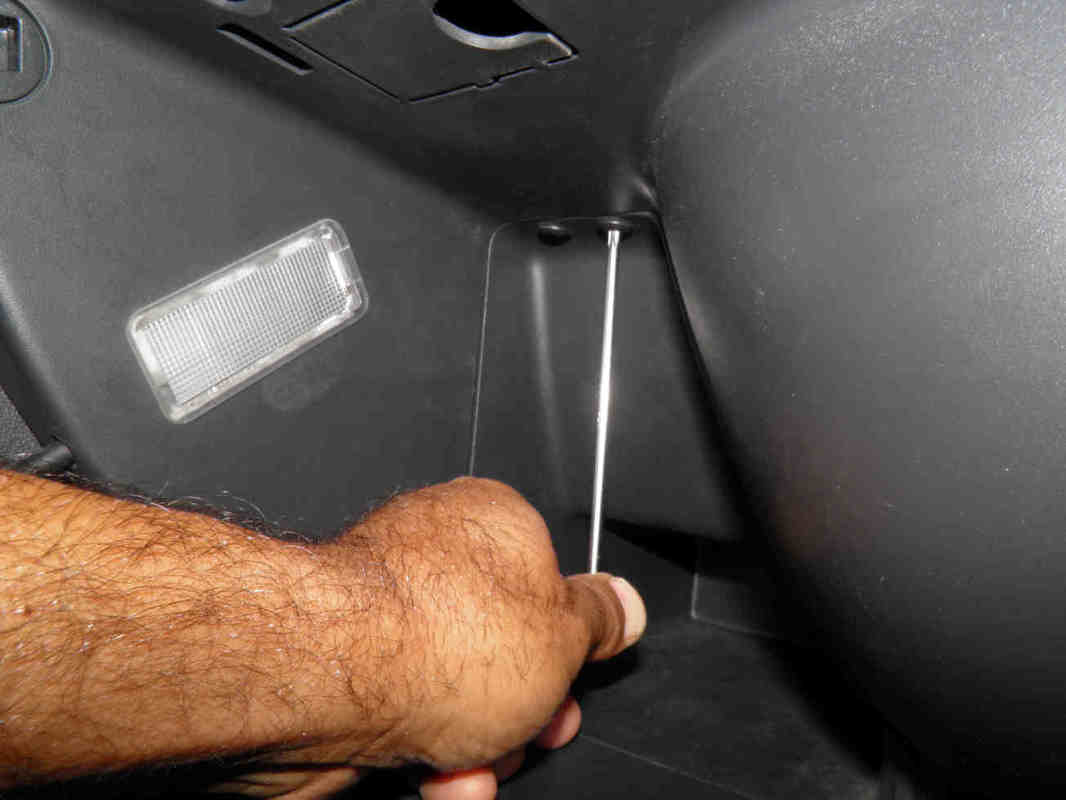
The very first step to reach it consists of removing the underneath dashboard cover on the right side.
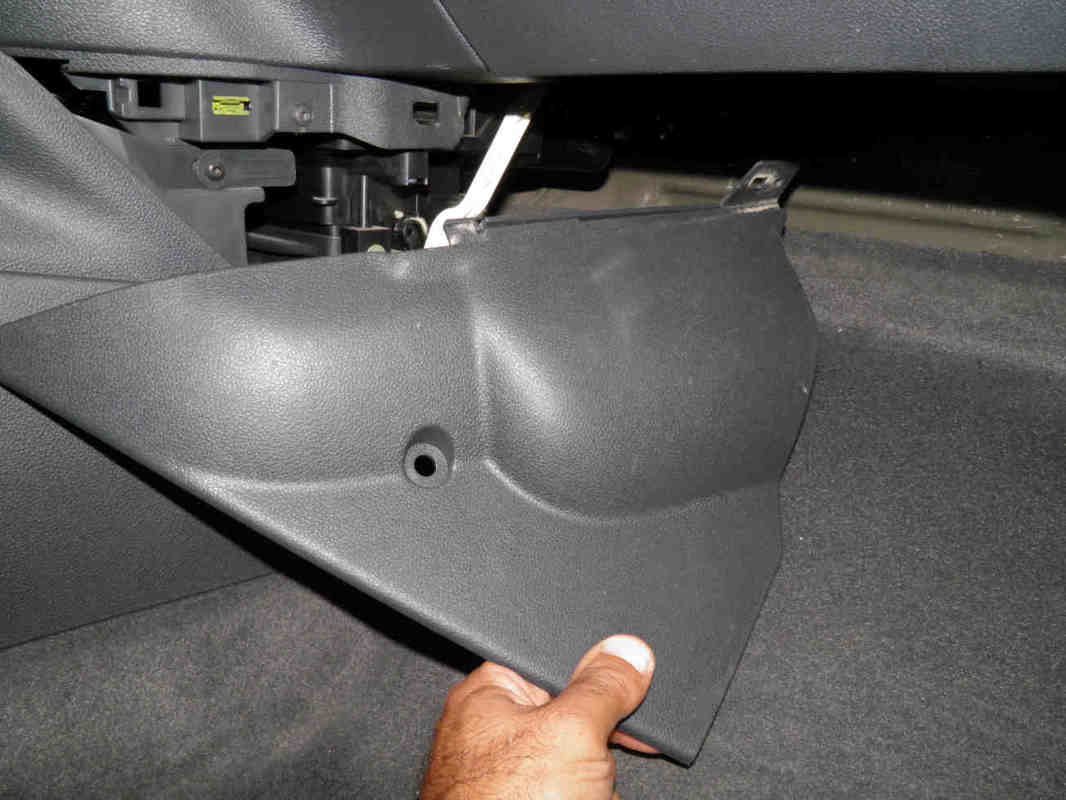
Use a screwdriver to pull out the holding pin (middle left) if you can't do it with your fingers:
The very first step to reach it consists of removing the underneath dashboard cover on the right side.
Use a screwdriver to pull out the holding pin (middle left) if you can't do it with your fingers:
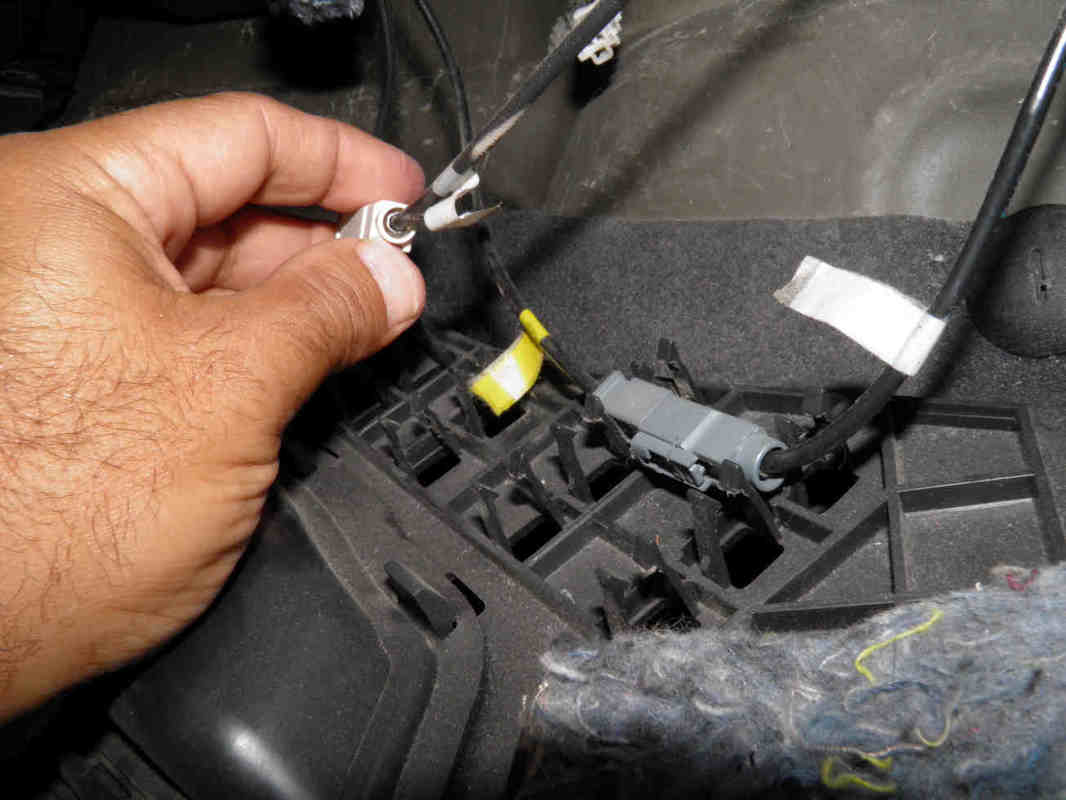
Pull out the cover and take care to detach the wire connectors that are fixed to it:
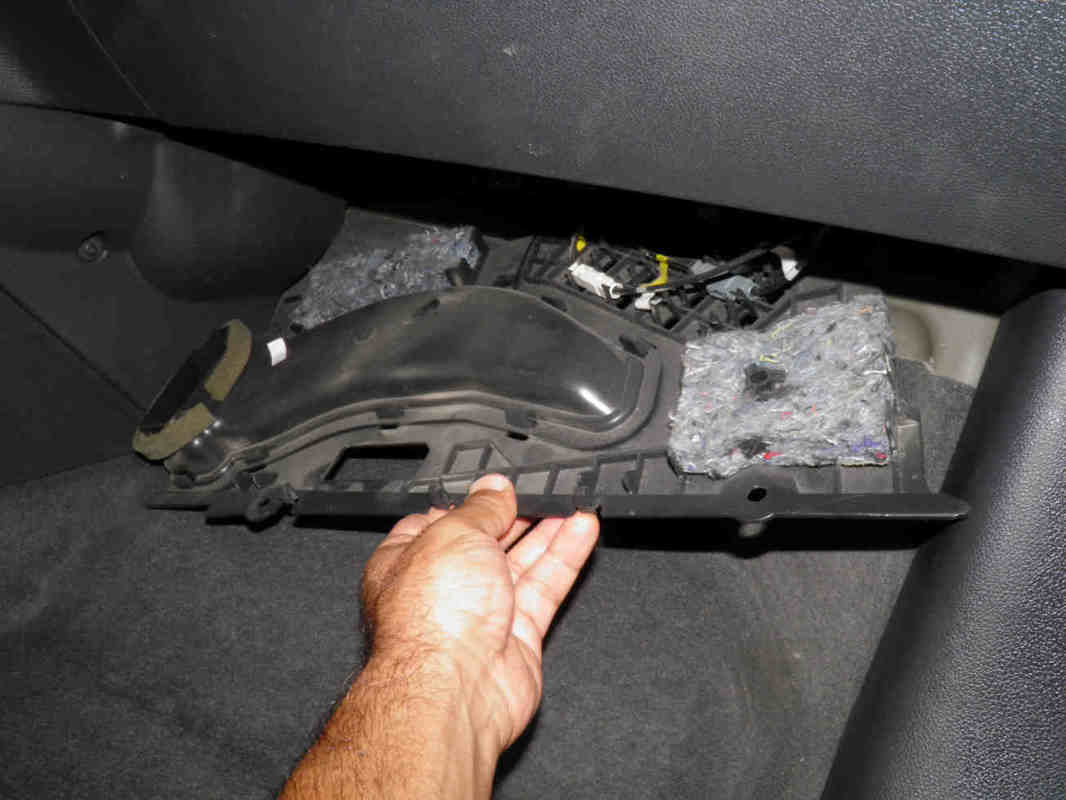
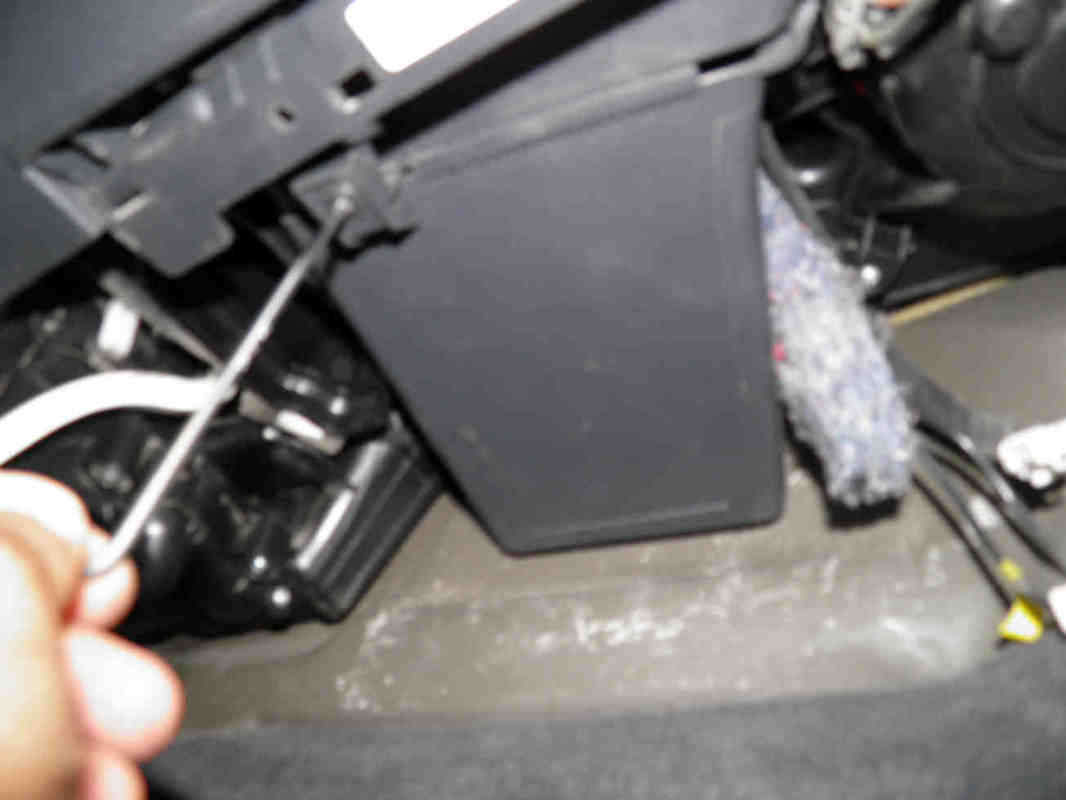
Now unscrew and take out the side panel:

Then the inner part of the glove compartment (glovebox) which also needs to be unscrewed as shown.
- 2 screws on the top (middle)
- 1 screw from beneath (right)
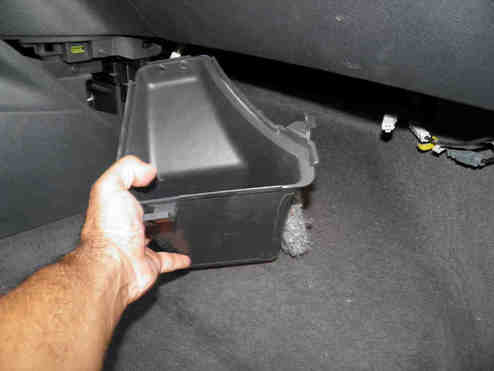
Take it out completely while tilting it so it passes towards you:
|
|
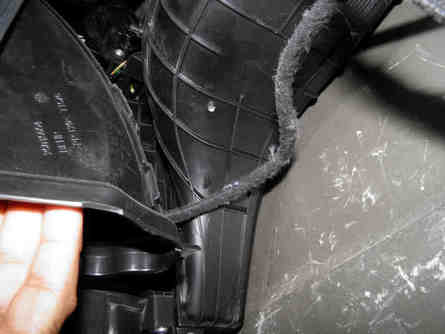
Now pull the air duct down to complete the preparatory works of the Peugeot 5008 cabin filter replacement:
|
|
  |
|


