COPYRIGHT WARNING:
All pictures and texts in this web page are the property of nomaallim.com. Any use of any part of those contents without the written consent of nomaallim.com shall be subject to legal procedures as per international and local laws in the concerned country. Using the name "nomaallim" or "nomaallim com" or "nomaallim.com" in the text describing the unauthorized copied content shall not constitute an exception and shall be sanctioned in accordance to the effective laws and proceedings.
All pictures and texts in this web page are the property of nomaallim.com. Any use of any part of those contents without the written consent of nomaallim.com shall be subject to legal procedures as per international and local laws in the concerned country. Using the name "nomaallim" or "nomaallim com" or "nomaallim.com" in the text describing the unauthorized copied content shall not constitute an exception and shall be sanctioned in accordance to the effective laws and proceedings.
BEFORE YOU START
|
|
DISCLAIMER:
Our pictorials are of informative nature and do illustrate works carried out by ourselves at our own premises for our own use and satisfaction.
Readers who envisage to carry out similar works inspired by the below method shall do this at their own risks and liability.
Our pictorials are of informative nature and do illustrate works carried out by ourselves at our own premises for our own use and satisfaction.
Readers who envisage to carry out similar works inspired by the below method shall do this at their own risks and liability.
NOTE: The below works concerned a Peugeot 5008 equipped with a turbo-charged EP6 PSA BMW engine.
Same or similar 1.6 VTi or 1.6 THP Ep6 engines can be found on Peugeot 207, 208, 308, 508, 3008, 5008 and Citroen C4, C4 Sedan, DS3, DS4, DS5 also the Mini Cooper and Cooper S.
Same or similar 1.6 VTi or 1.6 THP Ep6 engines can be found on Peugeot 207, 208, 308, 508, 3008, 5008 and Citroen C4, C4 Sedan, DS3, DS4, DS5 also the Mini Cooper and Cooper S.
Context and symptoms
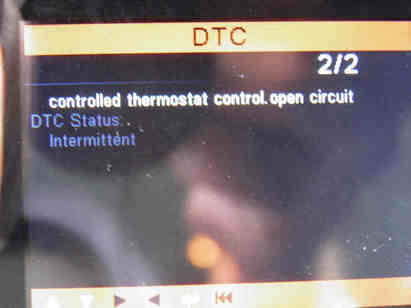
Unless your vehicle is overheating, this thermostat was replaced because of a repeated open controls circuit code generated more and more often upon driving the vehicle. Changing the harness of wires that connect both the thermostat and the temperature sensor was not possible since the temperature sensor was changed and the related wiring modified. See further below.
|
|
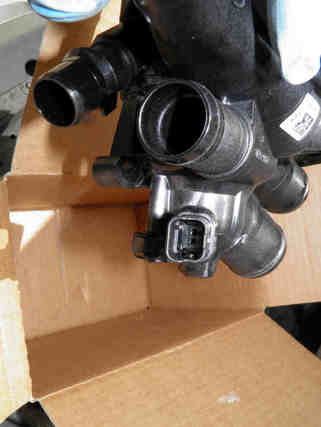
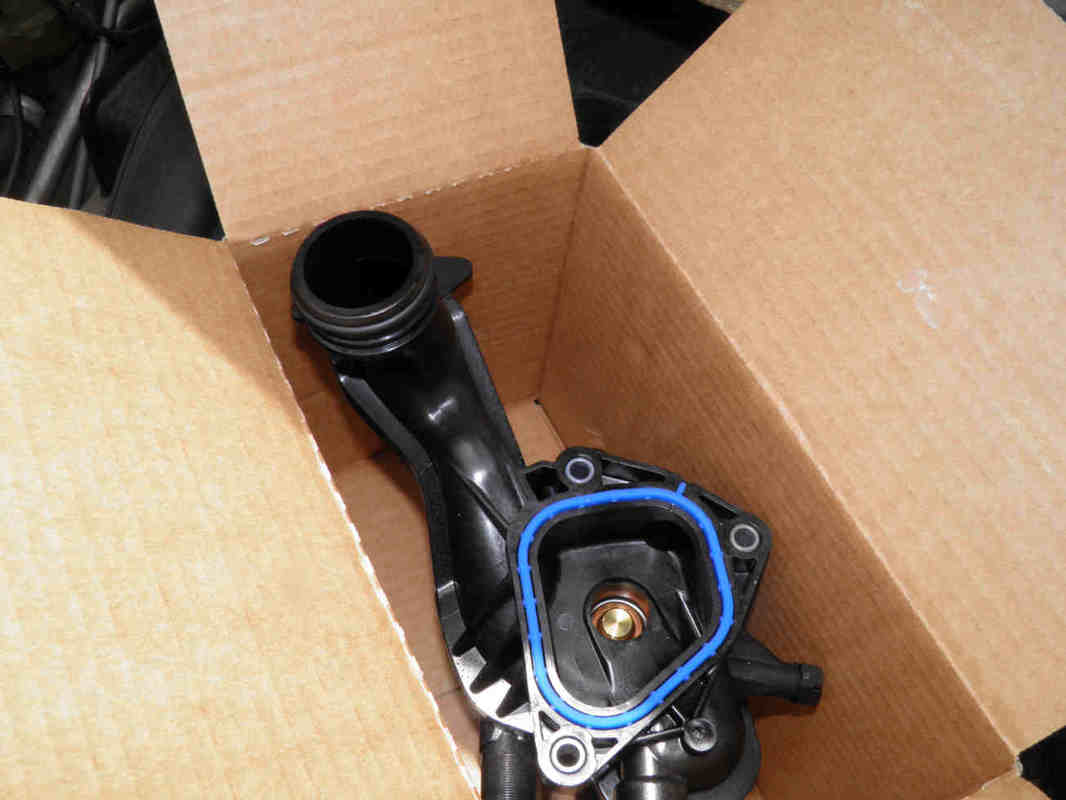
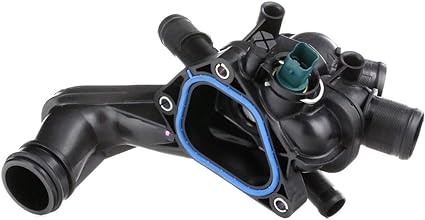
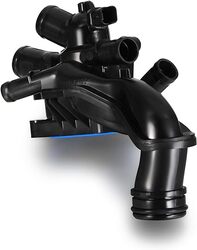
The new EP6 thermostat housing block integrates a different temperature sensor (middle) and is supplied with a new wire harness (sold separately). The new harness does not require any vehicle wiring modification since it has the same 4-pin connector than the previous version (right).

Make sure however its fabrication date is well after your vehicle model year as it could have been modified / enhanced in the meantime. Do not accept a spare part of the same year of production than your car.
Two arrows are engraved on the plastic and indicate the year and month of fabrication:
Two arrows are engraved on the plastic and indicate the year and month of fabrication:
|
Buy your Peugeot / Mini thermostat here:

|
Preparatory works for accessing the EP6 engine thermostat

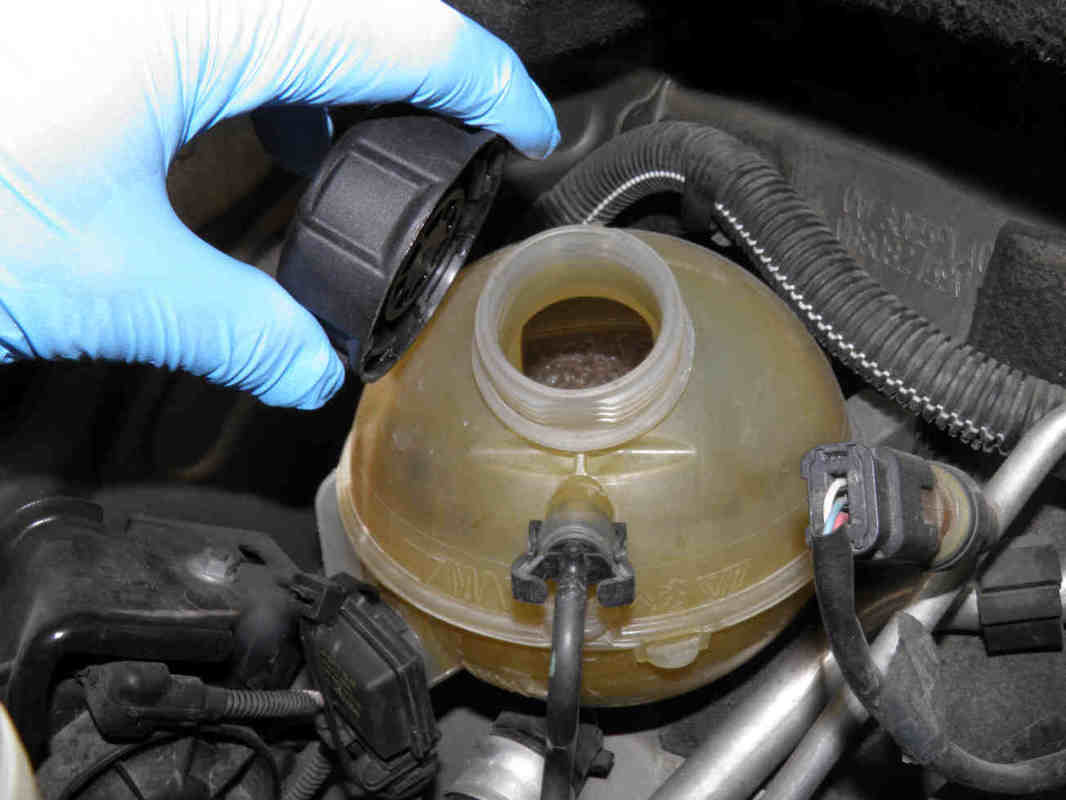
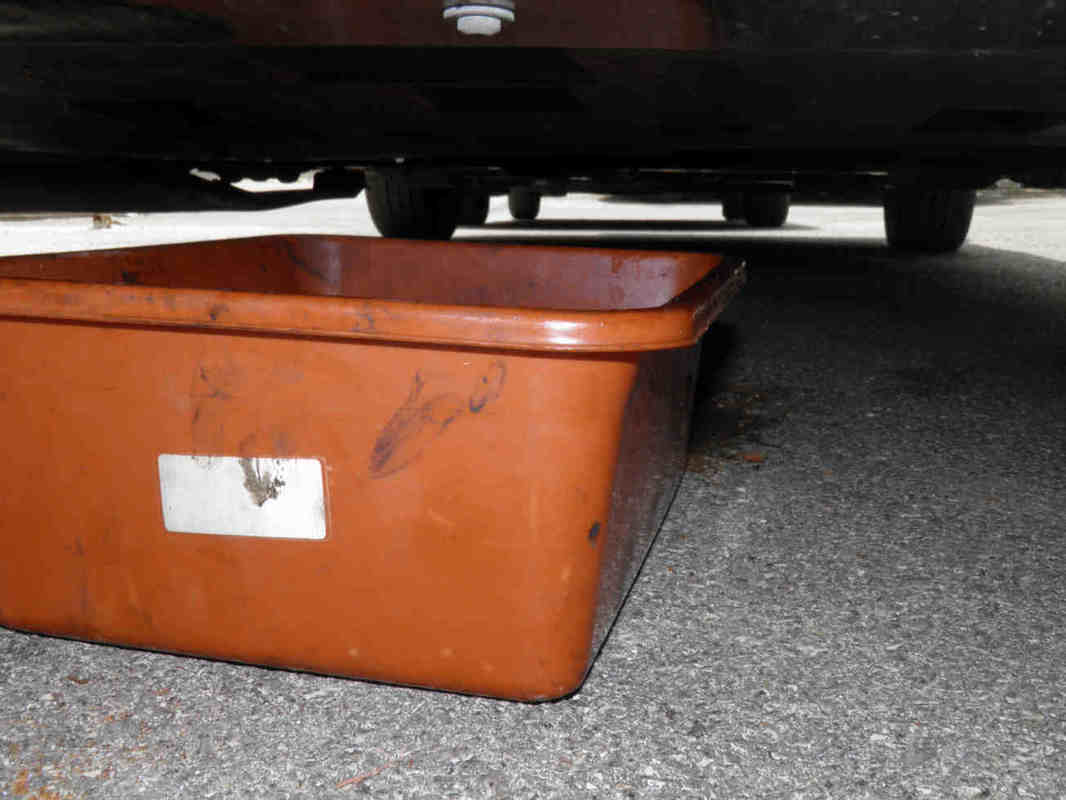
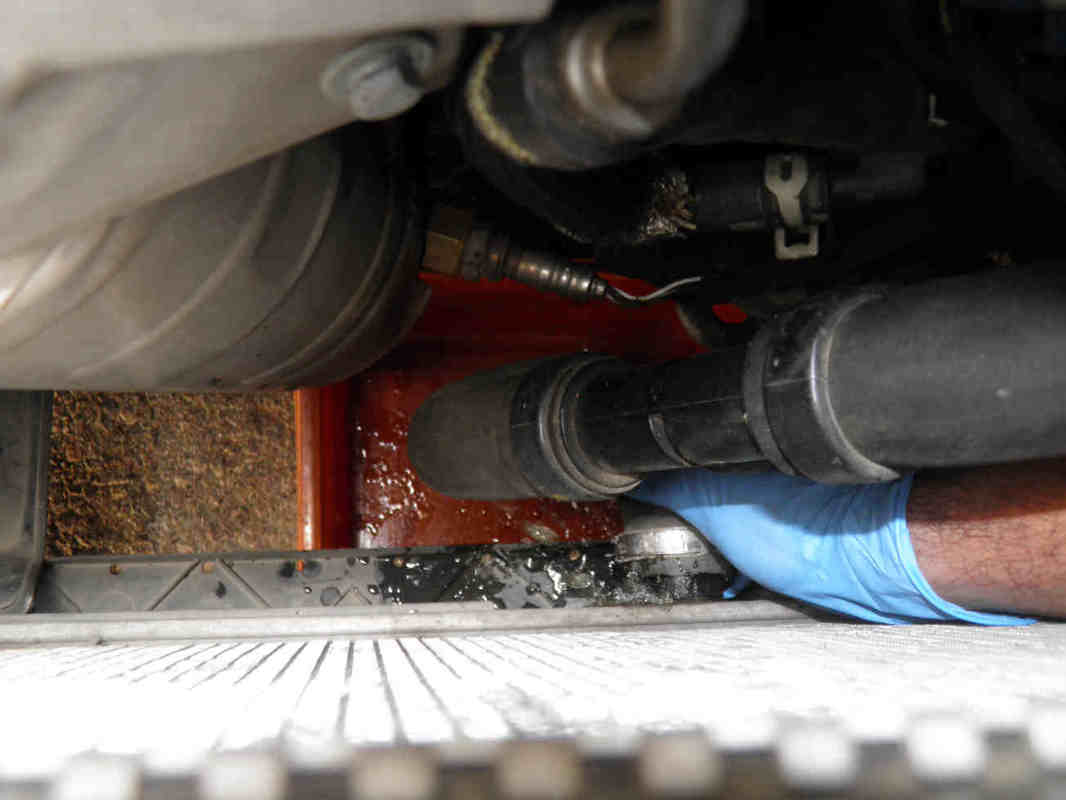
Open the cooling circuit expansion tank and loosen the lower radiator hose collar then pull the hose out to drain the coolant into an empty plastic container:
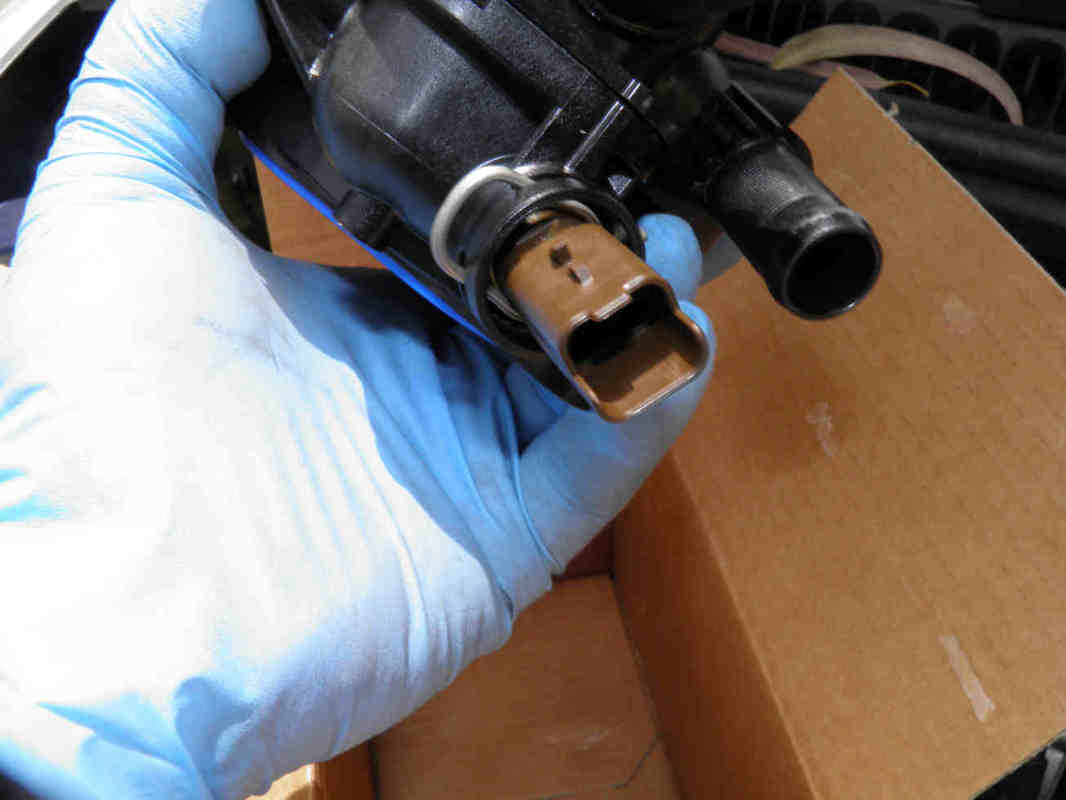
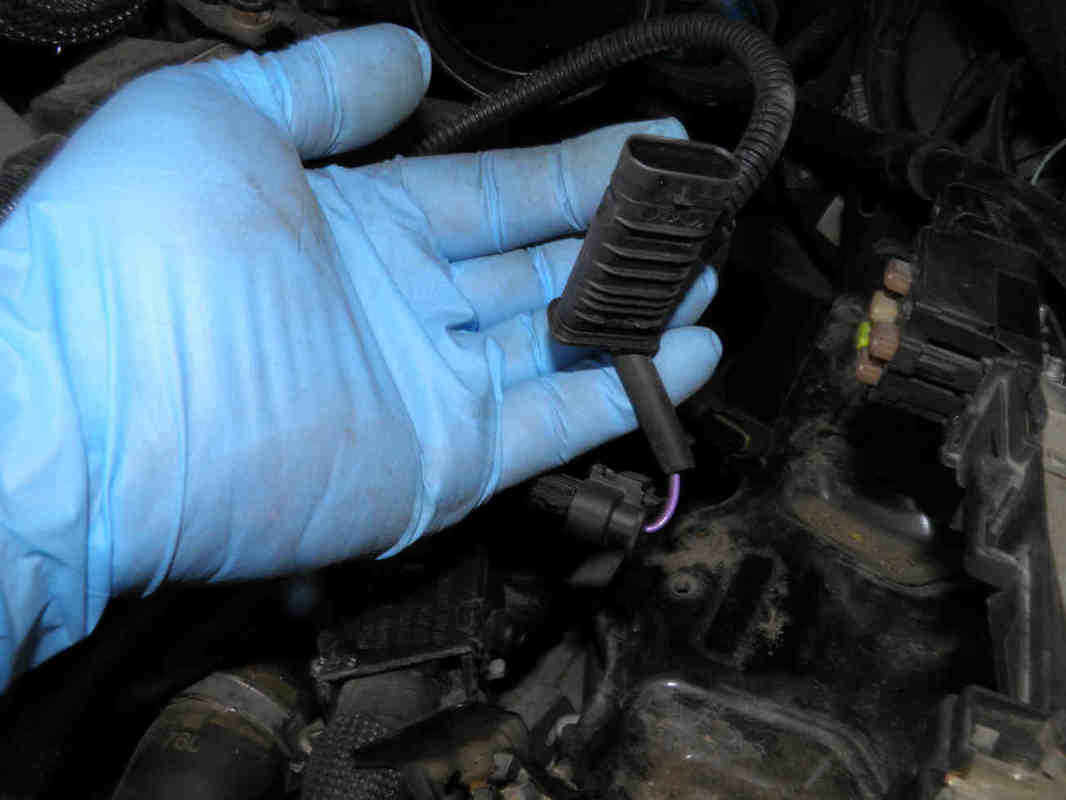
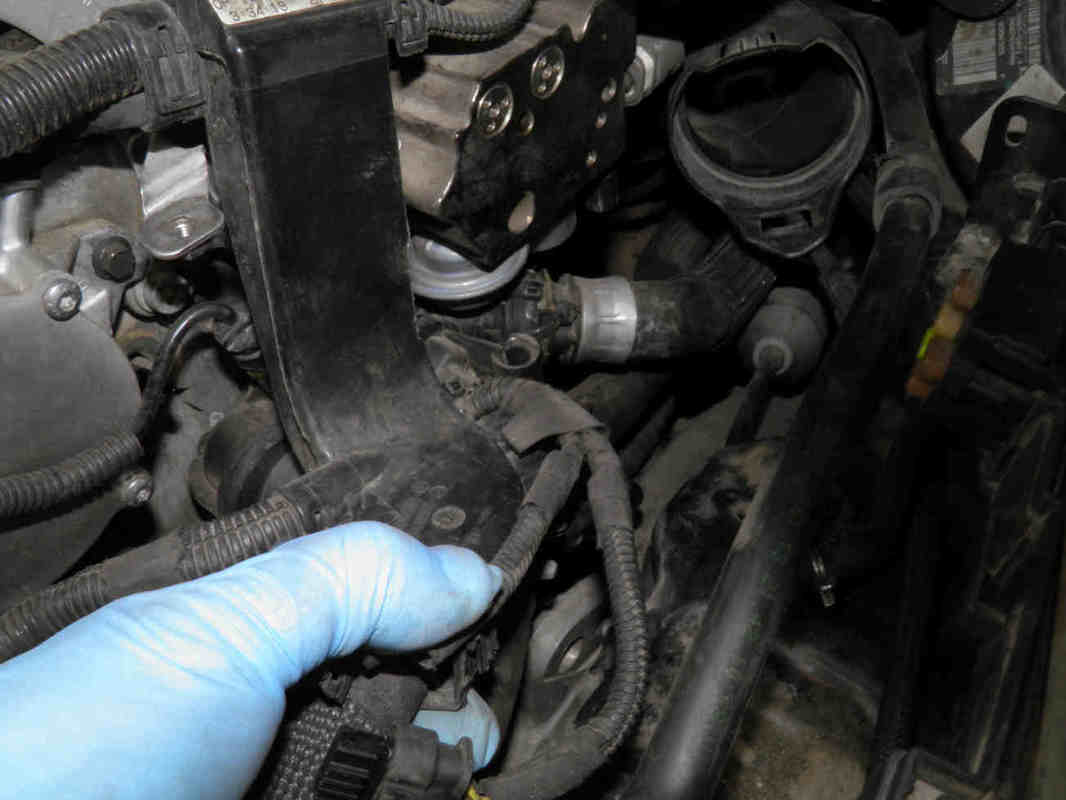
Disconnect and remove the thermostat and temperature sensor wire harness:

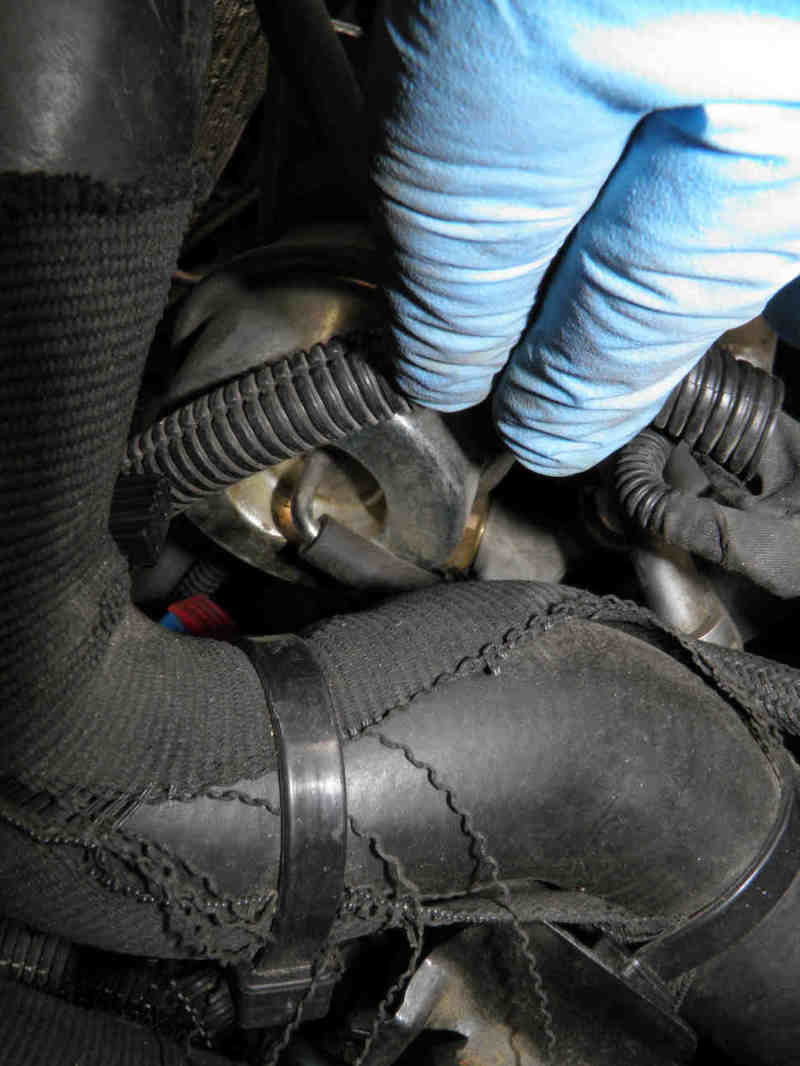
Pull out the vacuum hoses from the vacuum pump (middle) and waste gate valve actuator (left) and the connector to the engine breather as well (right):

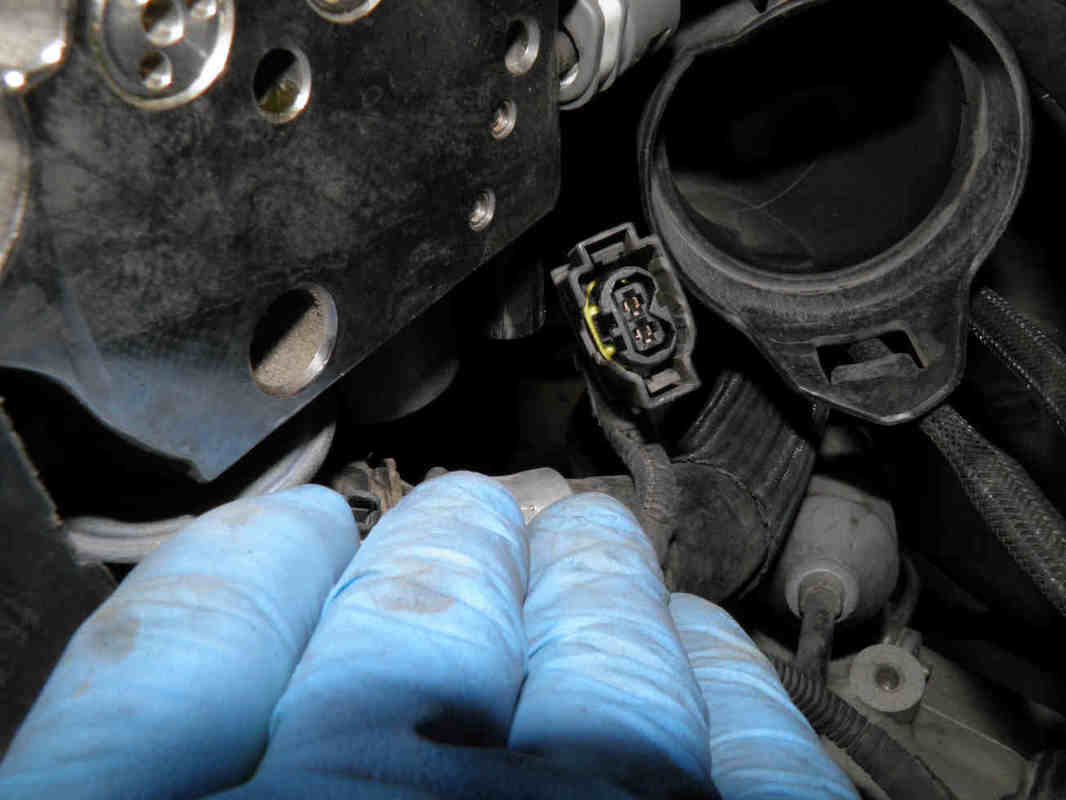
Disconnect the HPFP connector (left), pull up the wire organizer (middle) and leave it aside (right):

|
|
|
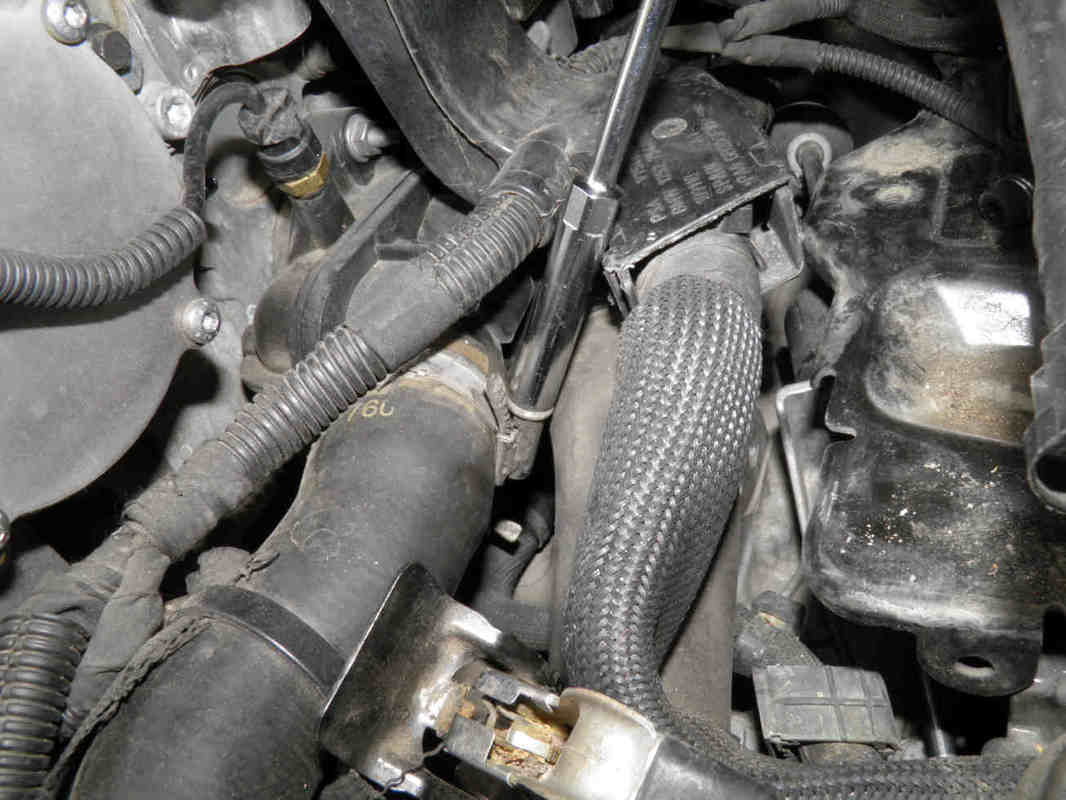
Removing the connecting hoses and thermostat housing:
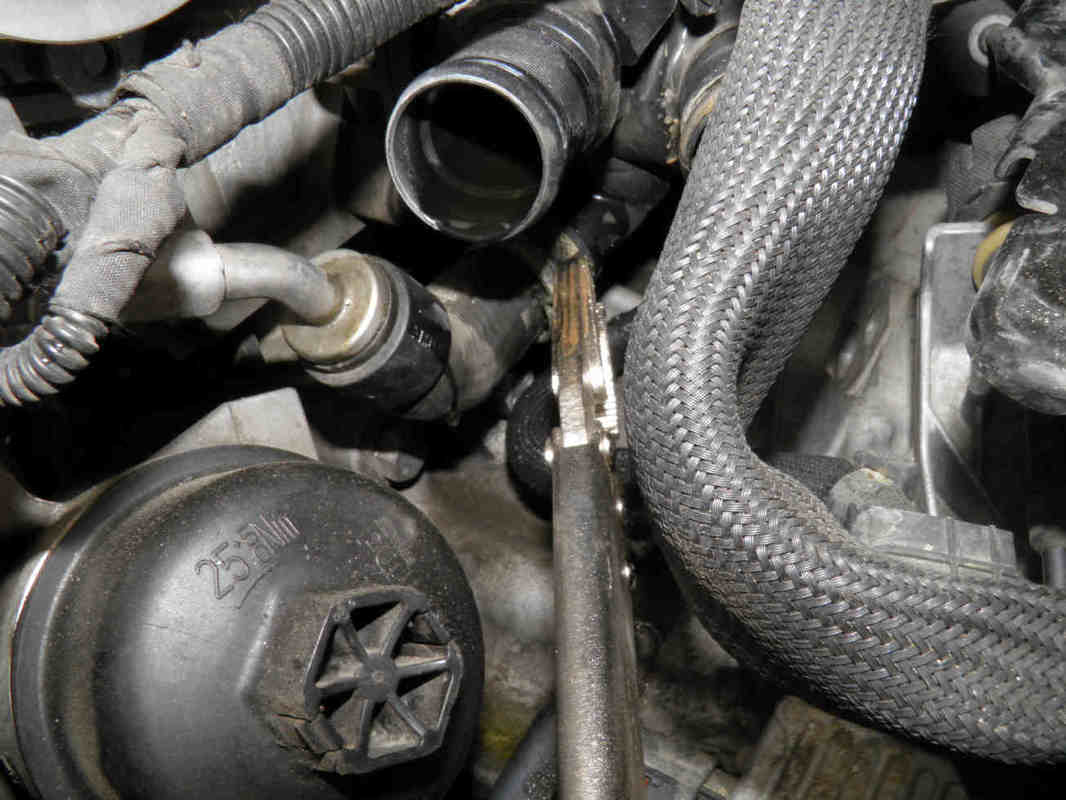
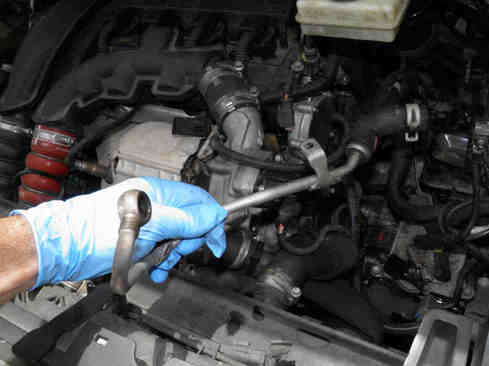
Start by removing the connecting coolant hoses one by one and from the most to less accessible:
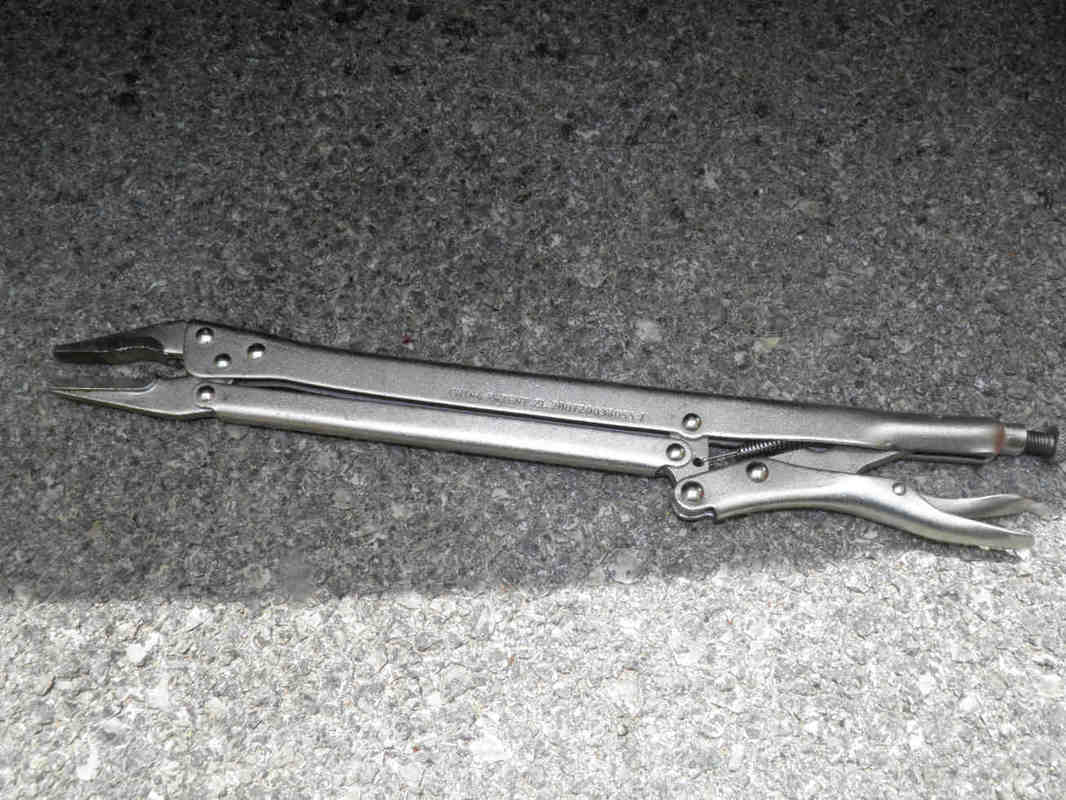
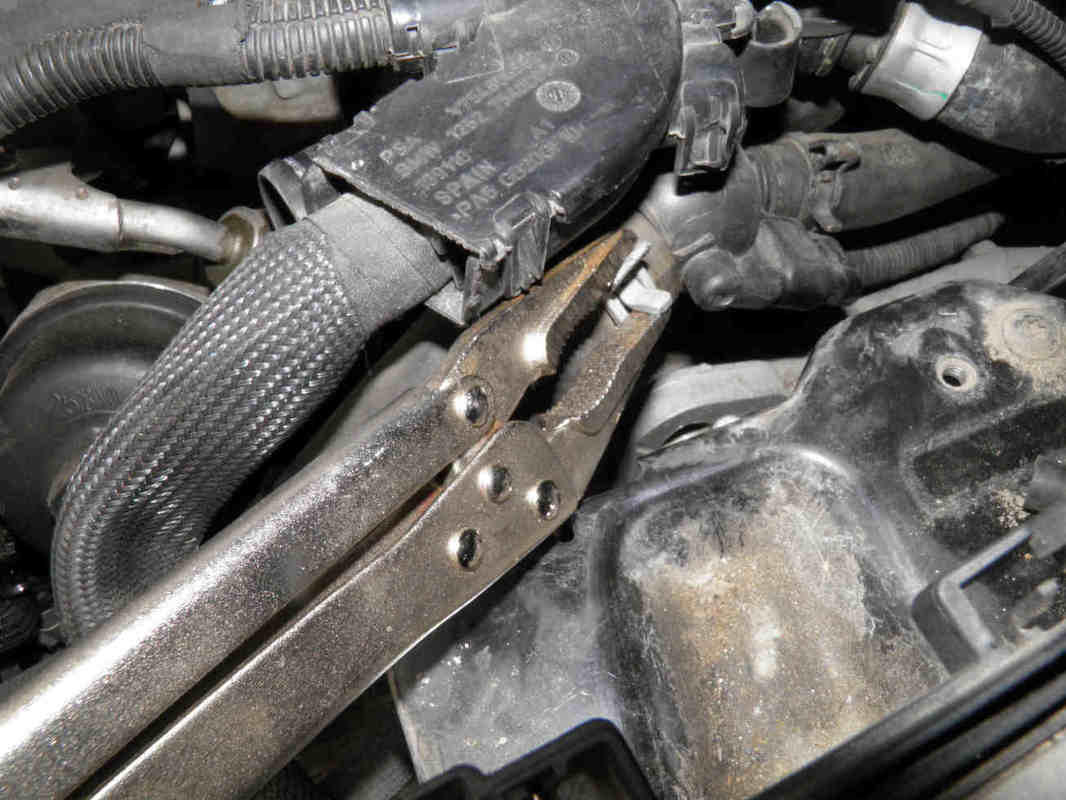
Special tools exist for coolant hose clamps and for pulling out the hose yet these are completely useless in the case of the EP6 engine because of the tight place and difficult access. Do not spend money on these, buy very long nose grip pliers instead and use a large screw driver for pushing back the coolant hoses.
The long nose grip pliers are capable of unexpected reach and are cheap to buy also easier to find than special automotive tools:
The long nose grip pliers are capable of unexpected reach and are cheap to buy also easier to find than special automotive tools:
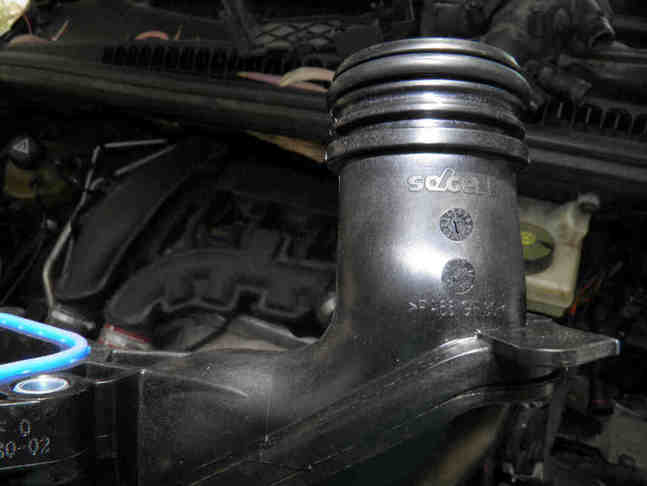
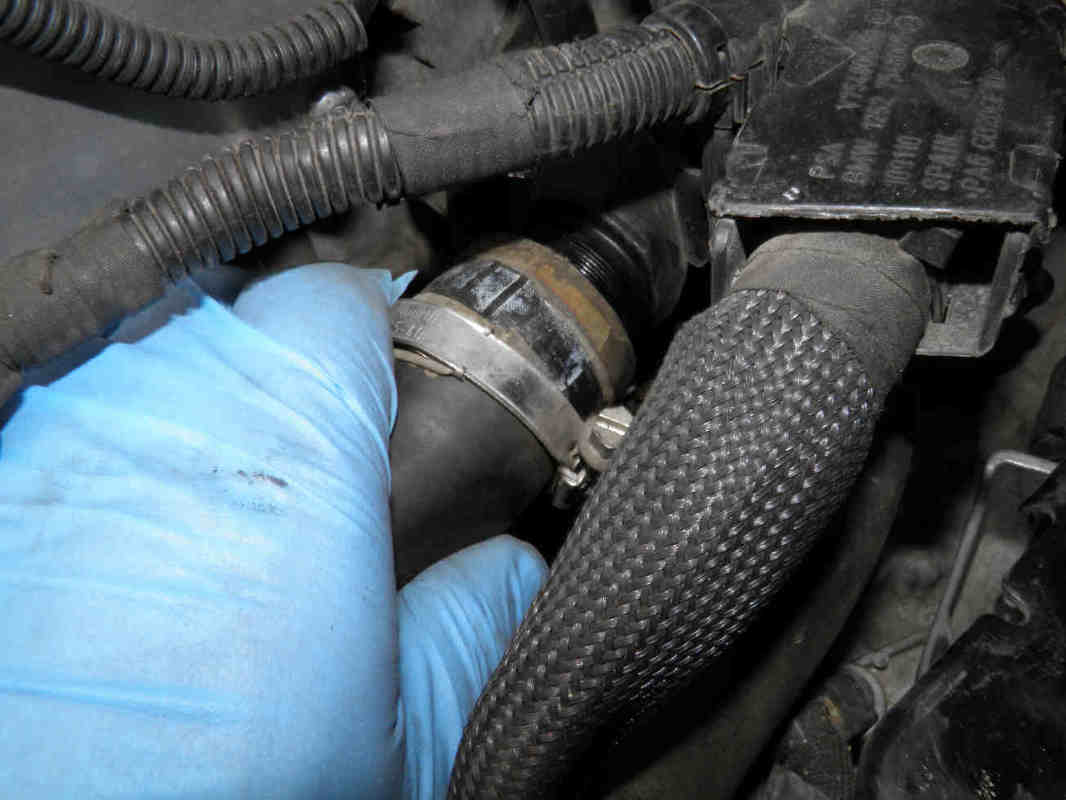
Remove the upper turbo coolant hose completely. Loosen and take out its banjo bolt (left and middle) then unscrew its holding bolt (right).

|
|
Buy your Peugeot / Mini thermostat here:
|
|
Now remove the last two hoses towards the back of the engine:
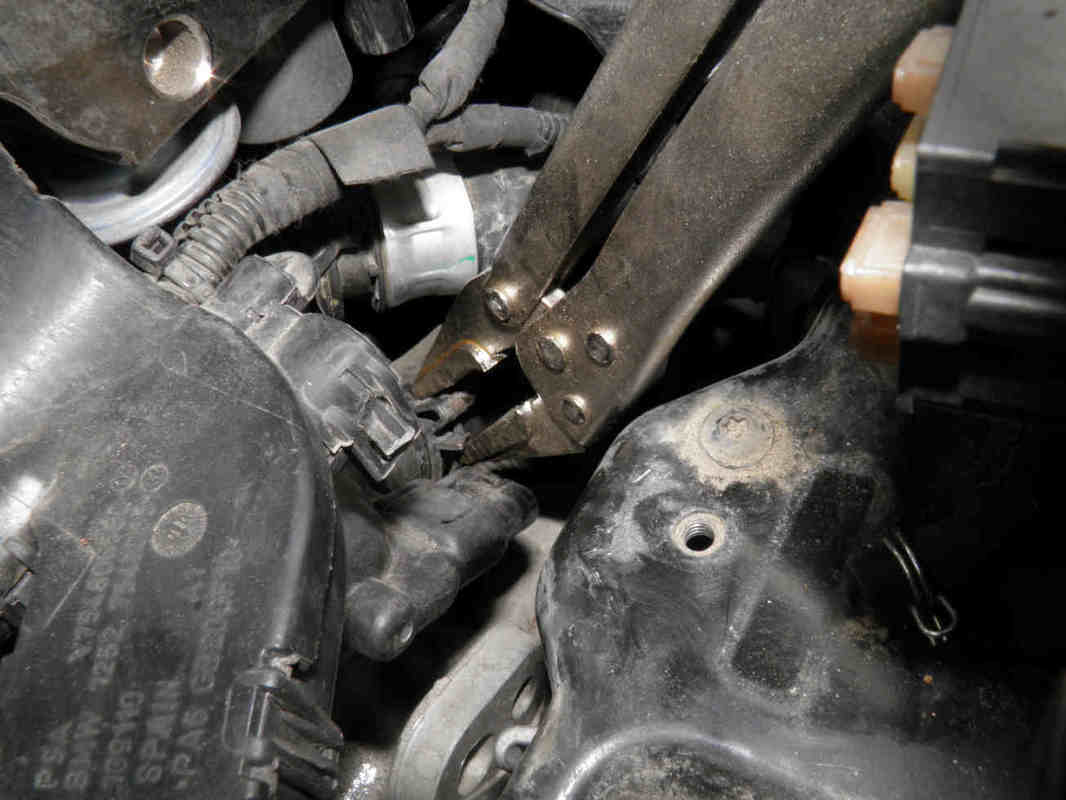

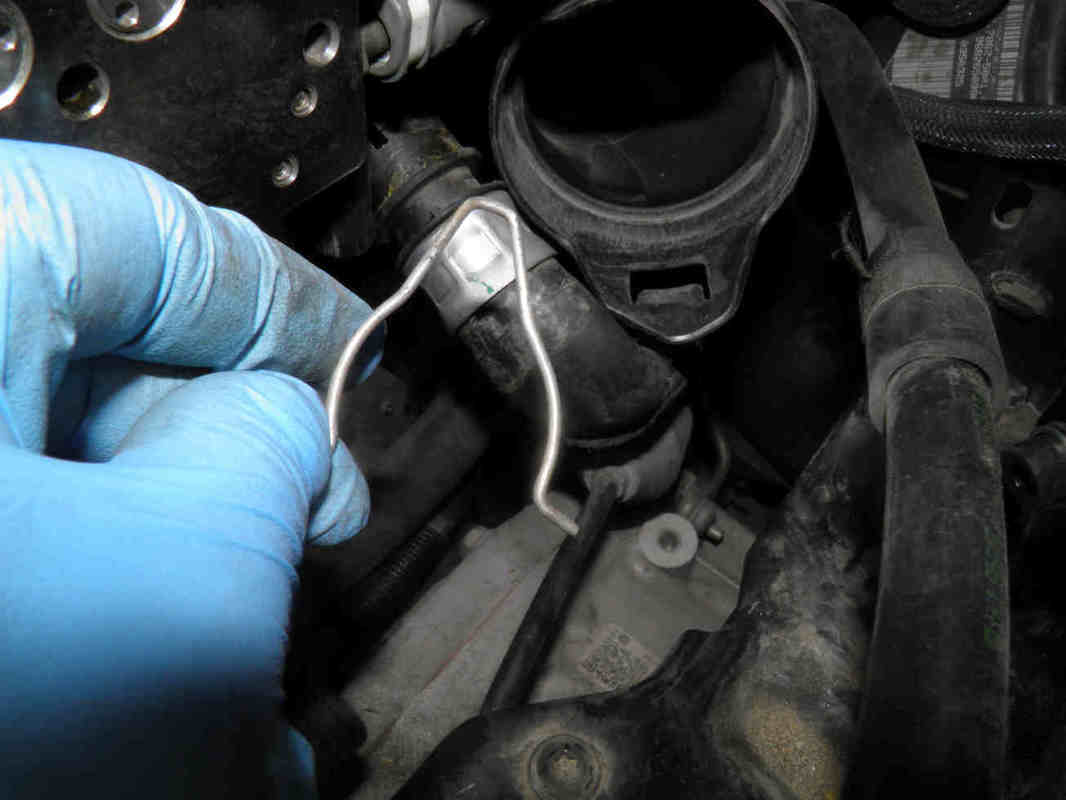
One of them is fitted with an automatic rigid plastic clamp that can break easily as it becomes brittle with ageing:


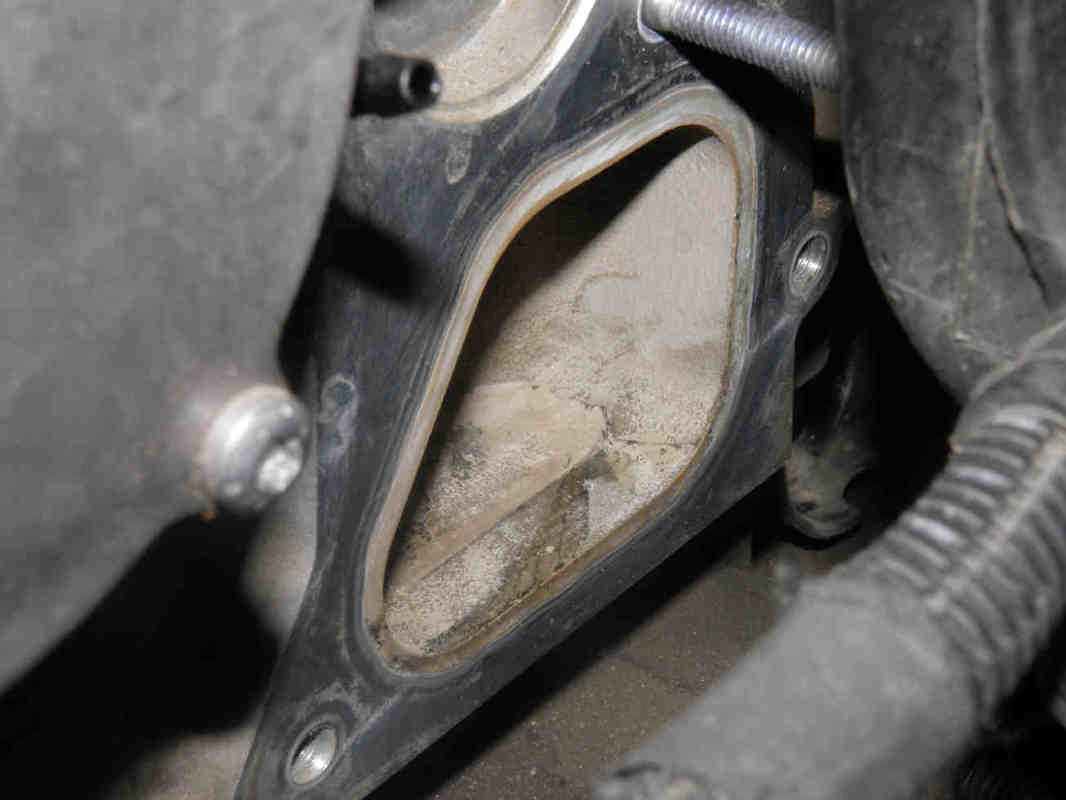
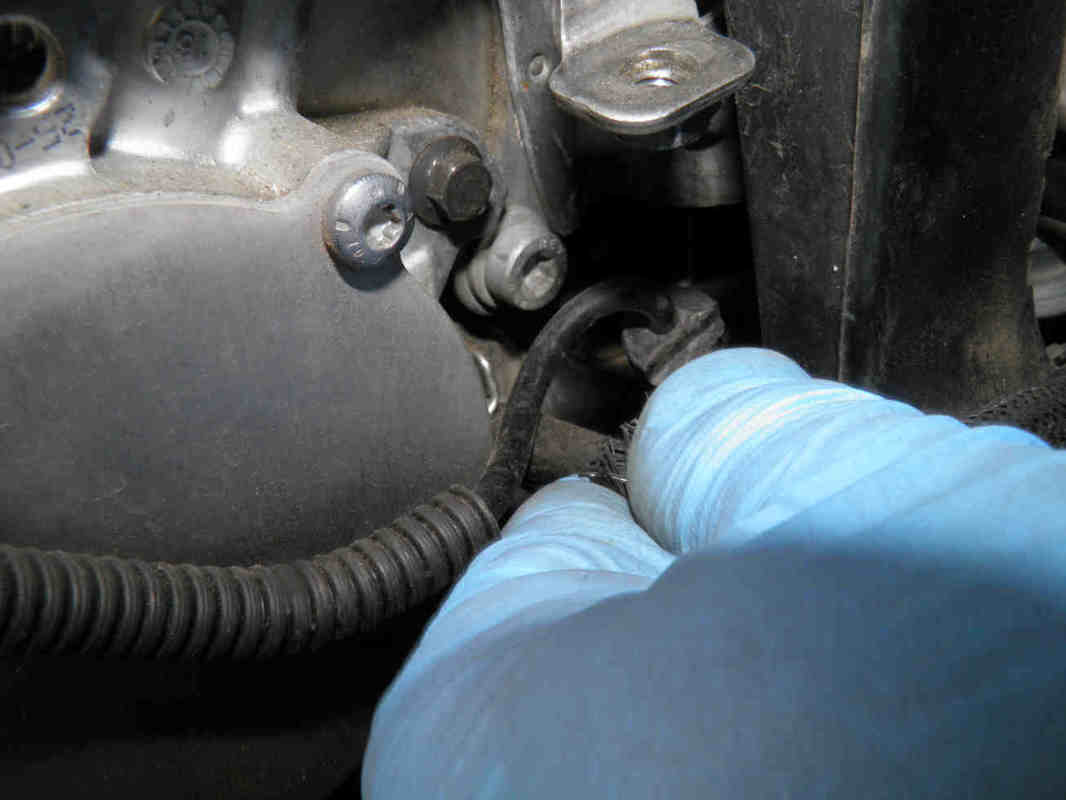
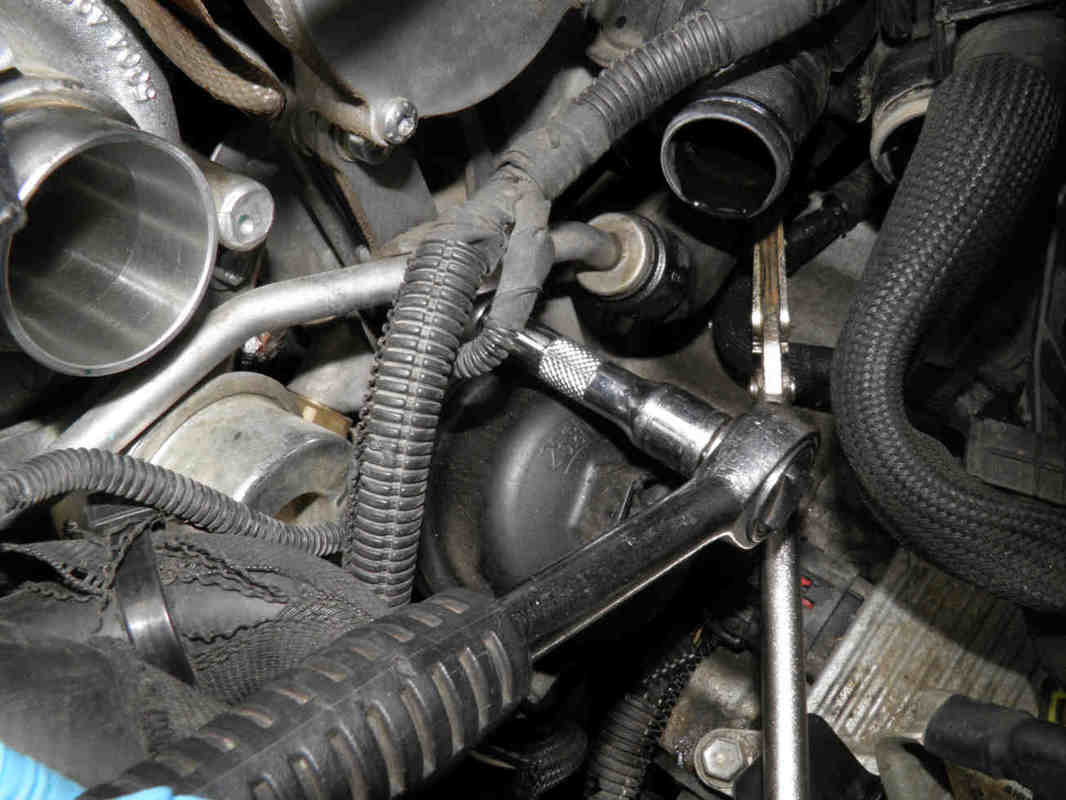
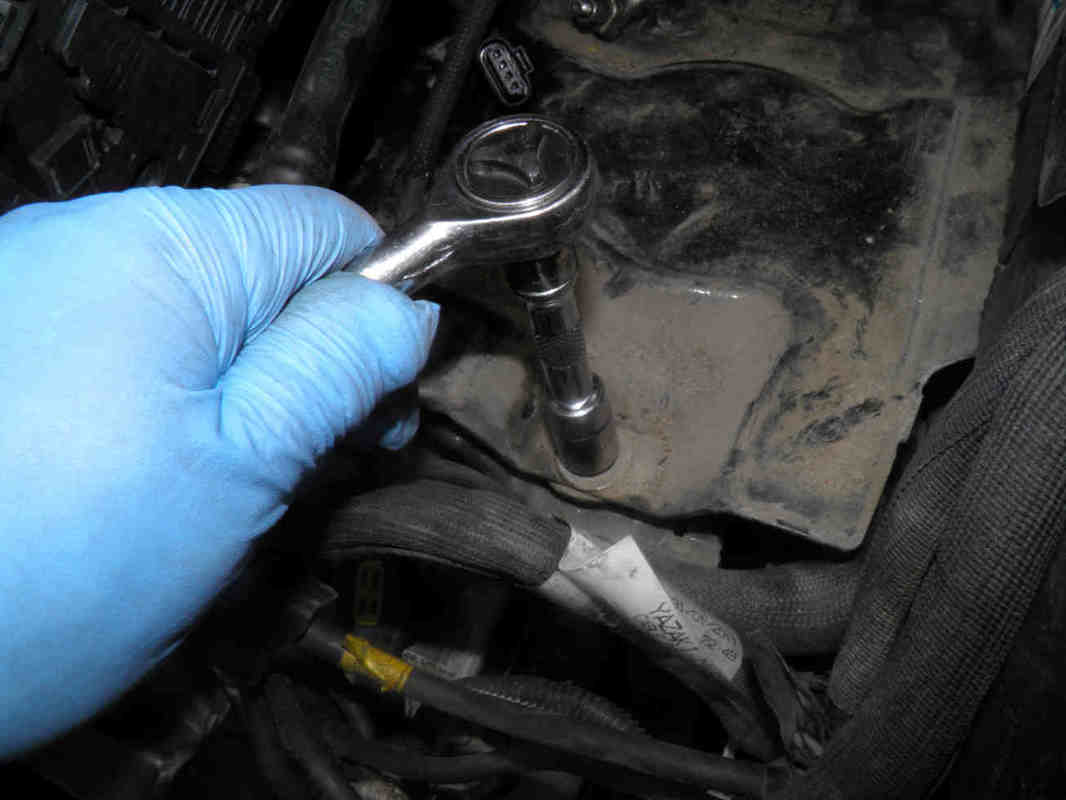
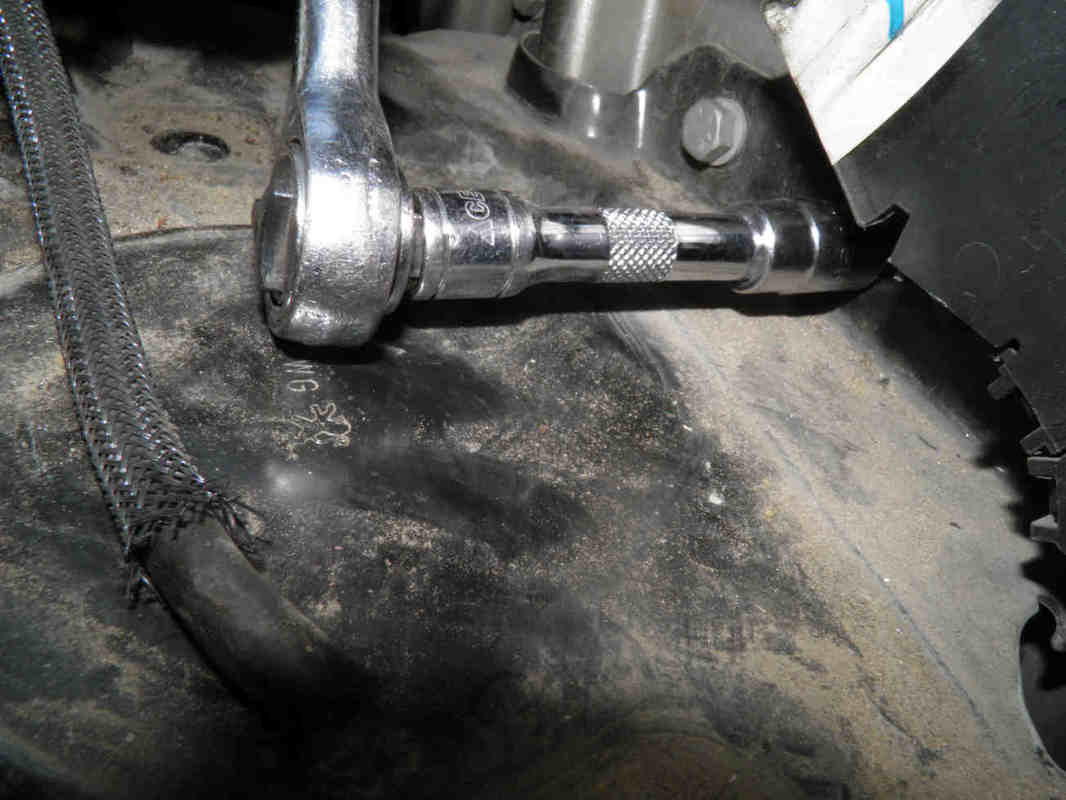
Time now to unscrew the 3 bolts that hold the thermostat housing block to the cylinder head (left, middle) then to remove the clamp that holds the thermostat housing to the bypass tube (right):

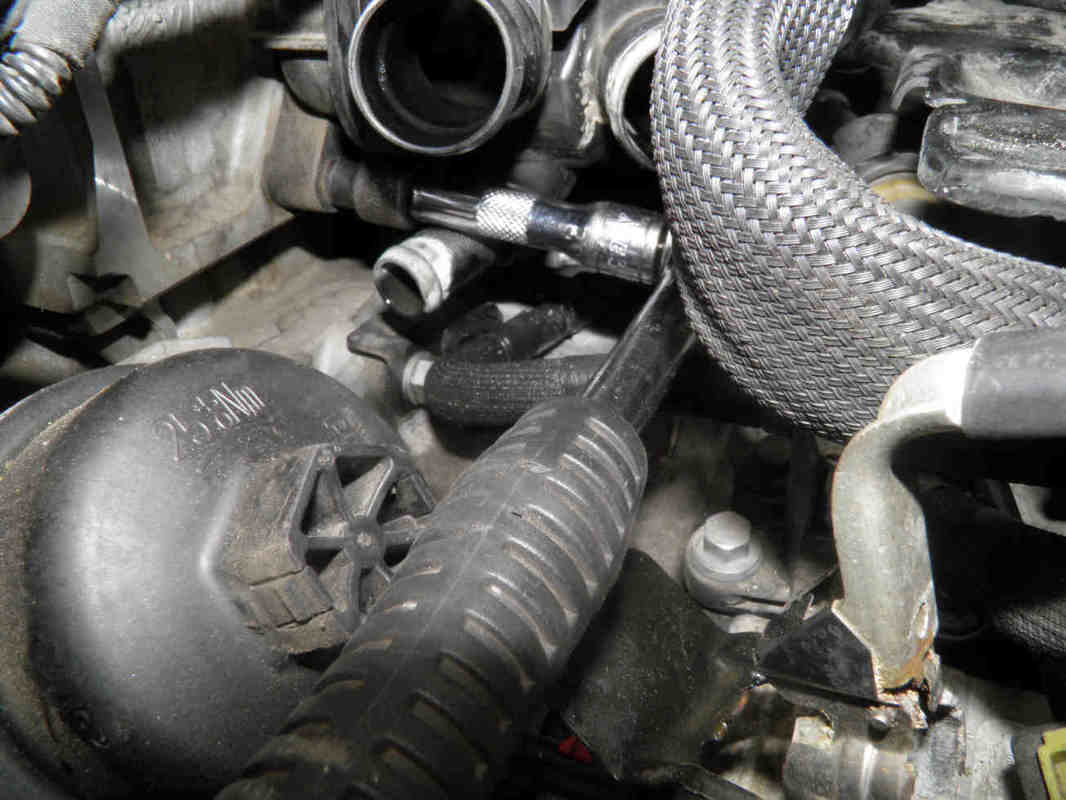
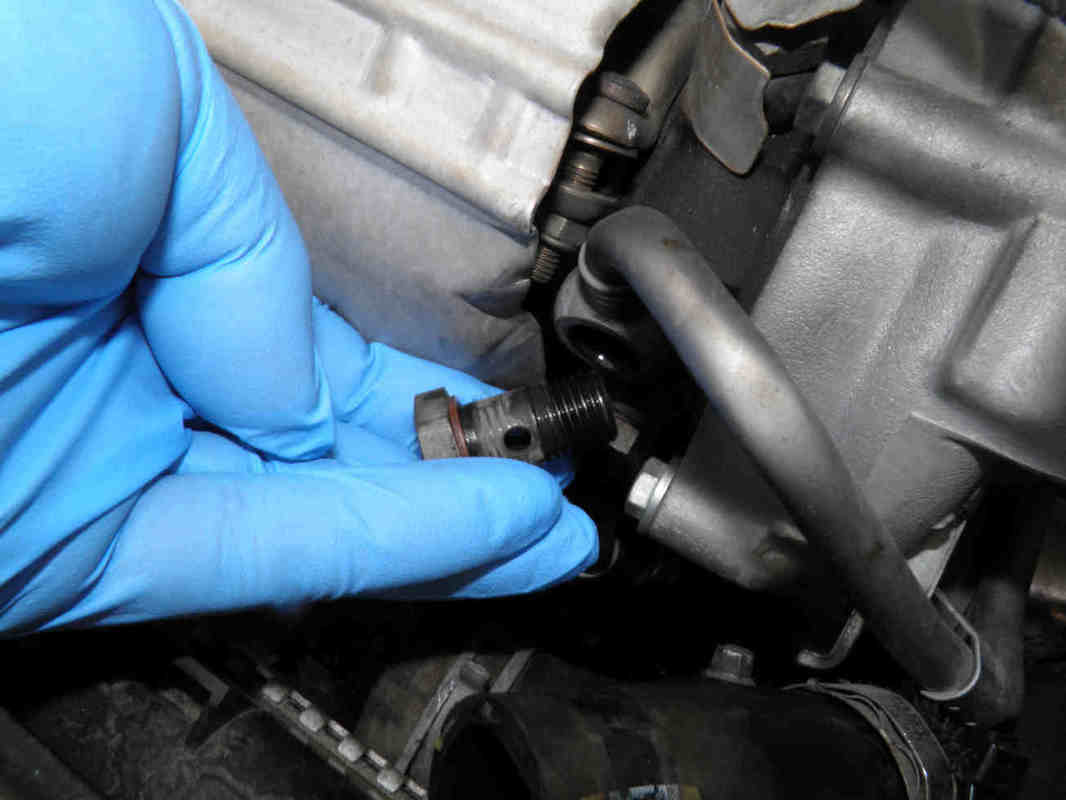
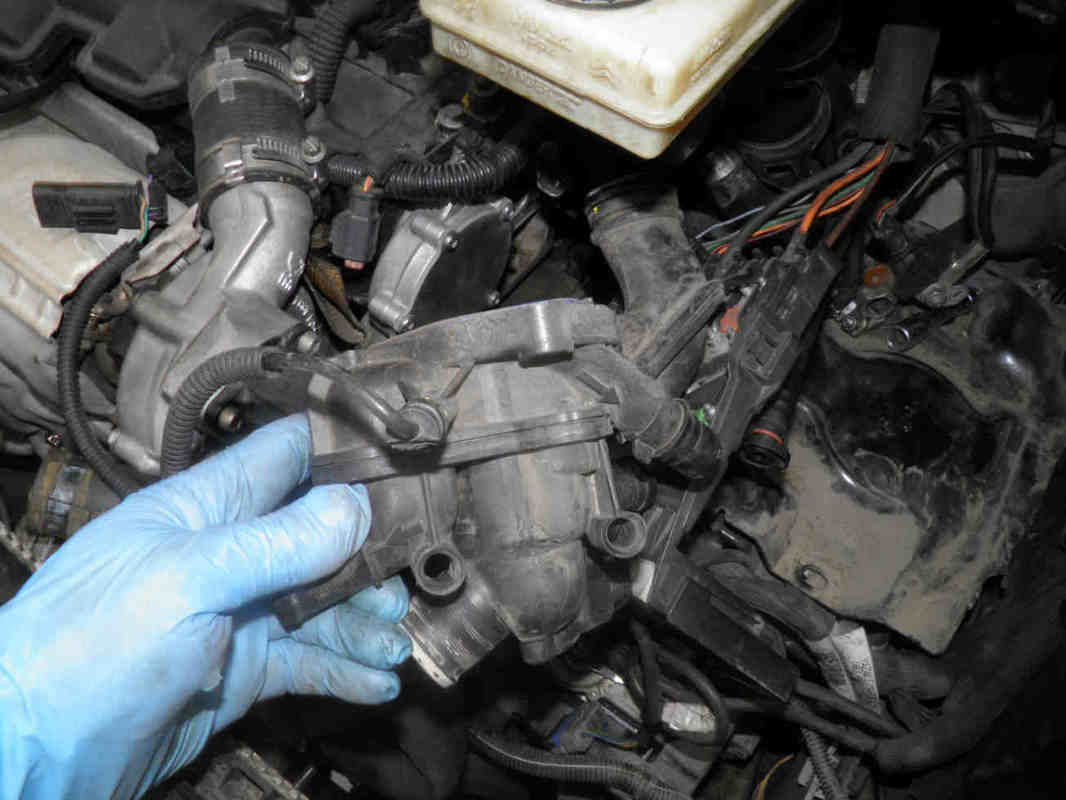
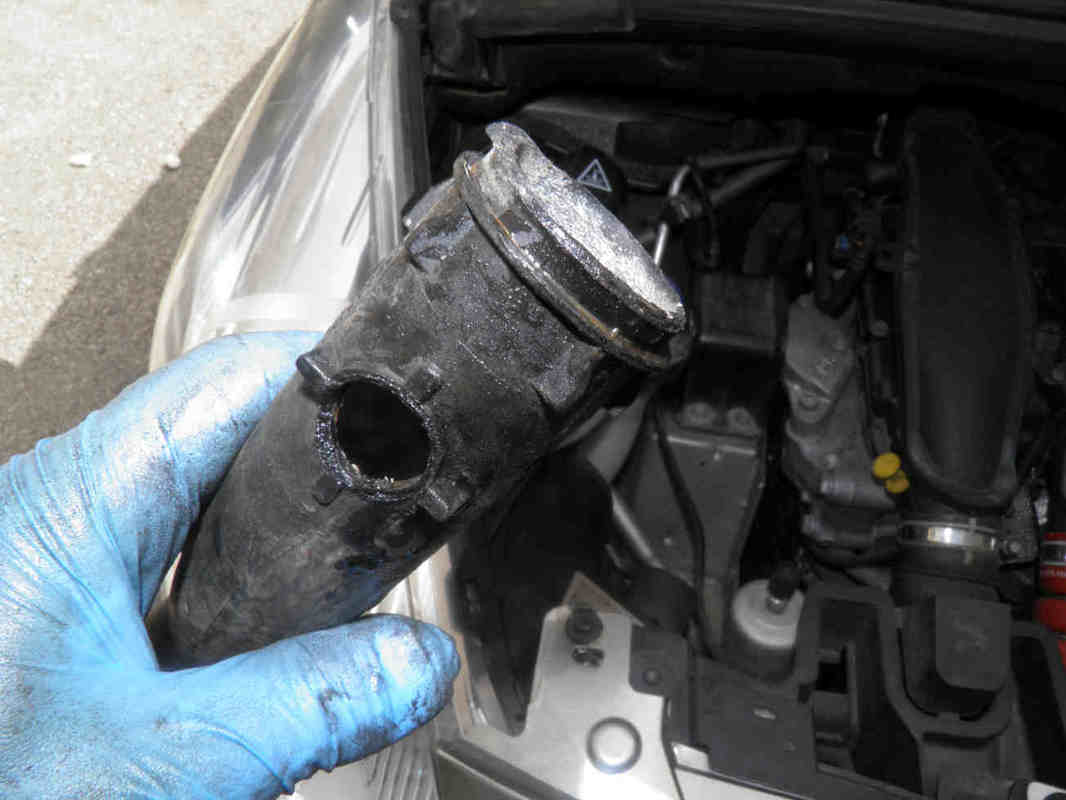
Hold the thermostat with both hands and pull it out with some strength.
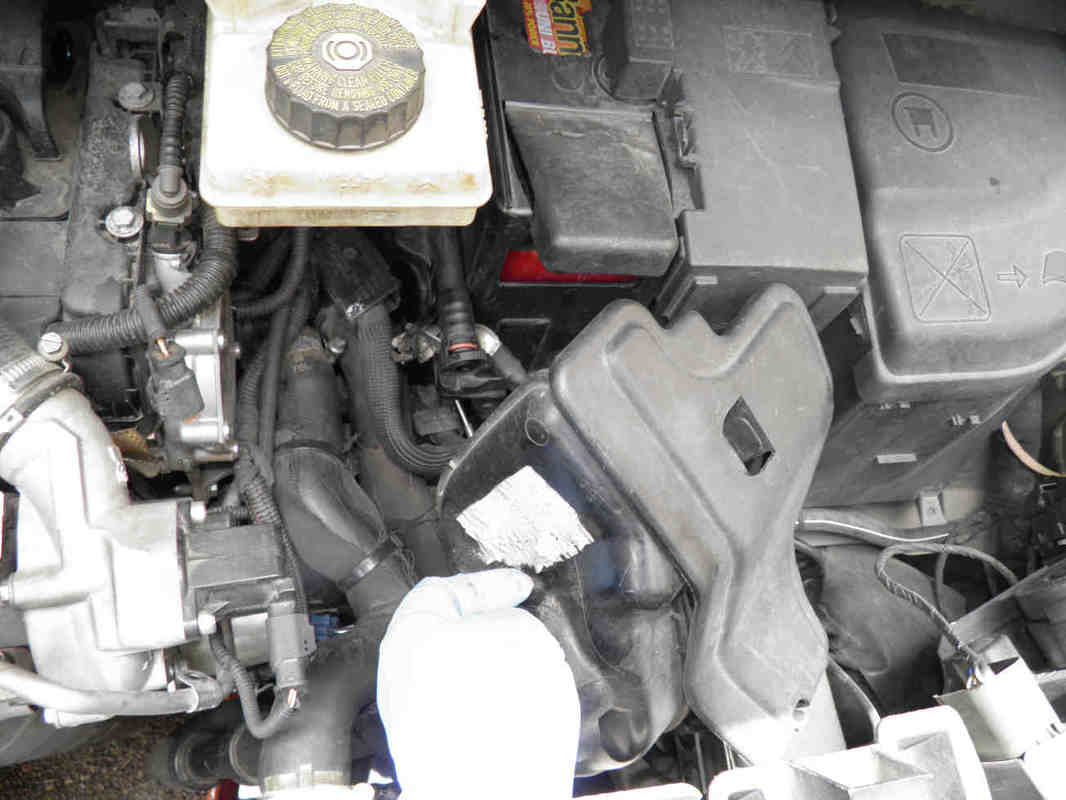
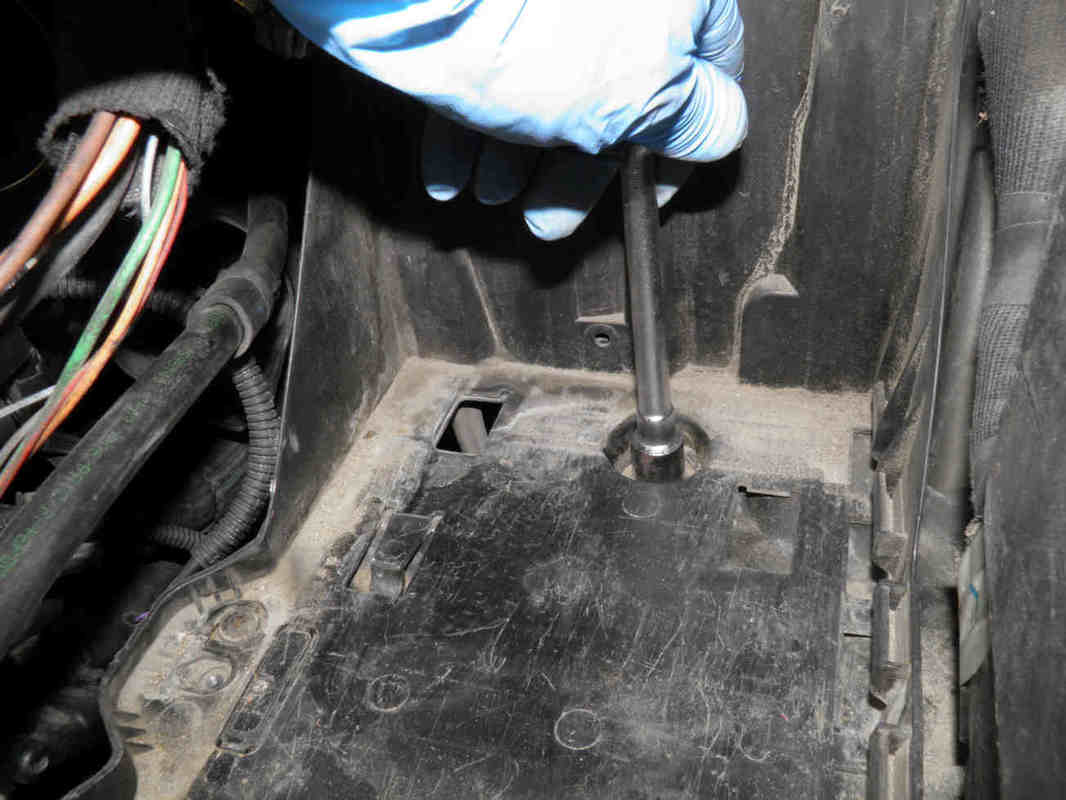
Loosen the battery tray and pull it up with your hand while taking out the thermostat from this crowded and tiny space.
Loosen the battery tray and pull it up with your hand while taking out the thermostat from this crowded and tiny space.
|
|
|
Inspecting the bypass tube and replacing it
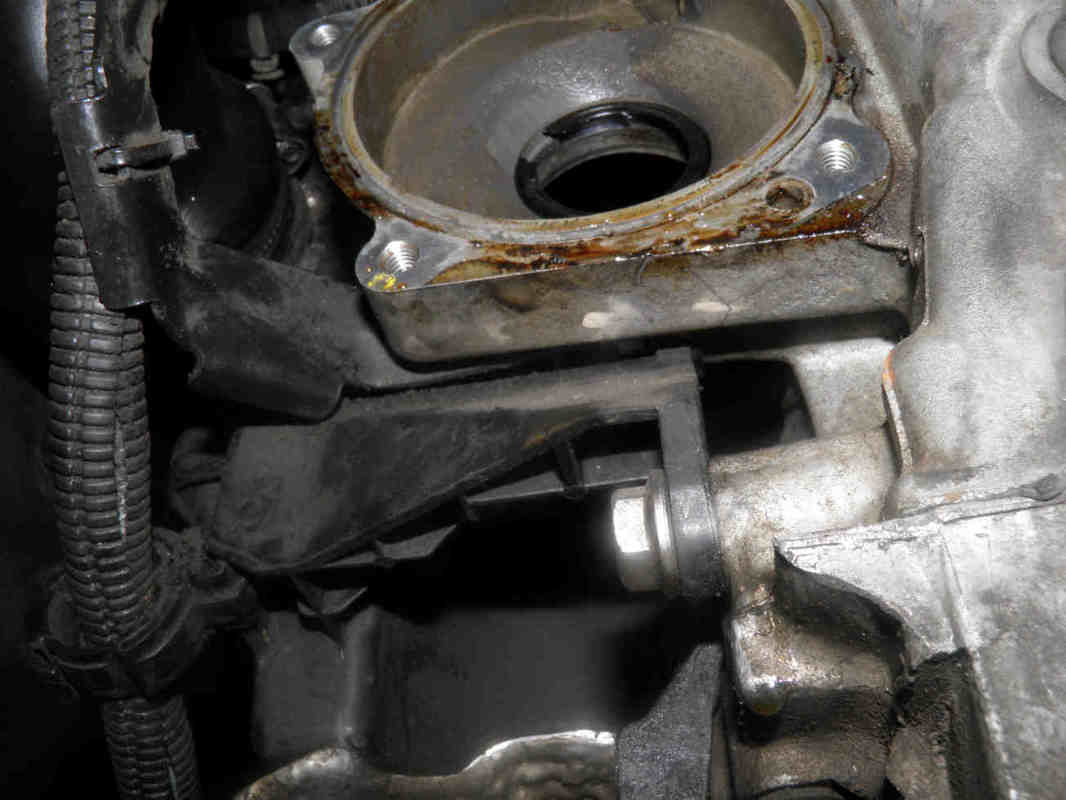
Before refitting the new thermostat, make sure the bypass tube i.e. the tube that links it to the water pump is solidly anchored. It should not move easily or appear to be lose if you gently try to move it right and left.
In this case, on a vehicle that ran 120,000 Km, the tube was found to be completely lose. The plastics aged and became brittle. It was not possible to disconnect the hose linking this tube to the expansion tank, it was pulled out with little force that immediately broke the bypass tube connector. (middle). The O-ring seat was found broken (middle) and part of it remained stuck in the water pump (right).
In this case, on a vehicle that ran 120,000 Km, the tube was found to be completely lose. The plastics aged and became brittle. It was not possible to disconnect the hose linking this tube to the expansion tank, it was pulled out with little force that immediately broke the bypass tube connector. (middle). The O-ring seat was found broken (middle) and part of it remained stuck in the water pump (right).

|
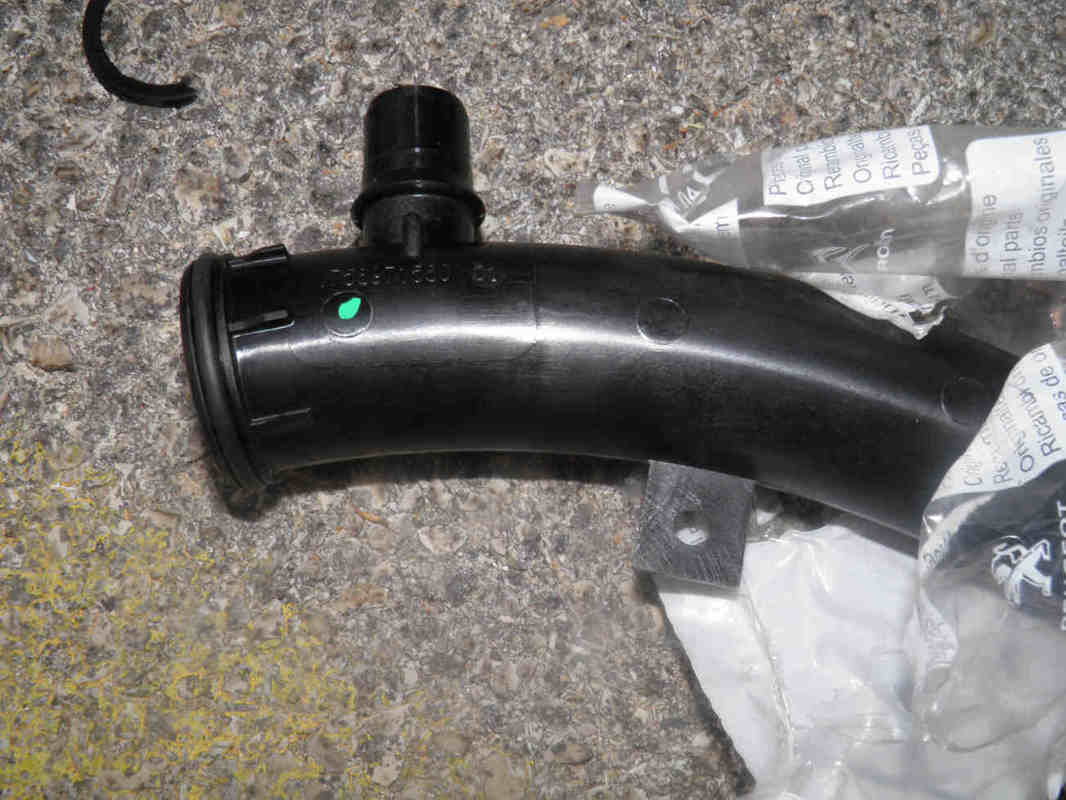
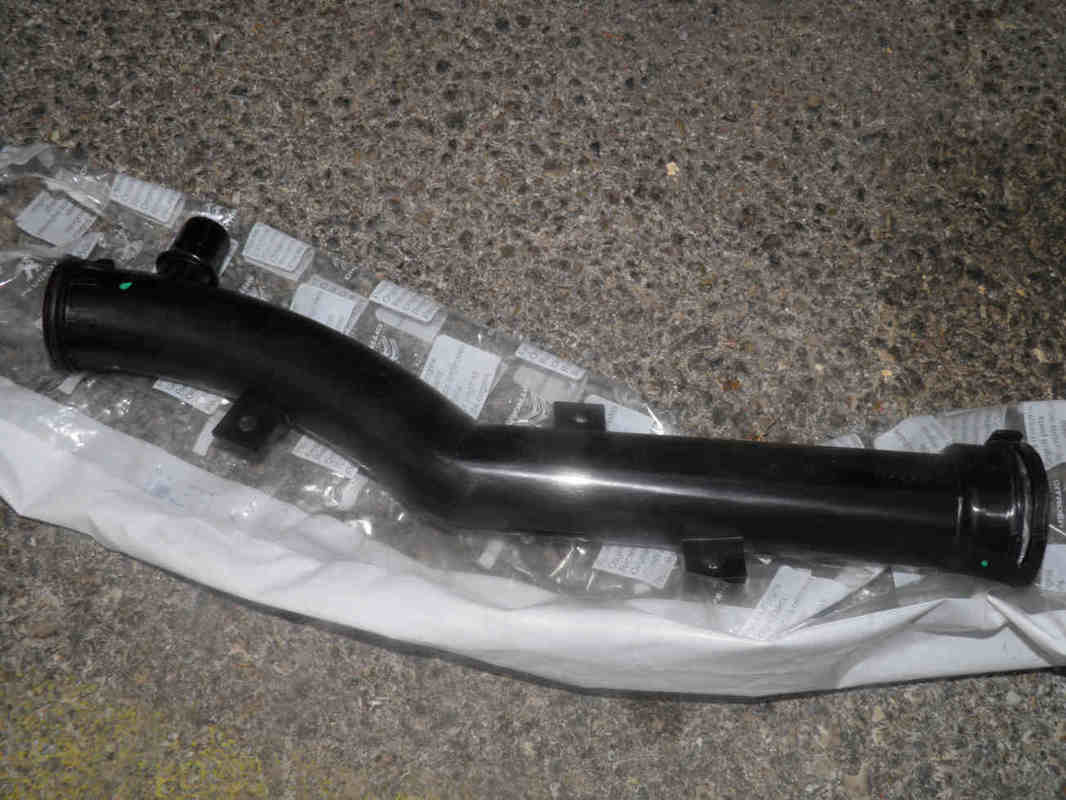
If this happens to you, you need first a new bypass tube which costs peanuts but is of a difficult access for both removing it and refitting it.
You need to remove the water pump, see our page for EP6 engine water pump removal. Put some grease on the bypass tube end before reinserting it into the water pump housing. |
Buy your bypass tube here:
|


Refitting the new thermostat housing block of the EP6 engine
Clean well the thermostat housing seat with WD40 and a clean cloth.
Reverse all above steps.
Do not forget to bleed the engine coolant after refilling the coolant circuit.
Reverse all above steps.
Do not forget to bleed the engine coolant after refilling the coolant circuit.