COPYRIGHT WARNING:
All pictures and texts in this web page are the property of nomaallim.com. Any use of any part of those contents without the written consent of nomaallim.com shall be subject to legal procedures as per international and local laws in the concerned country. Using the name "nomaallim" or "nomaallim com" or "nomaallim.com" in the text describing the unauthorized copied content shall not constitute an exception and shall be sanctioned in accordance to the effective laws and proceedings.
All pictures and texts in this web page are the property of nomaallim.com. Any use of any part of those contents without the written consent of nomaallim.com shall be subject to legal procedures as per international and local laws in the concerned country. Using the name "nomaallim" or "nomaallim com" or "nomaallim.com" in the text describing the unauthorized copied content shall not constitute an exception and shall be sanctioned in accordance to the effective laws and proceedings.
|
BEFORE YOU START
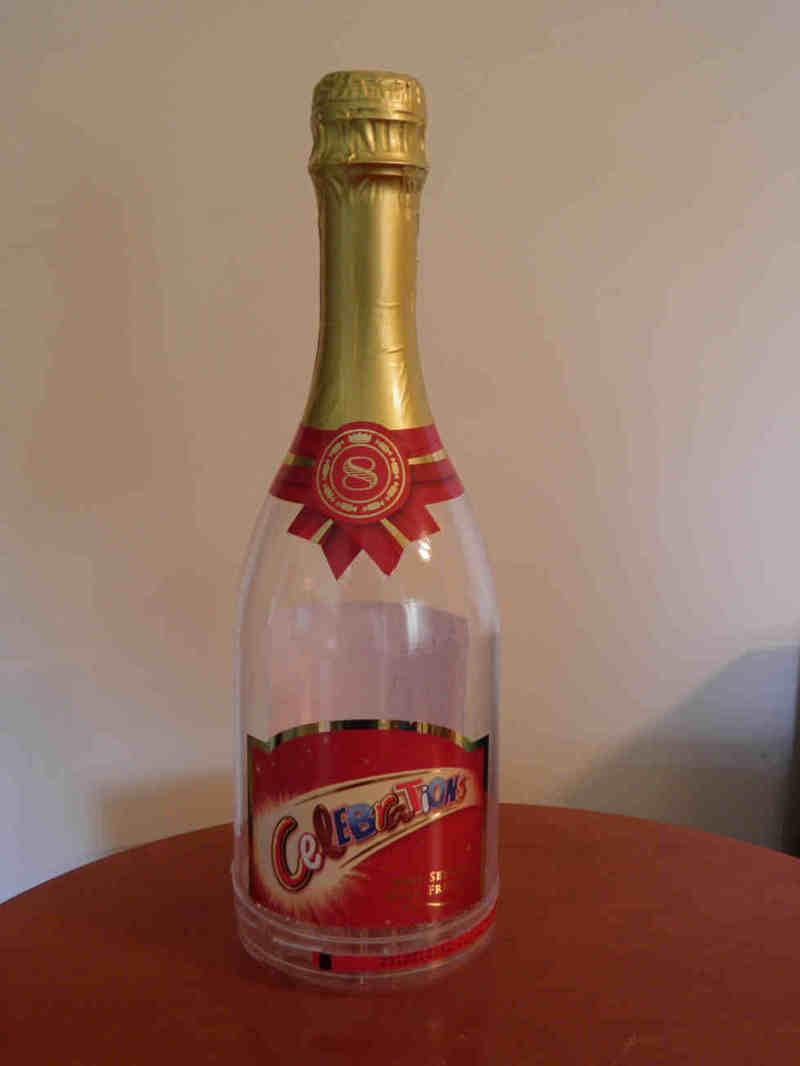
This is an funny and easy way to transform almost anything into a table lamp. It can be more or less valuable depending on the product you are reusing. This pictorial converts this empty chocolate bottle shaped like a Champagne bottle. |

|
DISCLAIMER:
Our pictorials are of informative nature and do illustrate works carried out by ourselves at our own premises for our own use and satisfaction.
Readers who envisage to carry out similar works inspired by the below method shall do this at their own risks and liability.
Our pictorials are of informative nature and do illustrate works carried out by ourselves at our own premises for our own use and satisfaction.
Readers who envisage to carry out similar works inspired by the below method shall do this at their own risks and liability.
Making a table lamp out of any glass bottle
Click on the below link for making a table lamp out of any empty glass bottle like Vodka, Whisky or Cognac.
Making a table lamp out of a plastic bottle
Celebrations are over!
The bottle can be easily reused as a table lamp for several reasons:
The bottle can be easily reused as a table lamp for several reasons:
- Being made of plastic material, it is easier to work than glass.
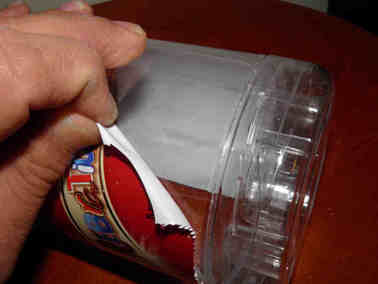
- The stickers peel out easily.
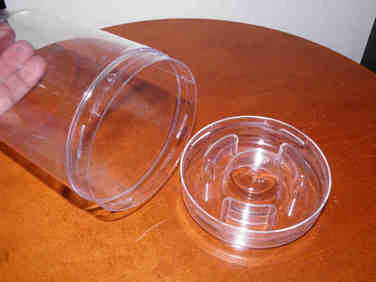
- Its bottom opens. You can consider any type of filling material.
|
|
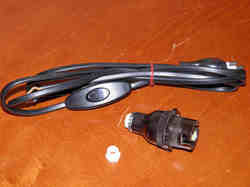
You need the following accessories:
- A table lamp cable that an be found at any supermarket for 3$
- A E14 or B22 lamp holder. Do not use an E27 lamp holder since you can only fit large shades on the latter which will result in a disproportionate lamp.
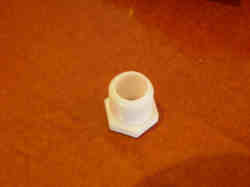
- Two plastic lamp holder nuts (middle)
- A 9.5 mm HSS drill bit for metals
|
|
|
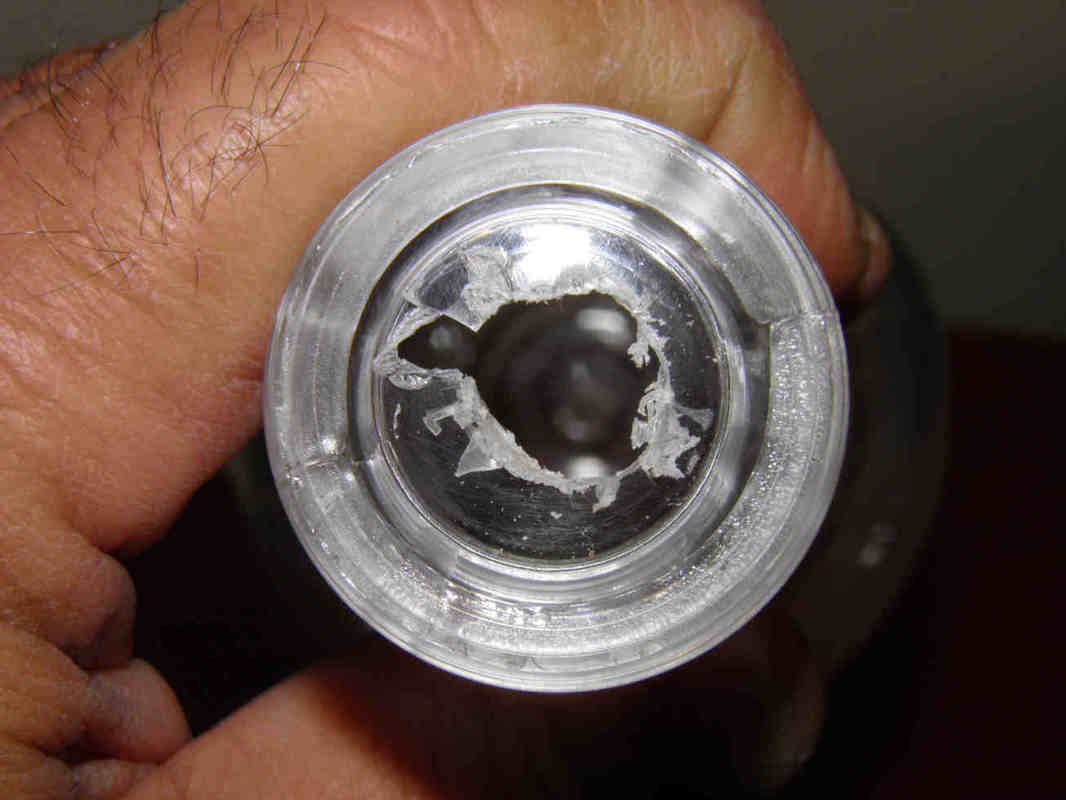
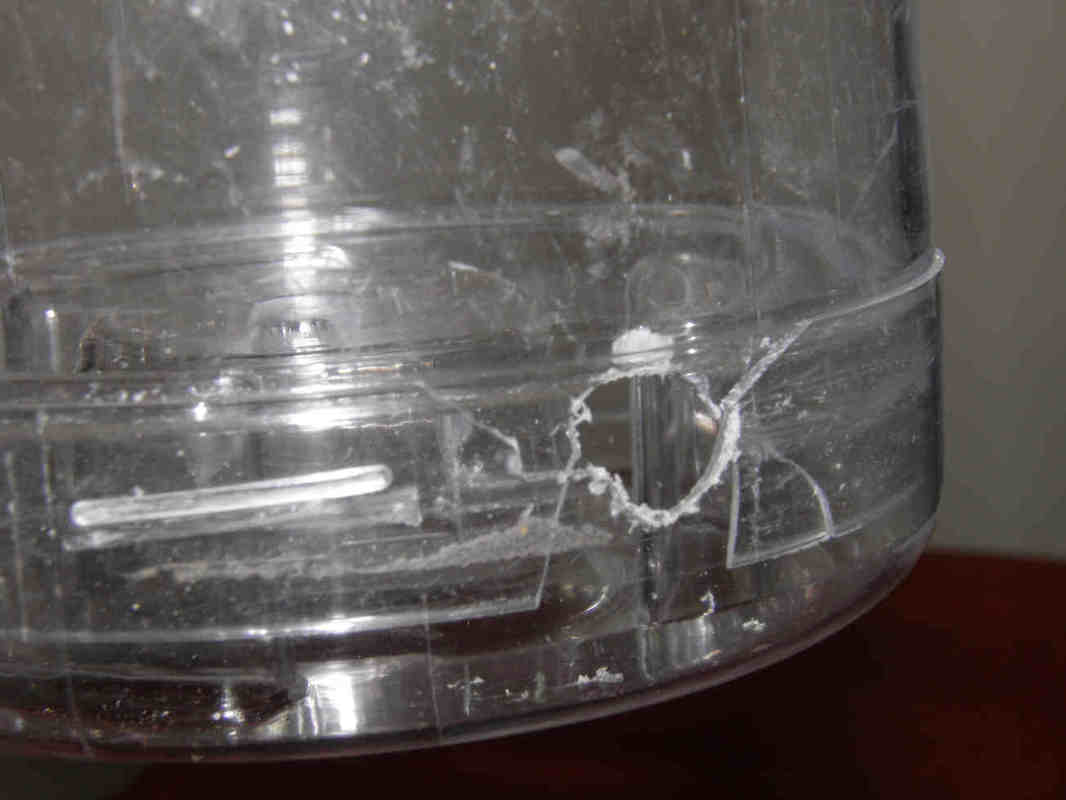
Be careful when drilling the bottle since the plastic is so thin and brittle.
Drill first with a 4 mm bit then enlarge the hole till 9.5 mm. Still the hole would not be necessarily round but it will be hidden later on.
Drill first with a 4 mm bit then enlarge the hole till 9.5 mm. Still the hole would not be necessarily round but it will be hidden later on.


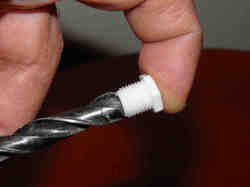
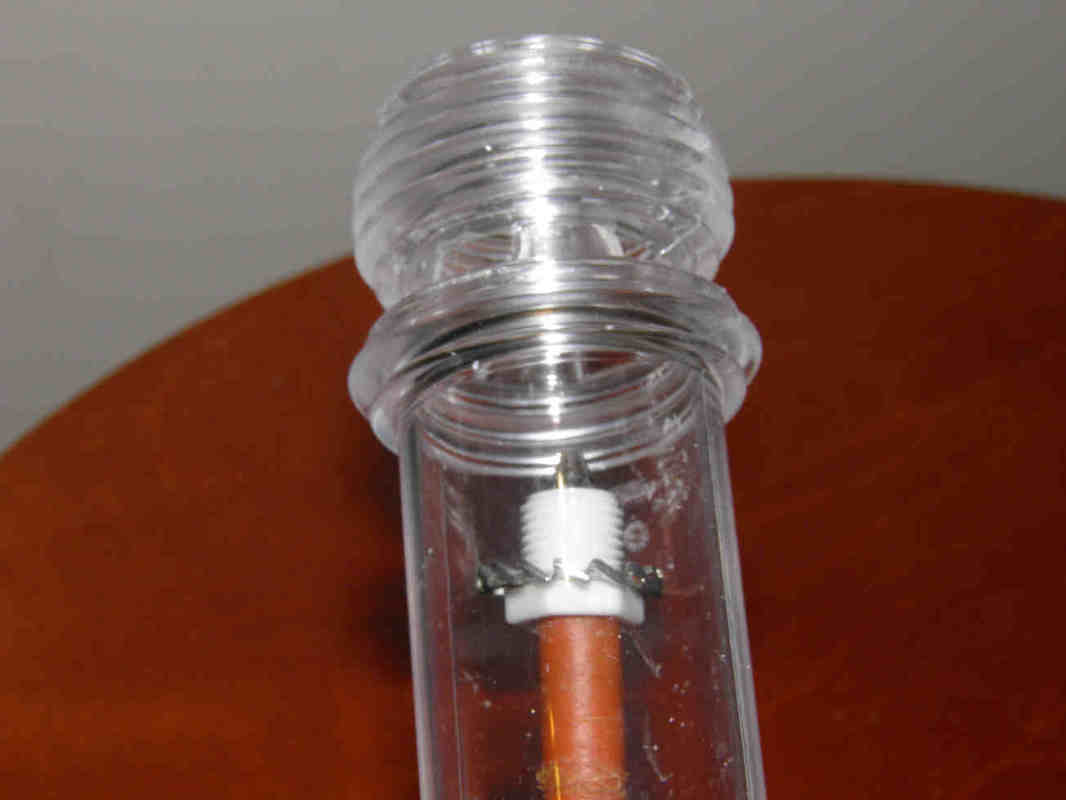
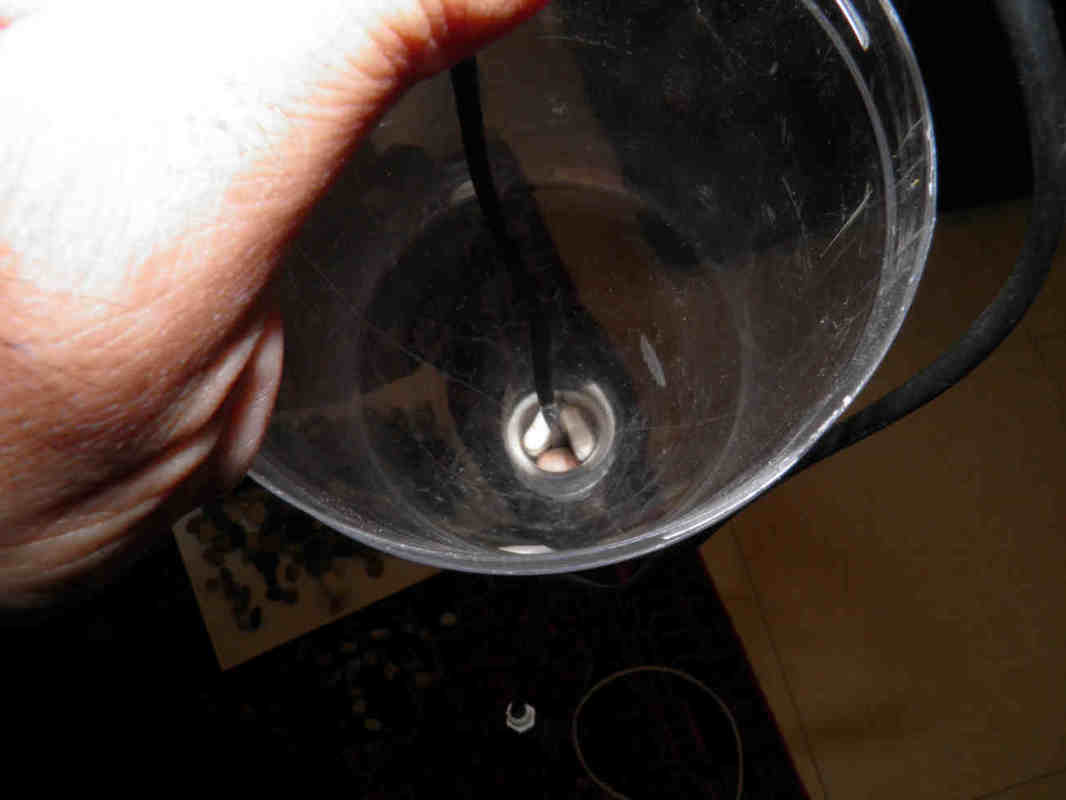
Fit a washer on the lamp holder nut and use a screwdriver to push it through the hole.
Fix the lamp holder by rotating it like a screw.
Tighten well but not too strong to avoid breaking the bottle.
Fix the lamp holder by rotating it like a screw.
Tighten well but not too strong to avoid breaking the bottle.
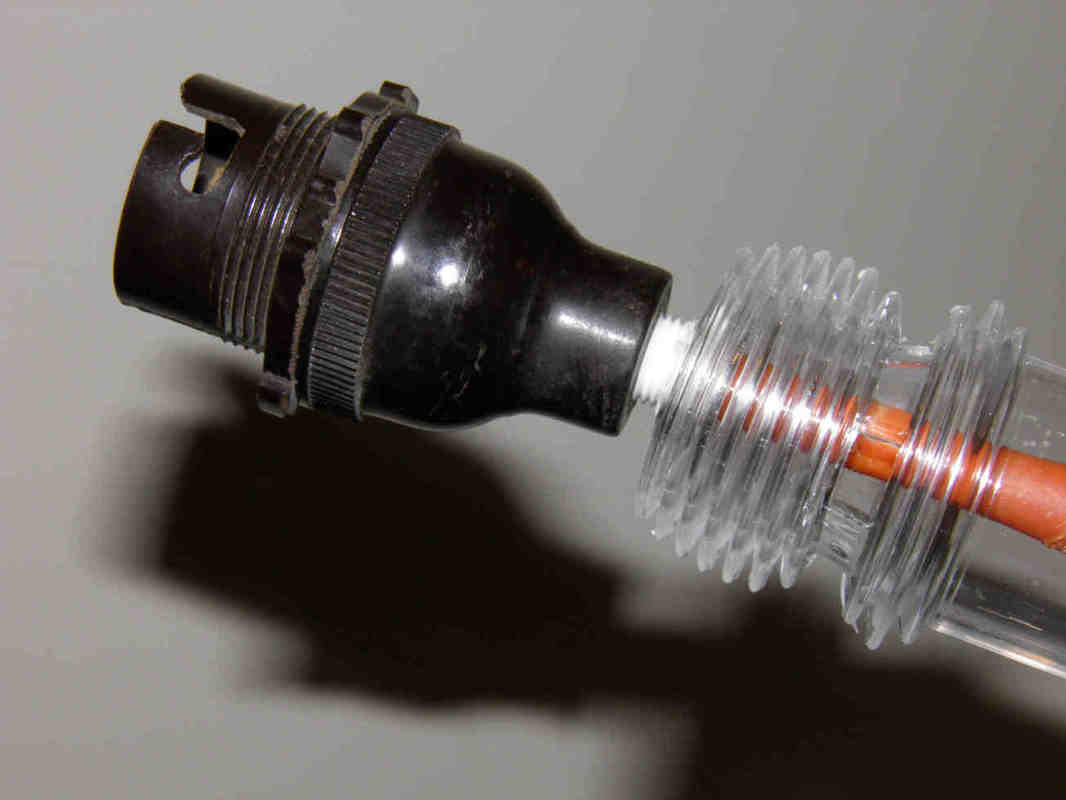
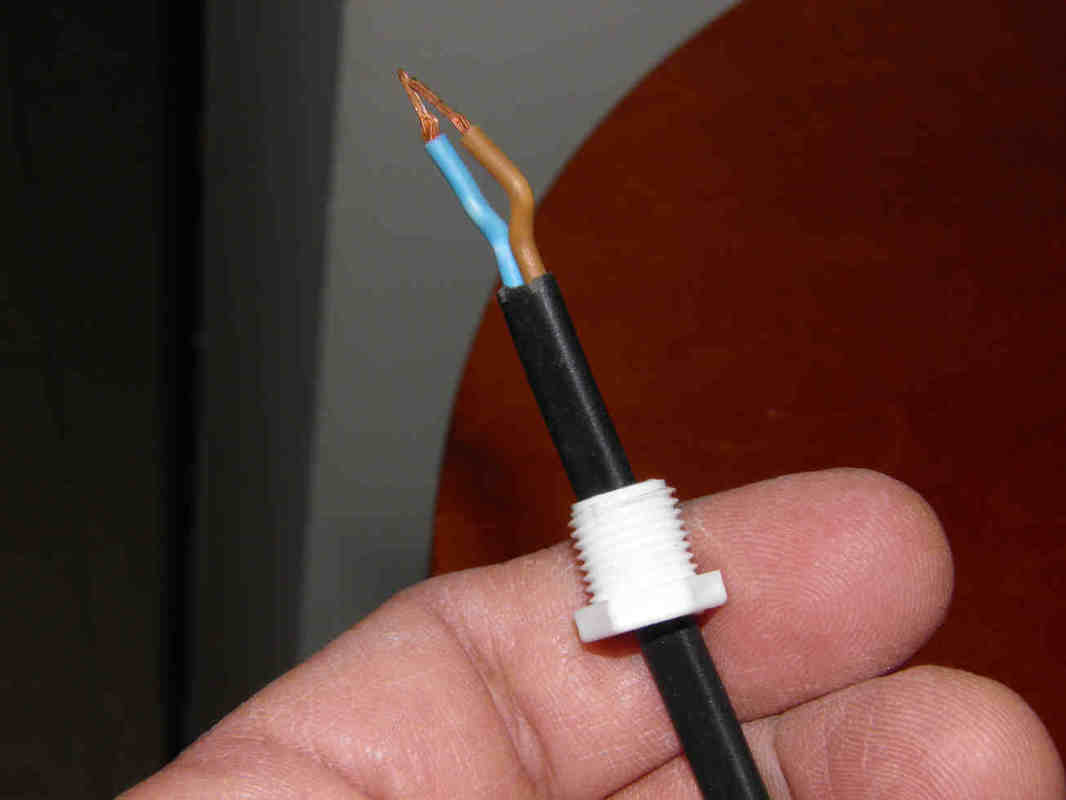
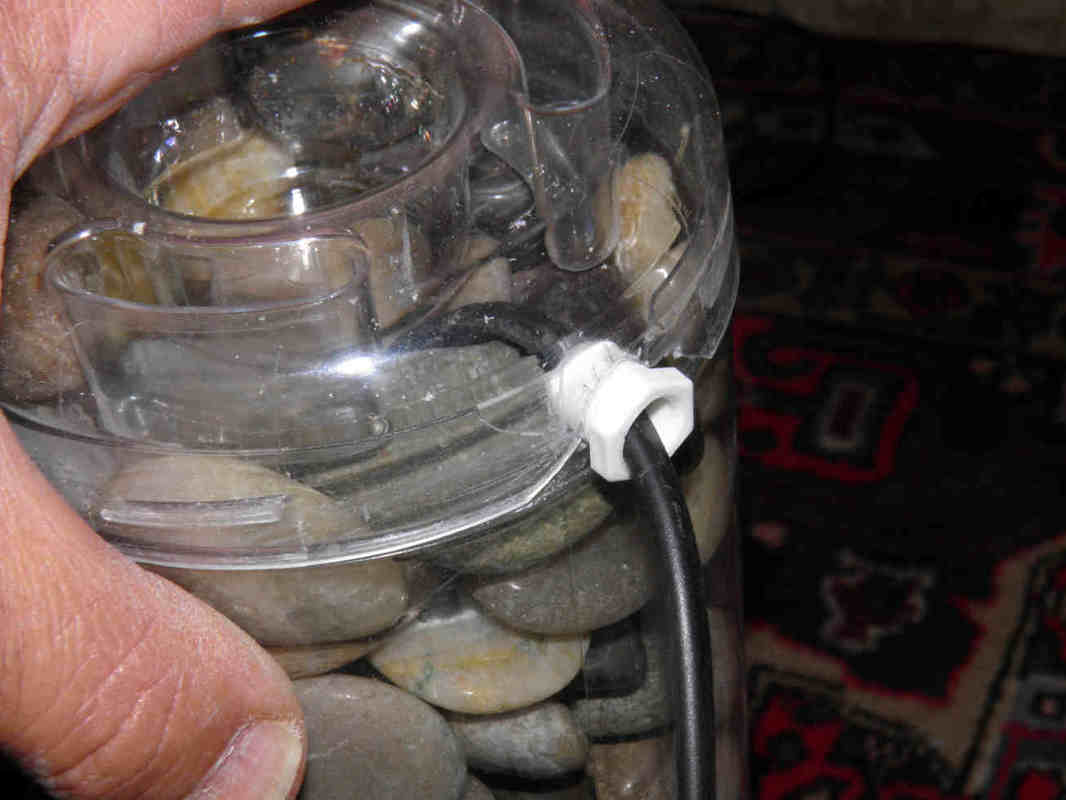
Fit the second nut into the electric cable as shown as it will be used later.
Let the cable pass through the lamp holder base and connect the wires.
Let the cable pass through the lamp holder base and connect the wires.
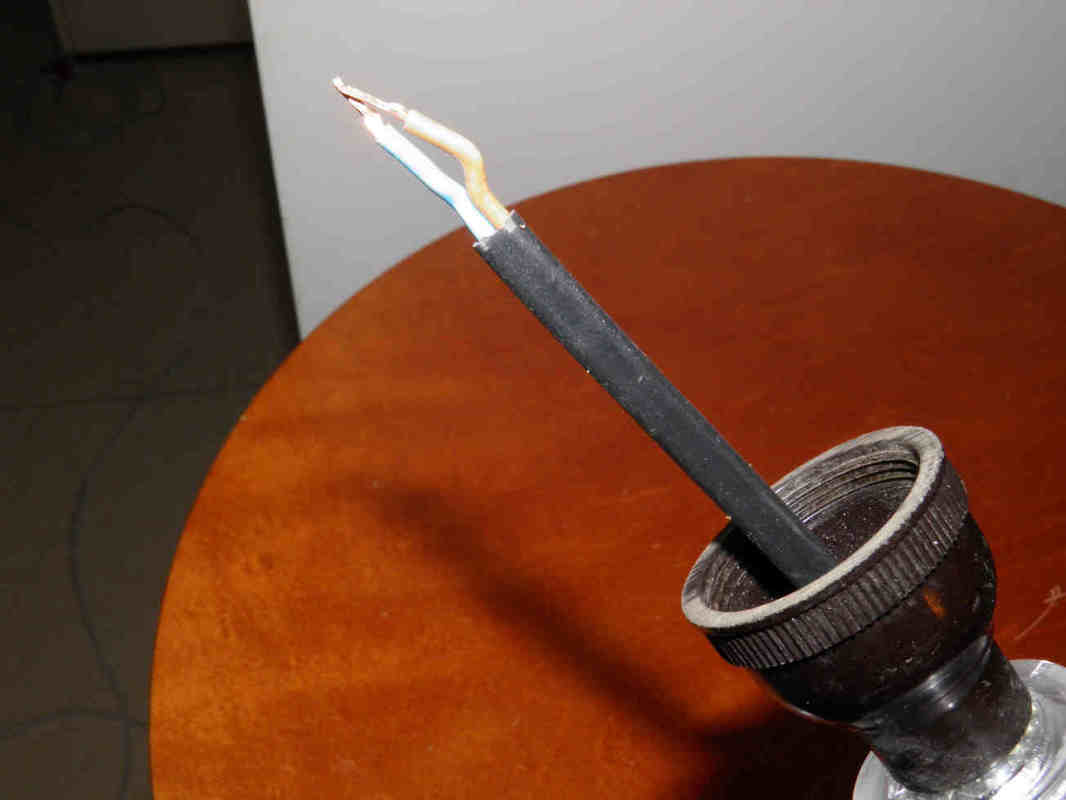
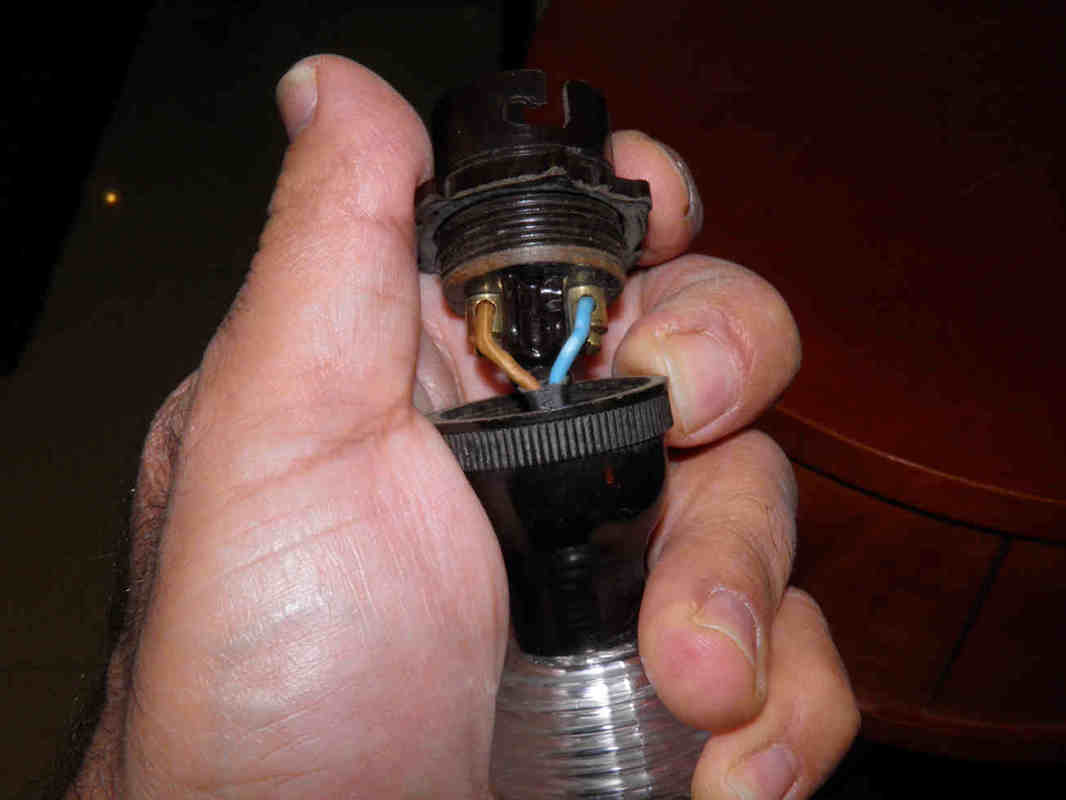
The electrical works on the bottle table lamp are now complete.
A filler material is chosen for decoration and weight purposes, pebbles in this case.
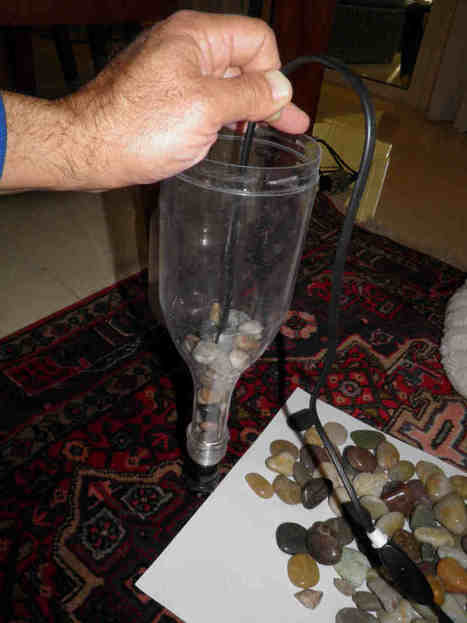
The bottle is turned upside down and the smallest pebbles used first while the cable is maintained centered and vertical.
This is to make sure the bottle neck gets filled completely and that the cable will remain in the middle not to be visible.
A filler material is chosen for decoration and weight purposes, pebbles in this case.
The bottle is turned upside down and the smallest pebbles used first while the cable is maintained centered and vertical.
This is to make sure the bottle neck gets filled completely and that the cable will remain in the middle not to be visible.

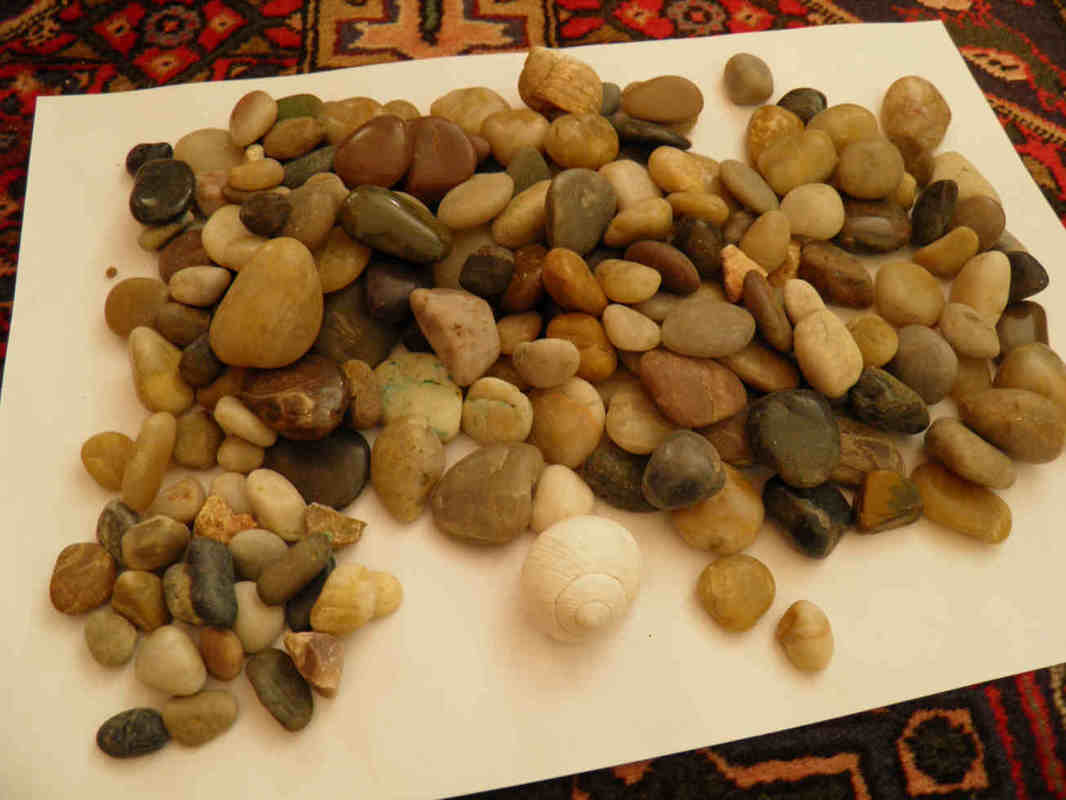
Little by little larger pebbles are used to fill the bottle table lamp. The cable should be maintained in the center.
|
|
At last, the second nut is moved into the hole to avoid that the sharp plastic edges damage the cable insulation.
A few drops of super glue will secure the bottom.
And that's it. It's a 15 minutes job !
A few drops of super glue will secure the bottom.
And that's it. It's a 15 minutes job !


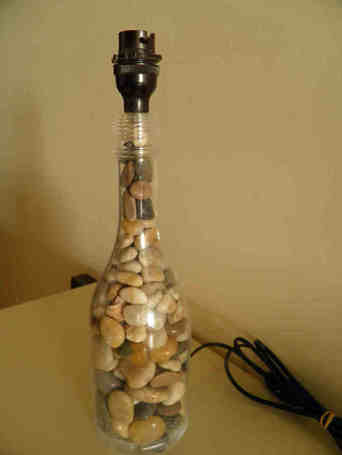
And here is the final result: an elegant pebble table lamp on which you can fit a lamp shade.
|
|


