COPYRIGHT WARNING:
All pictures and texts in this web page are the property of nomaallim.com. Any use of any part of those contents without the written consent of nomaallim.com shall be subject to legal procedures as per international and local laws in the concerned country. Using the name "nomaallim" or "nomaallim com" or "nomaallim.com" in the text describing the unauthorized copied content shall not constitute an exception and shall be sanctioned in accordance to the effective laws and proceedings.
All pictures and texts in this web page are the property of nomaallim.com. Any use of any part of those contents without the written consent of nomaallim.com shall be subject to legal procedures as per international and local laws in the concerned country. Using the name "nomaallim" or "nomaallim com" or "nomaallim.com" in the text describing the unauthorized copied content shall not constitute an exception and shall be sanctioned in accordance to the effective laws and proceedings.
BEFORE YOU START
|
DISCLAIMER: Our pictorials are of informative nature and do illustrate works carried out by ourselves at our own premises for our own use and satisfaction. Readers who envisage to carry out similar works inspired by the below method shall do this at their own risks and liability. |
Front brake discs (rotors) replacement pictorial
|
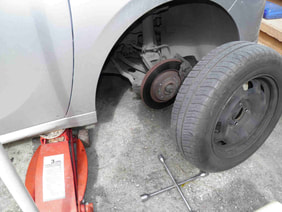
1- Remove the wheel. See our tip for brake pads replacement for more details.
|
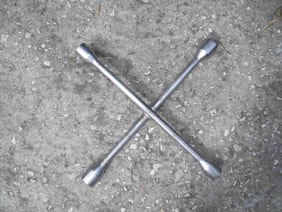
2- Think about purchasing cross wheel braces easier to use than the ones supplied with the vehicle.
|
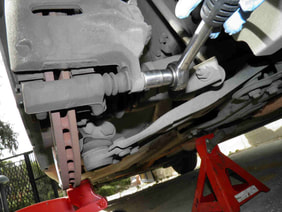
3- Do not intervene on the discs unless the vehicle is placed on stands.

|
|
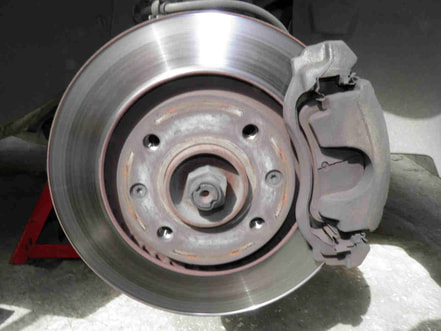
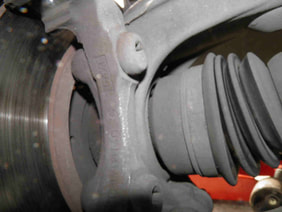
4- You need to remove the caliper first.
|
5- The caliper is fixed by the means of two bolts. Take care not to damage the brake hose with your tool.
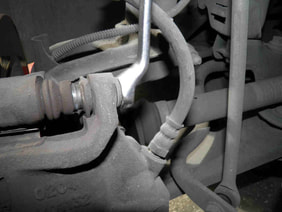
|
6- The lower bolt is of an easier access. You can easily fit a ratchet handle.
|
|
|
|
|
7- Use a large slotted screwdriver for taking out the caliper.
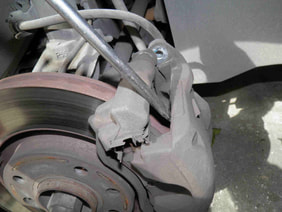
|
8- Gently rotate it and let it hold somewhere on the suspension.
|
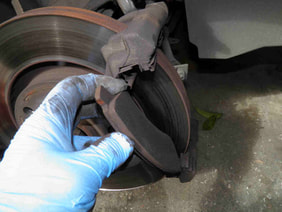
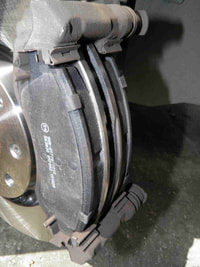
9- Take out the brake pads.
|
|
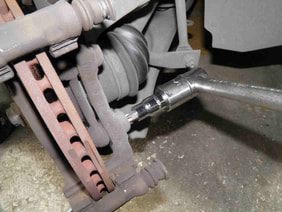
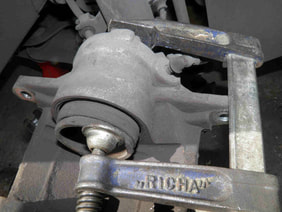
10- Now the caliper support. It is also held by two bolts.
|
11- These require the proper tool and some force due to their high tightening torque.
|
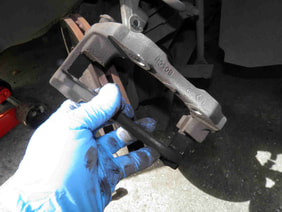
12- Take out the support.
|
|
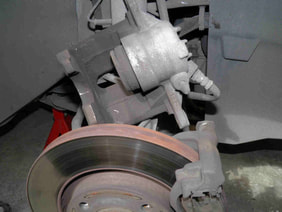
13- Unscrew the two small bolts that hold the disc.
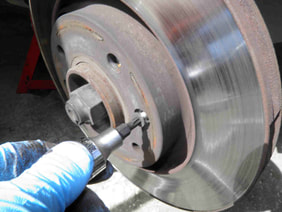
|
14- The disc could then come out on its own or by gently hitting it with a plastic hammer.
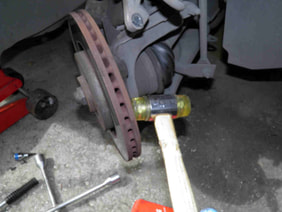
|
15- If it does not loosen with the light hammer, use an extractor (see bottom of page).
|
|
|
|
|
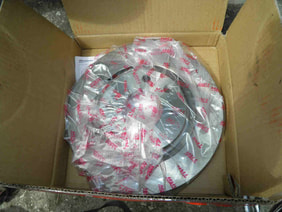
16- You are now ready to fit the new disc.
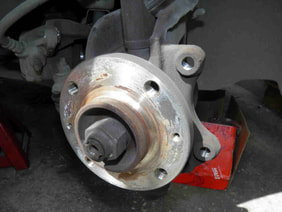
|
17- The new discs are always greased to avoid they get corroded. Never hold them without gloves.
|
18- Tighten the disc bolts to a low torque of 1.5 mKg.

|
|
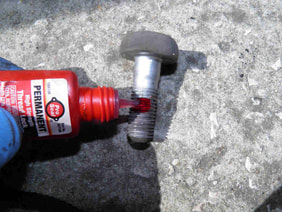
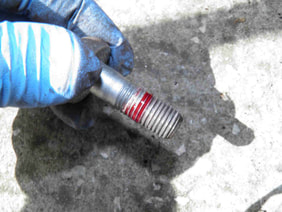
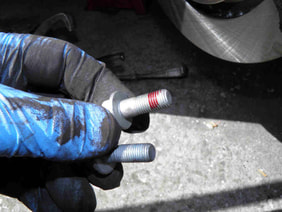
19- Put 2 drops of a thread lock on the caliper support bolts.
|
20- Rotate the bolt in your hand to spread the product all around.
|
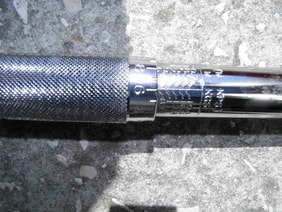
21- Tighten to a high torque of 6 mKg.
|
|
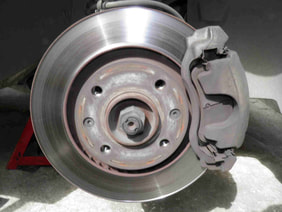
22- Fit new brake pads.
|
23- Push back the caliper piston.
|
24- Use the new bolts supplied with the pads, add one drop of lock thread and refit the caliper.
|
|
|
|
Before driving !
1- Turn on the engine WITHOUT DRIVING THE VEHICLE, i.e. while the parking brake is still applied.
2- Press the brake pedal several times until it becomes stiff as usual. Do not continue to "pump".
3- Drive and test gently the brakes. Avoid strong braking during the first 100Km after pad replacement.
2- Press the brake pedal several times until it becomes stiff as usual. Do not continue to "pump".
3- Drive and test gently the brakes. Avoid strong braking during the first 100Km after pad replacement.
|
|
|
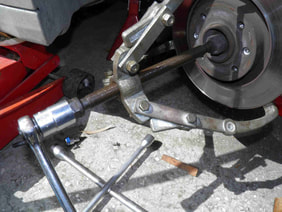
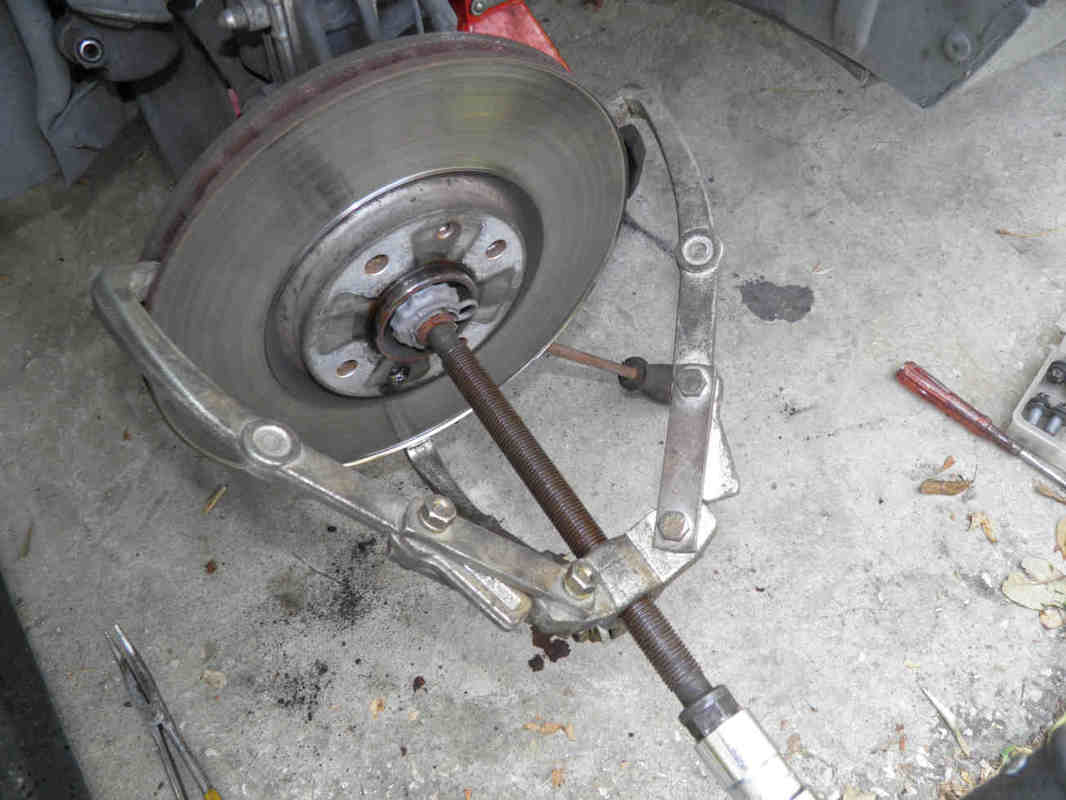
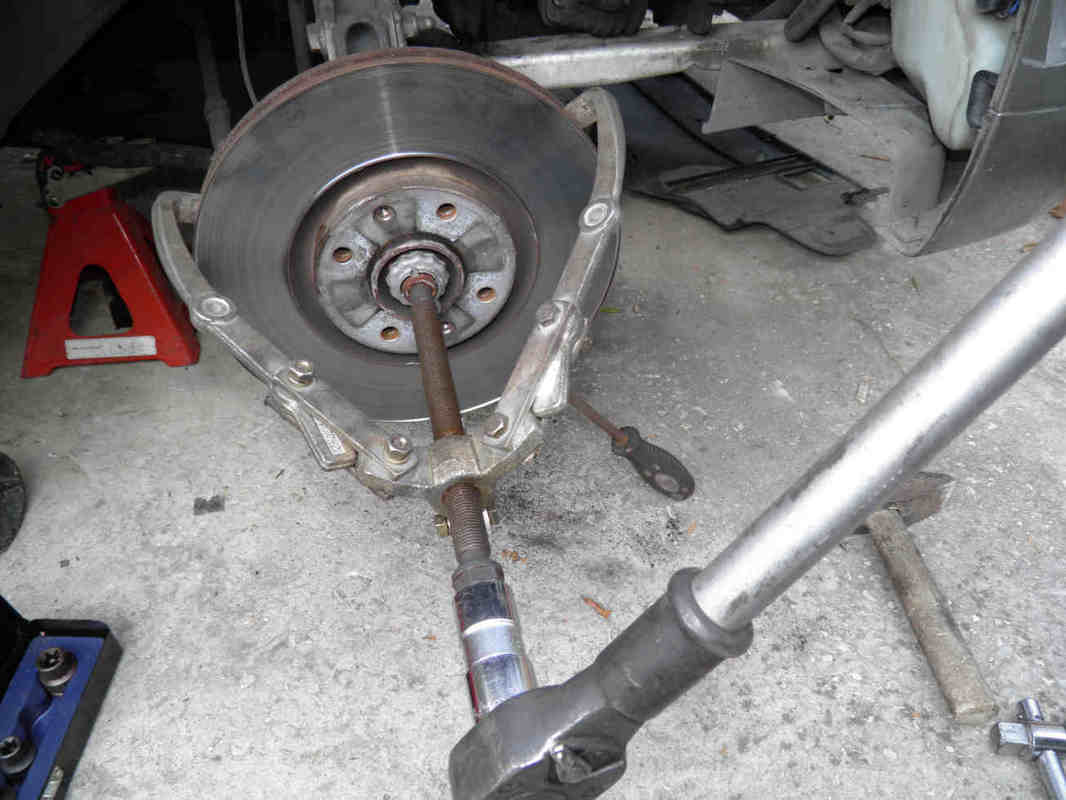
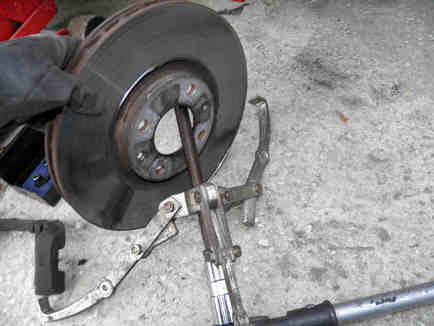
Using a 3-arm puller to pull out the brake disc (rotor):
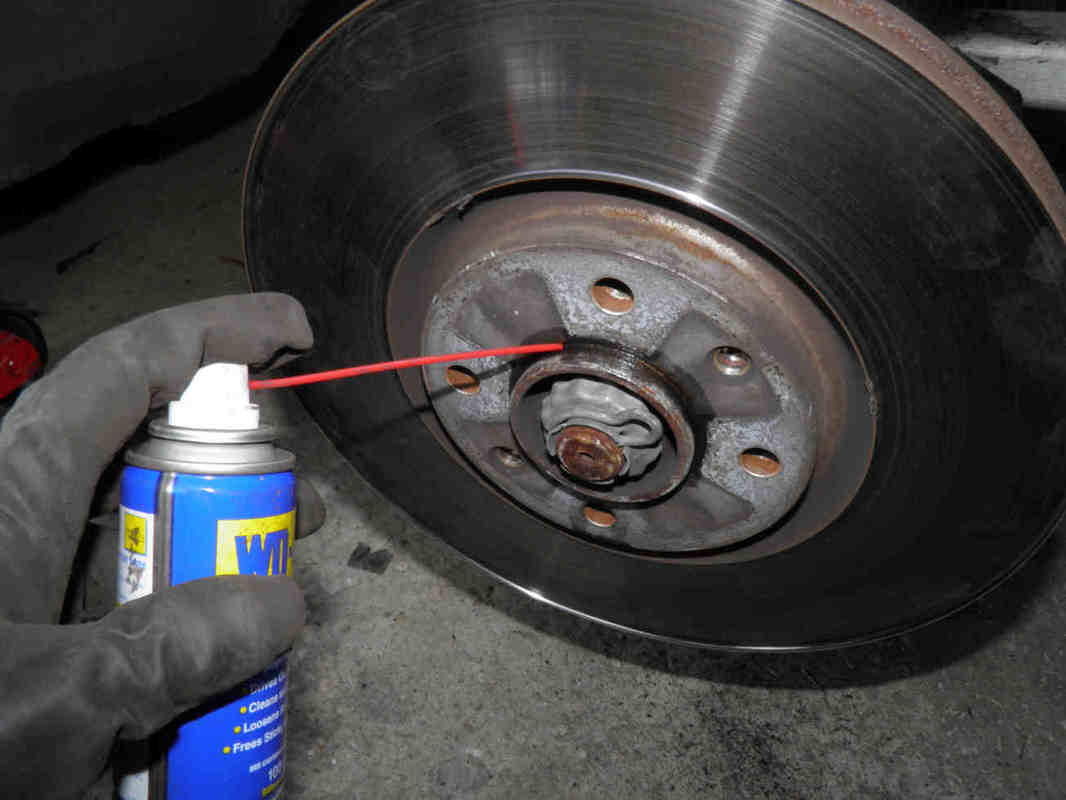
What to do if the brake disc cannot be taken out by hand:
- Spray a little WD40 where the disc holds to the hub.
- Fit an 3-arm gear puller as shown. Make sure it is well centered and the legs are holding firmly to the back side of the brake disc or in between the two sides if it is a ventilated disc.
- Rotate the extractor axle using the ratchet handle until the disc frees itself from the hub.

|
|