COPYRIGHT WARNING:
All pictures and texts in this web page are the property of nomaallim.com. Any use of any part of those contents without the written consent of nomaallim.com shall be subject to legal procedures as per international and local laws in the concerned country. Using the name "nomaallim" or "nomaallim com" or "nomaallim.com" in the text describing the unauthorized copied content shall not constitute an exception and shall be sanctioned in accordance to the effective laws and proceedings.
All pictures and texts in this web page are the property of nomaallim.com. Any use of any part of those contents without the written consent of nomaallim.com shall be subject to legal procedures as per international and local laws in the concerned country. Using the name "nomaallim" or "nomaallim com" or "nomaallim.com" in the text describing the unauthorized copied content shall not constitute an exception and shall be sanctioned in accordance to the effective laws and proceedings.
BEFORE YOU START
|
|
DISCLAIMER:
Our pictorials are of informative nature and do illustrate works carried out by ourselves at our own premises for our own use and satisfaction.
Readers who envisage to carry out similar works inspired by the below method shall do this at their own risks and liability.
Our pictorials are of informative nature and do illustrate works carried out by ourselves at our own premises for our own use and satisfaction.
Readers who envisage to carry out similar works inspired by the below method shall do this at their own risks and liability.
NOTE: The below works occurred on a 2011 Peugeot 5008 1.6 THP but remain similar on many other vehicles.
Click on the below link for Peugeot 5008 II (2016 onwards).
Also click on the lower link to see how to inspect brake pads and decide on their replacement:
Click on the below link for Peugeot 5008 II (2016 onwards).
Also click on the lower link to see how to inspect brake pads and decide on their replacement:
Peugeot 3008 and 5008 front brake pads replacement pictorial
|
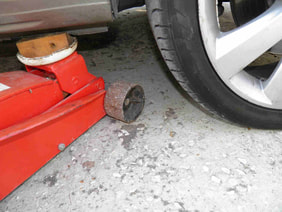
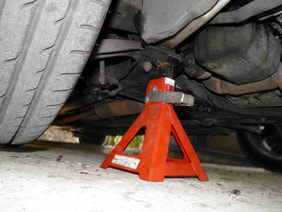
7- Lift your vehicle until the wheel is no more in contact with the floor, place the jack stand below the triangle pivot and bring down the car until it touches the stand. Keep the hydraulic jack in place.
|
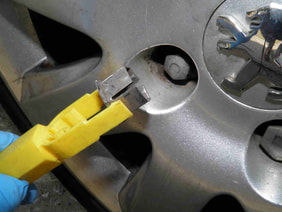
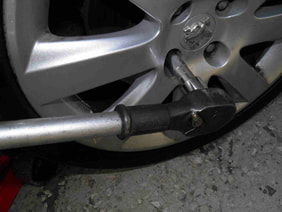
8- Unscrew completely the wheel bolts, remove them and remove the wheel. Watch your back, the wheel is quite heavy and voluminous.
|
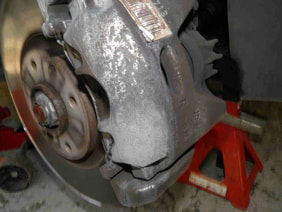
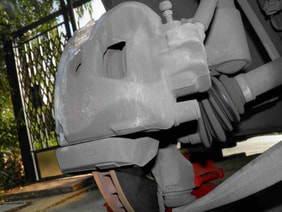
9- The brake caliper is held by the means of two bolts on its back side. The bolts in this case are enclosed within rubber protectors.
|
|
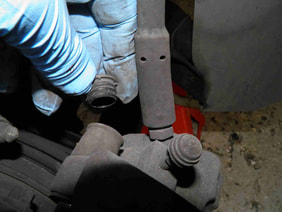
10- Remove the cap of the protector. In most small cars, it will be enough to unscrew the lower bolt and rotate the caliper around the upper one.
|
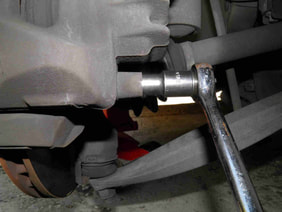
11- It is easier to completely remove the caliper is this vehicle however. Insert your ratchet socket and unscrew the lower bolt or both bolts.
|
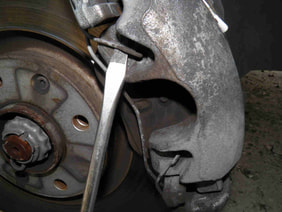
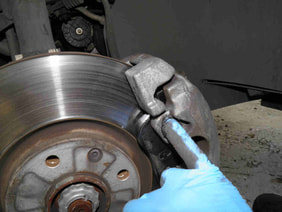
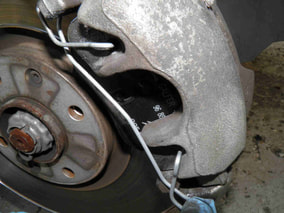
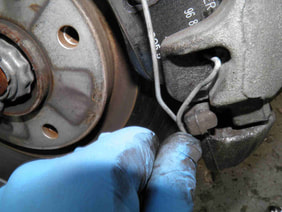
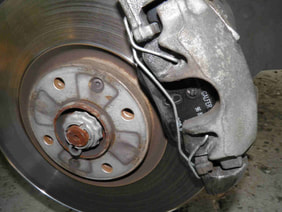
12- If the caliper includes a spring like this one, remove it using a screwdriver while holding it with the other hand. If not, skip this step.
|
|
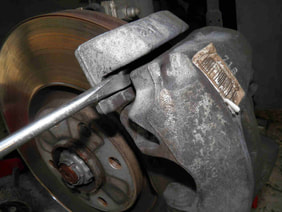
13- Use a screwdriver to pull out the caliper. Do not force, apply short movements.
|
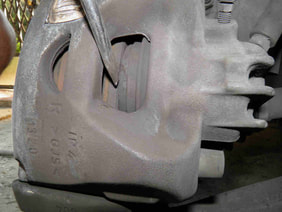
14- If it doesn't go out, push back a little the cylinder with your screwdriver. Take care not to damage the rubber bellows.
|
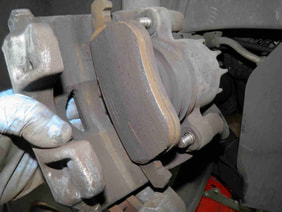
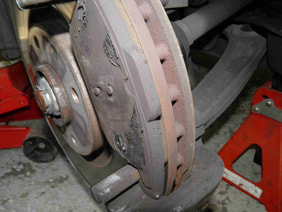
15- Take out the caliper (or rotate it upwards) and let it lay on the disc. In this case, the inner pad is fixed to the cylinder and moves with the caliper.
|
|
16- The other pad is still in place but in most cases both pads will be free from the cylinder and remain in their seats on each side of the disc.
|
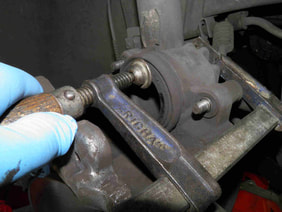
17- Take them out and gently push back the cylinder using a C-clamp and taking care not to damage the rubber bellows.
|
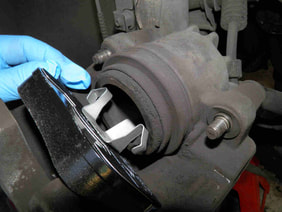
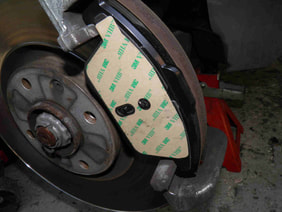
18- Fit the new inner pad on the cylinder or its seat on the disc.
|
|
|
|
Final checklist - before driving !
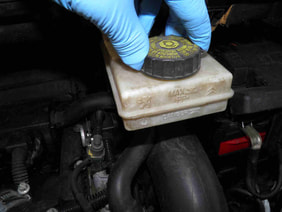
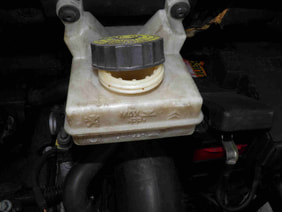
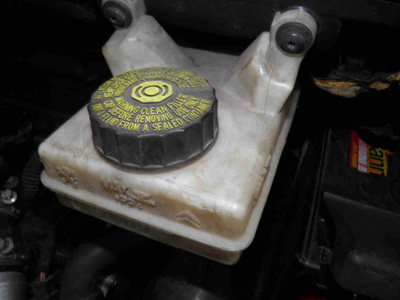
1- Close well the brake fluid reservoir and make sure the level is between Min and Max marks.
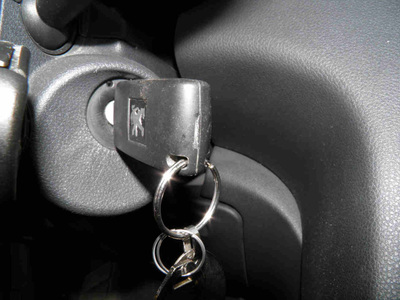
2- Turn on the engine WITHOUT DRIVING THE VEHICLE, i.e. while the parking brake is still applied.
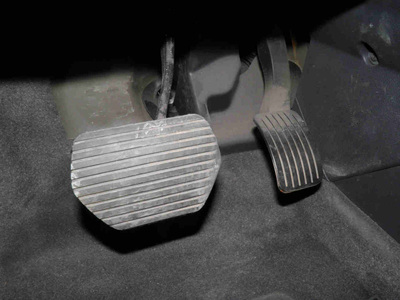
3- Press the brake pedal several times until it becomes stiff as usual. Do not continue to "pump".
4- Drive and test gently the brakes. Avoid strong braking during the first 100Km after pad replacement.

