COPYRIGHT WARNING:
All pictures and texts in this web page are the property of nomaallim.com. Any use of any part of those contents without the written consent of nomaallim.com shall be subject to legal procedures as per international and local laws in the concerned country. Using the name "nomaallim" or "nomaallim com" or "nomaallim.com" in the text describing the unauthorized copied content shall not constitute an exception and shall be sanctioned in accordance to the effective laws and proceedings.
All pictures and texts in this web page are the property of nomaallim.com. Any use of any part of those contents without the written consent of nomaallim.com shall be subject to legal procedures as per international and local laws in the concerned country. Using the name "nomaallim" or "nomaallim com" or "nomaallim.com" in the text describing the unauthorized copied content shall not constitute an exception and shall be sanctioned in accordance to the effective laws and proceedings.
BEFORE YOU START
|
|
The below works concerned a Peugeot 5008 equipped with a turbo-charged EP6 engine (156 HP version).
Same or similar engine can be found on Peugeot 207, 208, 308, 508, 3008, 5008 and Citroen C4, C4 Sedan, DS3, DS4, DS5 also the Mini Cooper S.
Same or similar engine can be found on Peugeot 207, 208, 308, 508, 3008, 5008 and Citroen C4, C4 Sedan, DS3, DS4, DS5 also the Mini Cooper S.
DISCLAIMER:
Our pictorials are of informative nature and do illustrate works carried out by ourselves at our own premises for our own use and satisfaction.
Readers who envisage to carry out similar works inspired by the below method shall do this at their own risks and liability.
Our pictorials are of informative nature and do illustrate works carried out by ourselves at our own premises for our own use and satisfaction.
Readers who envisage to carry out similar works inspired by the below method shall do this at their own risks and liability.
Step 1: Preparatory works for the EP6 cylinder head removal:
|
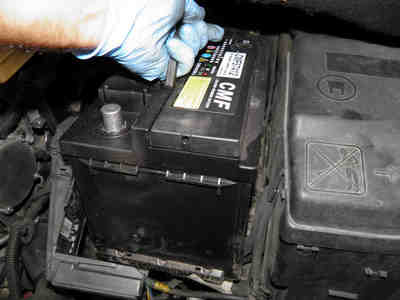
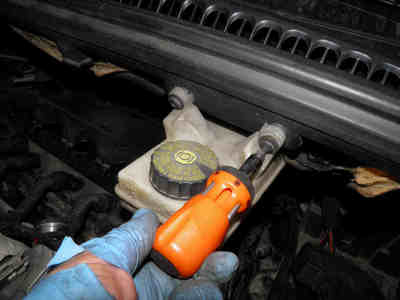
Remove:
|
|
Step 2: Removal of whatever is fixed to the EP6 cylinder head
Remove:
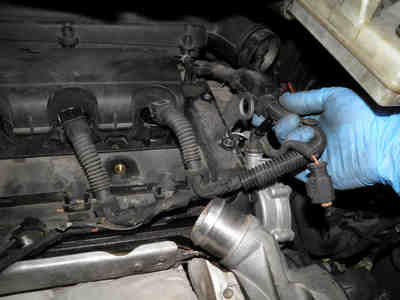
- COP's
- COP wire harness (detach only and keep loose, middle)
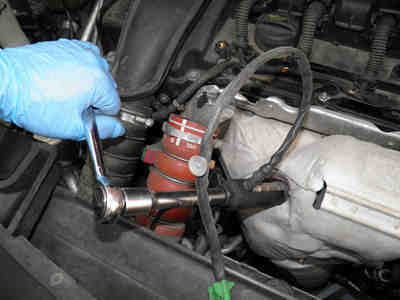
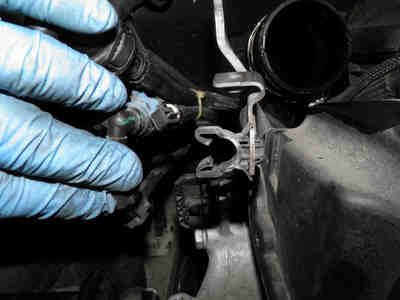
- Turbo outlet air hose
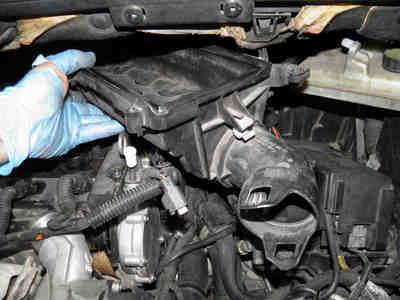
- Air filter and its housing (right)
- Fuel lines (detach only and keep loose, left).
- Vacuum hoses from vacuum pump and turbo
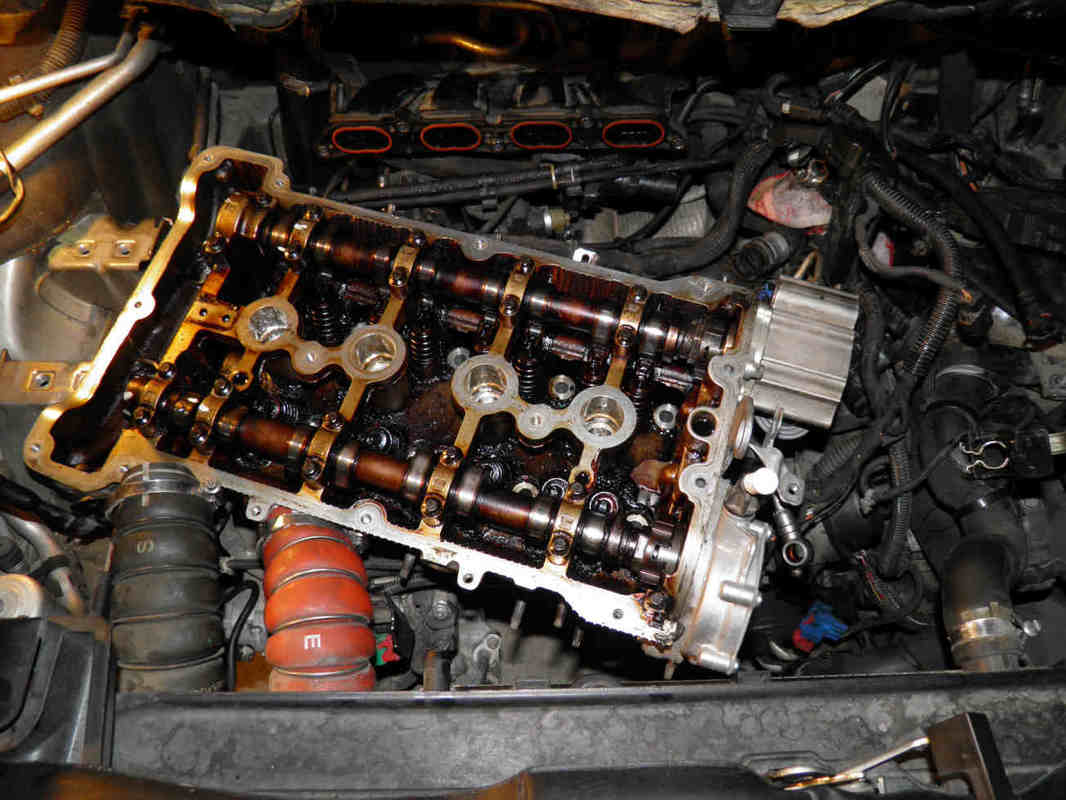
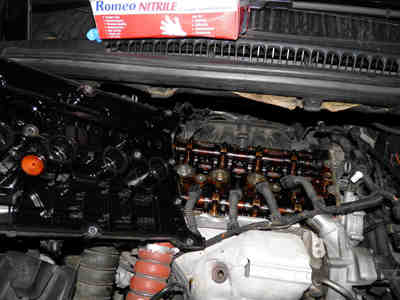
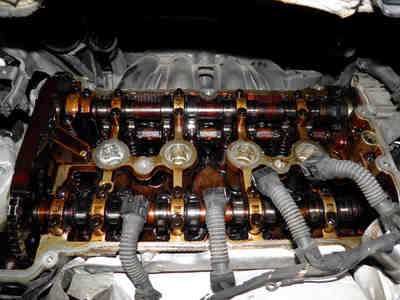
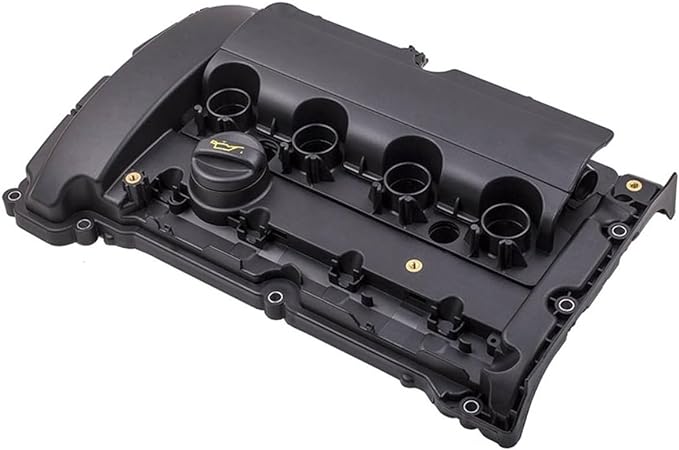
Remove the cylinder head cover to make then things easier for the steps to follow.
Be careful not to drop any bolt or nut or object into the cylinder head.
Be careful not to drop any bolt or nut or object into the cylinder head.
Remove and/or detach and keep loose:
- The after cooler to intake manifold air hose
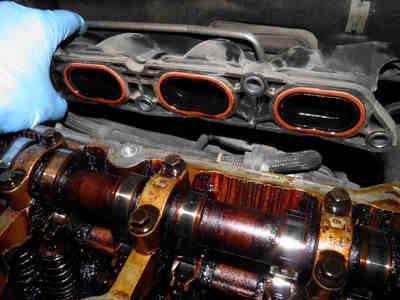
- The intake manifold (unscrew and keep aside, do not remove its air hose)
- The catalytic converter. See our specific page for the catalytic converter removal.
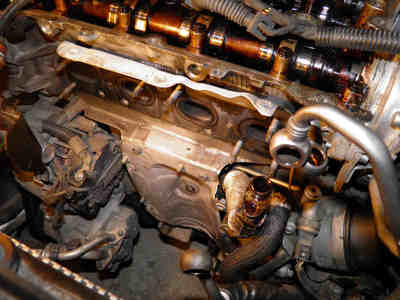
- The exhaust manifold / turbo assembly (without separating them, right). See our specific page for exhaust manifold/turbo removal.
- Disconnect all hoses to the thermostat housing. See our specific page for EP6 thermostat removal.
- Loosen the screws that hold the thermostat housing and leave it loose.
- Detach the low pressure fuel hose and electrical connector of the HPFP.
PARTIALLY REMOVE AND PUT ASIDE THE TIMING CHAIN, DO NOT TAKE IT OUT FROM THE CRANKSHAFT.
SEE OUR SPECIFIC PAGE FOR EP6 ENGINE TIMING CHAIN LOOSENING AND RELEASE.
SEE OUR SPECIFIC PAGE FOR EP6 ENGINE TIMING CHAIN LOOSENING AND RELEASE.
Step 3: Cylinder head bolts slackening and removal:
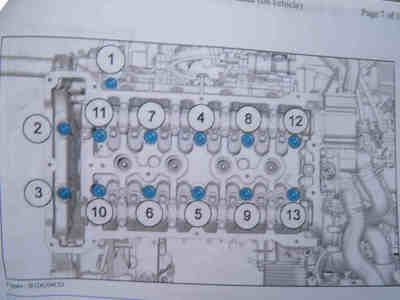
Respect the sequence for slackening the cylinder head. THIS IS MANDATORY.
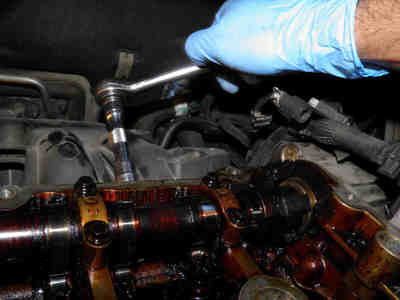
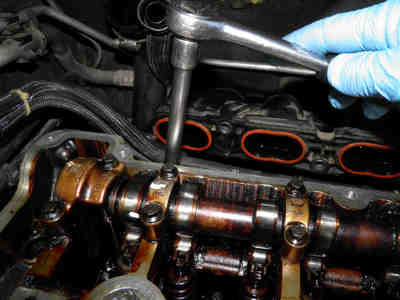
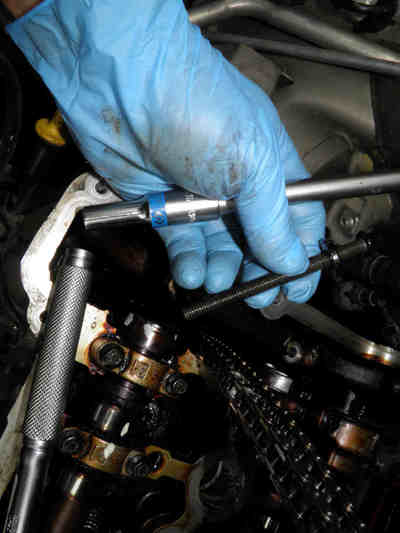
First bolts 1,2,3 then bolts from 4 to 13.
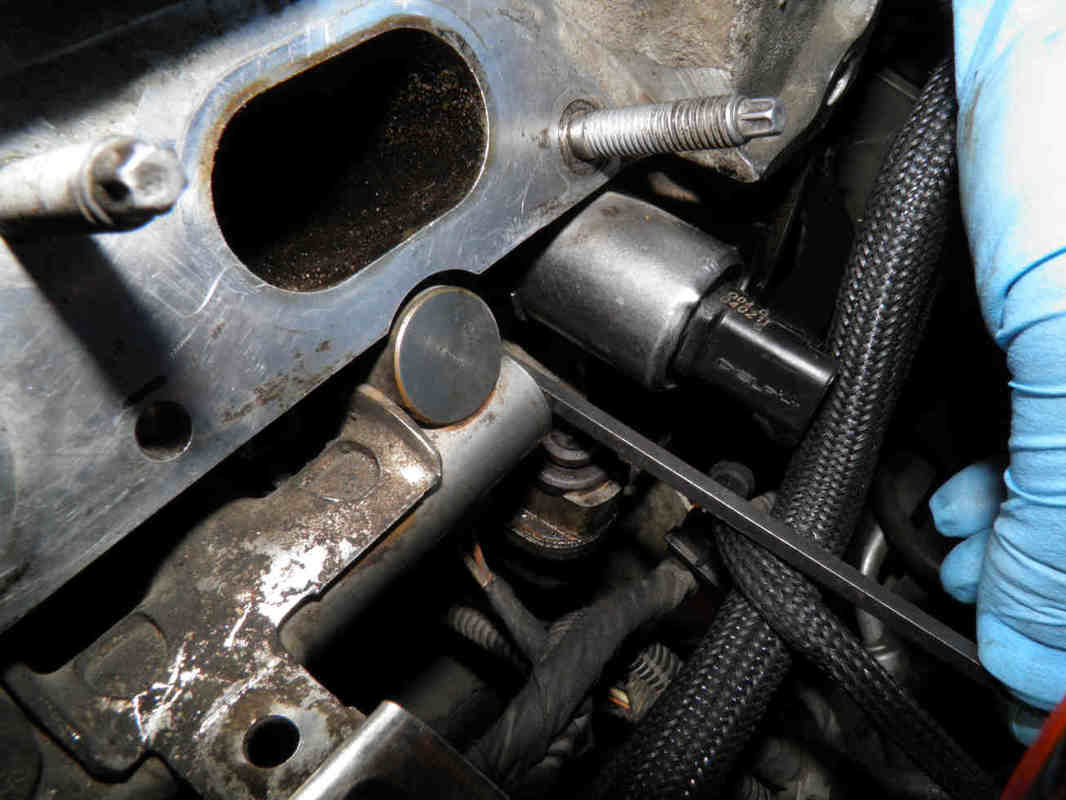
Slacken and remove all bolts, except No1 which you cannot access yet due to its obstruction by the timing regulation solenoid valve.
First bolts 1,2,3 then bolts from 4 to 13.
Slacken and remove all bolts, except No1 which you cannot access yet due to its obstruction by the timing regulation solenoid valve.
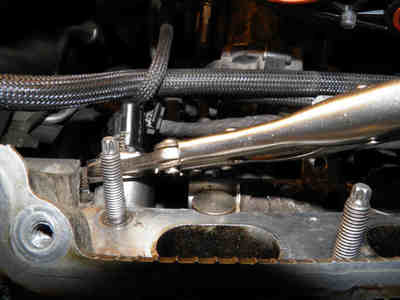
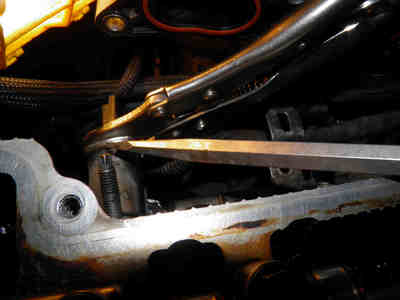
The timing regulation valve has its fixing bolt in a difficult to reach space between the common rail and the valve's body.
It is pointed to here with an Allen key but the bolt's head is not hexagonal.
Use a T30 star key instead.
It is pointed to here with an Allen key but the bolt's head is not hexagonal.
Use a T30 star key instead.
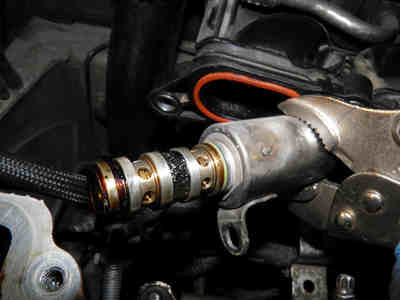
After removing the bolt, you have to hold the timing regulation solenoid valve's body with grip pliers and use a large screwdriver as a lever to kick it out of it seat. You will not be able to pull it out with your bare hand due the tight access.
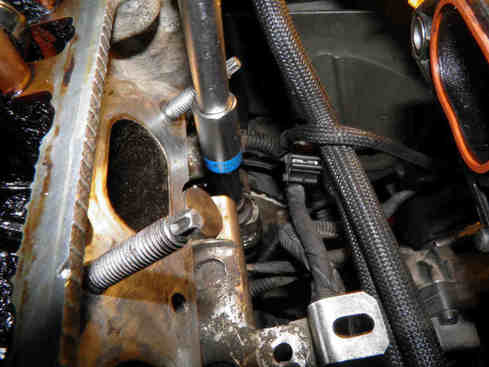
You can now slacken the very last EP6 cylinder head bolt:
Step 4 and last: disconnect the injectors and take the cylinder head out
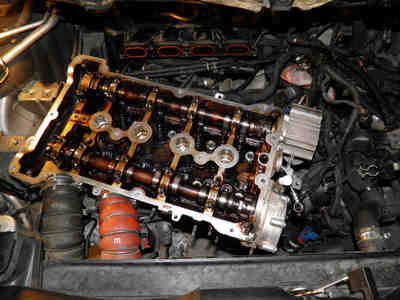
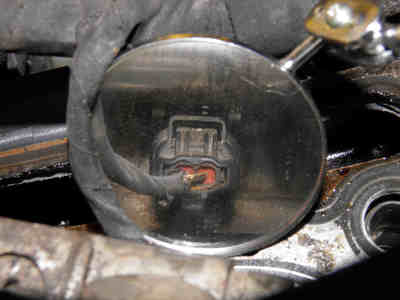
Tilt the cylinder head (left) in a manner to access the injectors connectors shown here in a mirror (middle left).
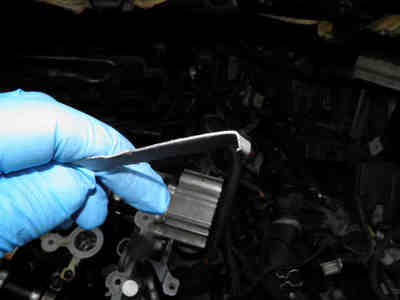
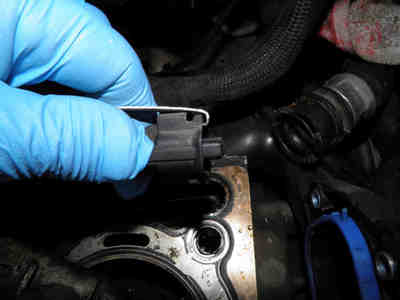
You need to fabricate a connector release tool (middle right) to be able to pull these. Just cut a piece of metal sheet and have its end curved to unlatch the connector's holder (right).
Also disconnect the fuel pressure sensor connector.
You need to fabricate a connector release tool (middle right) to be able to pull these. Just cut a piece of metal sheet and have its end curved to unlatch the connector's holder (right).
Also disconnect the fuel pressure sensor connector.
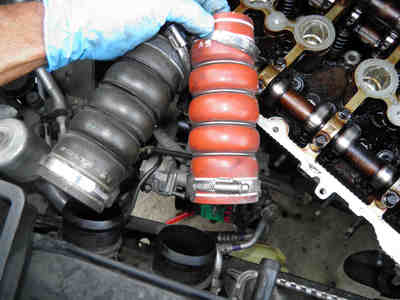
Remove the turbo intercooler hoses if this is not done yet and take out the cylinder head.
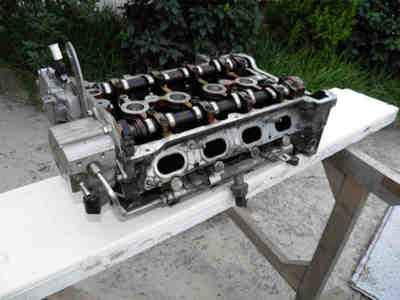
Put it on a bench at a good height for carrying out the necessary works on it.
Put it on a bench at a good height for carrying out the necessary works on it.

